Cisco Adaptive Secure Appliance (ASA)
Cisco ASA (Adaptive Security Appliance) is a security device developed by Cisco Systems that provides firewall, VPN (Virtual Private Network), and other network security features.
Network Topology
Here’s this deployment’s network topology

Preparing the Installer
Download the installer from Cisco Download Central

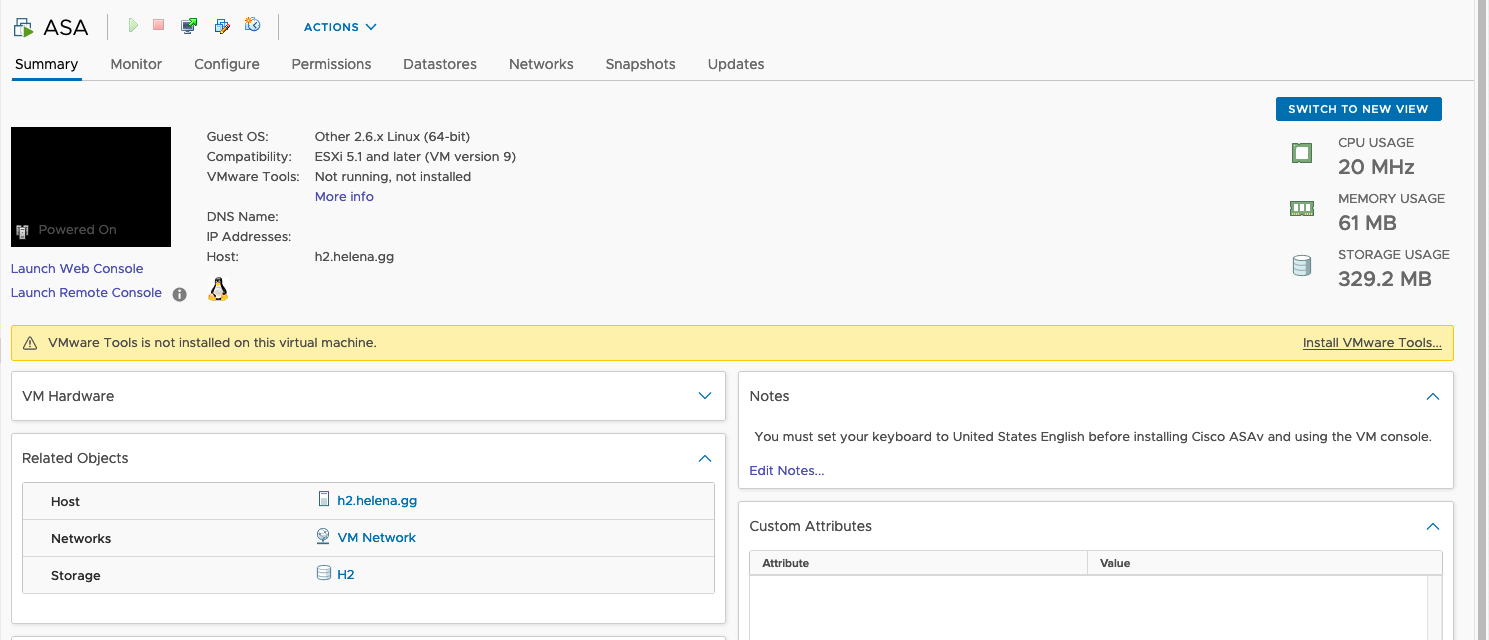
Deploy the OVA as usual, and boot the VM
Initial Configuration
Connect through console, and start configuring the management interface
1
2
3
4
interface Management0/0
 nameif management
 security-level 100
 ip address 198.18.0.251 255.255.255.0
Create a local user
1
username helena password cisco privilege 15
Enable local user access to SSH and HTTP
1
2
aaa authentication ssh console LOCAL
aaa authentication http console LOCAL
Next enable all segments to access SSH and HTTP through management interface
1
2
ssh 0.0.0.0 0.0.0.0 management
http 0.0.0.0 0.0.0.0 management
Lastly enable HTTP service
1
http server enable
Configuring Cisco ASDM
Cisco ASDM (Adaptive Security Device Manager) is a GUI tool used for configuring and managing Cisco ASA firewalls
Now open the management IP using web browser, select Install ASDM Launcher

Next just run the installer

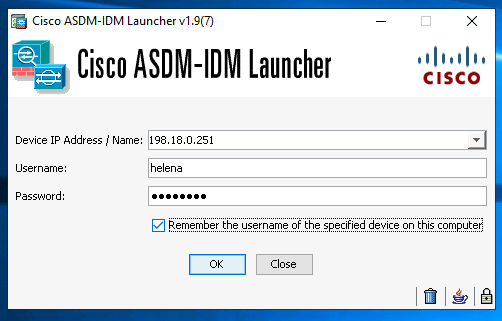
After that just login to the management interface using the local user
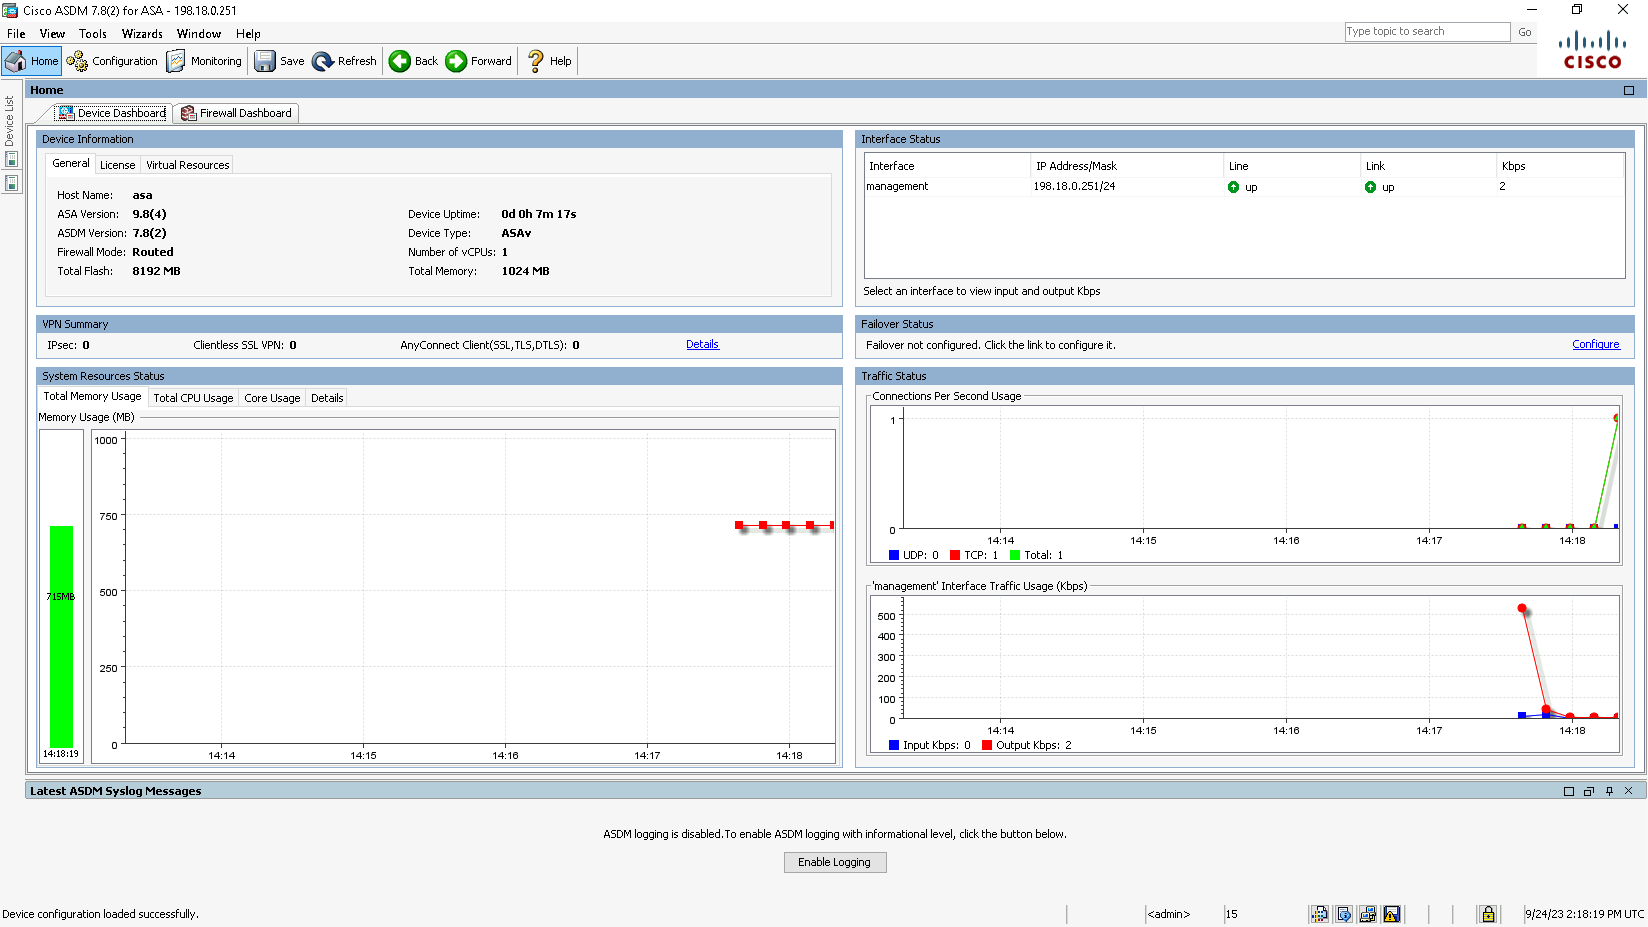
And we’re in ASDM
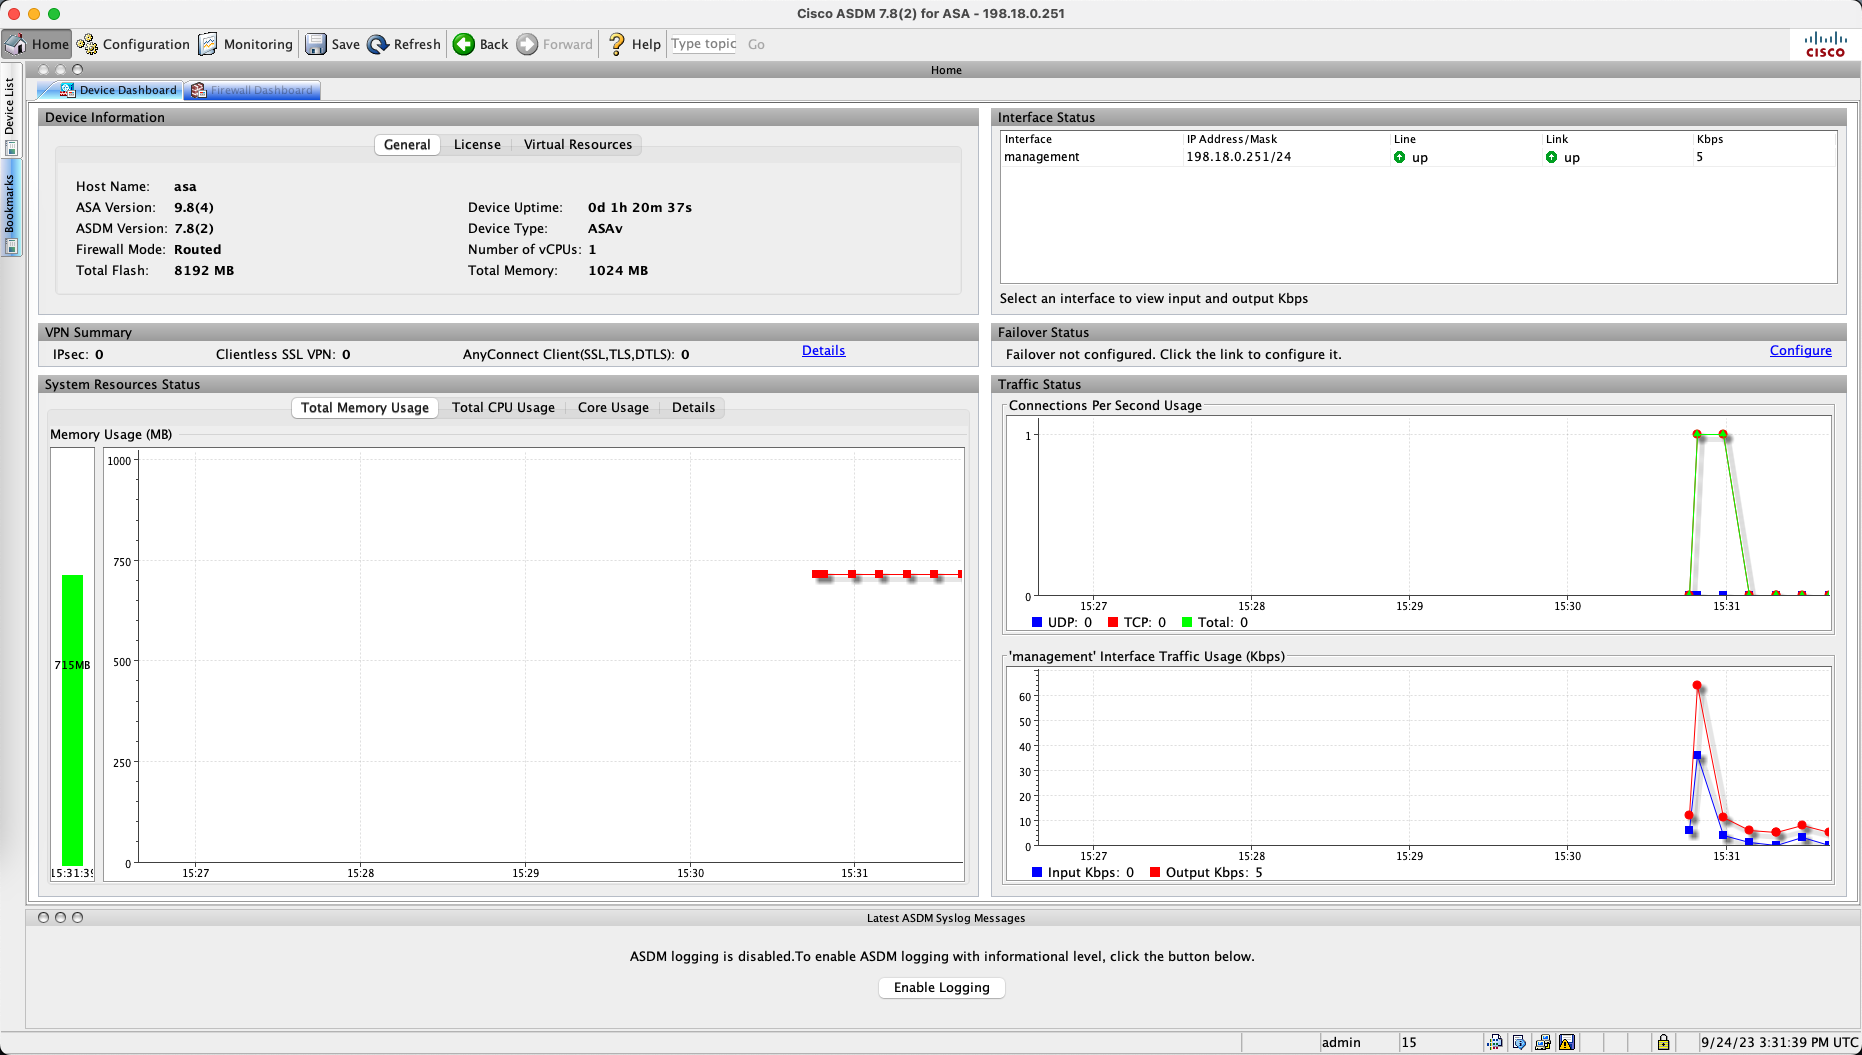
Plus its also available on MacOS
Configuring Interfaces
First, lets configure the outside interface
1
2
3
4
interface GigabitEthernet0/1
 nameif outside
 security-level 0
 ip address 198.100.0.2 255.255.255.0
Next the inside
1
2
3
4
interface GigabitEthernet0/2
 nameif inside
 security-level 100
 ip address 63.0.0.1 255.255.255.0
Add a static route on the outside to the internet
1
route outside 0.0.0.0 0.0.0.0 198.100.0.1 1
That should do, this configuration can also be viewed on ASDM


And pinging the interfaces from inside and outside network shows these are up and running

Configuring Access List Policy
Create access list to enable traffic from inside to outside and vice versa
1
2
access-list inside_access_out extended permit ip any any
access-list outside_access_in extended permit ip any any
Apply the access list to the respective interface
1
2
access-group inside_access_out in interface inside
access-group outside_access_in in interface outside
Here’s how the config shown in ASDM

Configuring Static NAT
Next configure the static NAT
1
2
3
object network INSIDE_HOST
 host 63.0.0.141
 nat (inside,outside) static 198.100.0.3
Here’s the static route configuration on ASDM

Testing Static Route
Inside to Outside
Connecting from inside host to the internet shows a success

Outside to Inside
The web server on inisde host can be accessed using the NAT IP Address

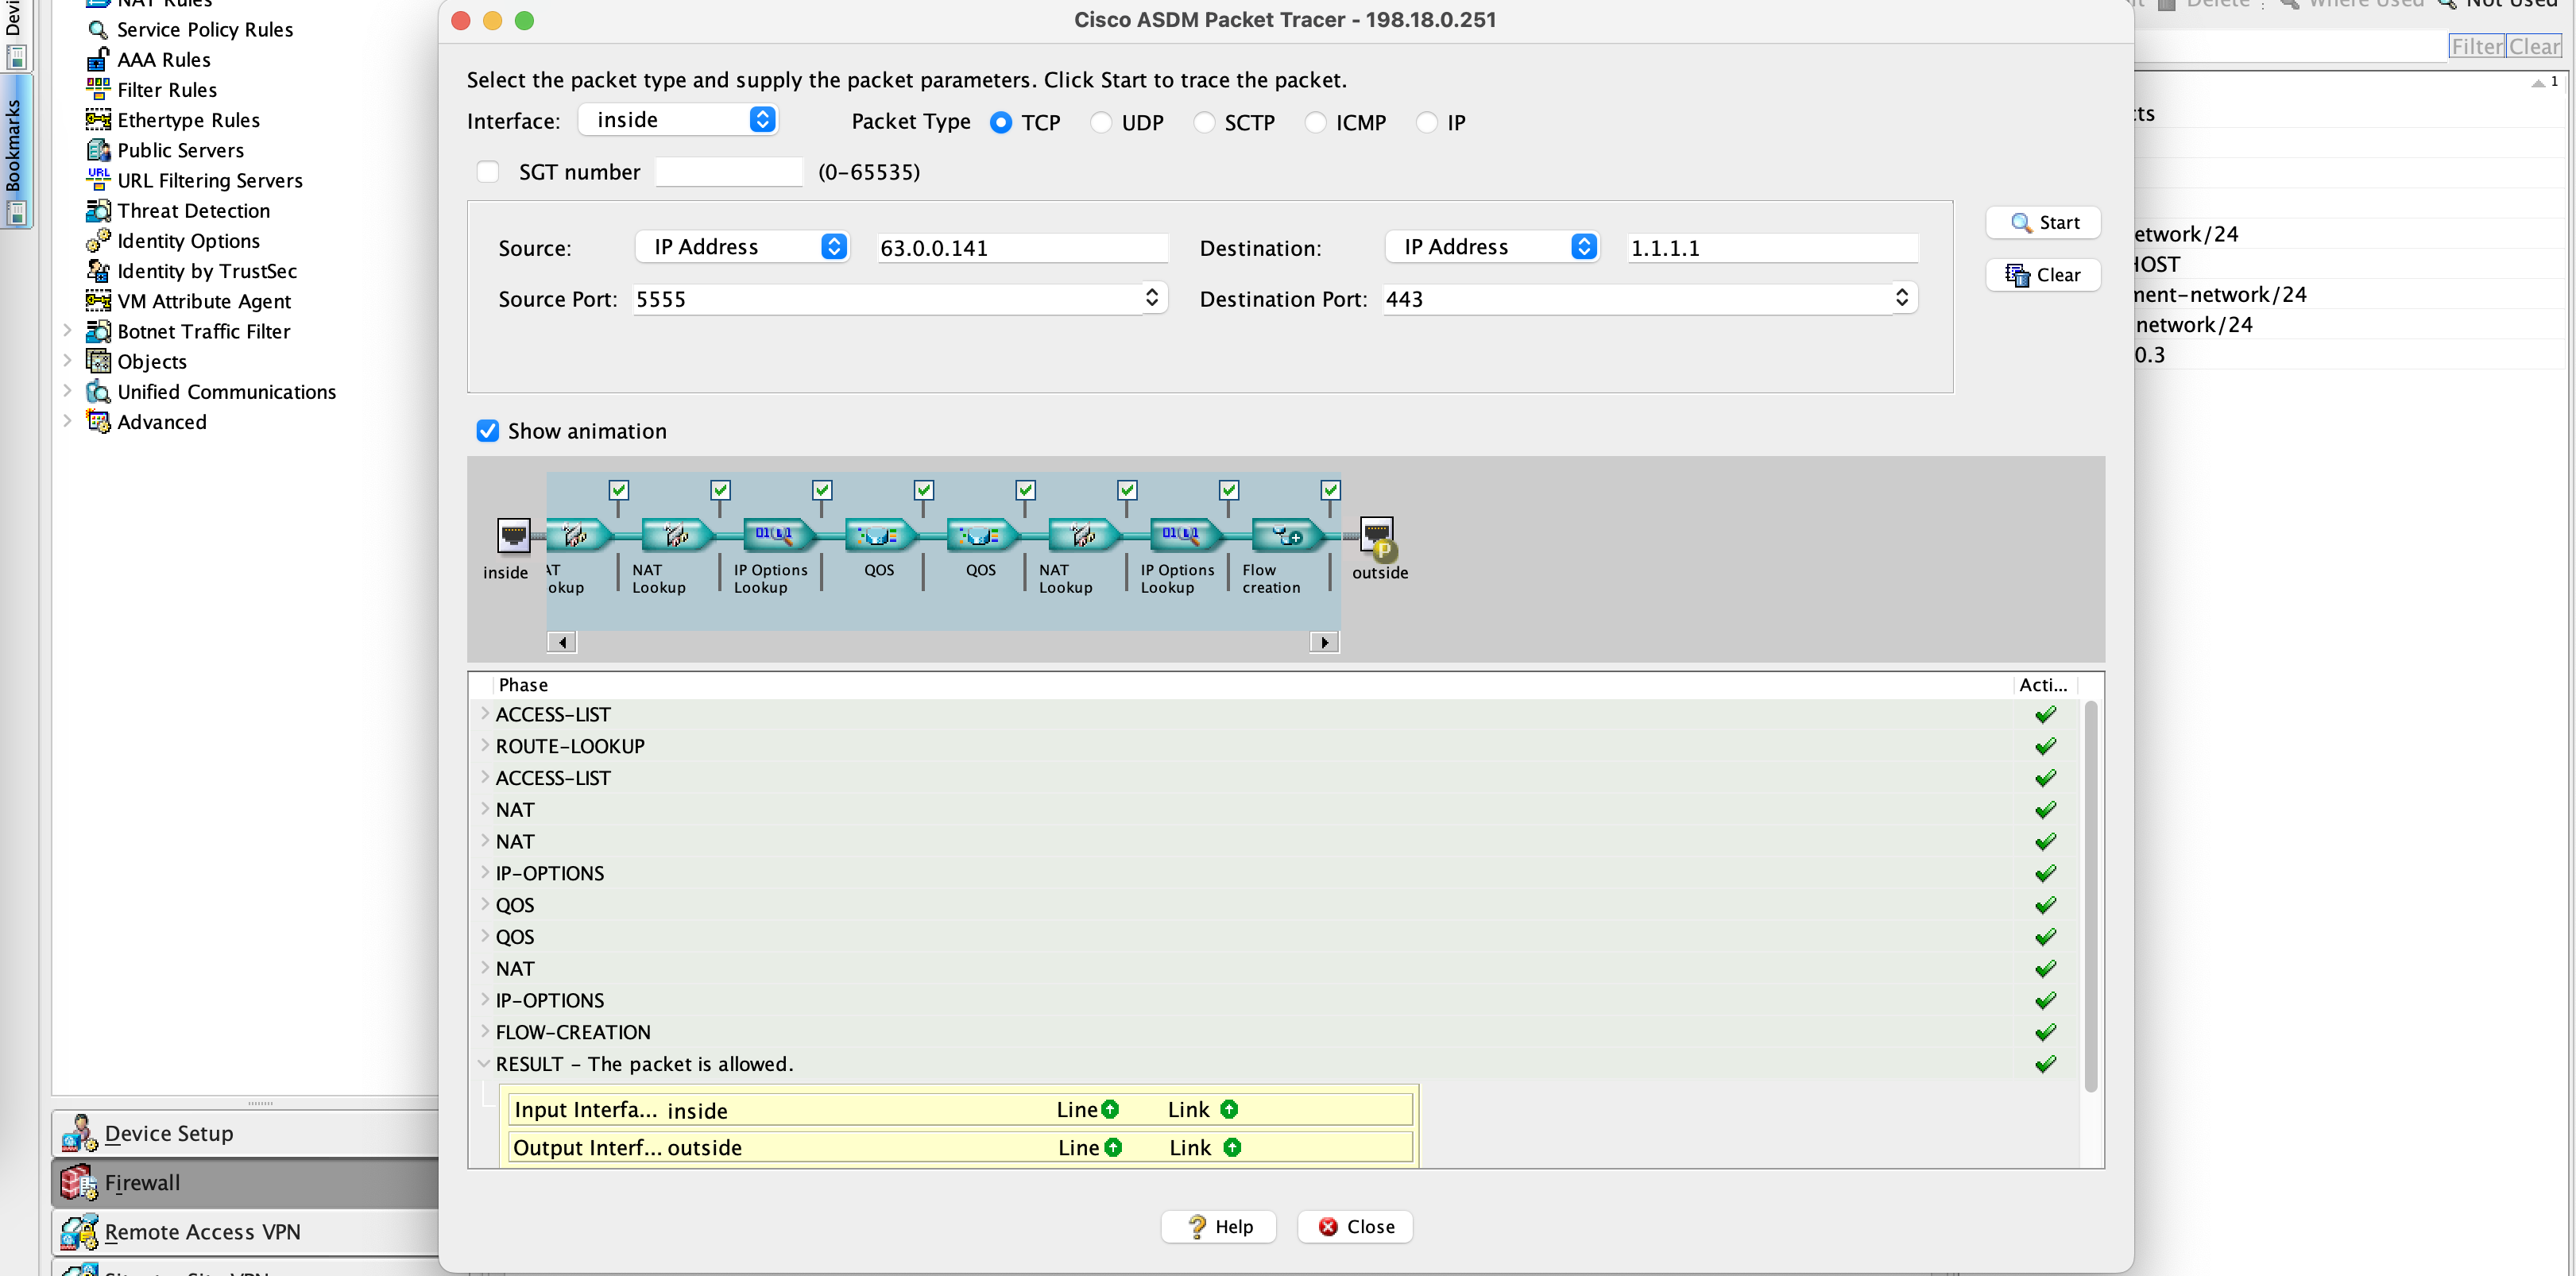
ASDM also has a neat packet tracer feature to test traffic
Inside to Outside
Outside to Inside

Configuring Dynamic NAT Overload
Because we already have the policy configured, we can proceed with configuring the PAT configuration
1
2
3
object network INSIDE_NETWORK
 subnet 63.0.0.0 255.255.255.0
 nat (inside,outside) dynamic interface
This is the configuration shown on ASDM

Now trying to connect to internet from any IP on the inside segment should be successful
