Cisco ASA - Anyconnect Remote Access VPN
AnyConnect Remote Access VPN is a secure virtual private network (VPN) solution developed by Cisco. It enables remote users to connect to a corporate network over the internet with strong encryption and authentication, ensuring data privacy and security.
Configuring Certificate
First, lets update the certificate on ASA using CA Signed Certificate.
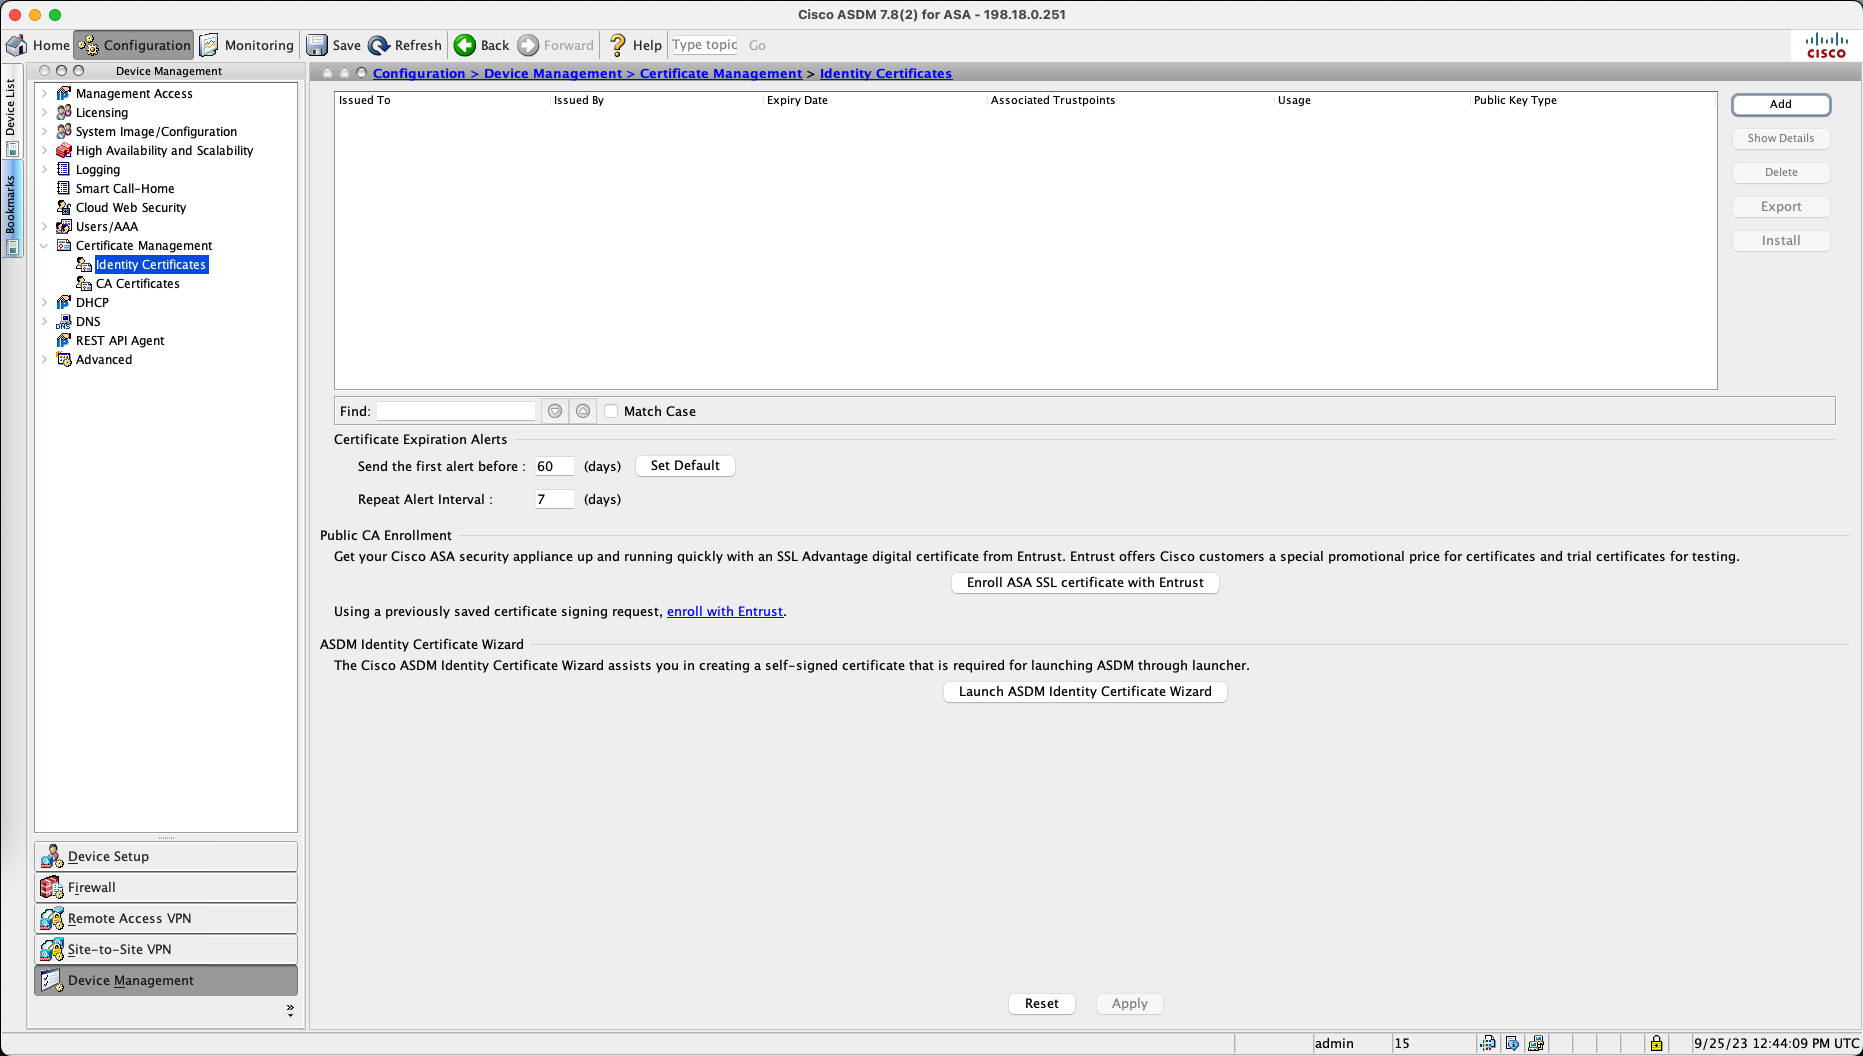
On ASDM, go to Configuration » Device Management » Identity Certificates, select Enroll ASA SSL Certificate with Entrust
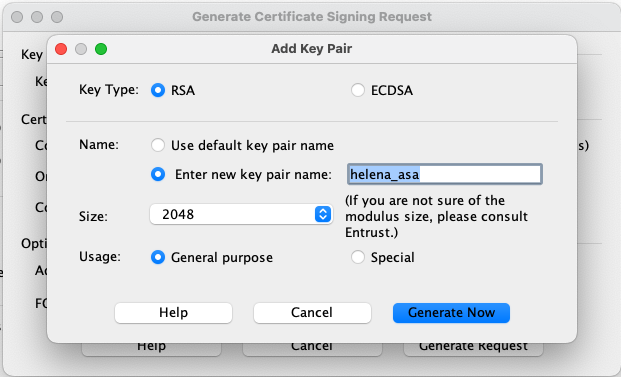
Select new

Give it a name, and click Generate Now
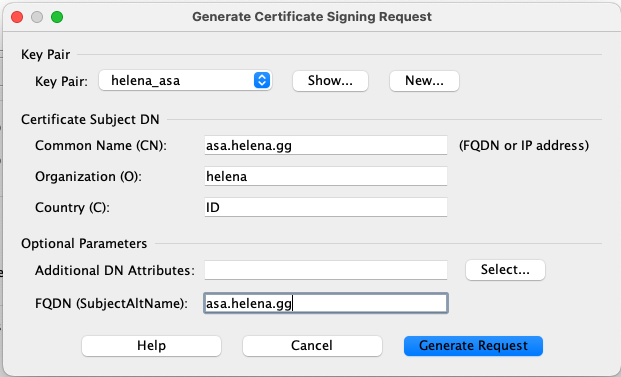
Fill in the details, then select Generate Request
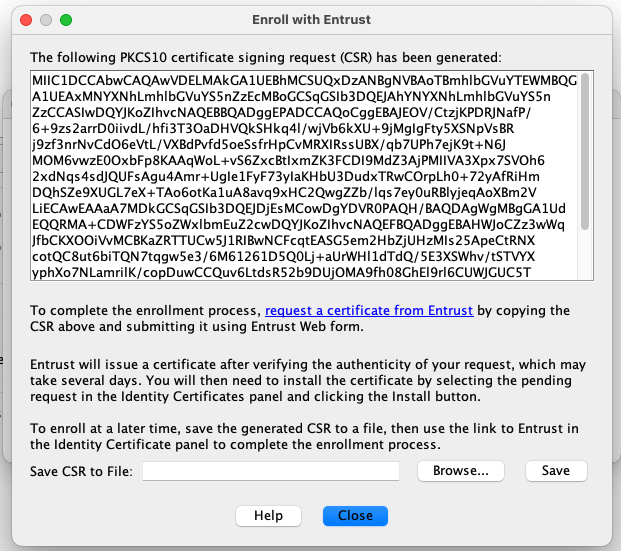
After that we’ll get the CSR, copy the text and hit save
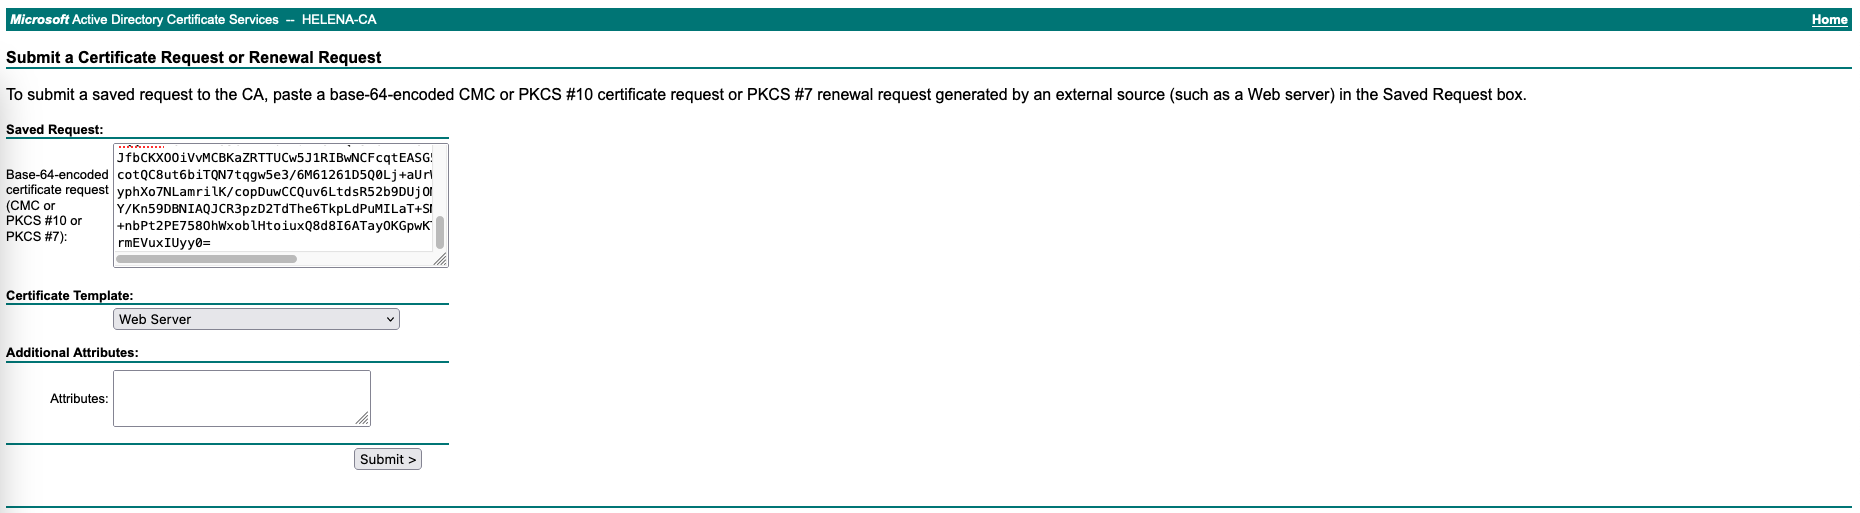
Go to the CA Server and sign the CSR
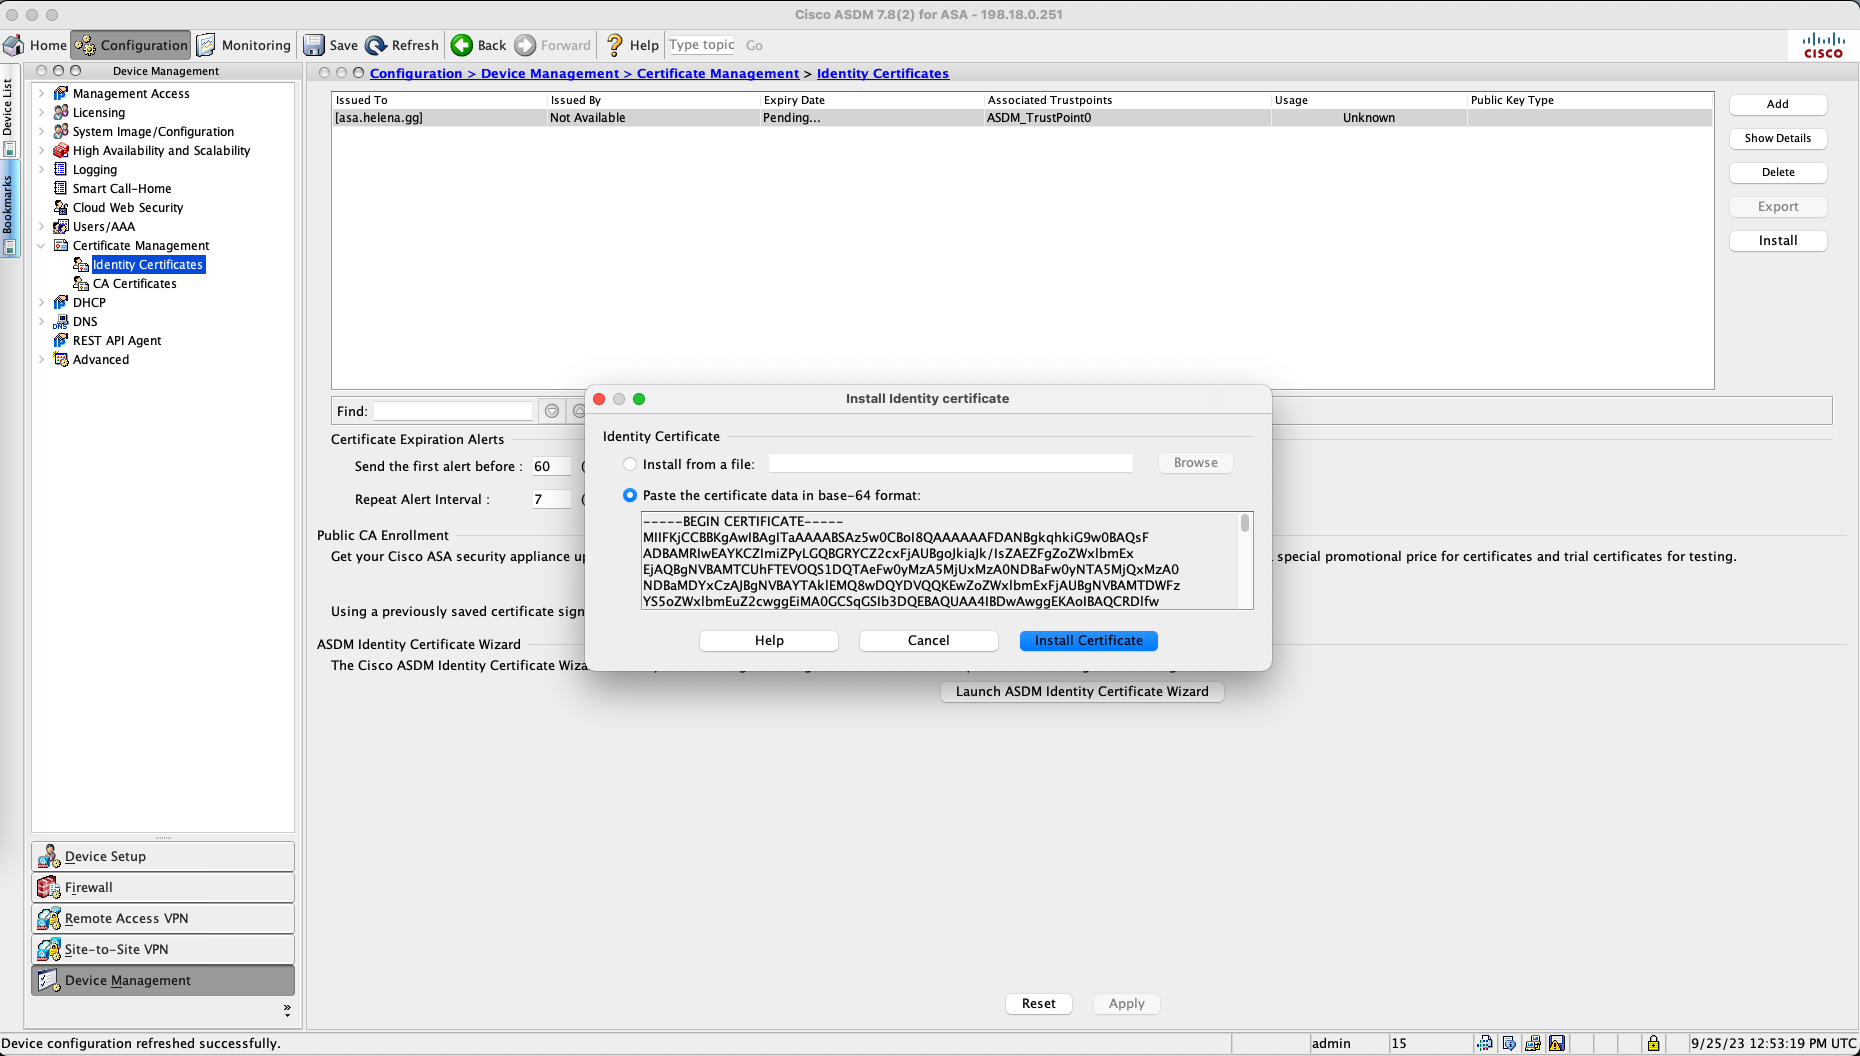
Then go back to ASDM and install the signed certificate
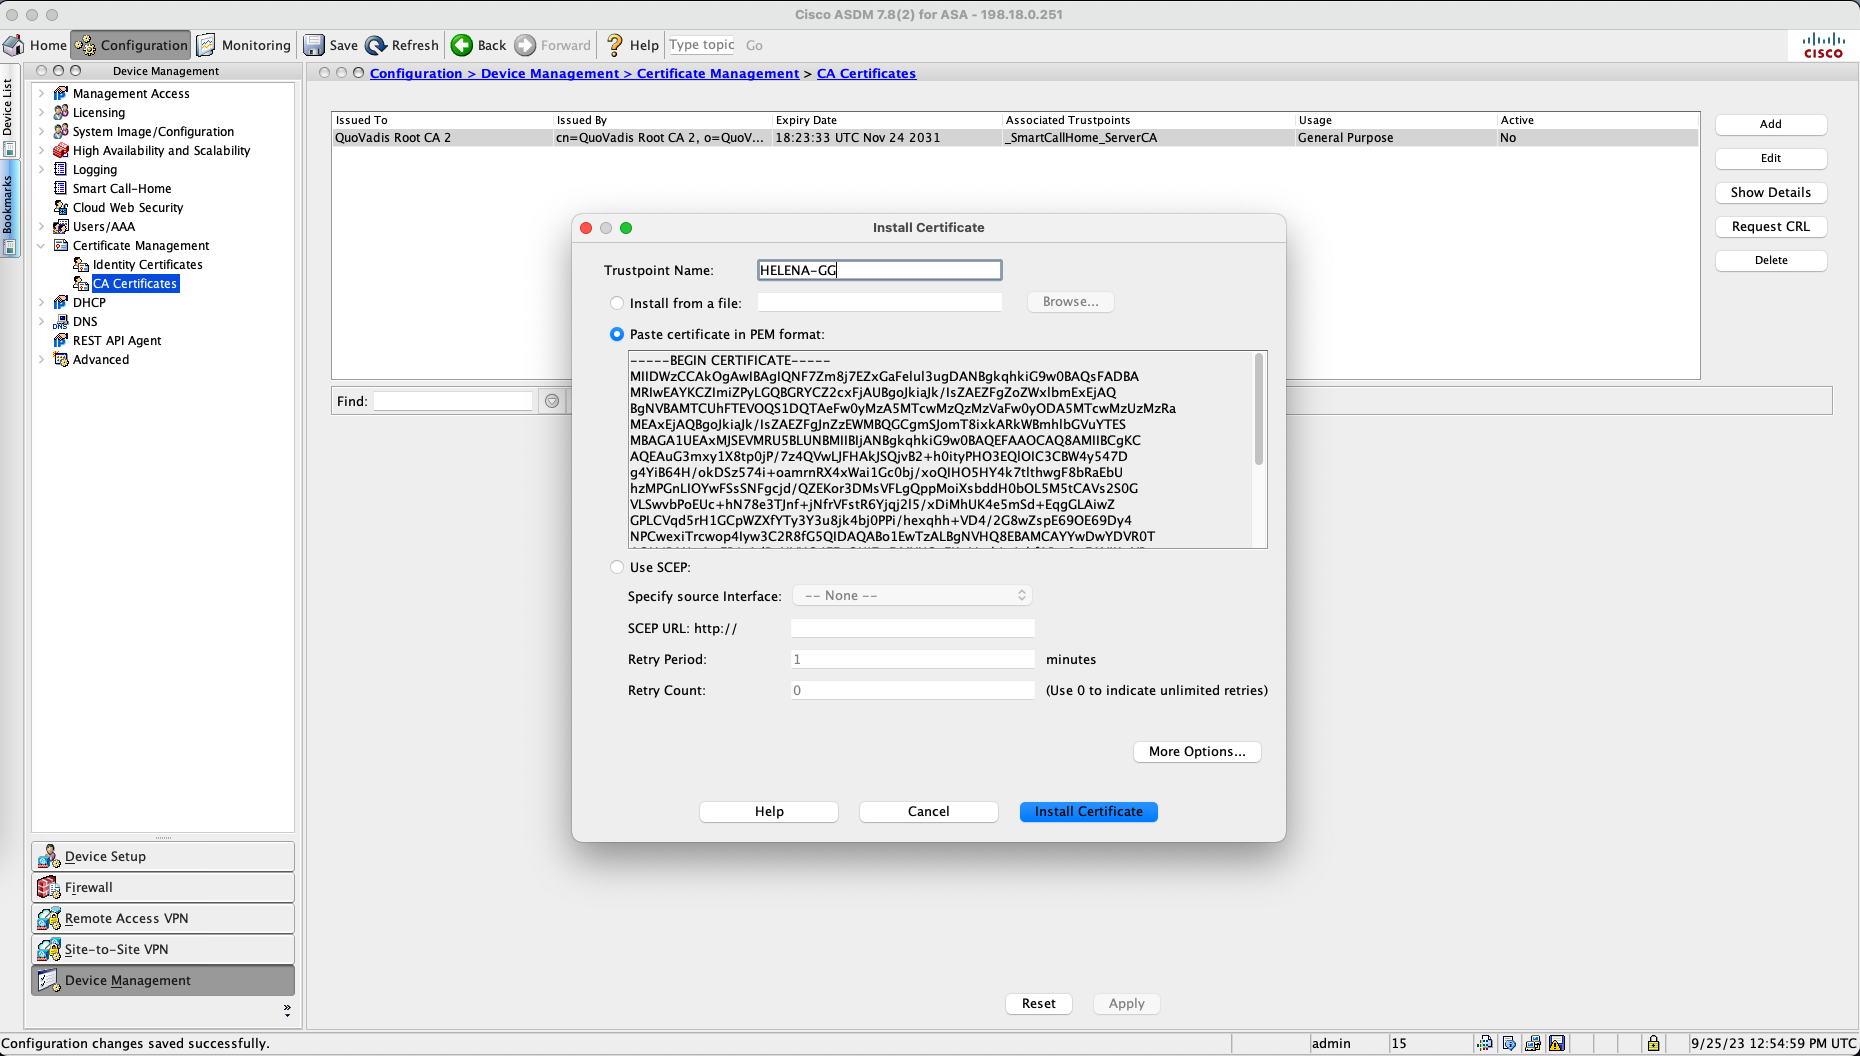
Don’t forget to also install the Root CA Certificate
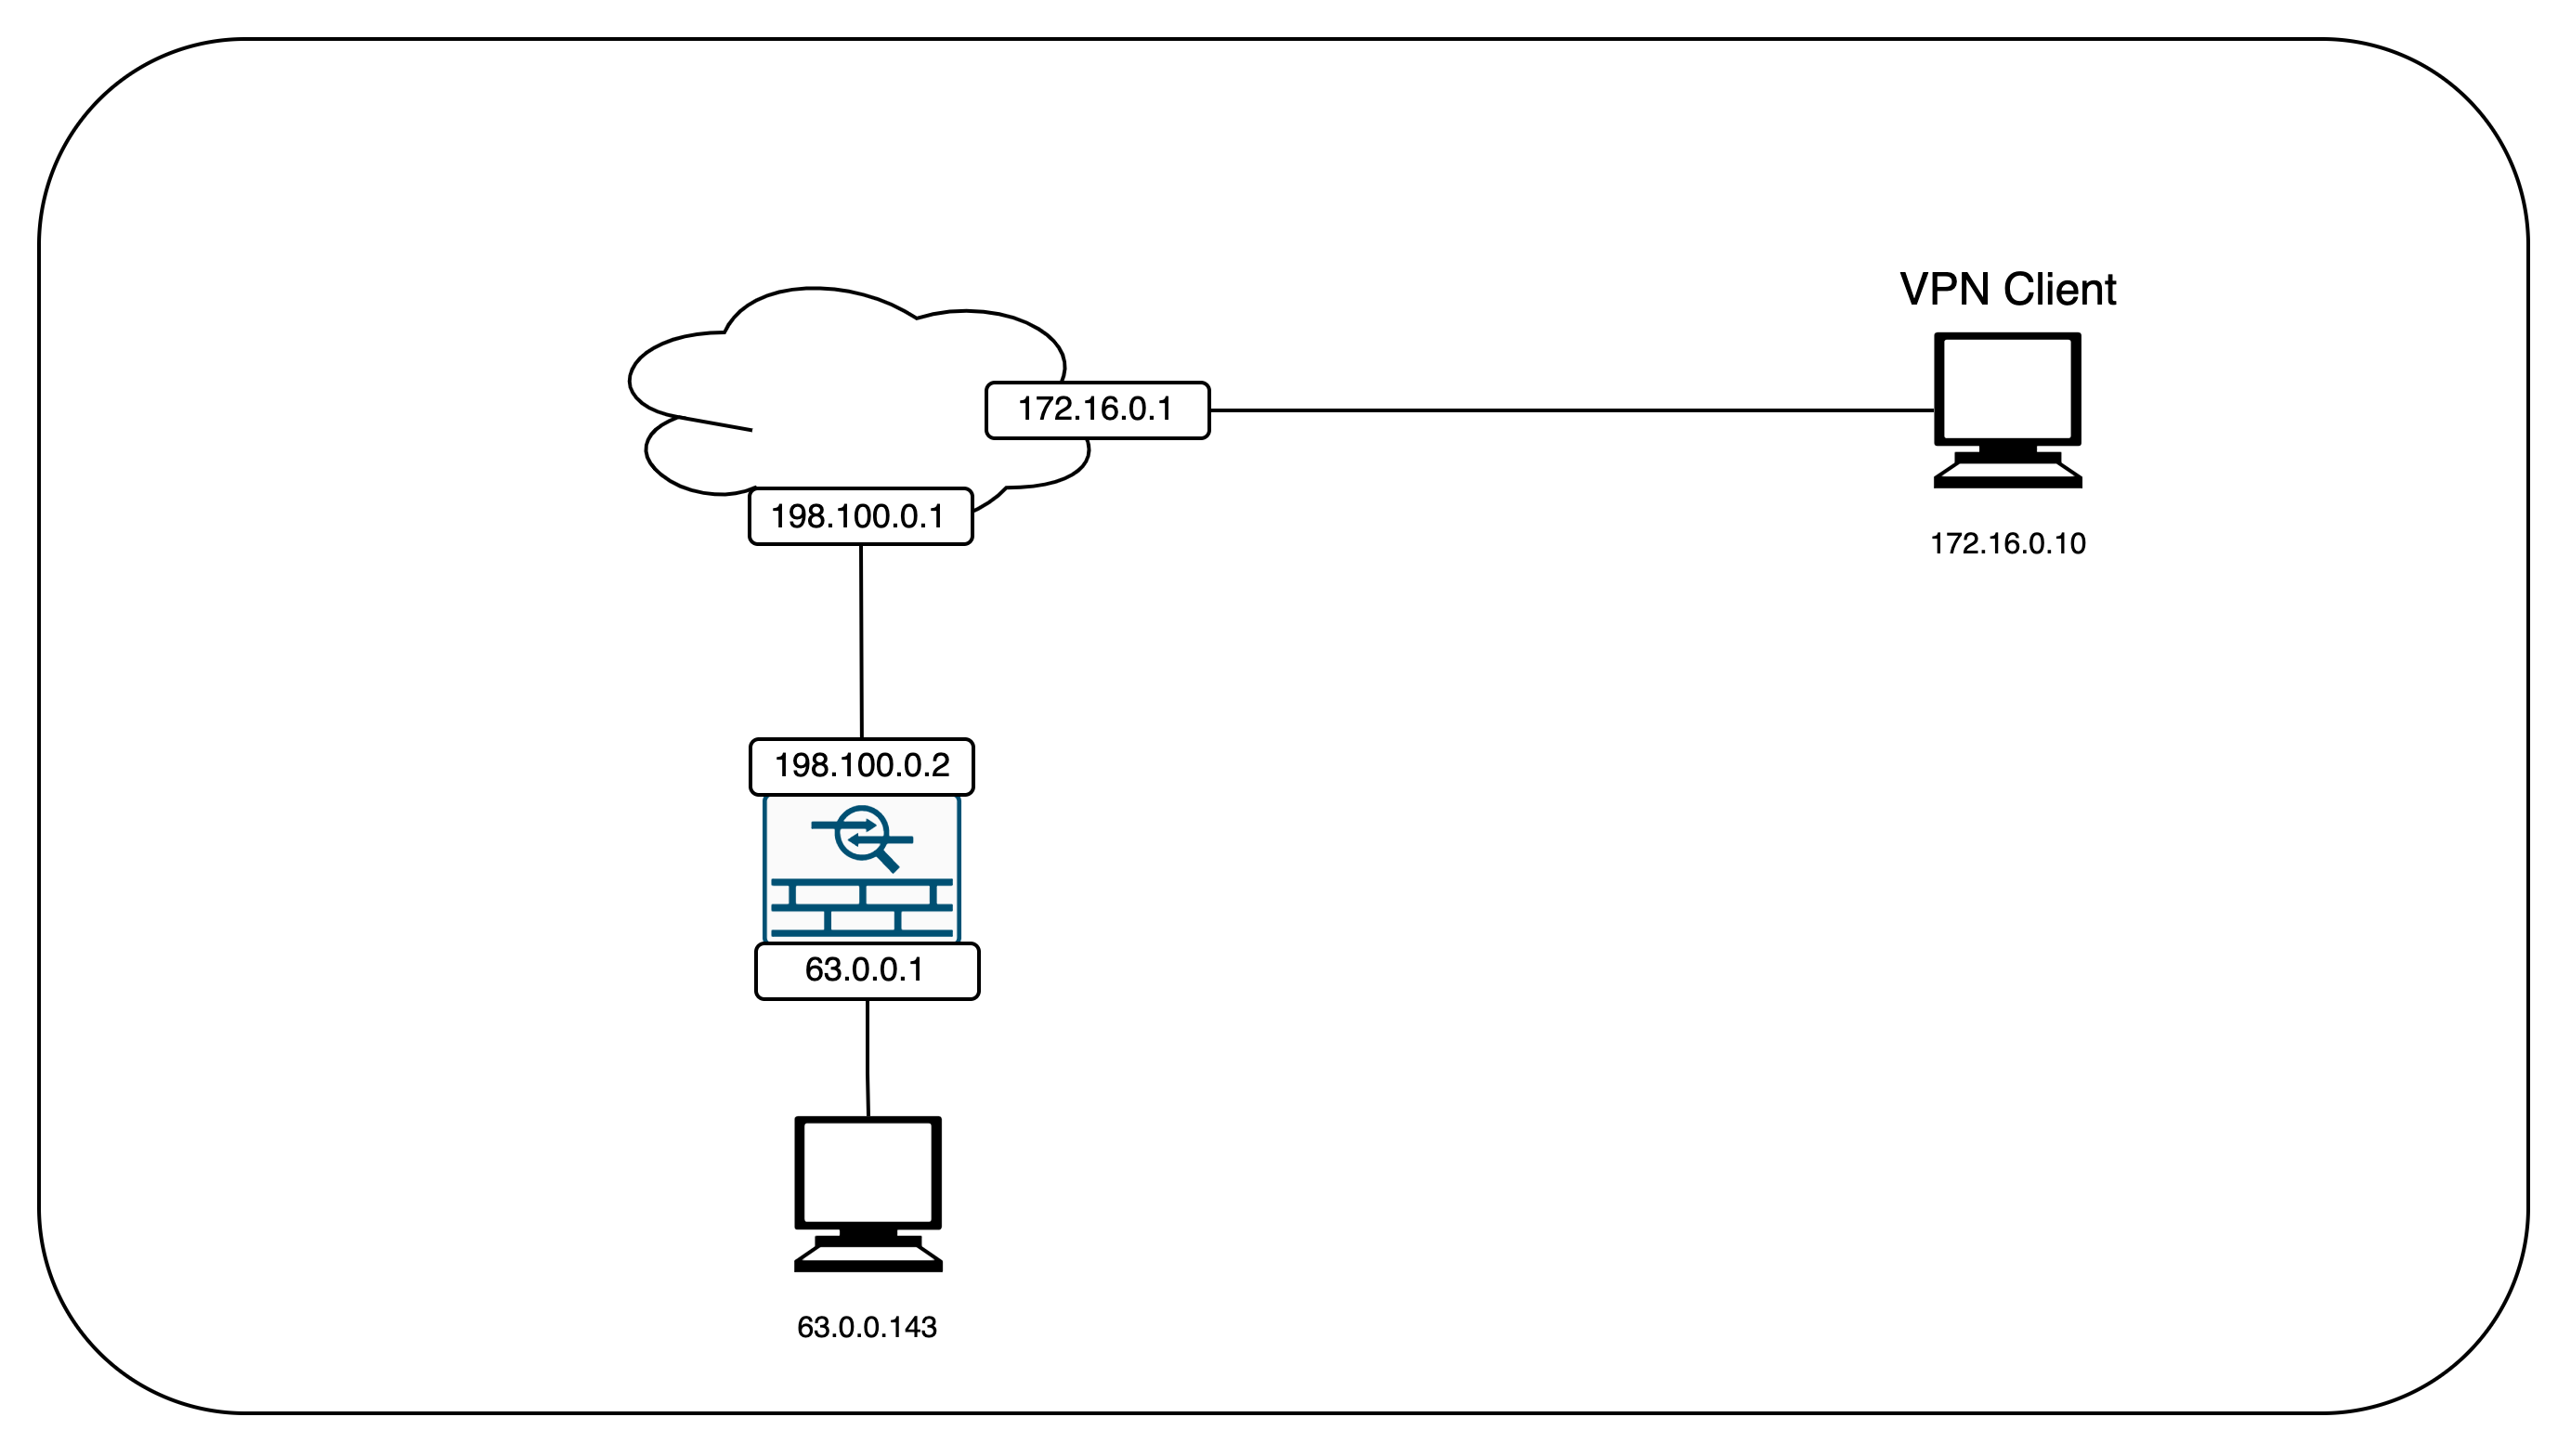
Network Topology
Here’s the network topology for this VPN deployment
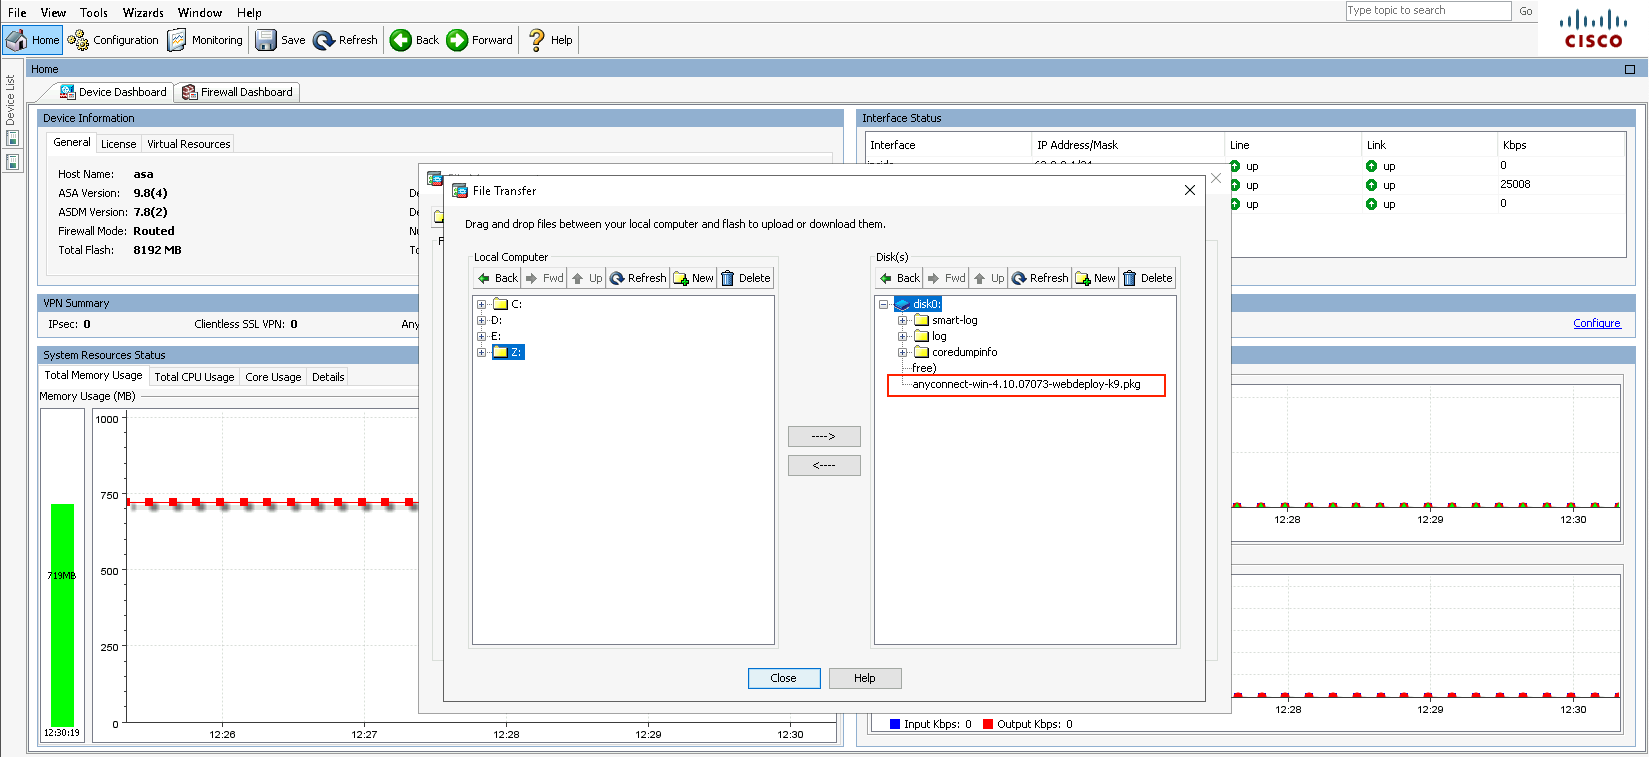
Configuring Any Connect Package
First, we need to prepare the Anyconnect software for the client to use.
Download the package from Cisco Software Center

Then on ASDM, go to Tools » File Management, upload the package to the disk0:, then close the window.
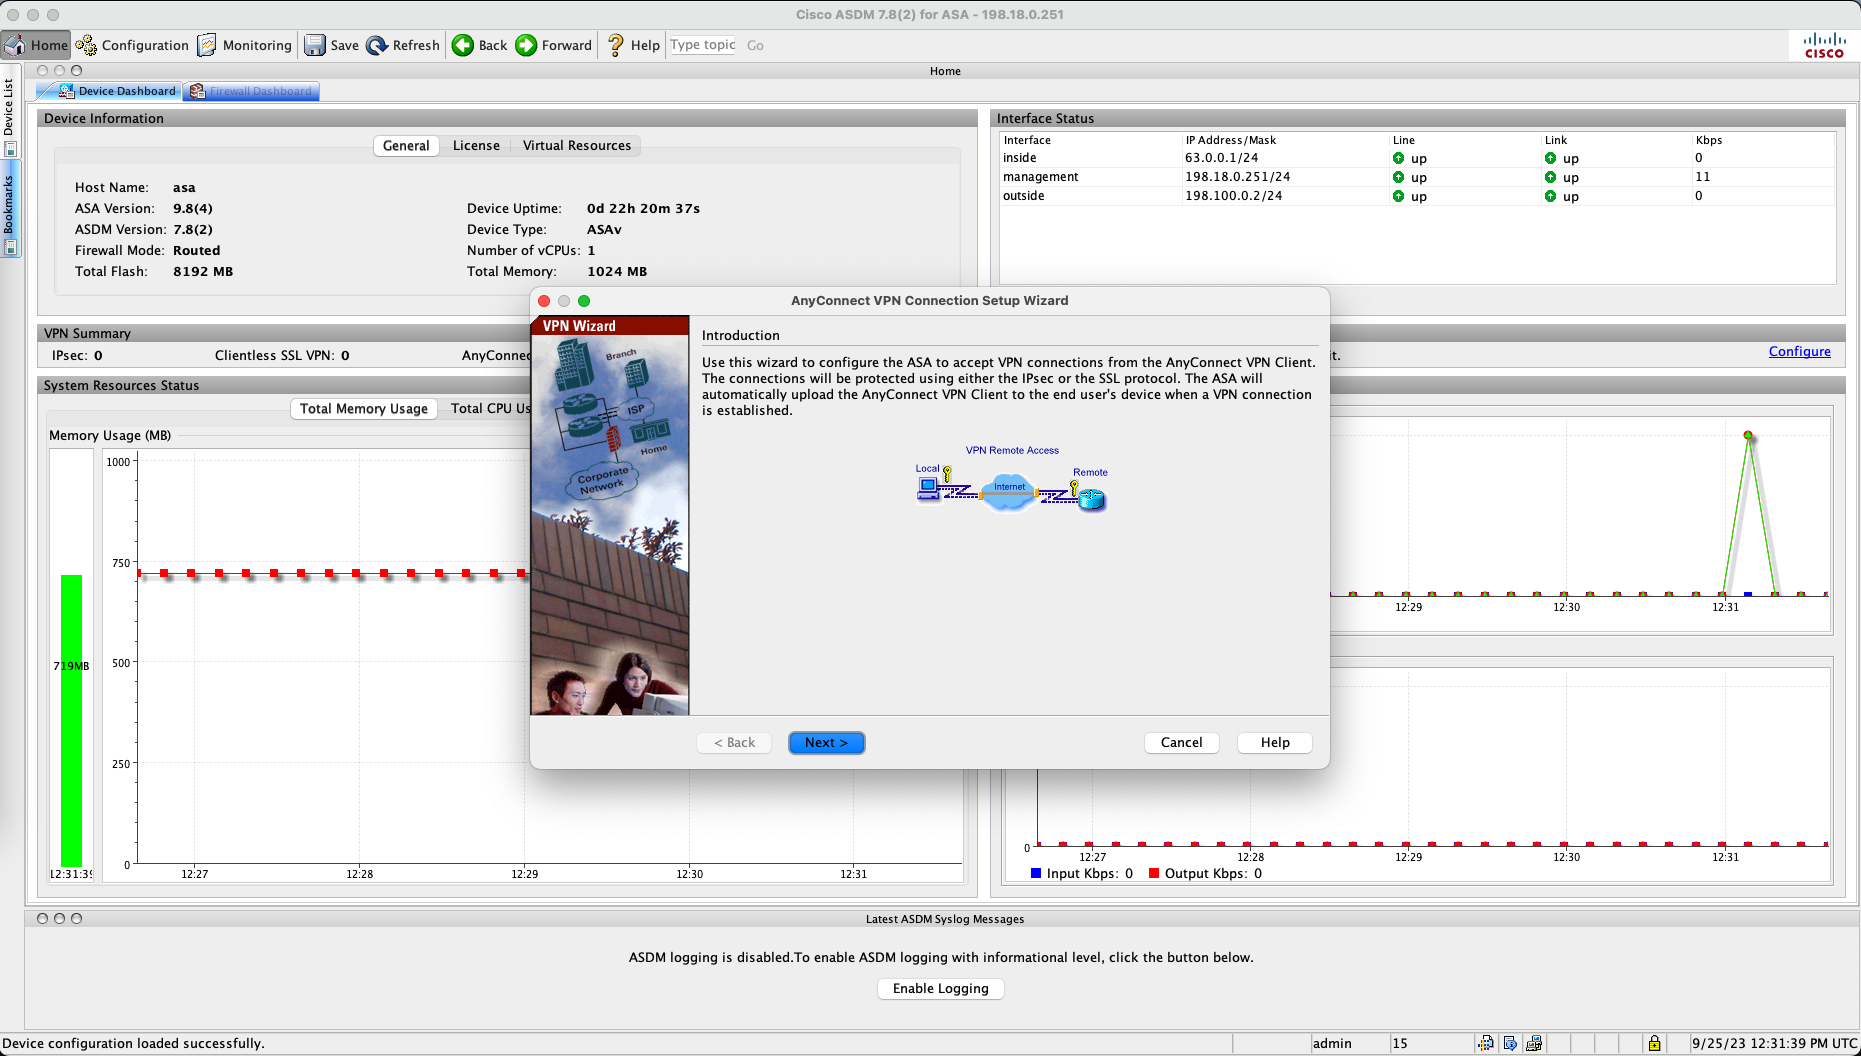
Configuring Anyconnect Remote Access VPN Wizard
Now we configure the VPN configuration, go to Wizards » VPN Wizards » Anyconnect VPN Wizard
Give the connection profile a name and select the outside interface

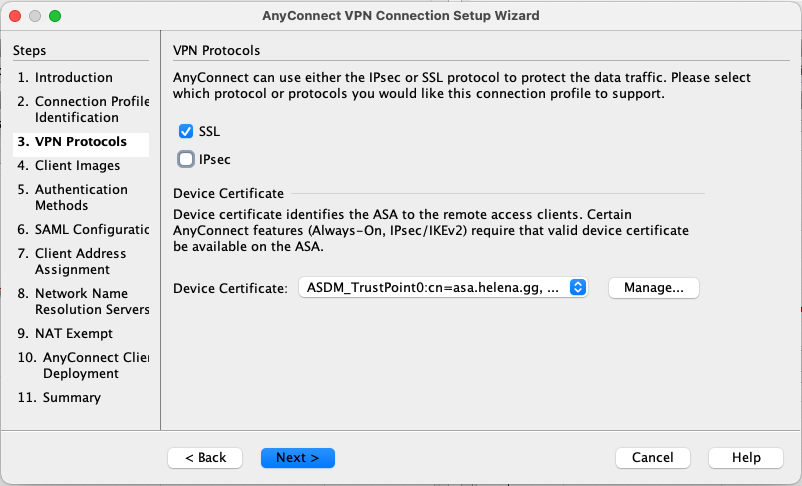
Select SSL Protocol and use the certificate created earlier
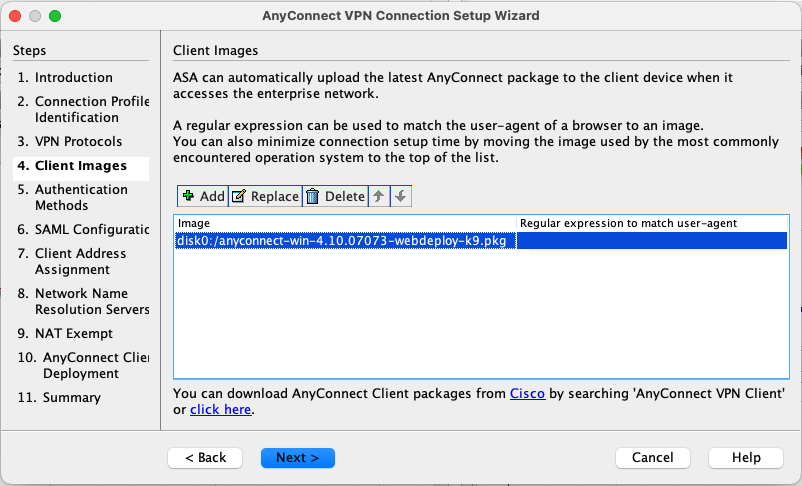
For client images, use the package uploaded earlier
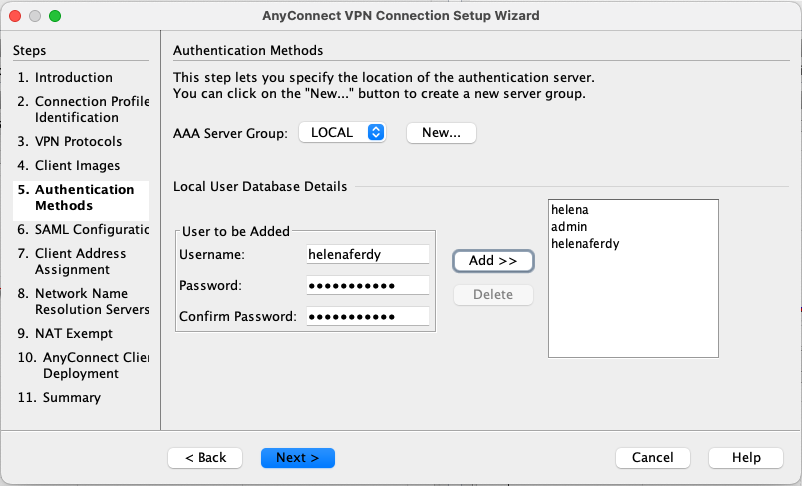
Select local users and create the users that will connect to the VPN
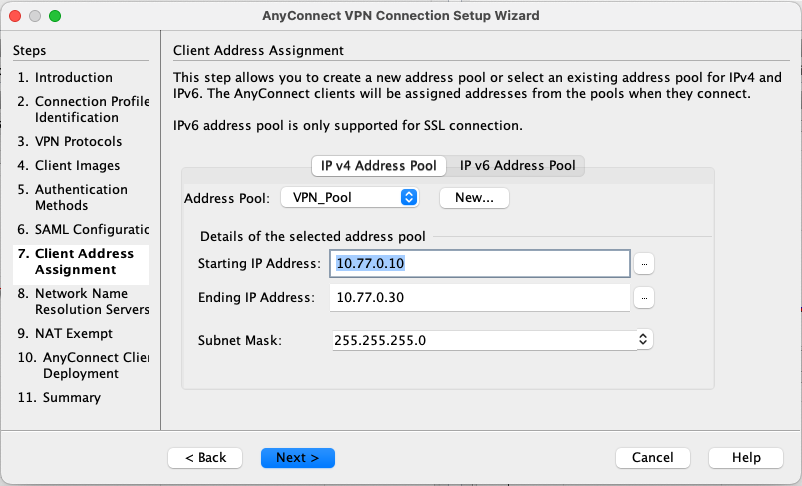
Next create a pool of IP Address for the VPN clients
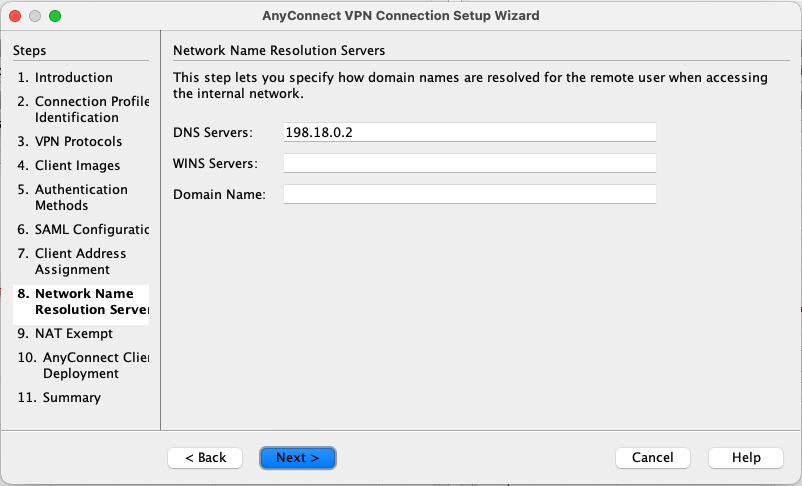
Provide the DNS Server for the VPN clients
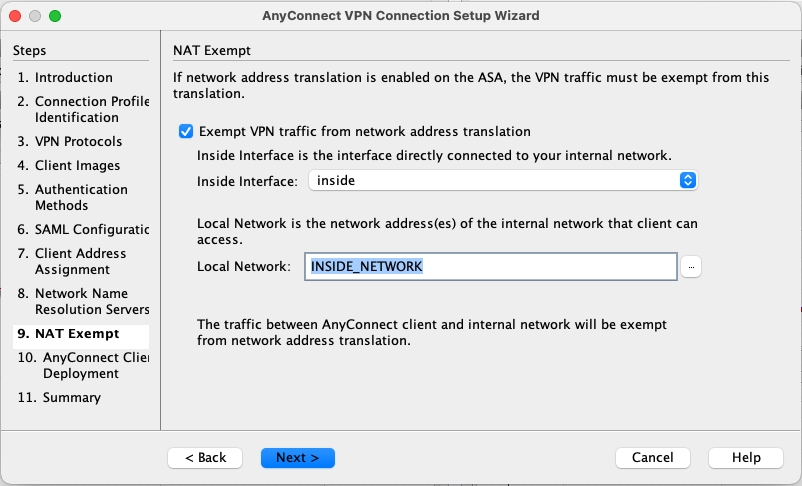
Exempt the VPN traffic from NAT translations and select the inside subnet as the network that can be accessed by the VPN clients
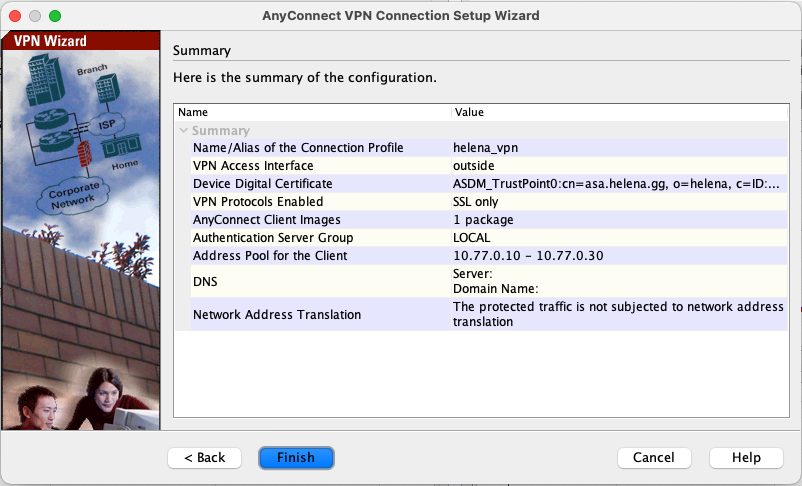
Review the summary and click finish
Configuring Anyconnect Client Profile
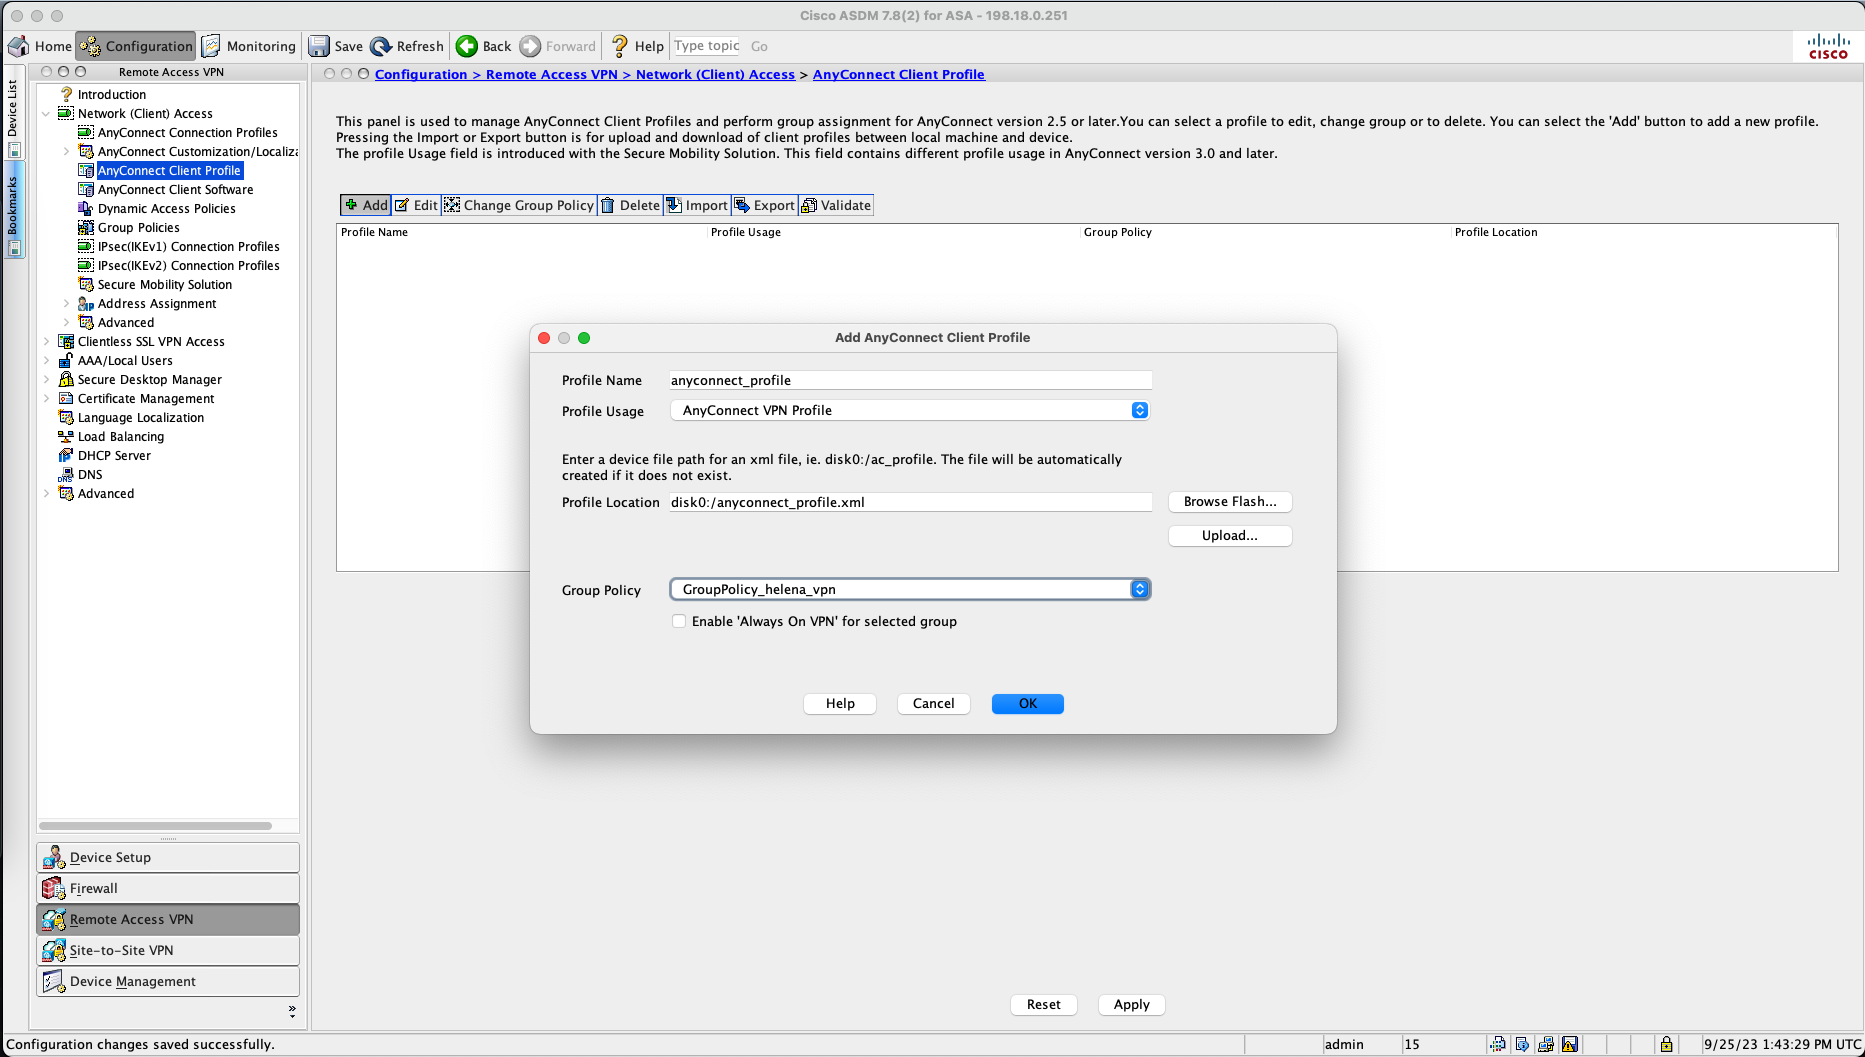
On Configuration » Remote Access VPN » Anyconnect Client Profile, add new.
Give it a name and select the VPN Group Policy generated by the wizard
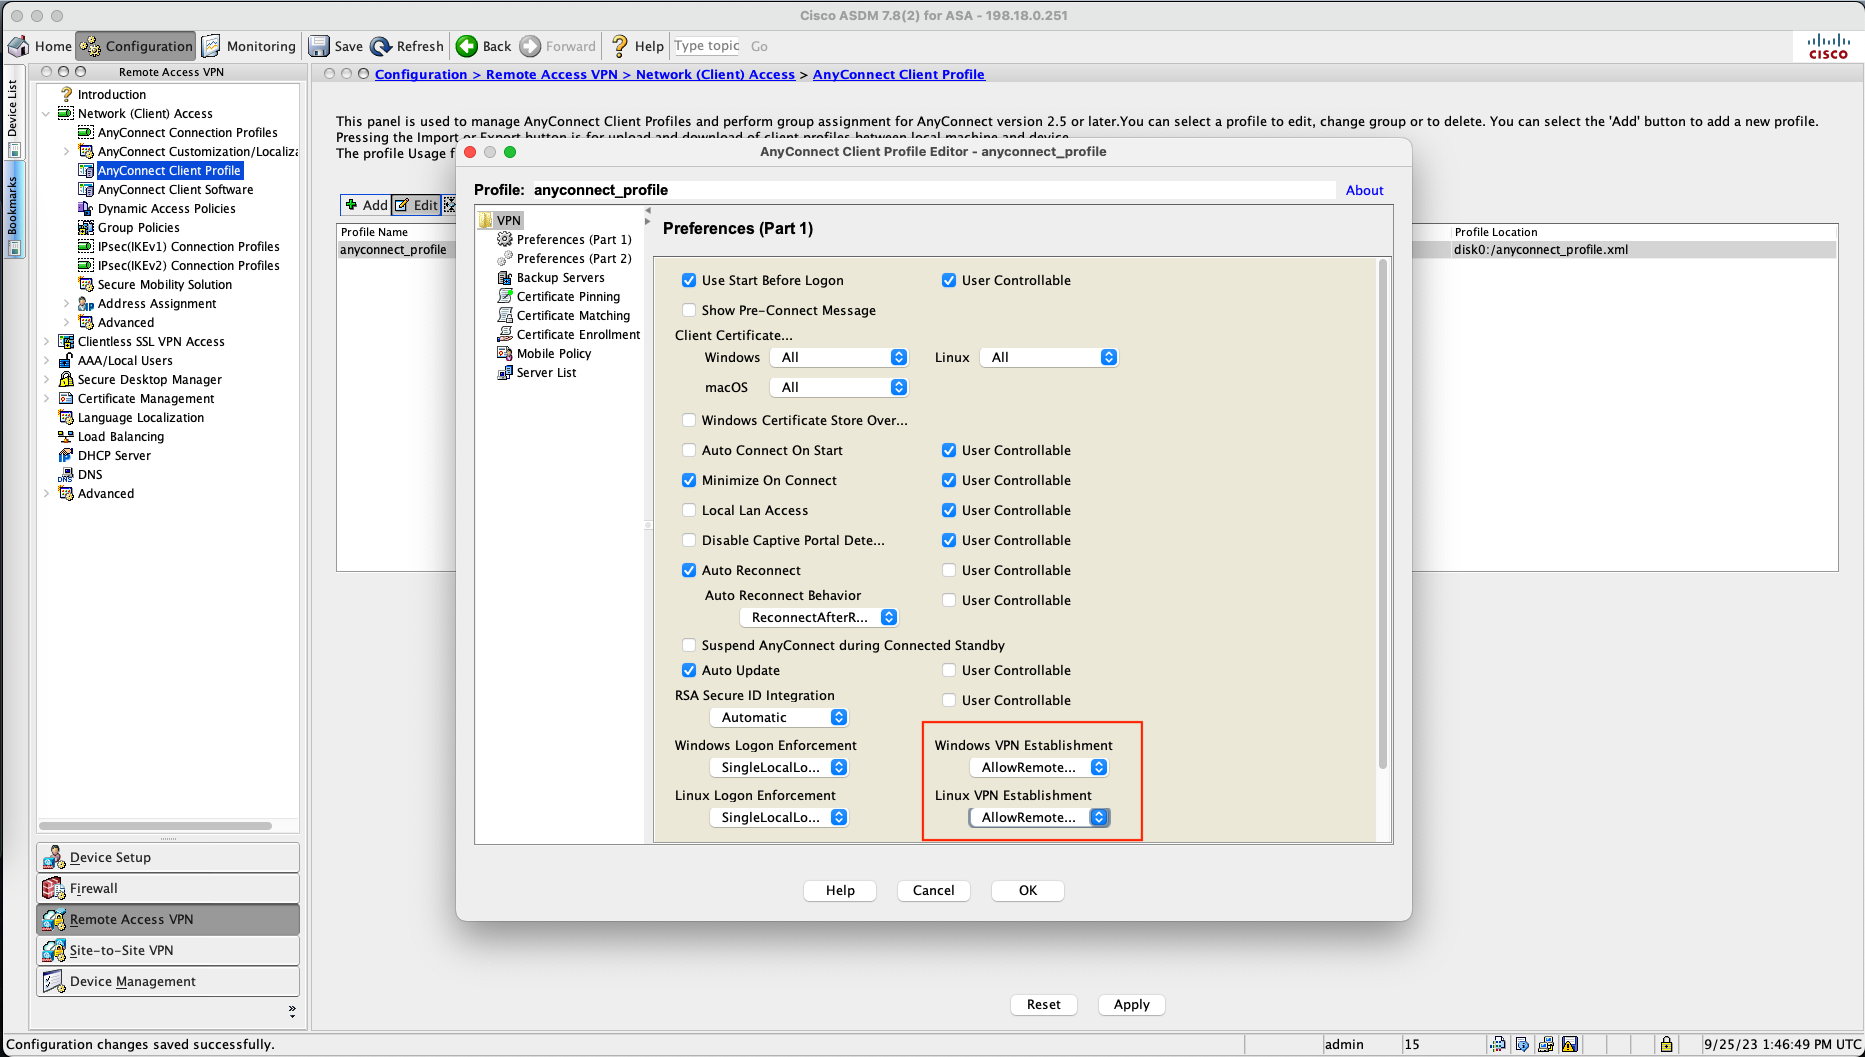
Select the profile and click edit, On VPN Establishment select AllowRemoteUsers
Thats pretty much it on the ASDM side. Save the configuration
Configuring Split Tunnel Access List
Last one, on CLI, create an access-list containing the inside segment that should be advertised to the VPN clients
1
access-list SPLIT_TUNNEL standard permit 63.0.0.0 255.255.255.0
Apply the access-list on the group policy attributes
1
2
3
group-policy GroupPolicy_helena_vpn attributes
 split-tunnel-policy tunnelspecified
 split-tunnel-network-list value SPLIT_TUNNEL
That should wraps everything up
Connecting to VPN form the Client
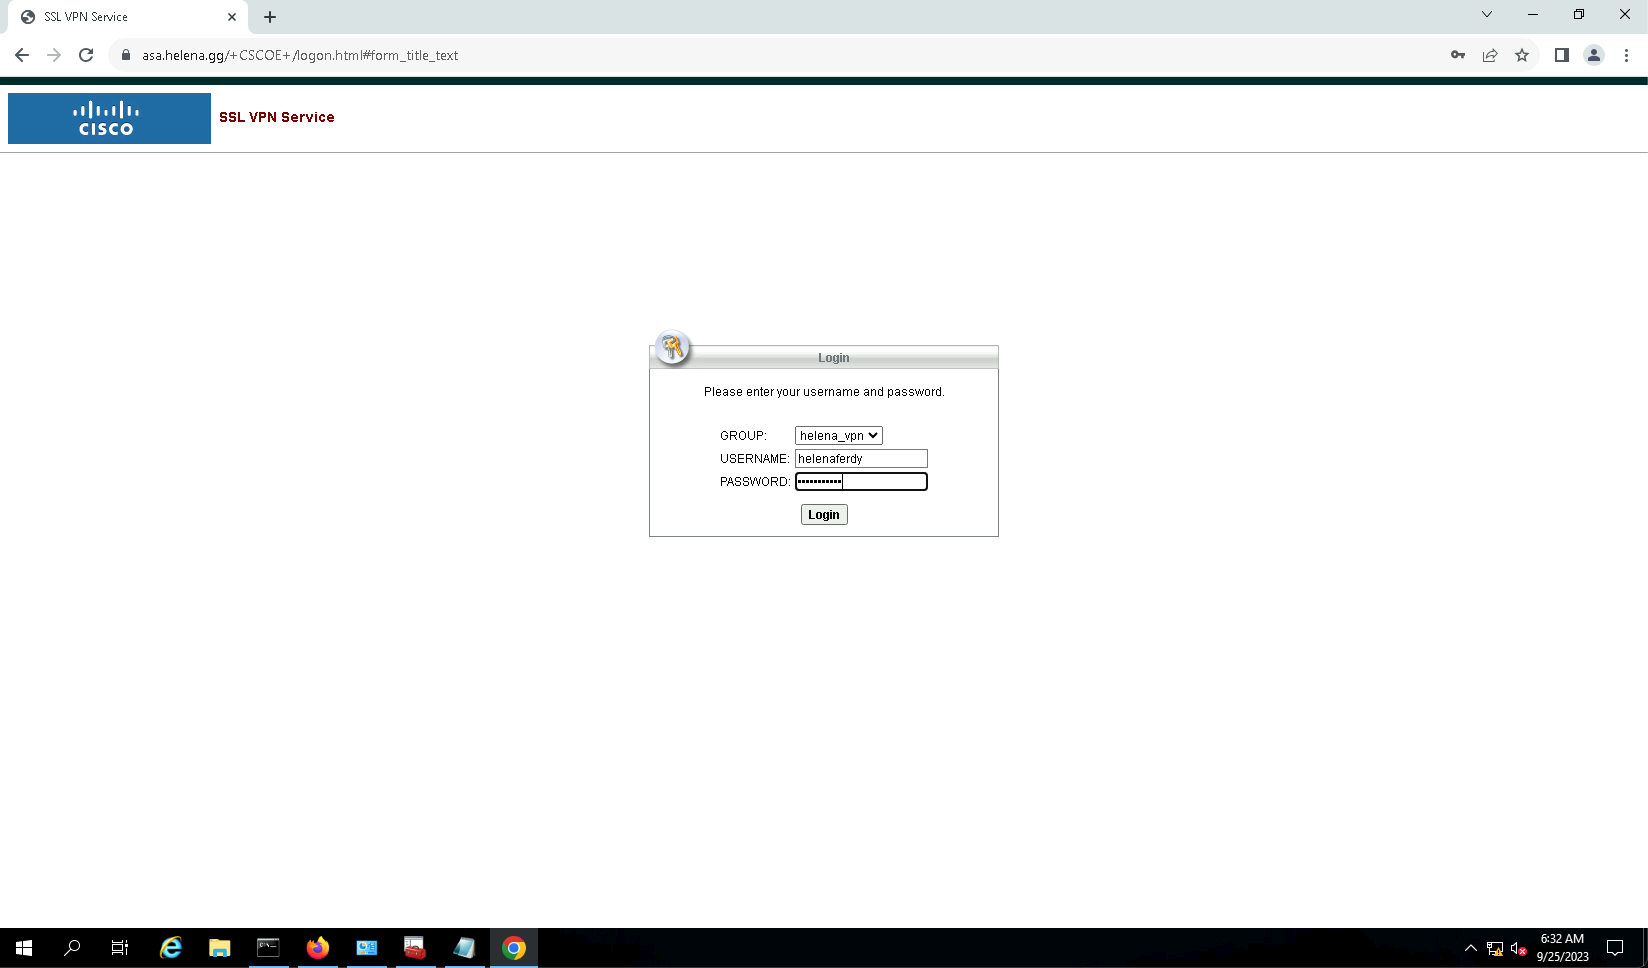
On the client PC, access the FQDN / IP Address of the VPN Gateway on web browser, and login with the local user
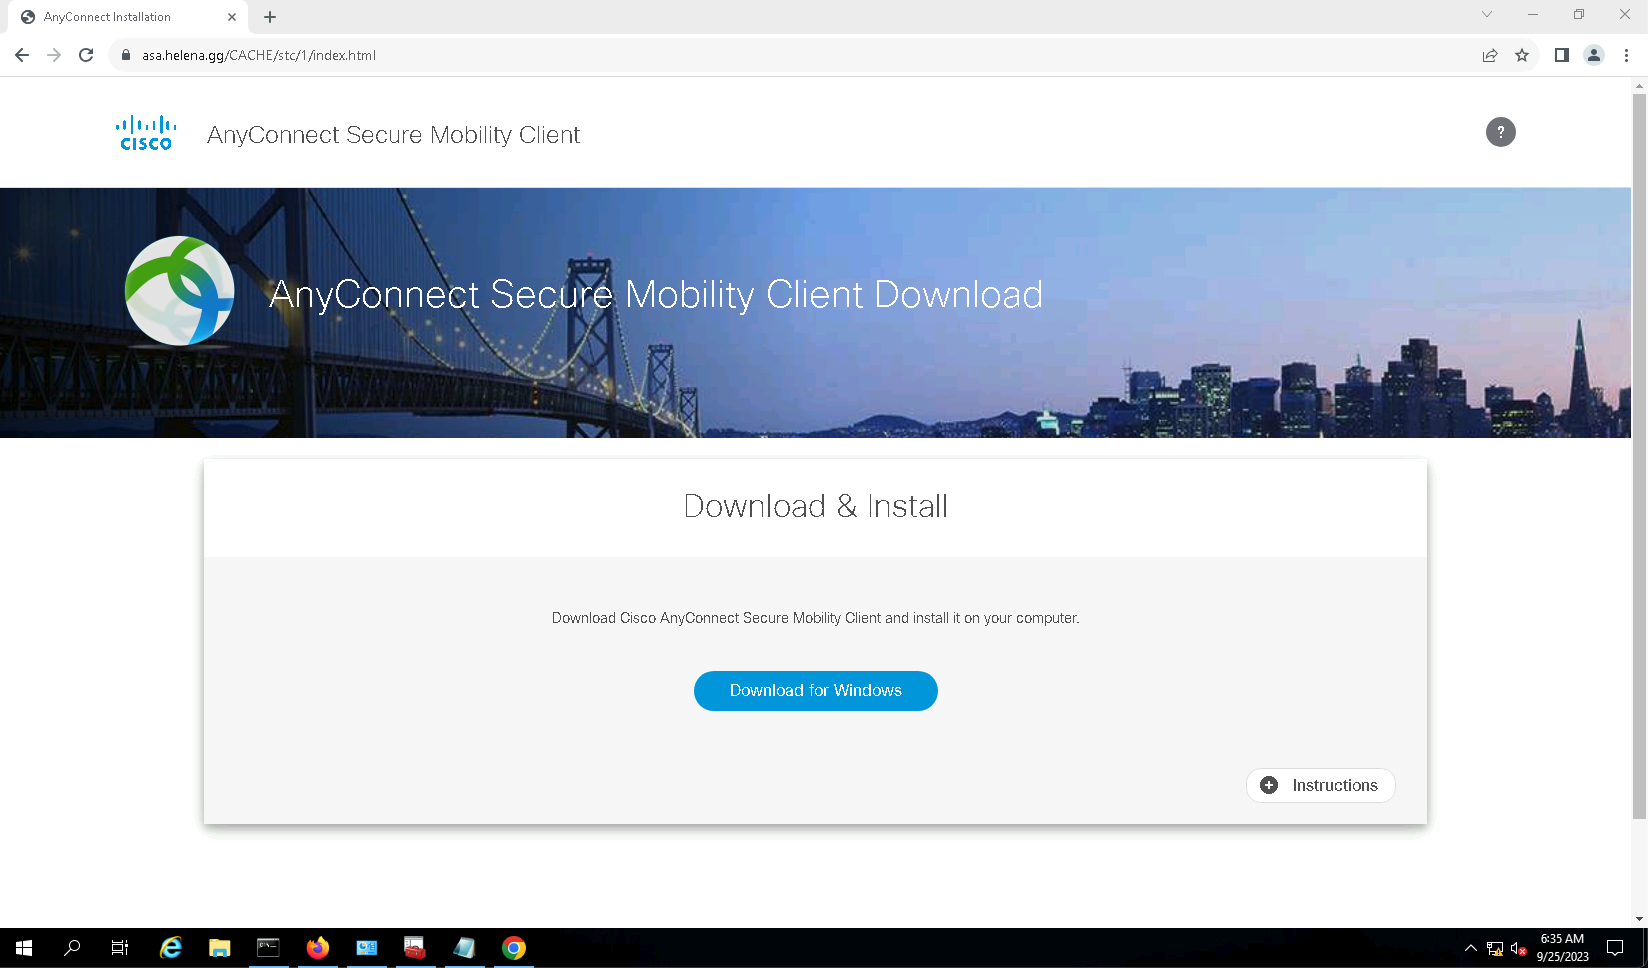
The page to download the anyconnect client should show up. Click download and install the package
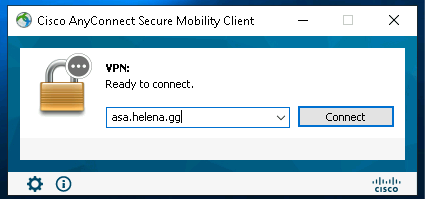
Run the client, fill in the VPN gateway
Select the group and input the local user, and hit OK
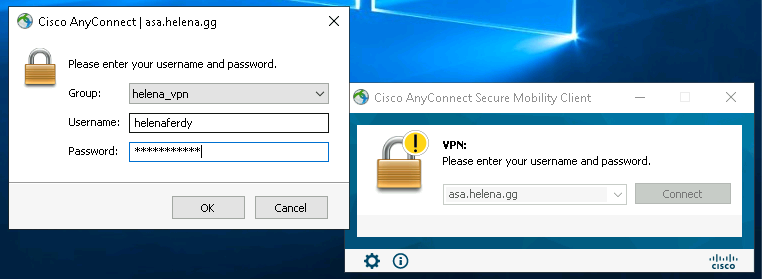
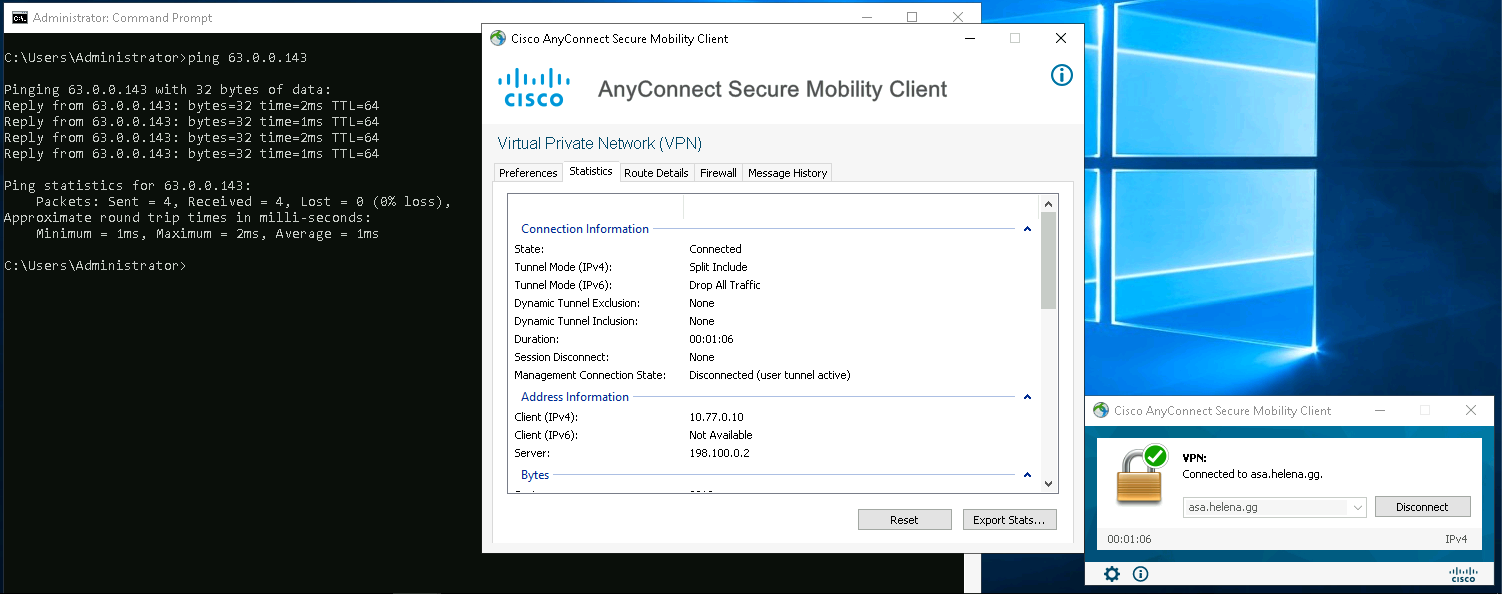
After a second we should be connected.
We’re able to ping the inside network, and on statistics we can see the details of the VPN connection
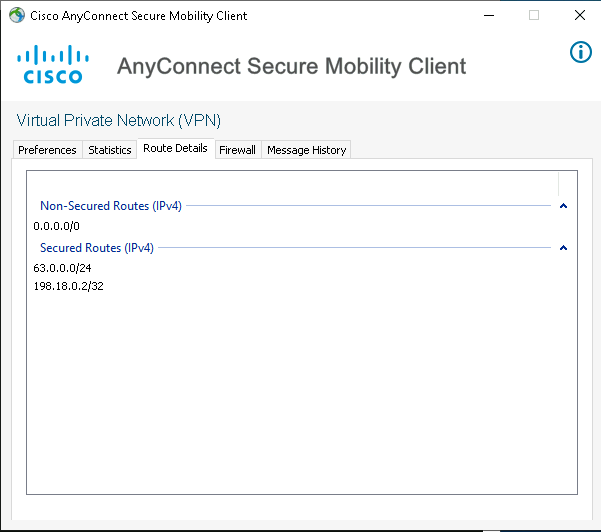
On Route Details, we can also see the advertised network that was set on the SPLIT_TUNNEL access-list
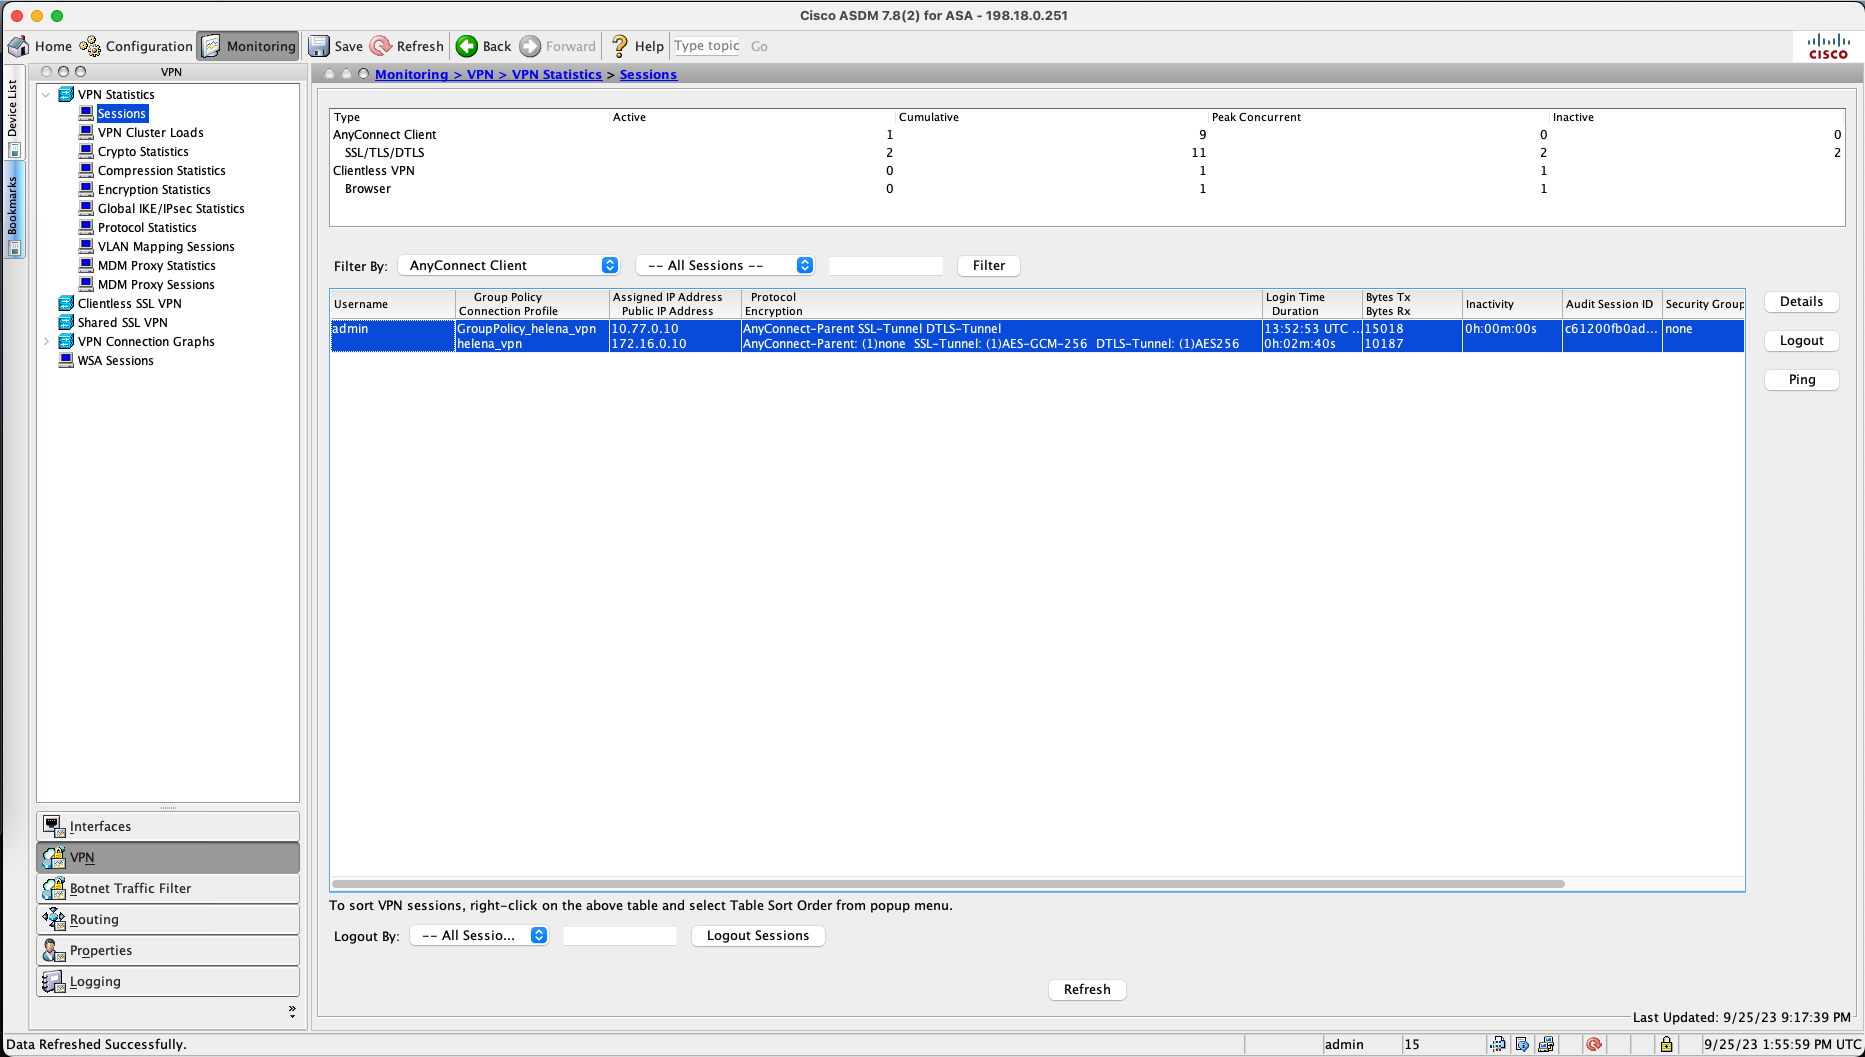
Going back to ASDM, on Monitor » VPN » Sessions, we can see the currently connected VPN clients