Calabrio ONE
Calabrio One is a recording platform designed to capture and store various customer interactions, including phone calls, as part of its broader workforce optimization suite. This functionality allows businesses to monitor and analyze these interactions for quality assurance, compliance, and performance evaluation purposes.
Preparing the Installation Environments
Here’s the overall topology for this installation
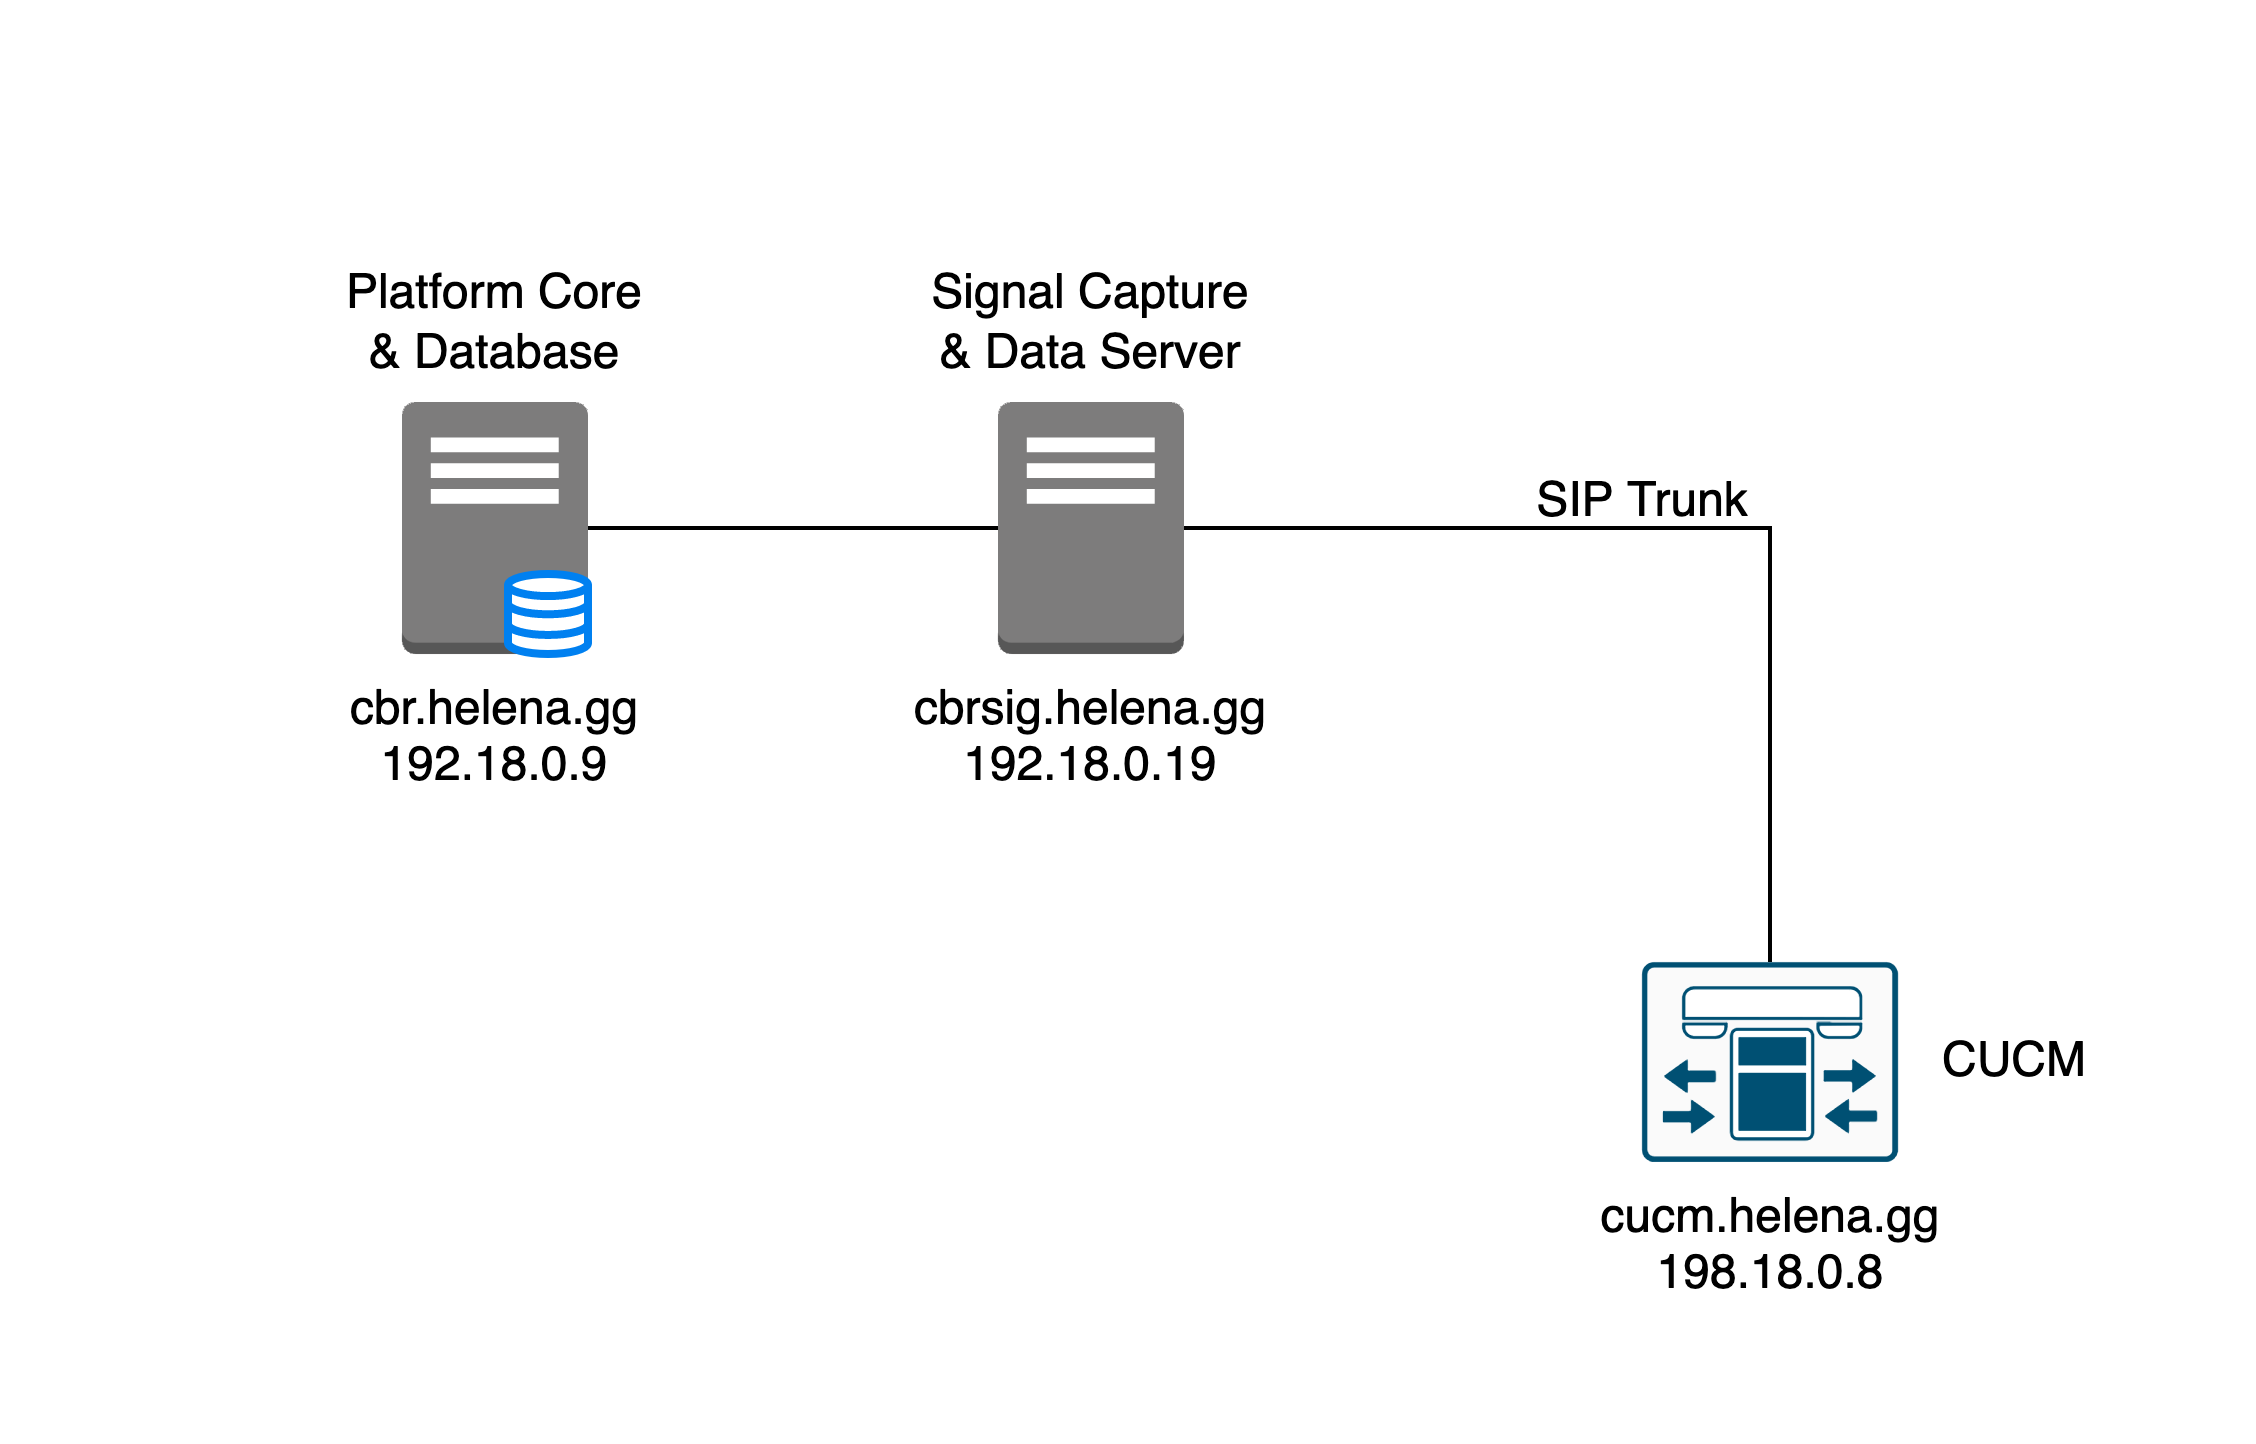
First we’re gonna do most of our works on server “cbr”, which is the Platform Core.
Here the SQL Server 2022 has been installed

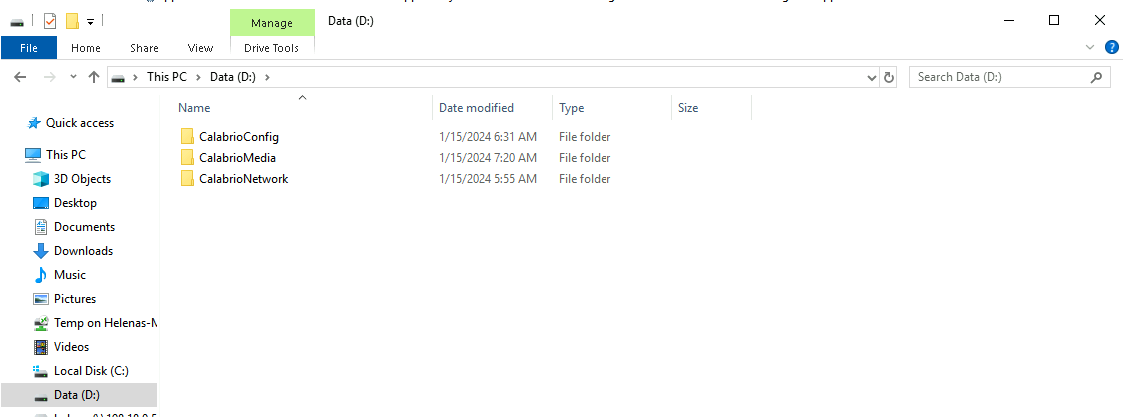
Next create 3 directories that has been shared over SMB
Installing Calabrio ONE
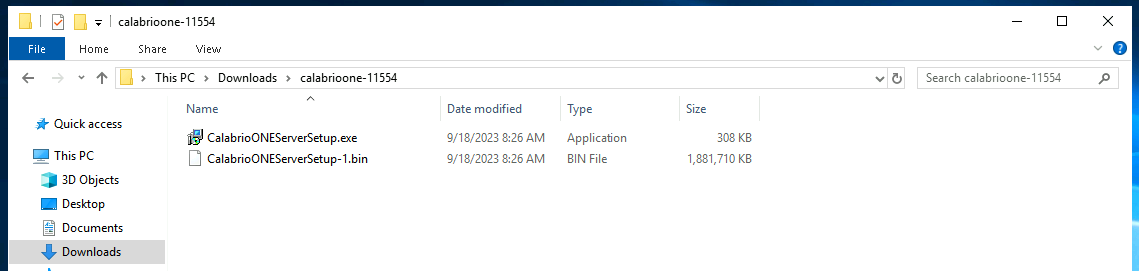
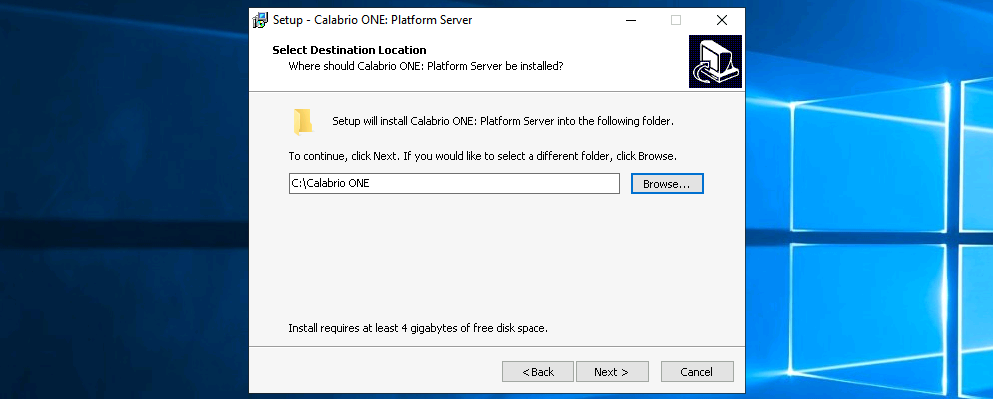
After prep is done, run the Calabrio ONE installer
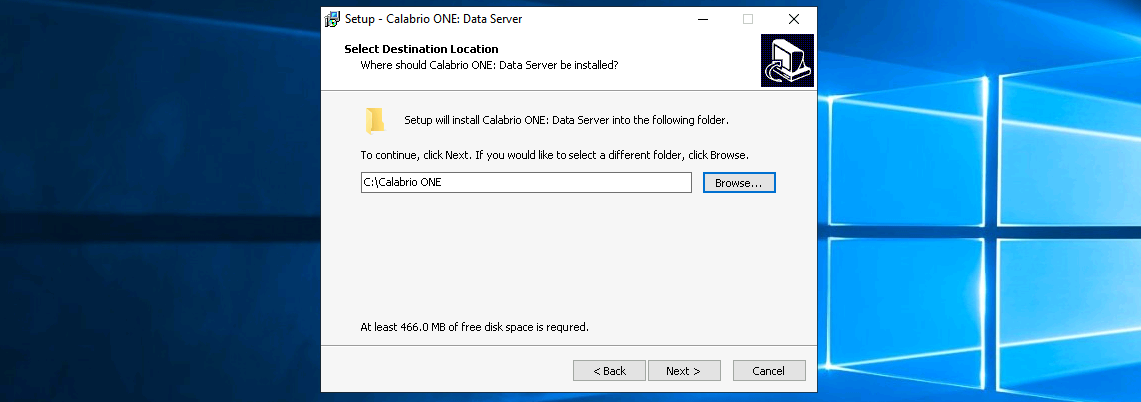
Pick a directory for the installation
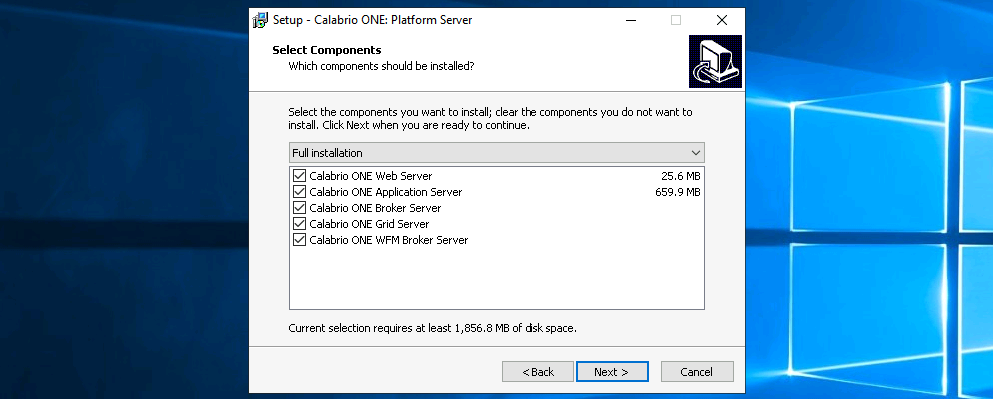
Select full installation
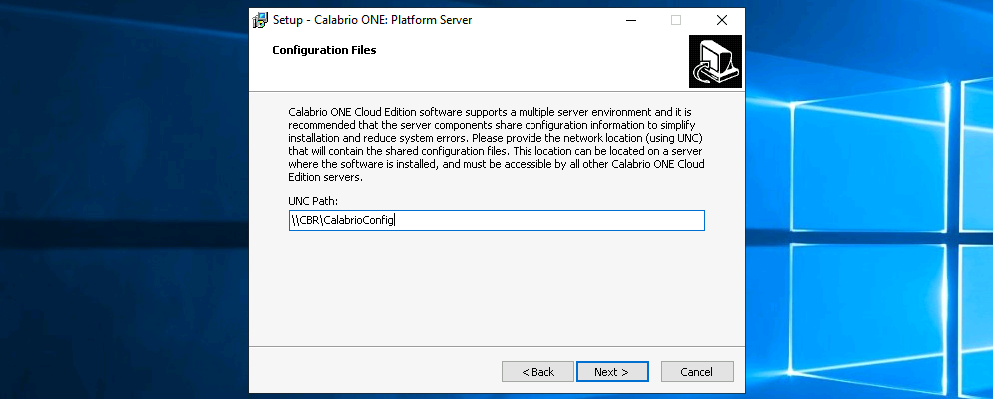
For the configuration path, use one of the directory created earlier
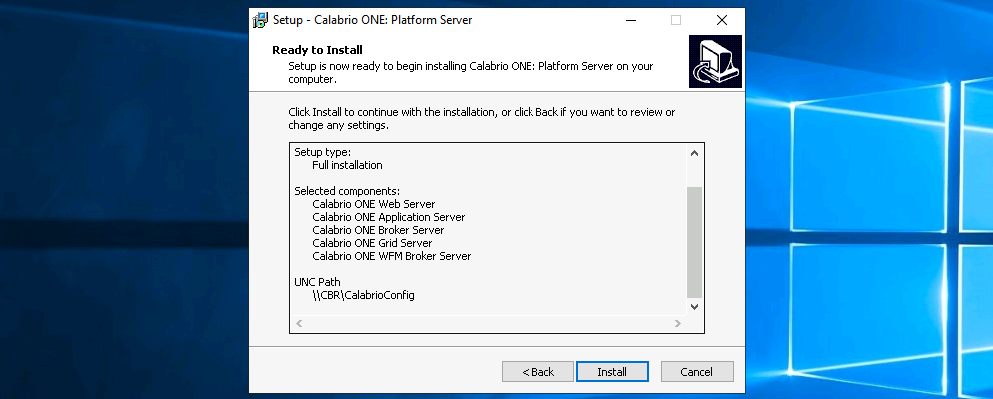
Wrap it up and select install
After a while, we should see the Calabrio services are installed and running

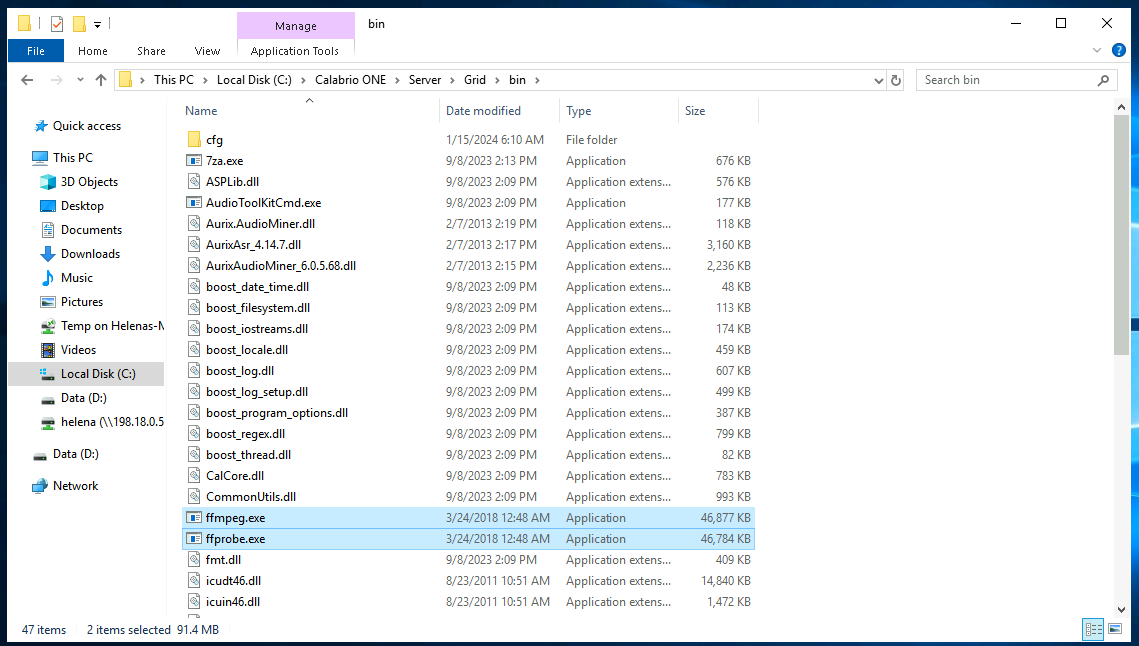
Next put the ffmpeg files on App server and Grid directories

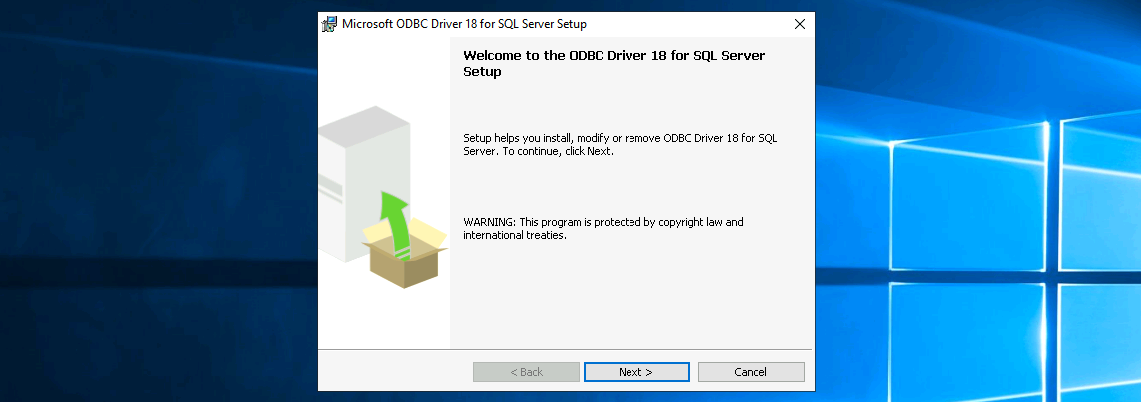
After that install the ODBC Driver so we can connect to our SQL Server
Configuring Calabrio ONE
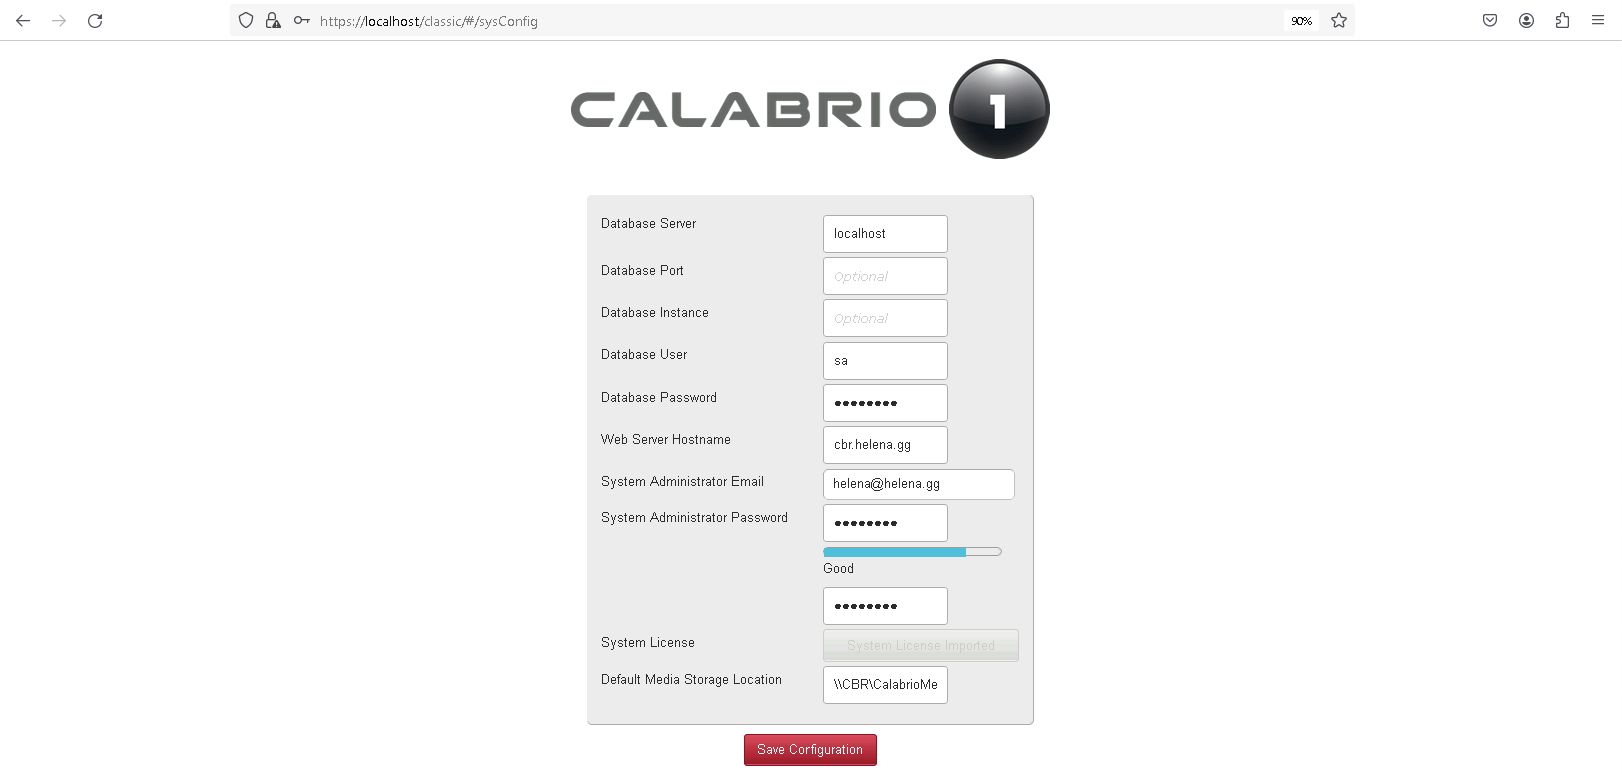
Now we should be able to hit cbr’s localhost on the web browser to open the Calabrio ONE Configuraton page.
Enter the details and select the license, then hit Save.
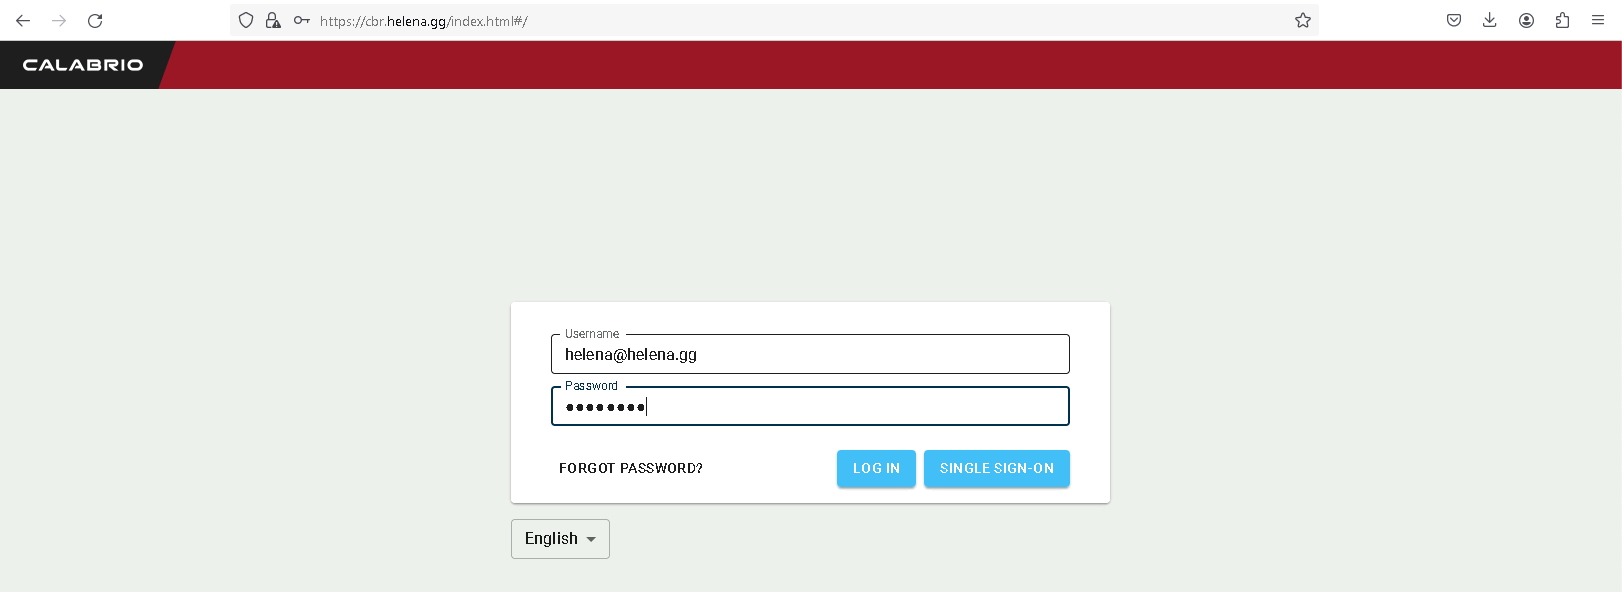
And now Calabrio ONE is up and running
First let’s configure the storage location where the recording will be stored, select Media and point it to the Media Directory
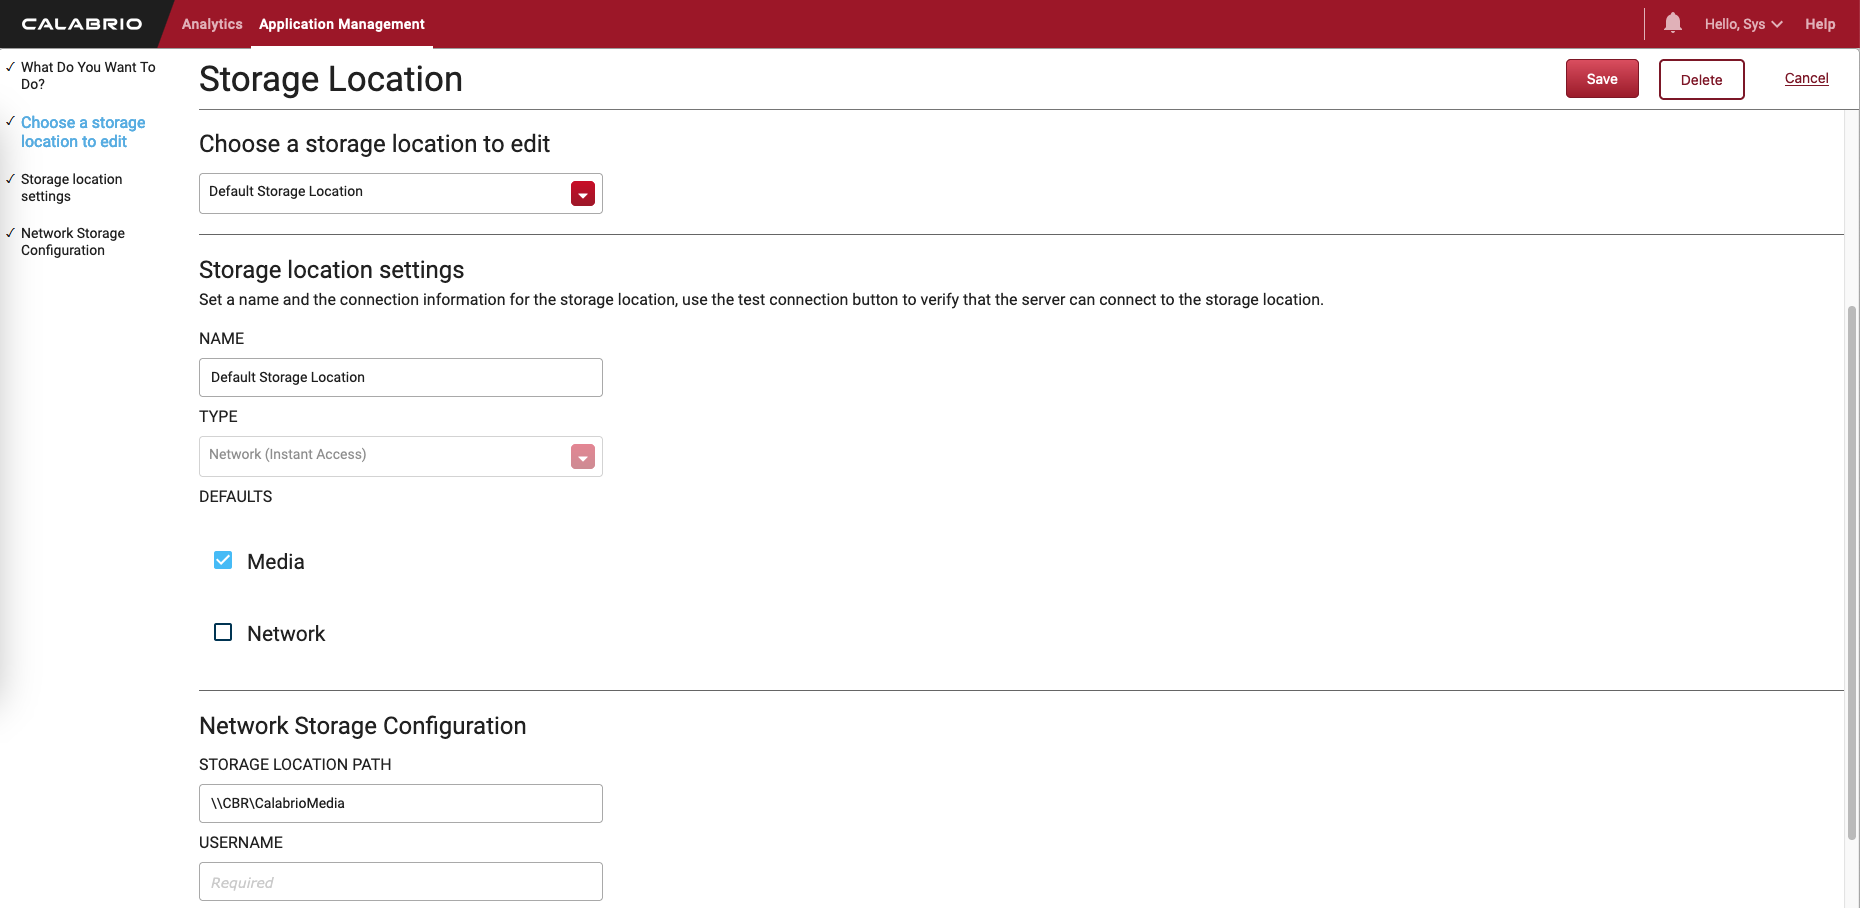
Then create another one for the Network Directory

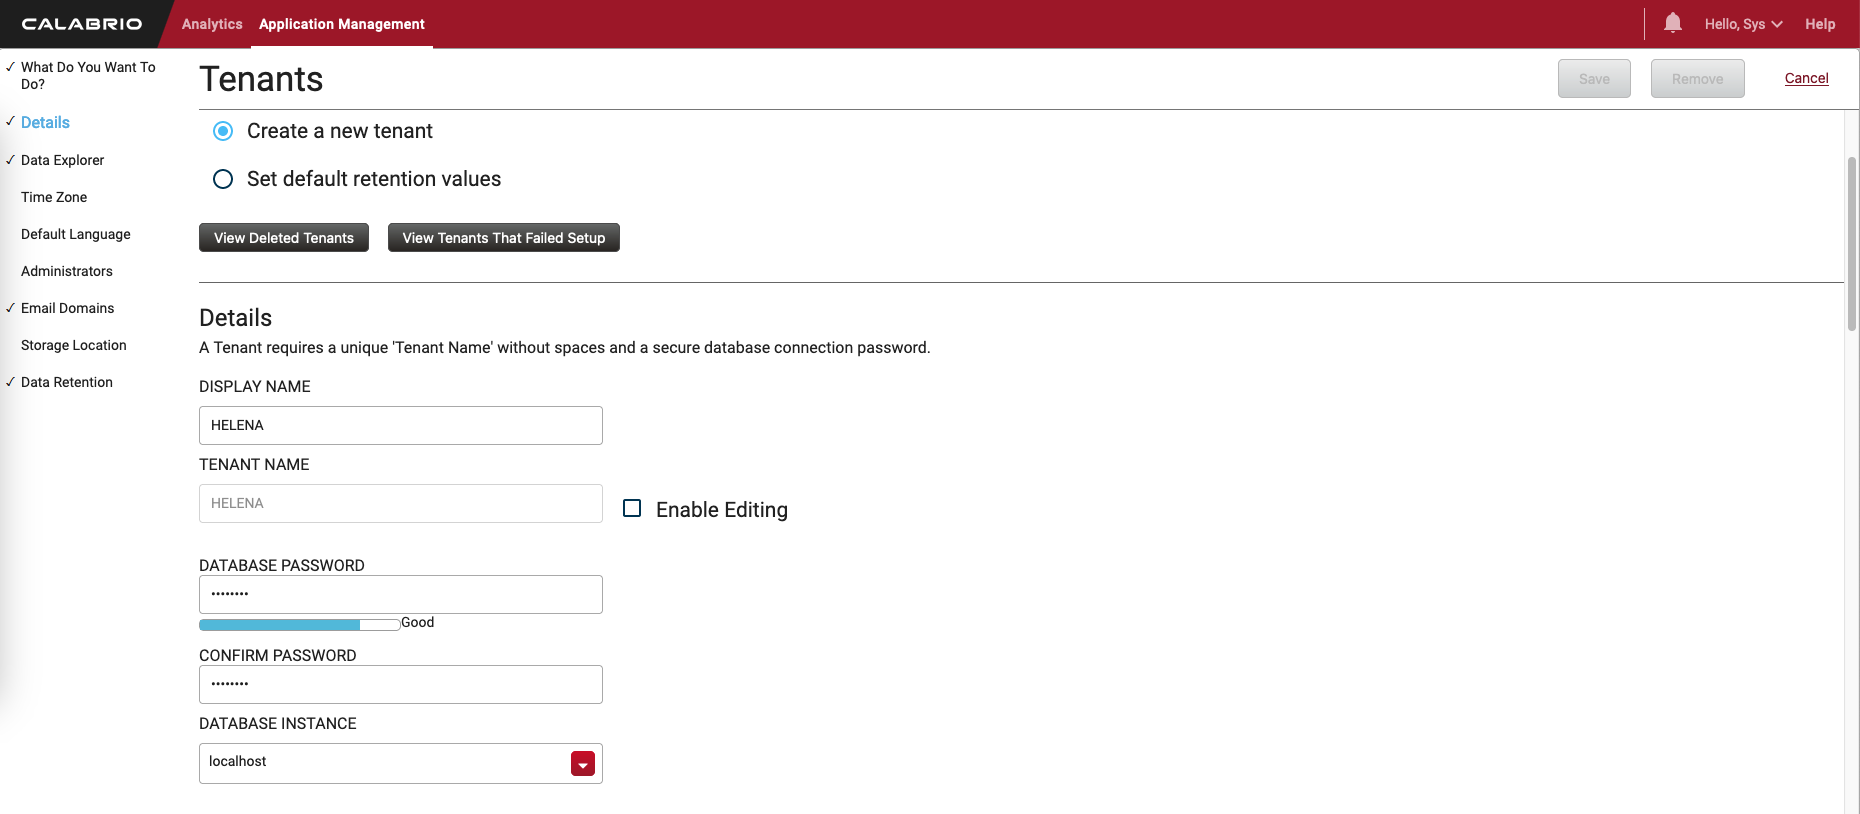
Next create a tenant, give it a name and a good password as those will be used to create a new Database on the server for that specific tenant
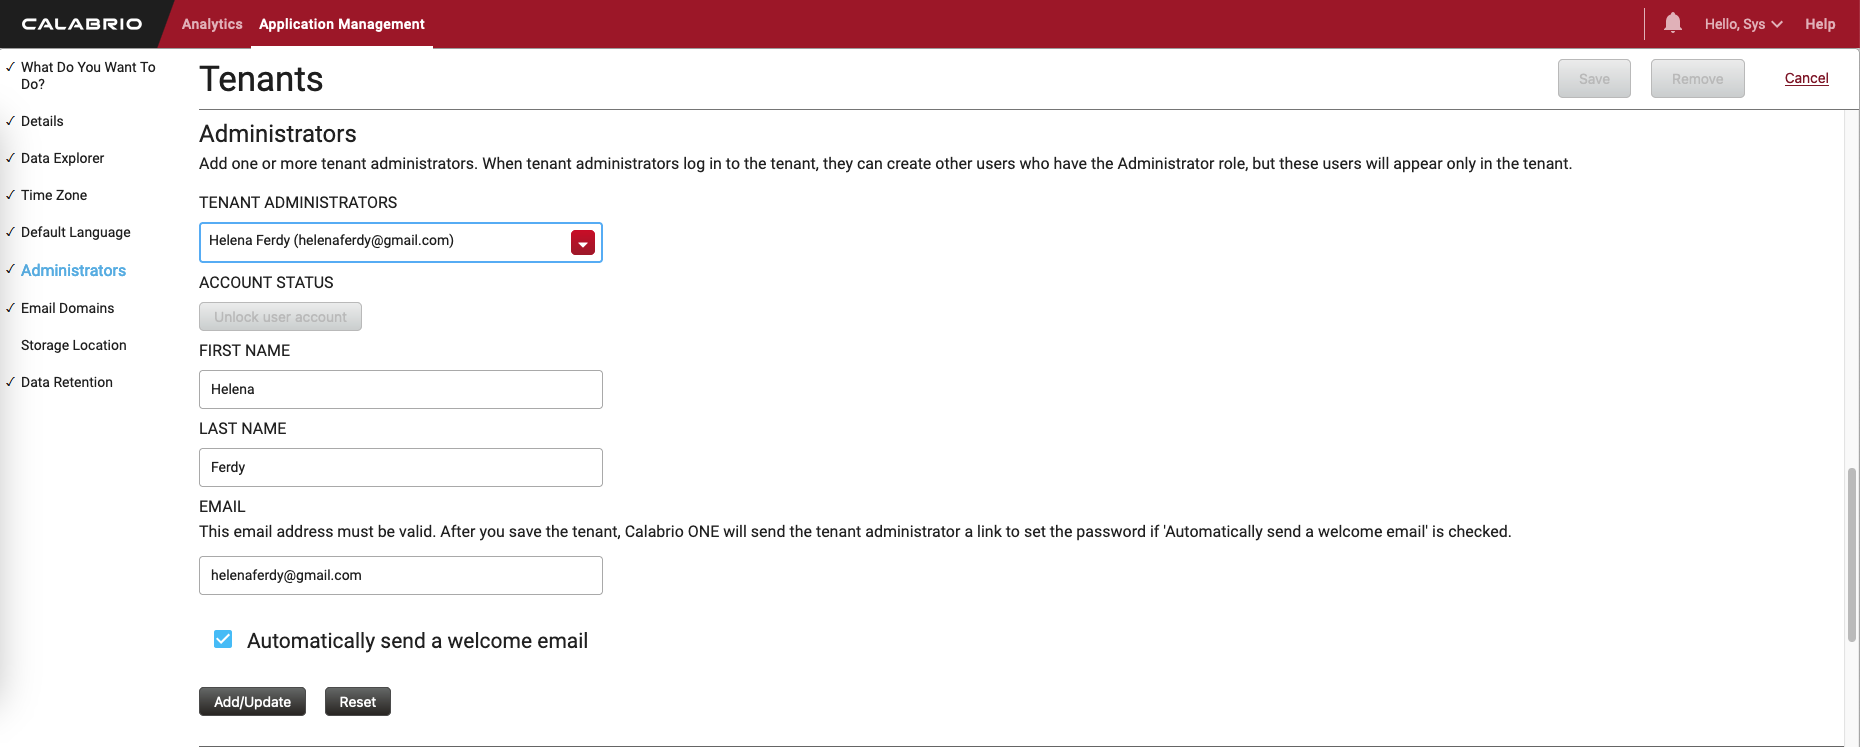
Give it an admin user for login purposes
Select the storage location and hit save. This will take some time to finish
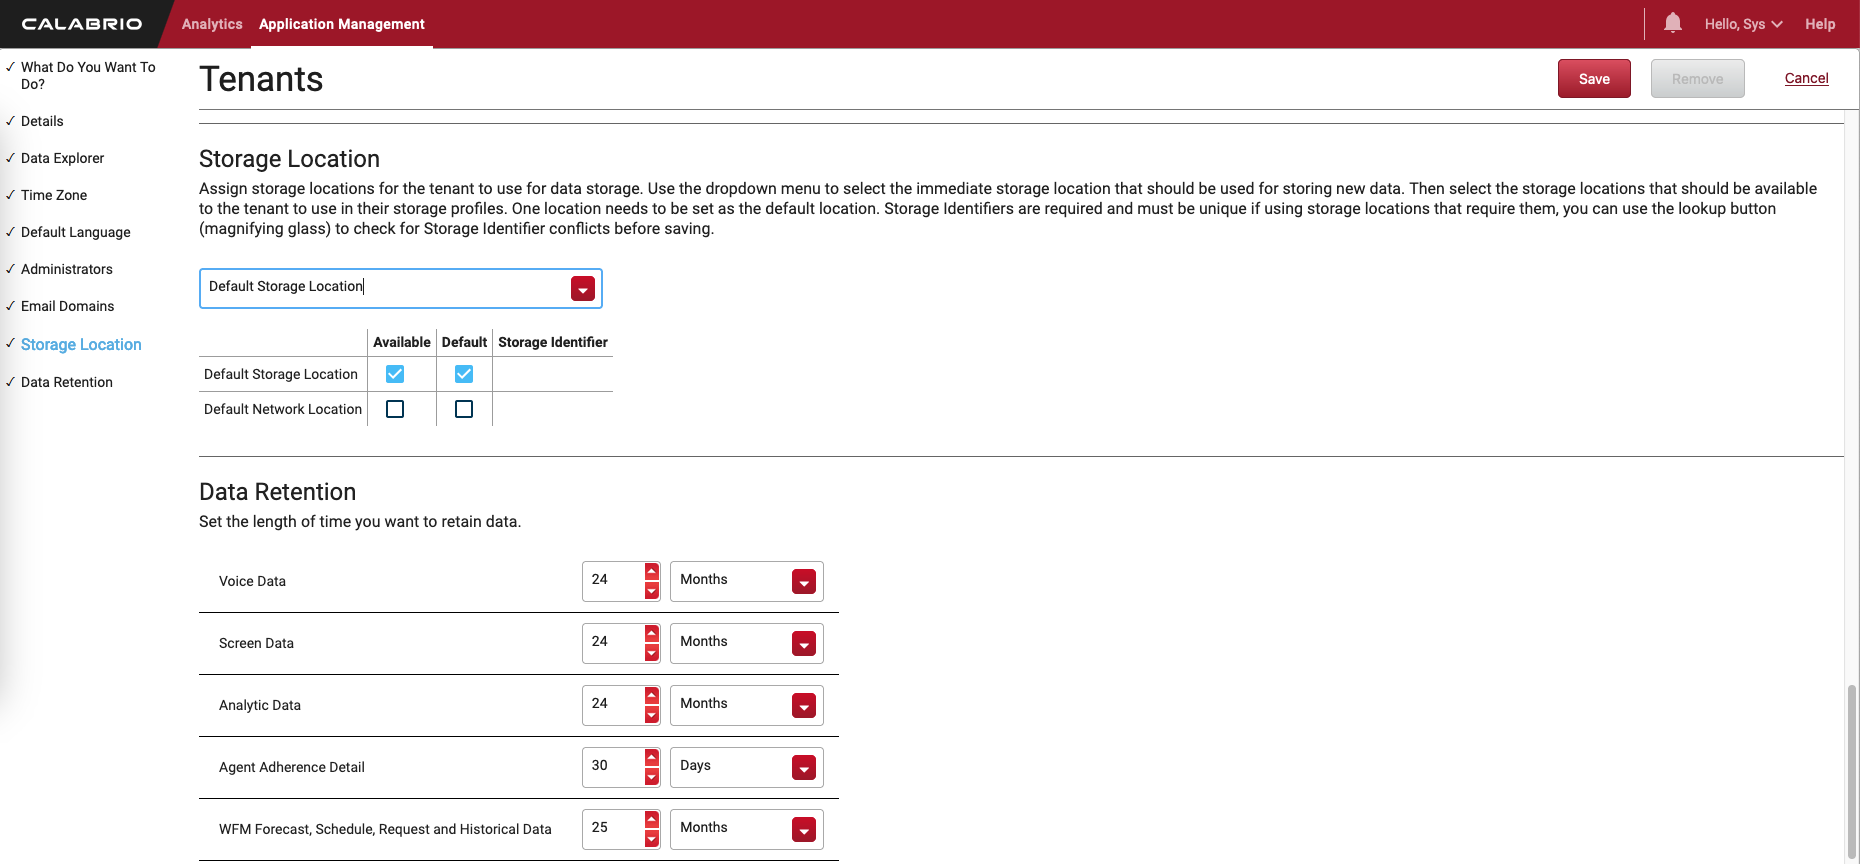
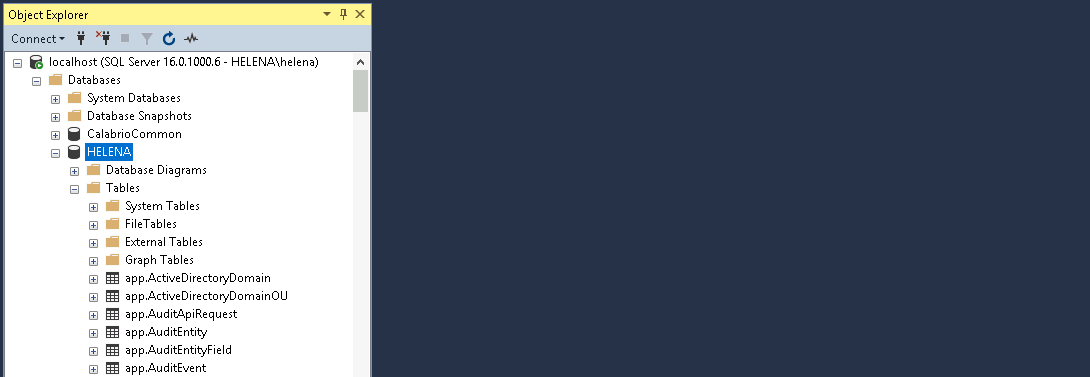
After it finishes, the new database is created for that tenant
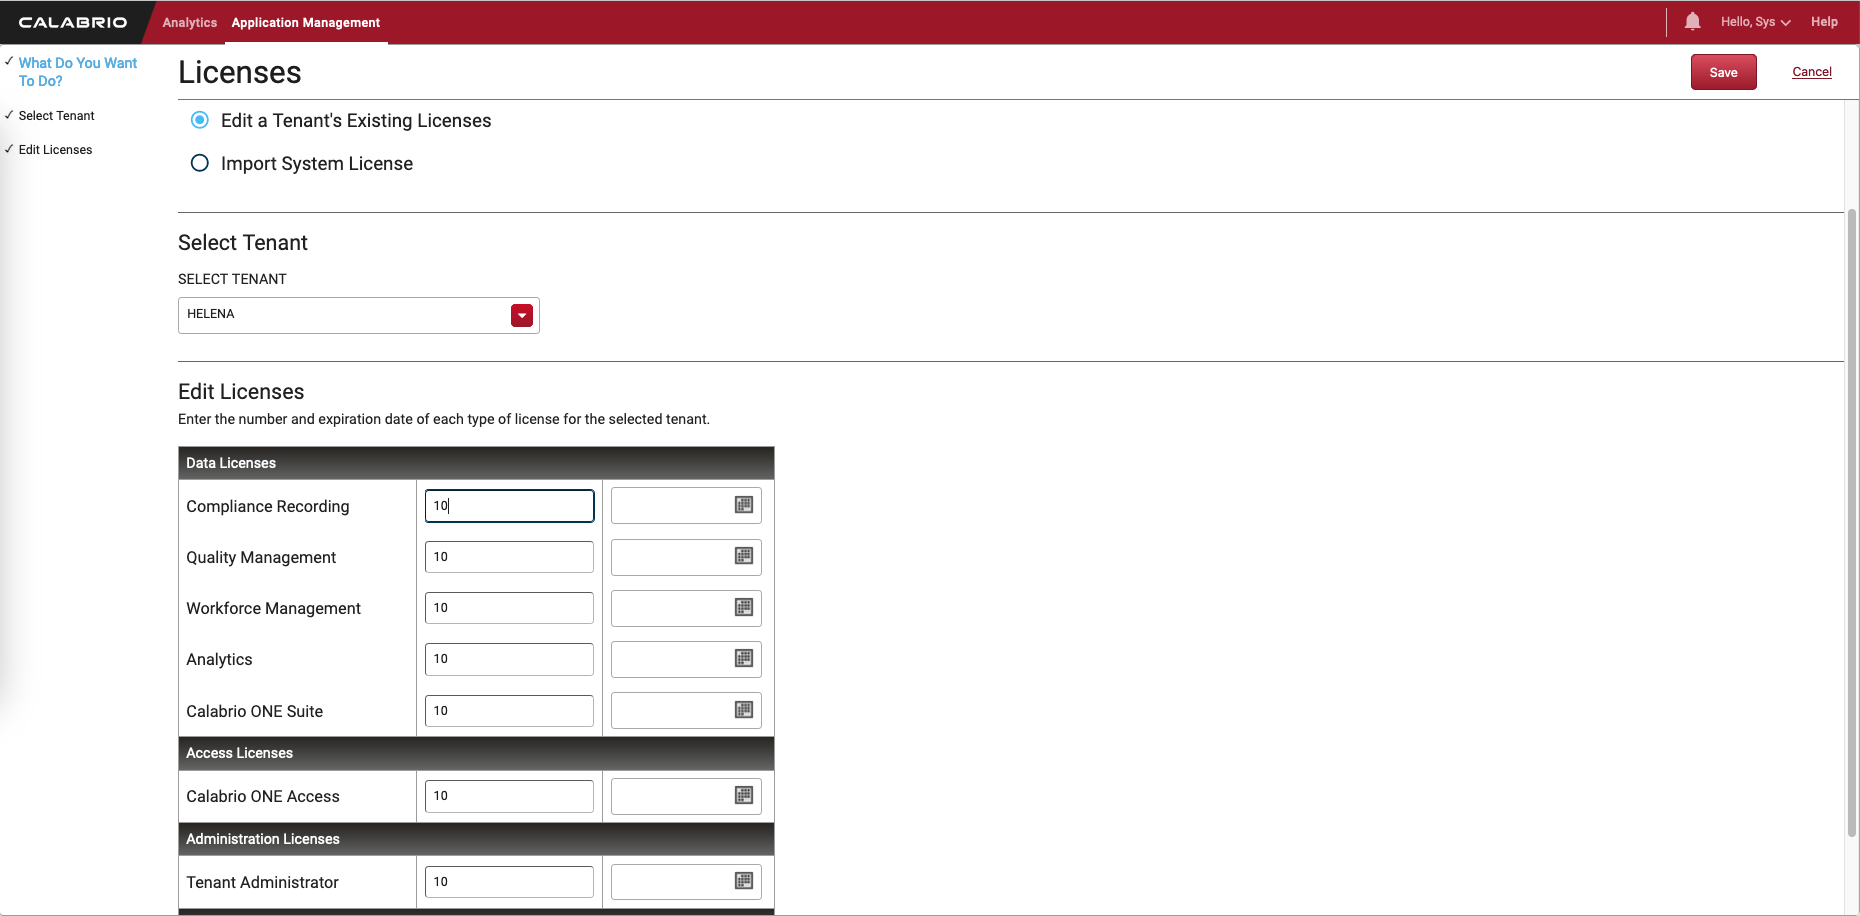
Lastly allocate the license for the newly created tenant
Configuring Tenant
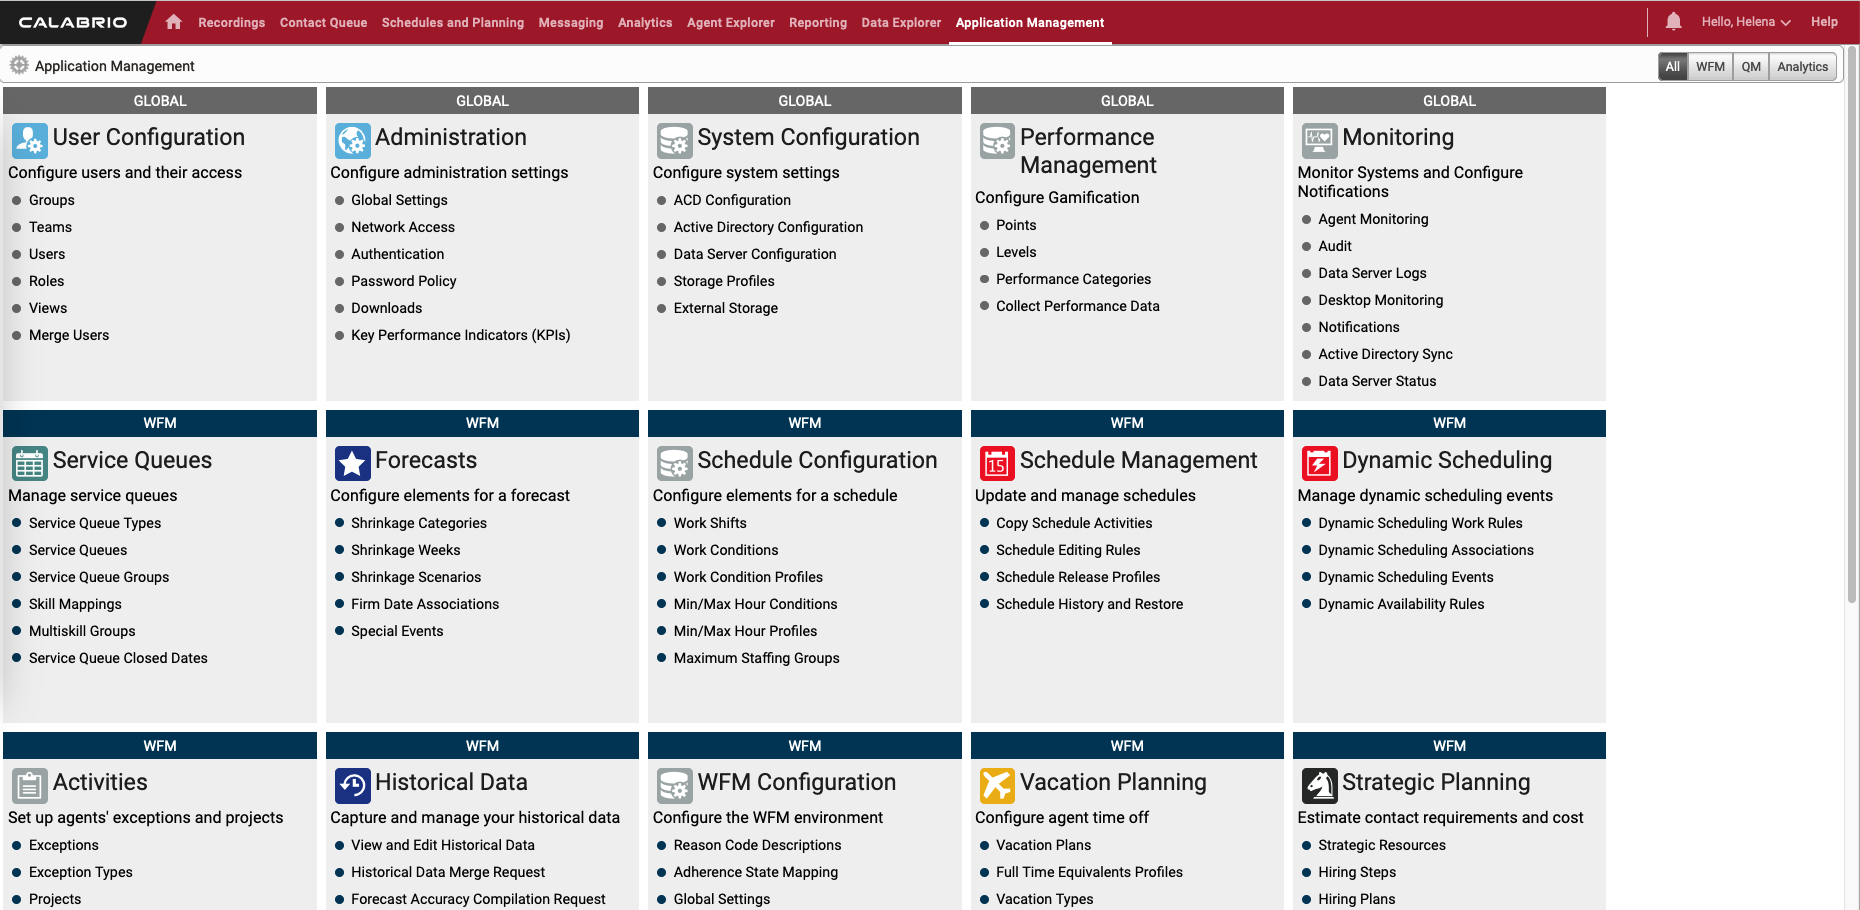
Now login to Calabrio ONE using the tenant’s admin user

We’ll be taken to the tenant’s calabrio one instead
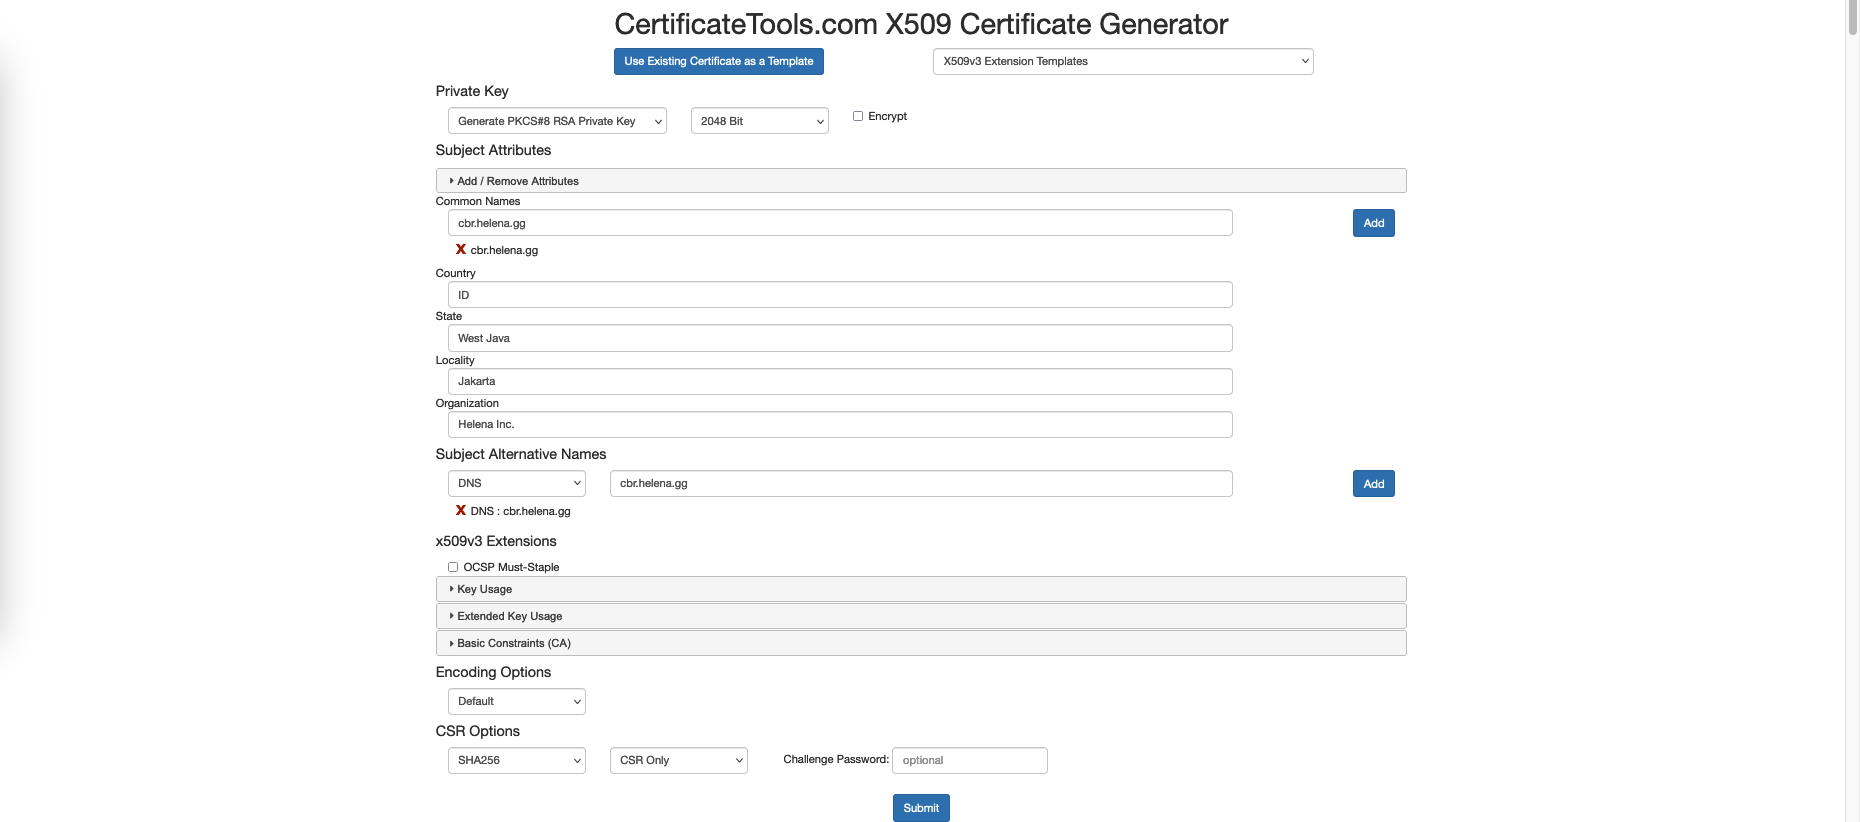
As a good practice, lets create CSR for the web server’s SSL Certificate
Sign the CSR and put the cert and the key on the server config directory
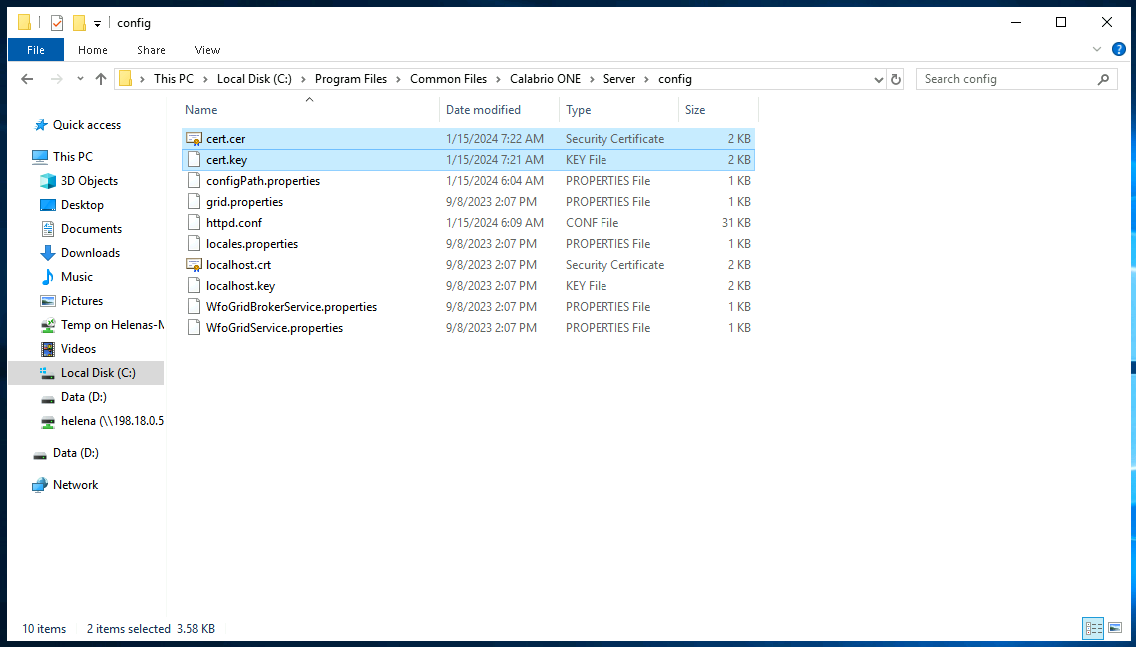
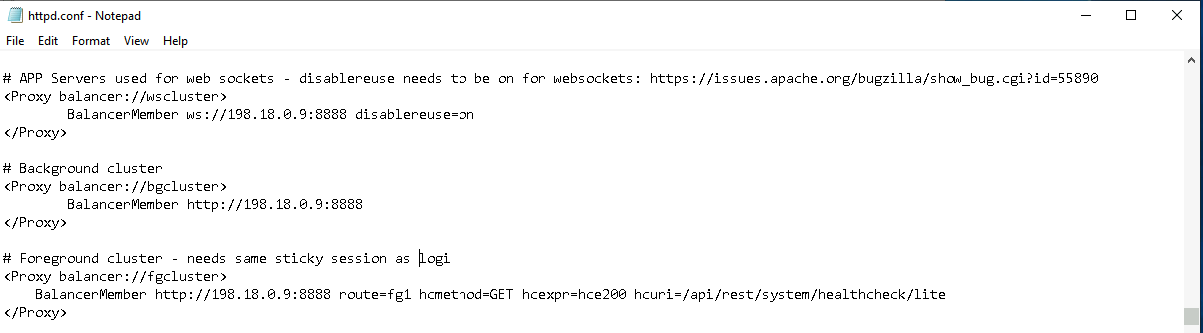
Edit the httpd.conf file and point the configuration to the new certificate and key

While we’re at it, also edit these urls to point to cbr’s IP Address
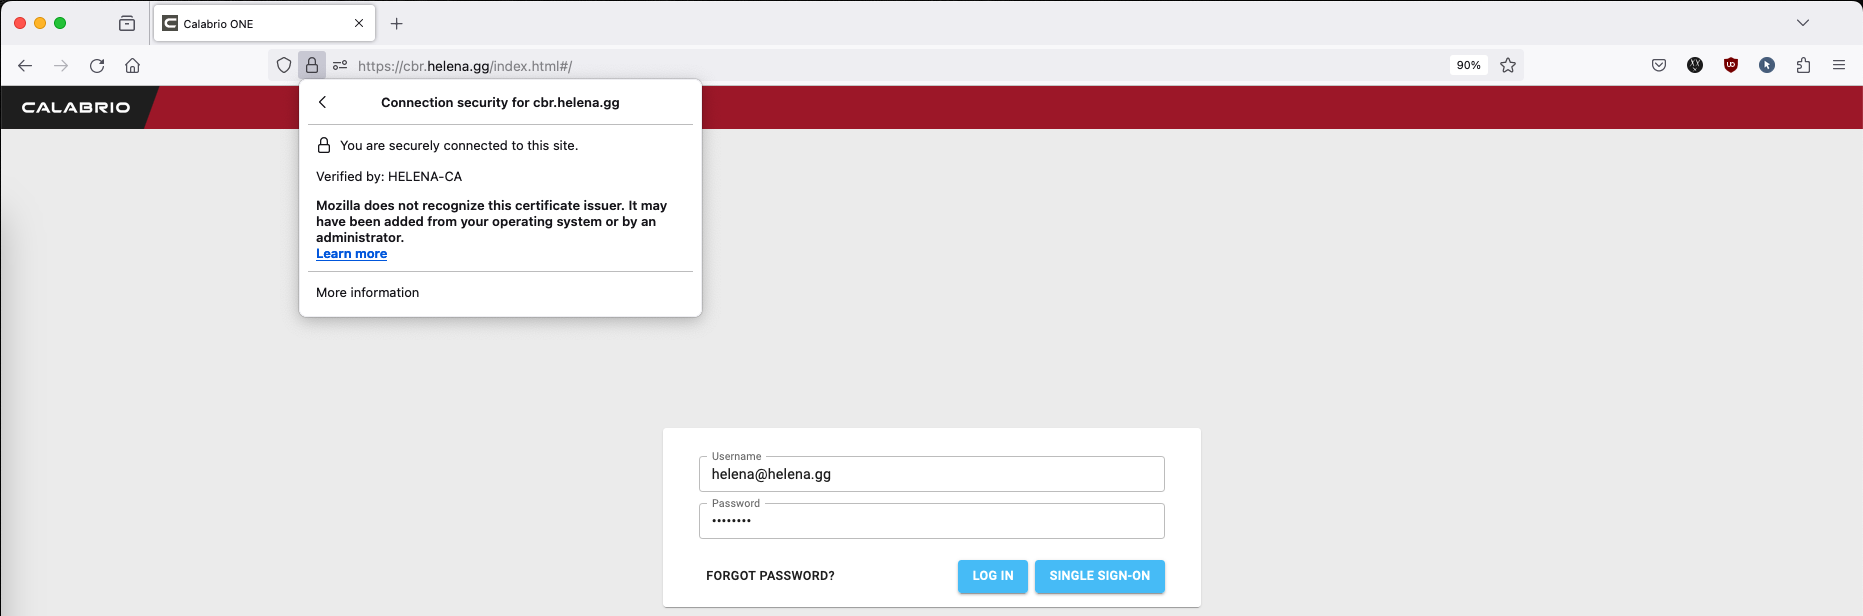
Restart the web service

The certificate has been updated and now trusted
Configuring Signal Capture & Data Server
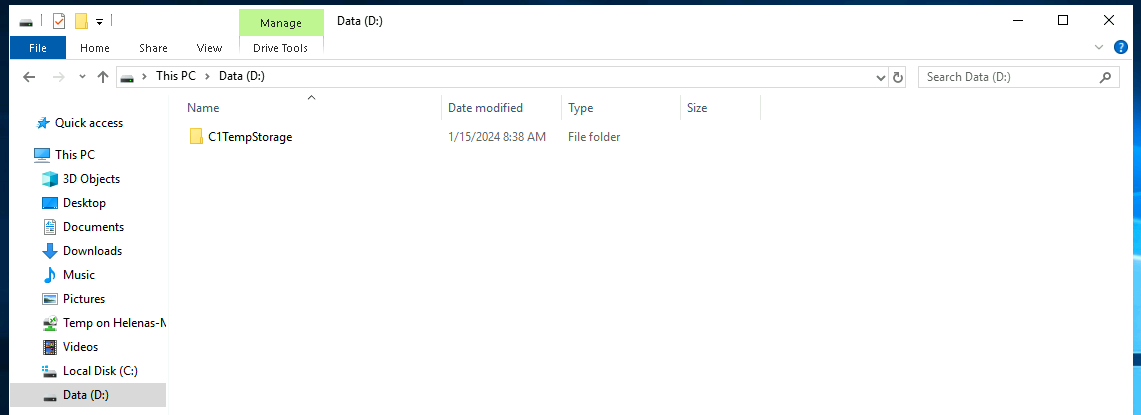
On the cbrsig server, create a new directory for the temporary audio file to be stored while the recording is taking process
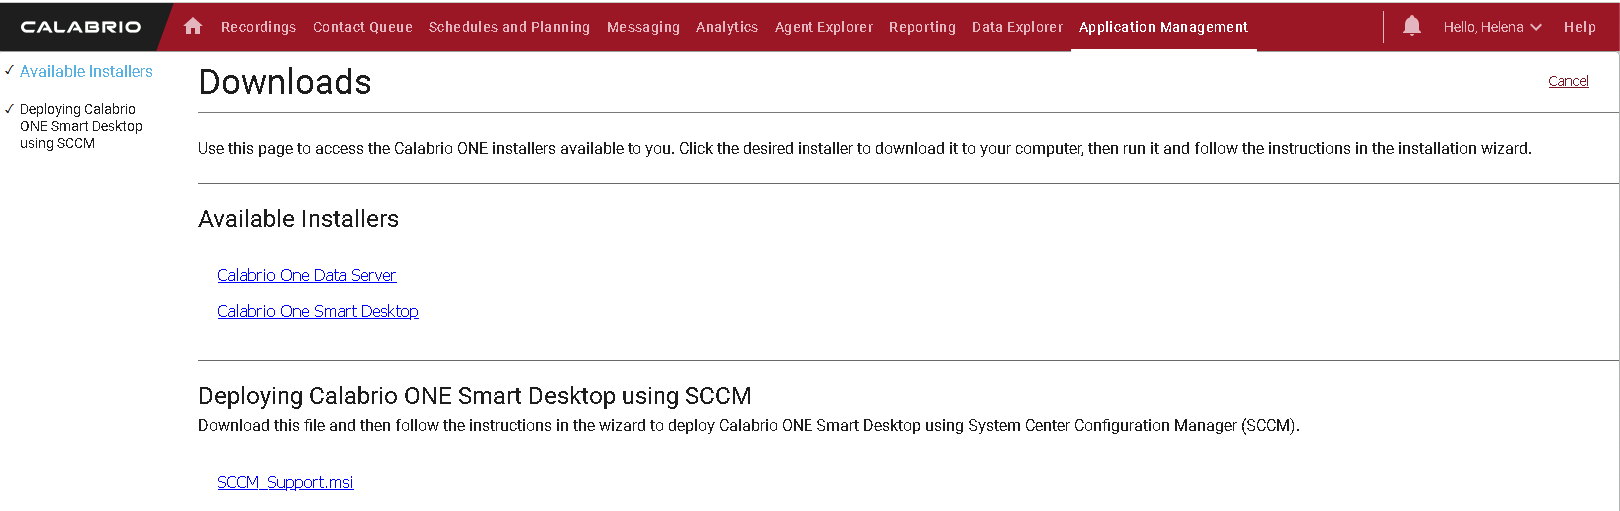
Next open the calabrio one and download the Data Server installer
Run the installer on cbrsig
Now the services should be installed and running

Looking back at calabrio one, we can see the Data Server status is connected

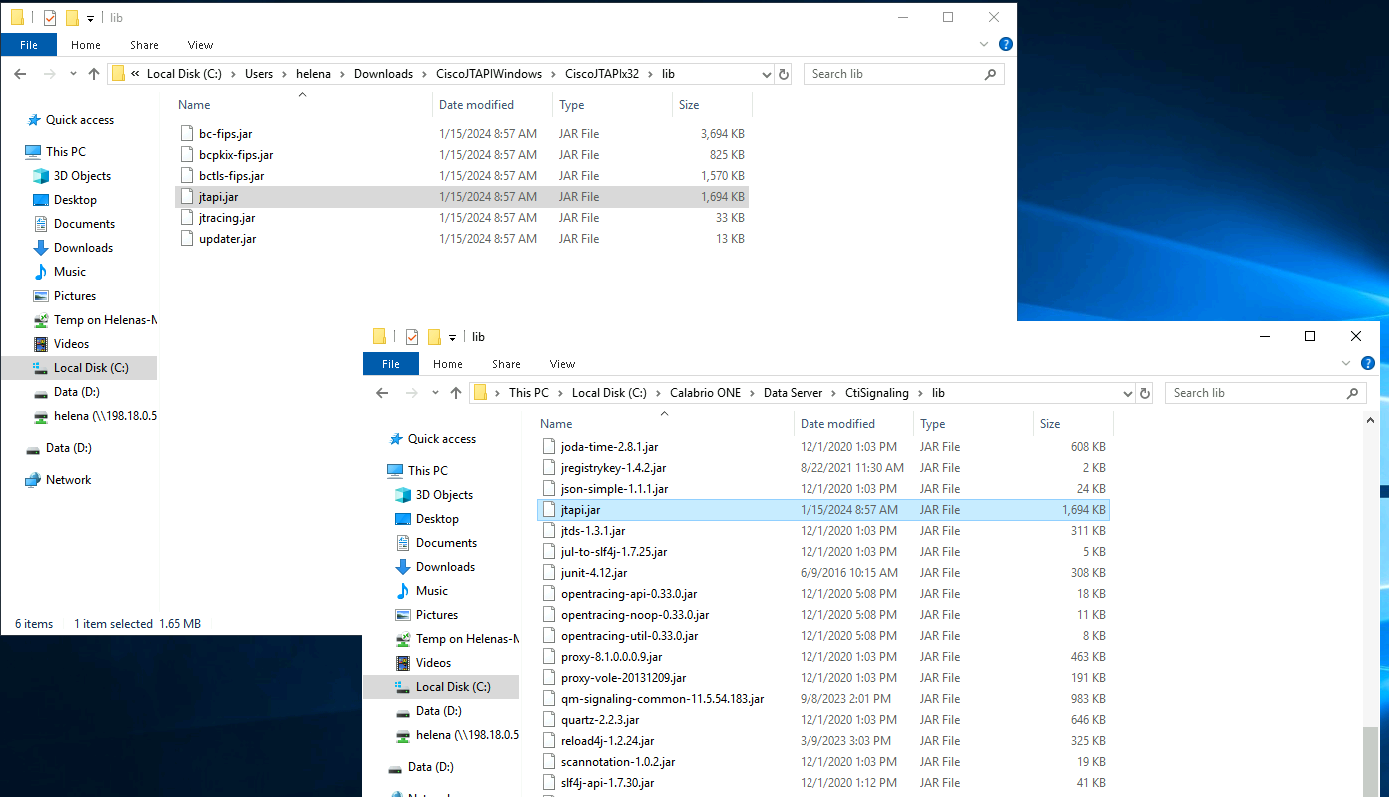
Next download the JTAPI Client from CUCM

Copy it to the lib folder on the data server
Restart the CTI Signaling Service

Back on calabrio one, configure the data server to point to the cbrsig’s IP Address and hit save

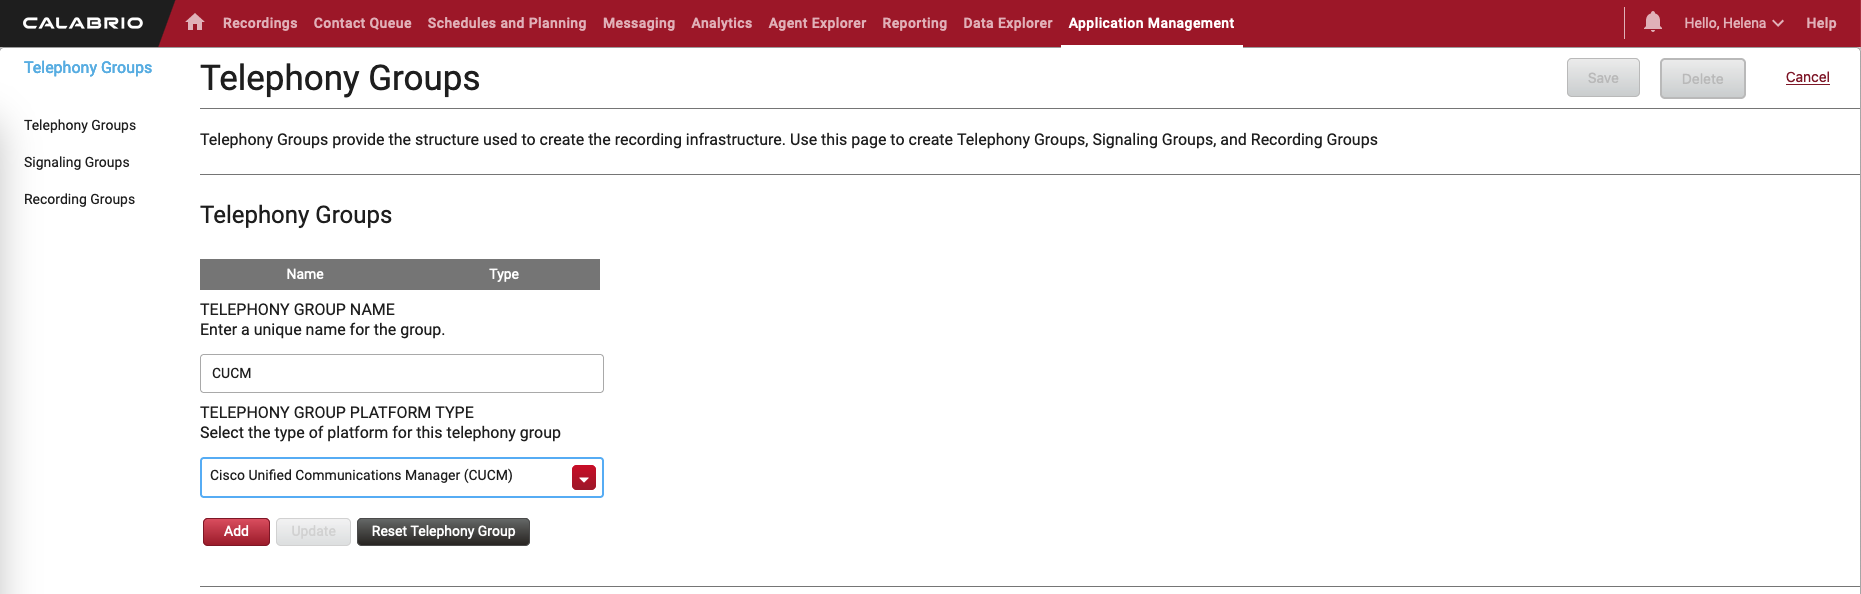
Next on Telephony Groups, create a new group for CUCM
configure the AXL and JTAPI connection to CUCM
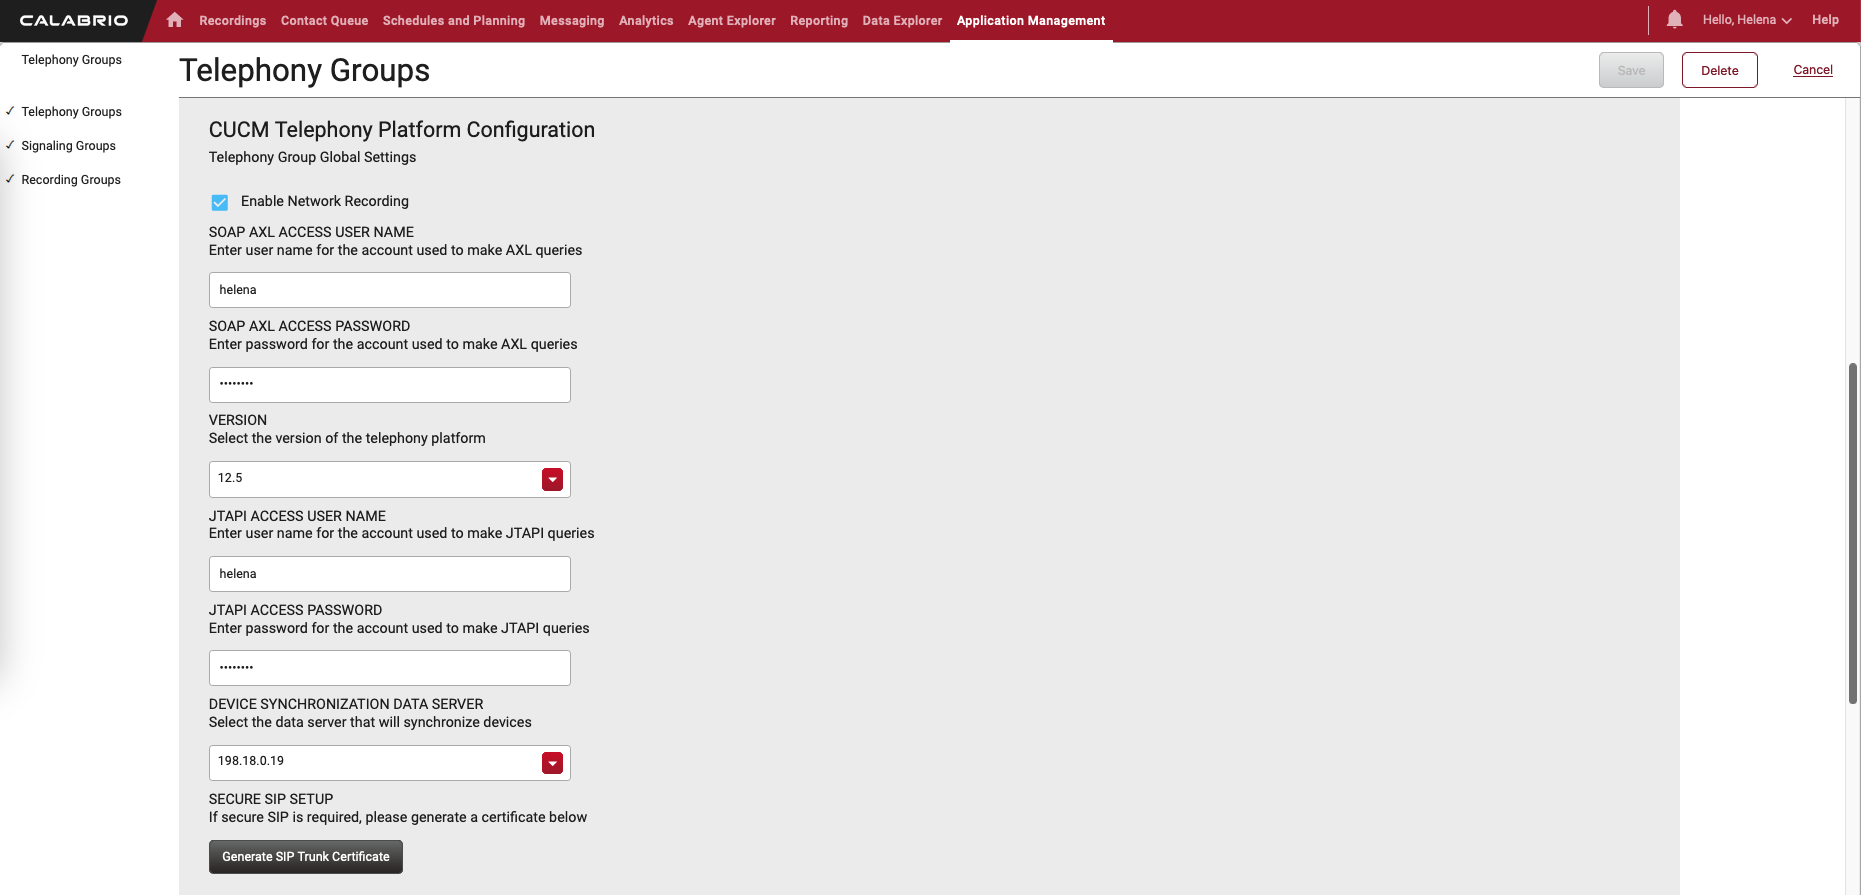
- AXL is a web service interface that allows external applications to communicate with and manage the configuration of Cisco Unified Communications Manager. It enables automation of administrative tasks such as creating, updating, and deleting objects like phones, users, and devices in the CUCM database.
- JTAPI is a Java-based API used for developing telephony applications that integrate with Cisco Unified Communications Manager. It allows developers to create applications that can control and monitor telephony devices, such as phones and gateways, within the CUCM environment.
- In general, AXL is used for provisioning new phones/users while JTAPI is used for call control or monitoring.
Add the IP Address of the CUCM

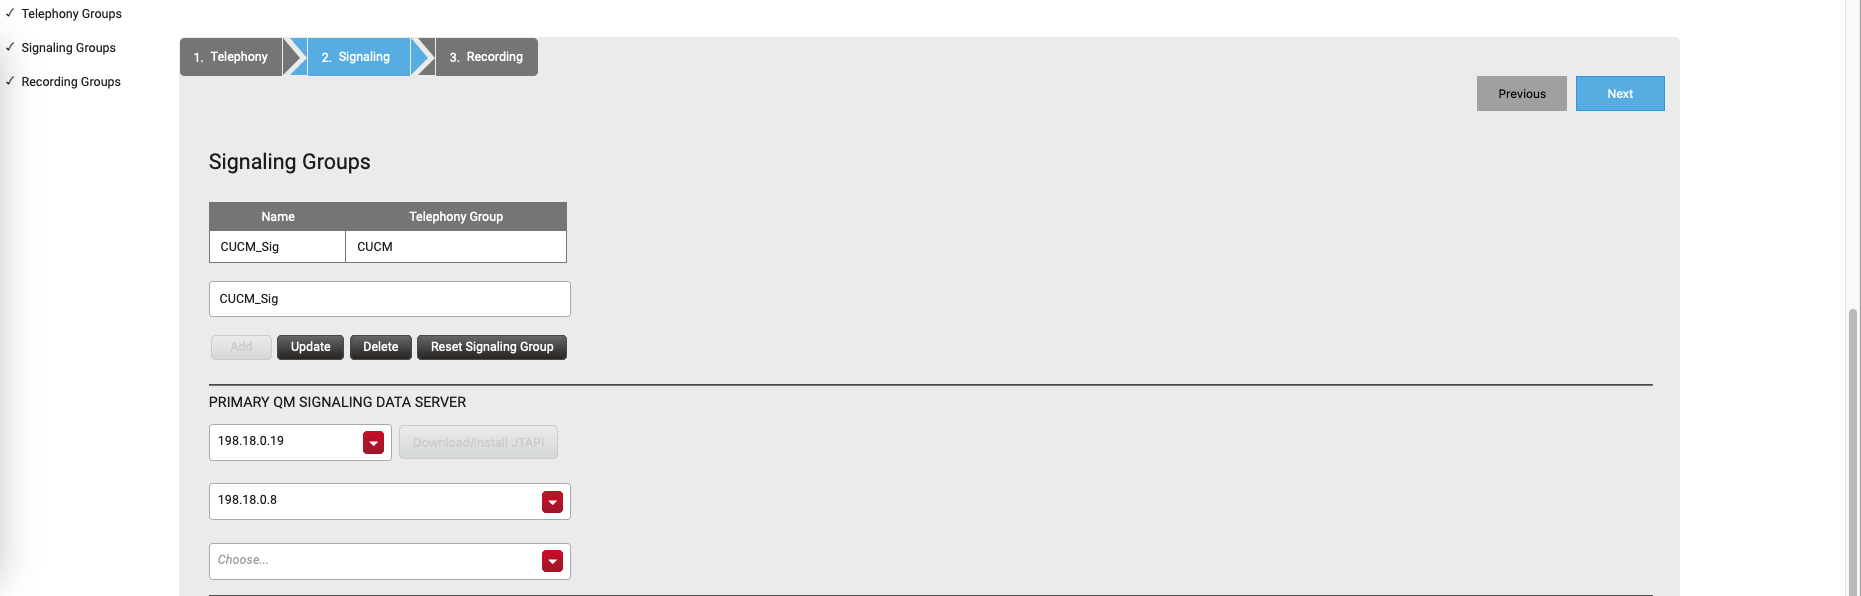
On siganling, select the IP Address of cbrsig and cucm
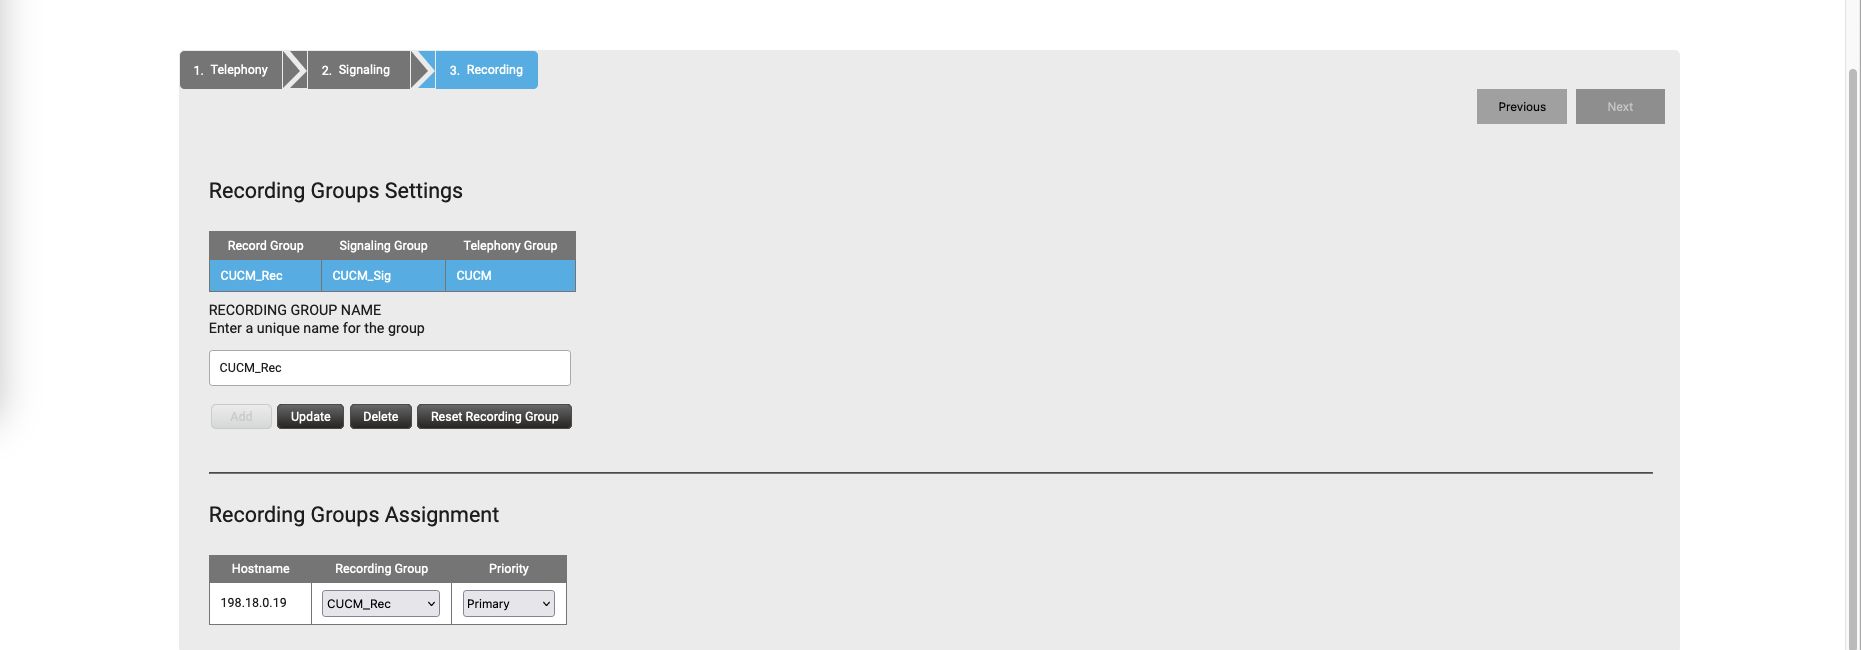
Finally on recording, select the IP Address of cbrsig as our primary recorder, and hit save
Validating Configuration
Now our SIP Trunk from CUCM to the Signal Capture should be up and in Full Service

And on Telephony Monitoring, the same connection can also be observed from the calabrio’s side

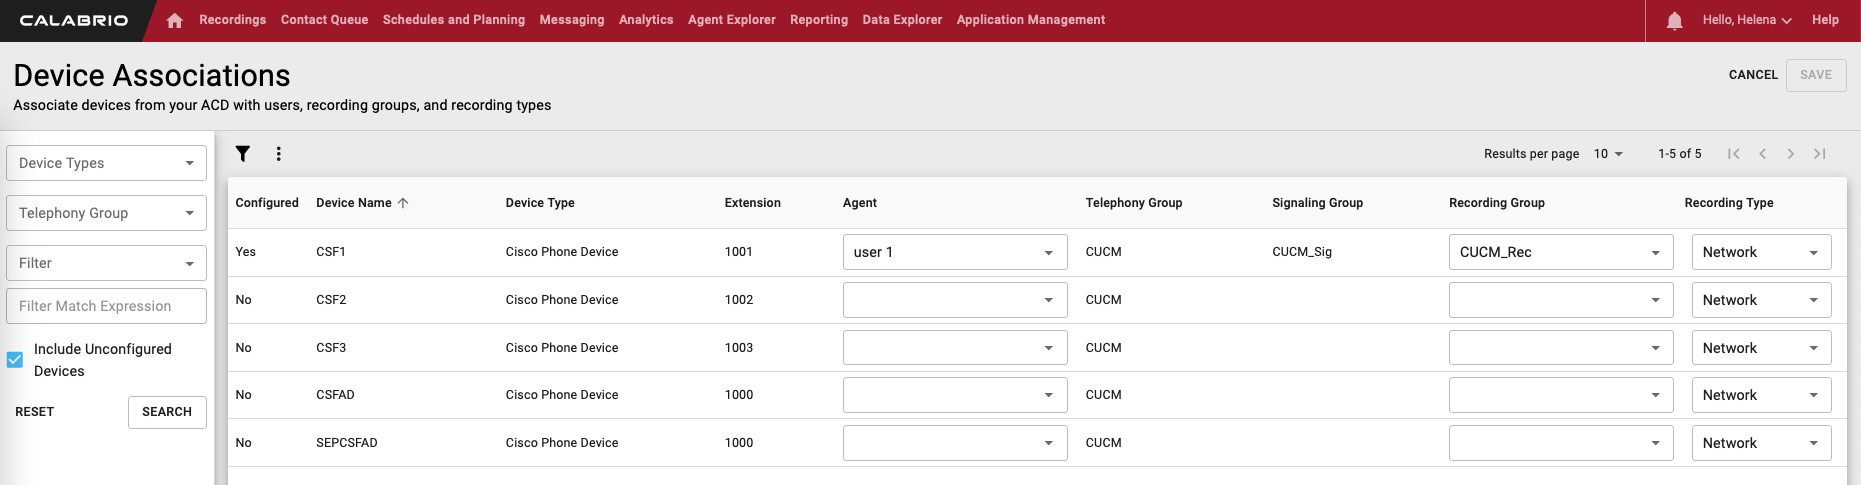
On Device Associations, all the devices on CUCM should show up here on calabrio.
Associate the device with a user and recording group for the recording to take place
Also associate the recording profile to the user’s phone

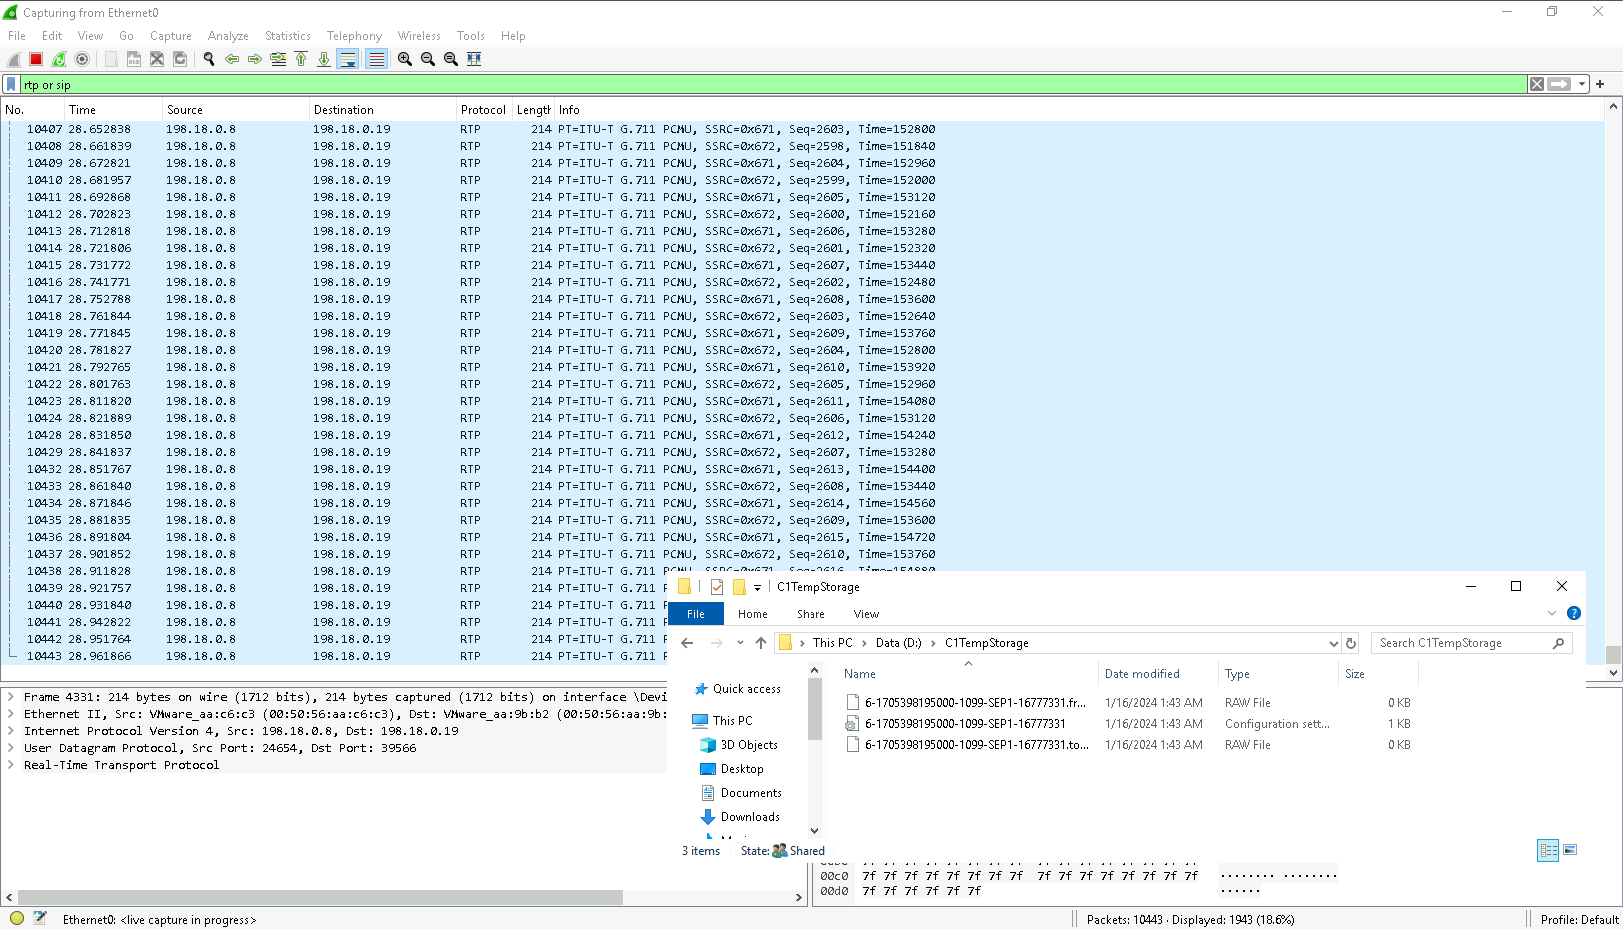
And now if we run a network sniffer on the cbrsig, we can see the SIP and RTP traffic coming to calabrio to be recorded
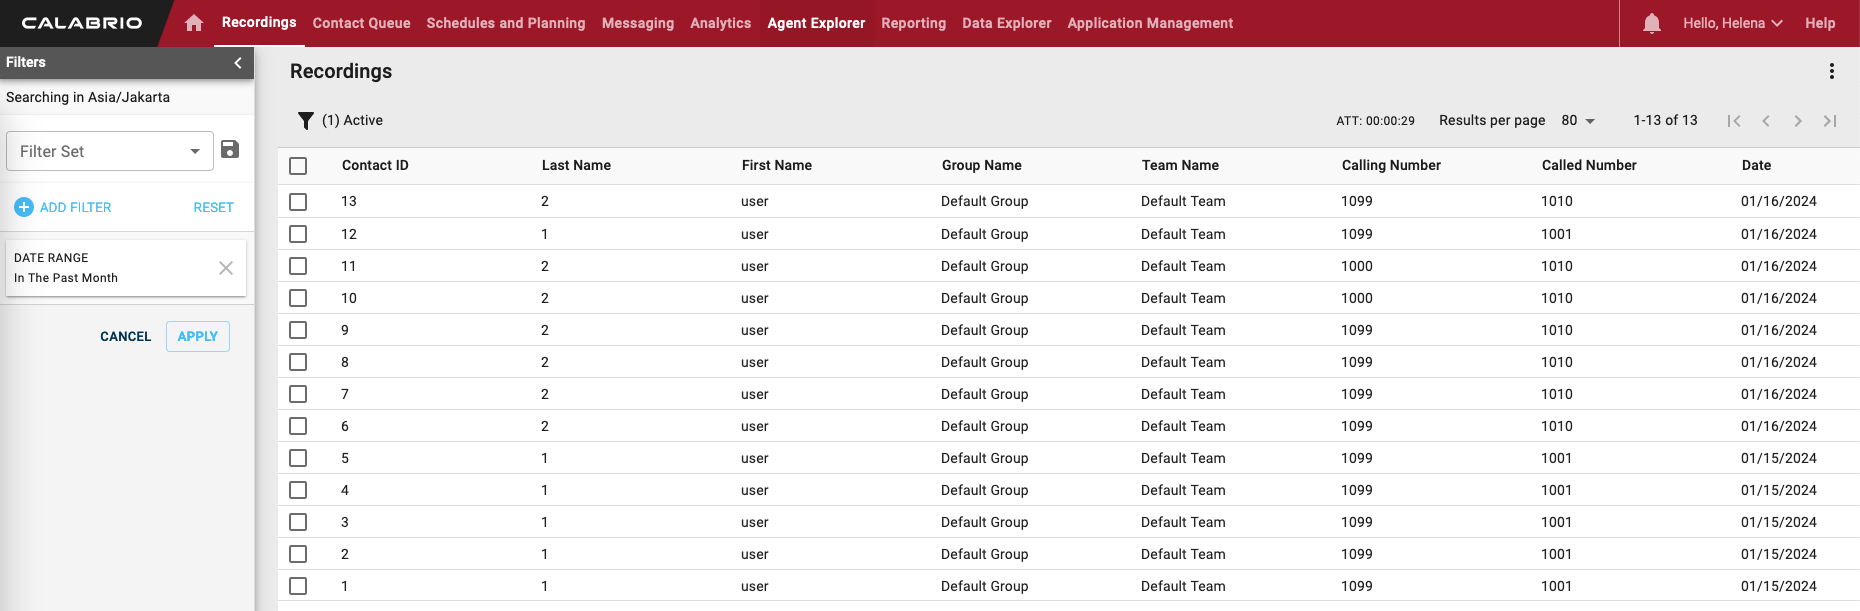
And on recording page, we can see the recorded calls are all listed here