Check Point Security Gateway
Check Point Security Gateway is a robust security solution offering comprehensive protection for enterprise networks. Combining firewall, intrusion prevention, VPN, and advanced threat prevention capabilities, it safeguards against a wide range of cyber threats.
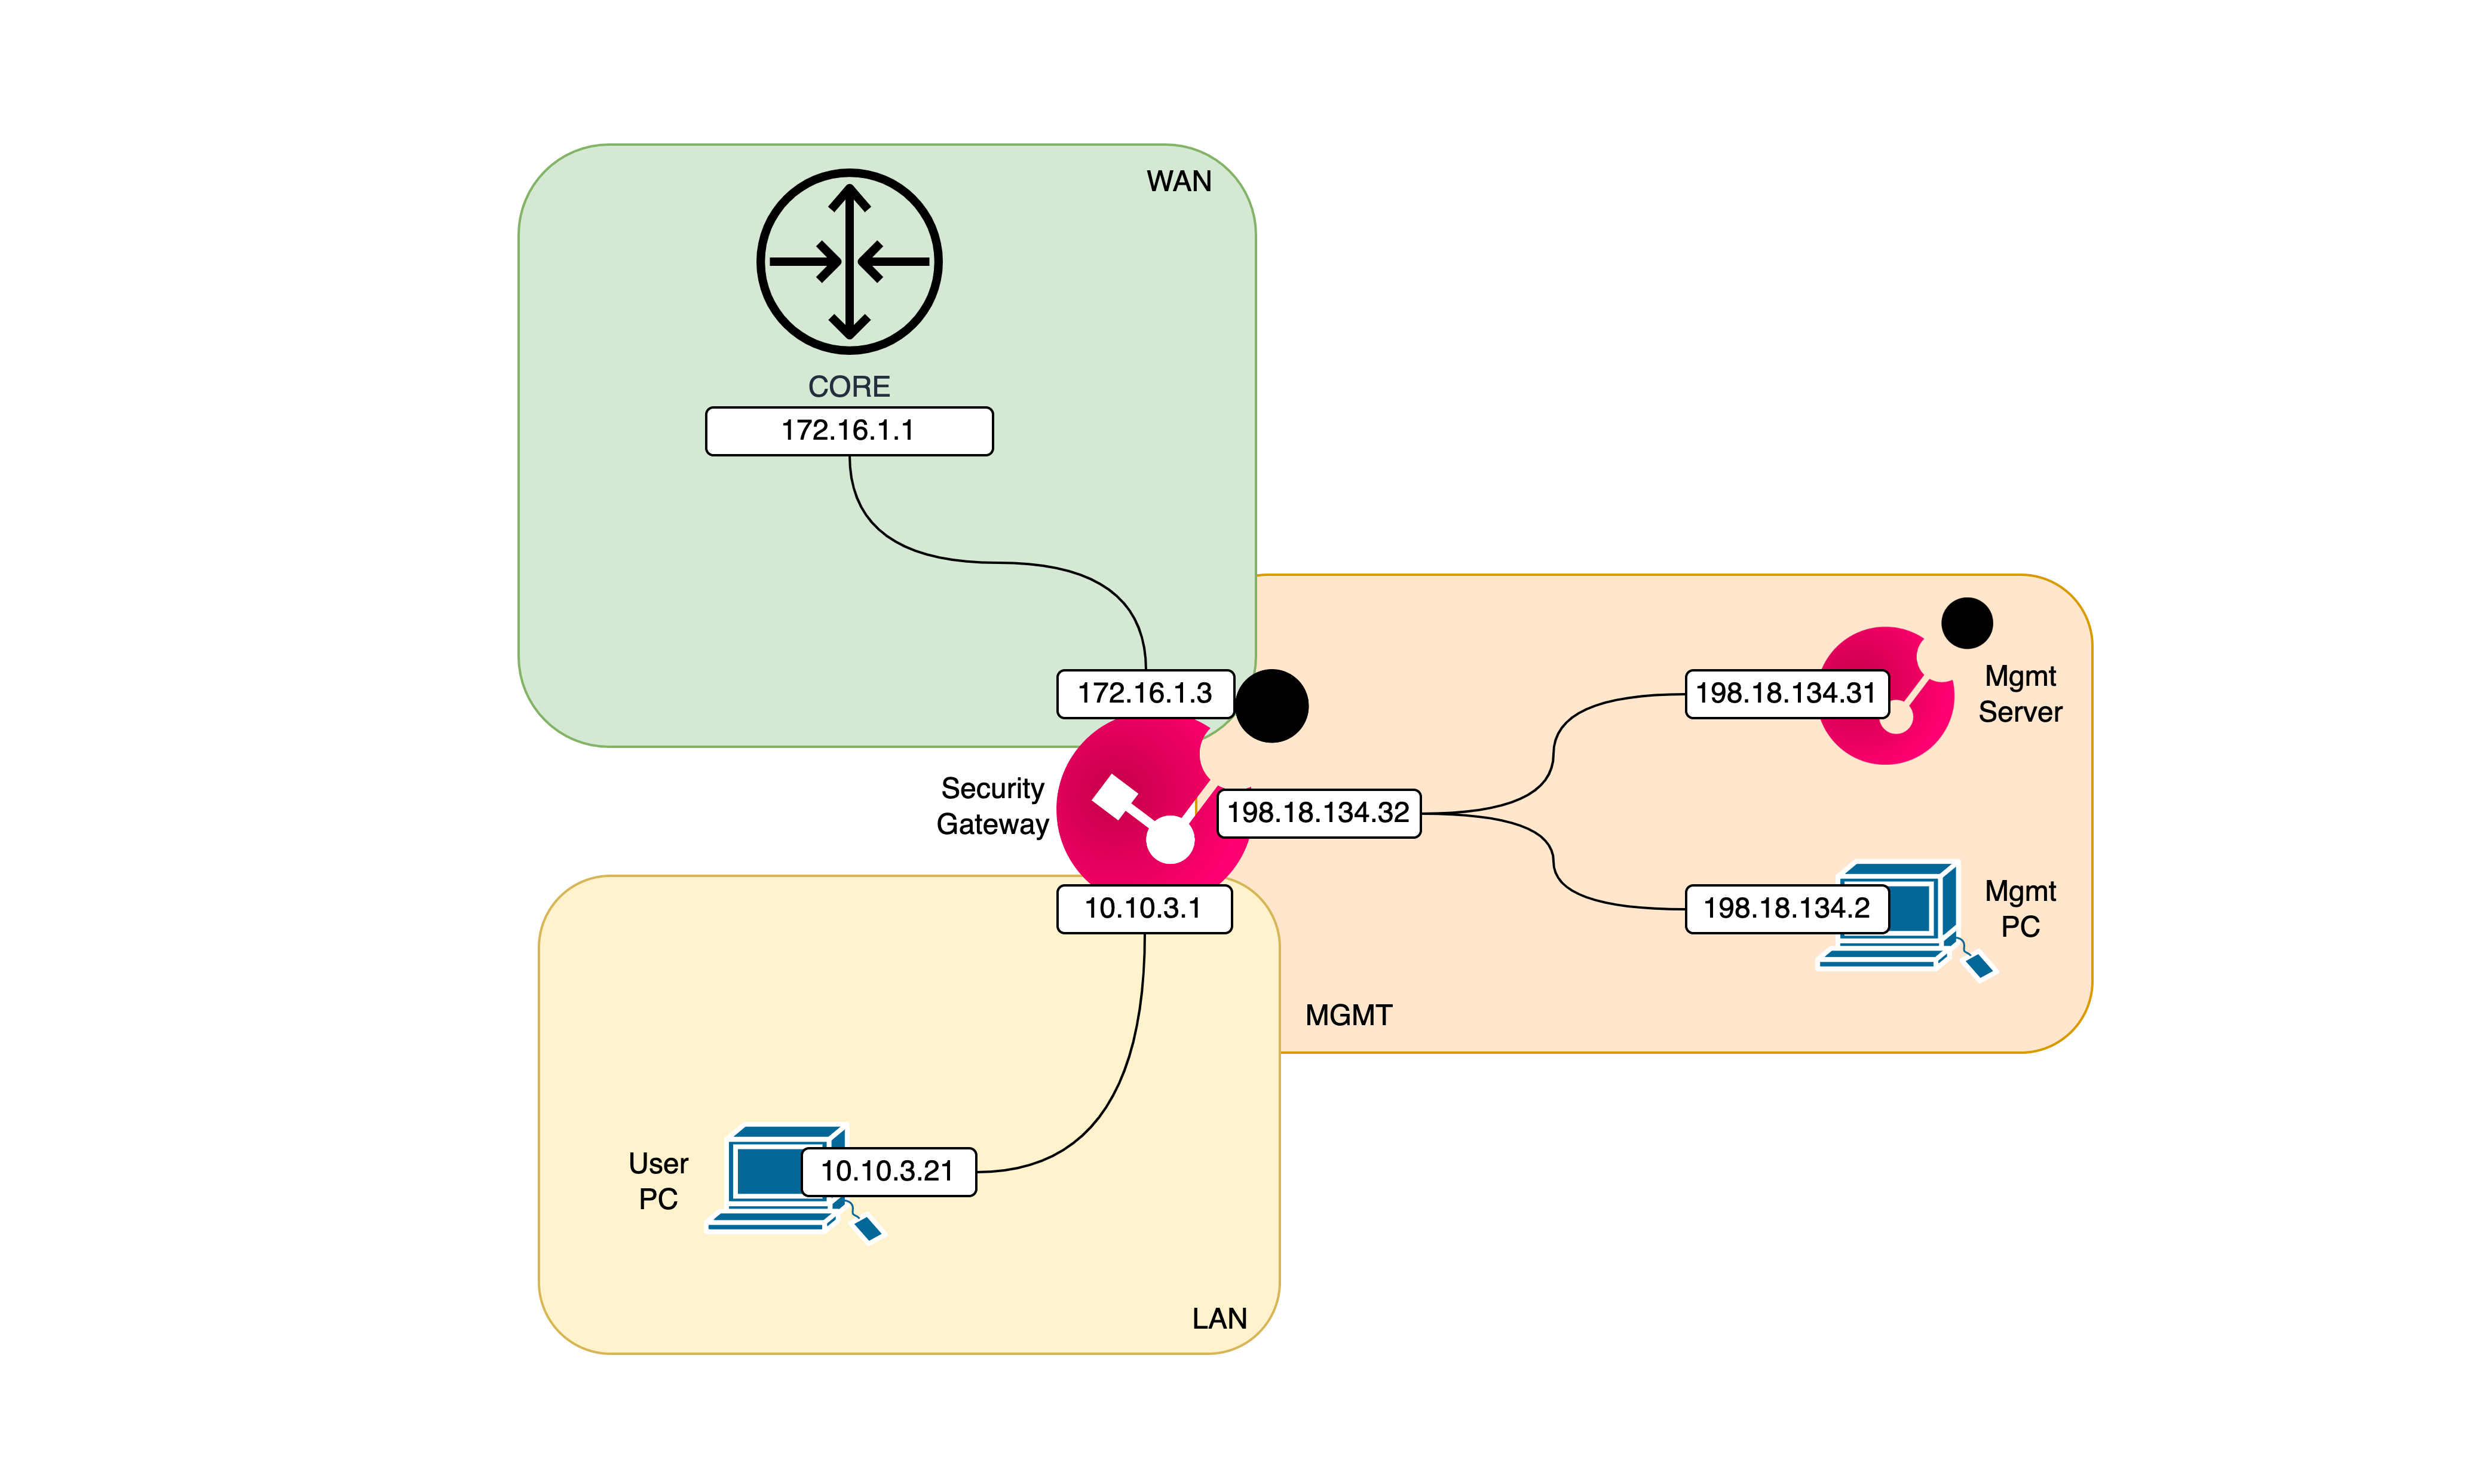
Deployment Topology
There are two types of onpremise installation :
- Standalone Deployment : This involves a single Node working as the Security Gateway and the Management Server.
- Distributed Deployment : This distributes the installation into two nodes, Security Gateway and Management Server.
Here’s the topology for this deployment
Installing Check Point Security Gateway
First download the ISO installer on Check Point Support Center

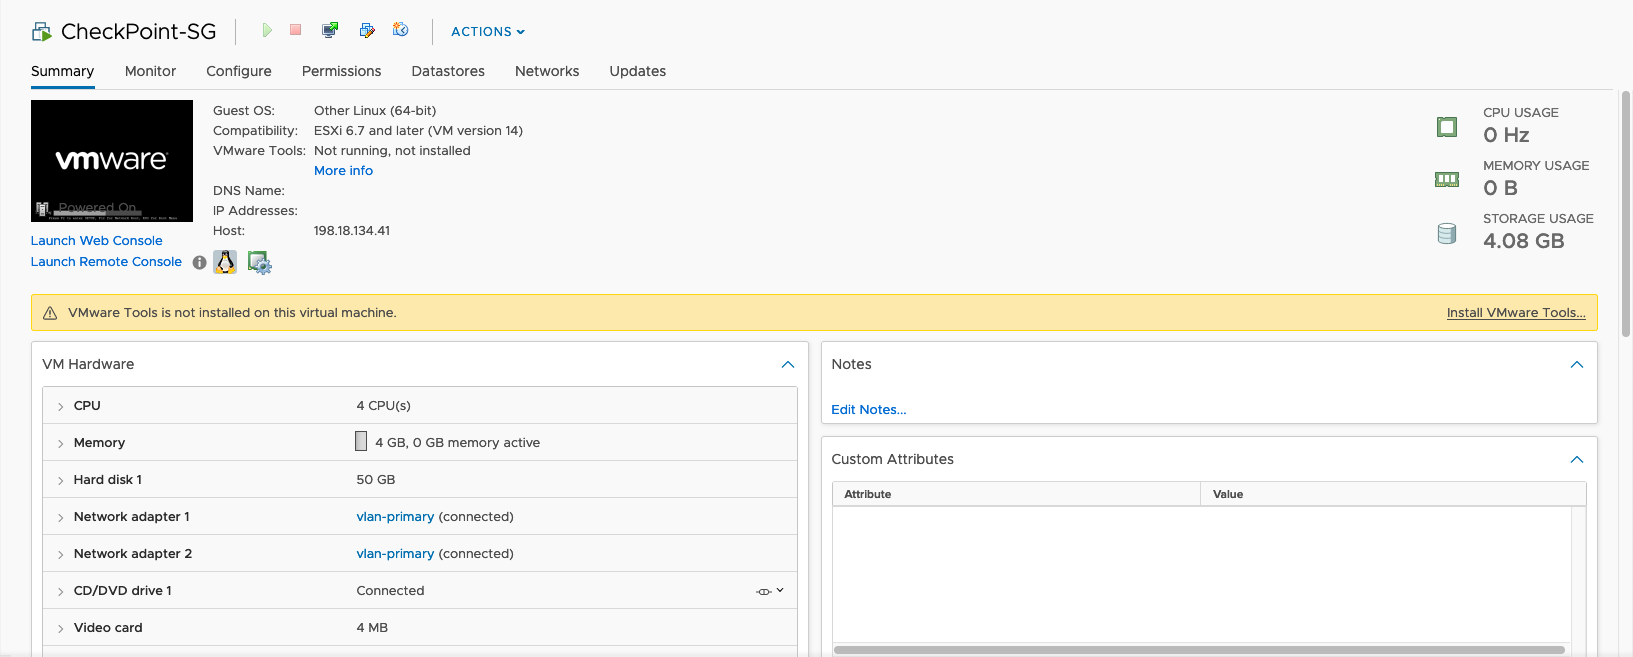
Then just deploy it as usual, for the Security Gateway we will use 3 network interfaces
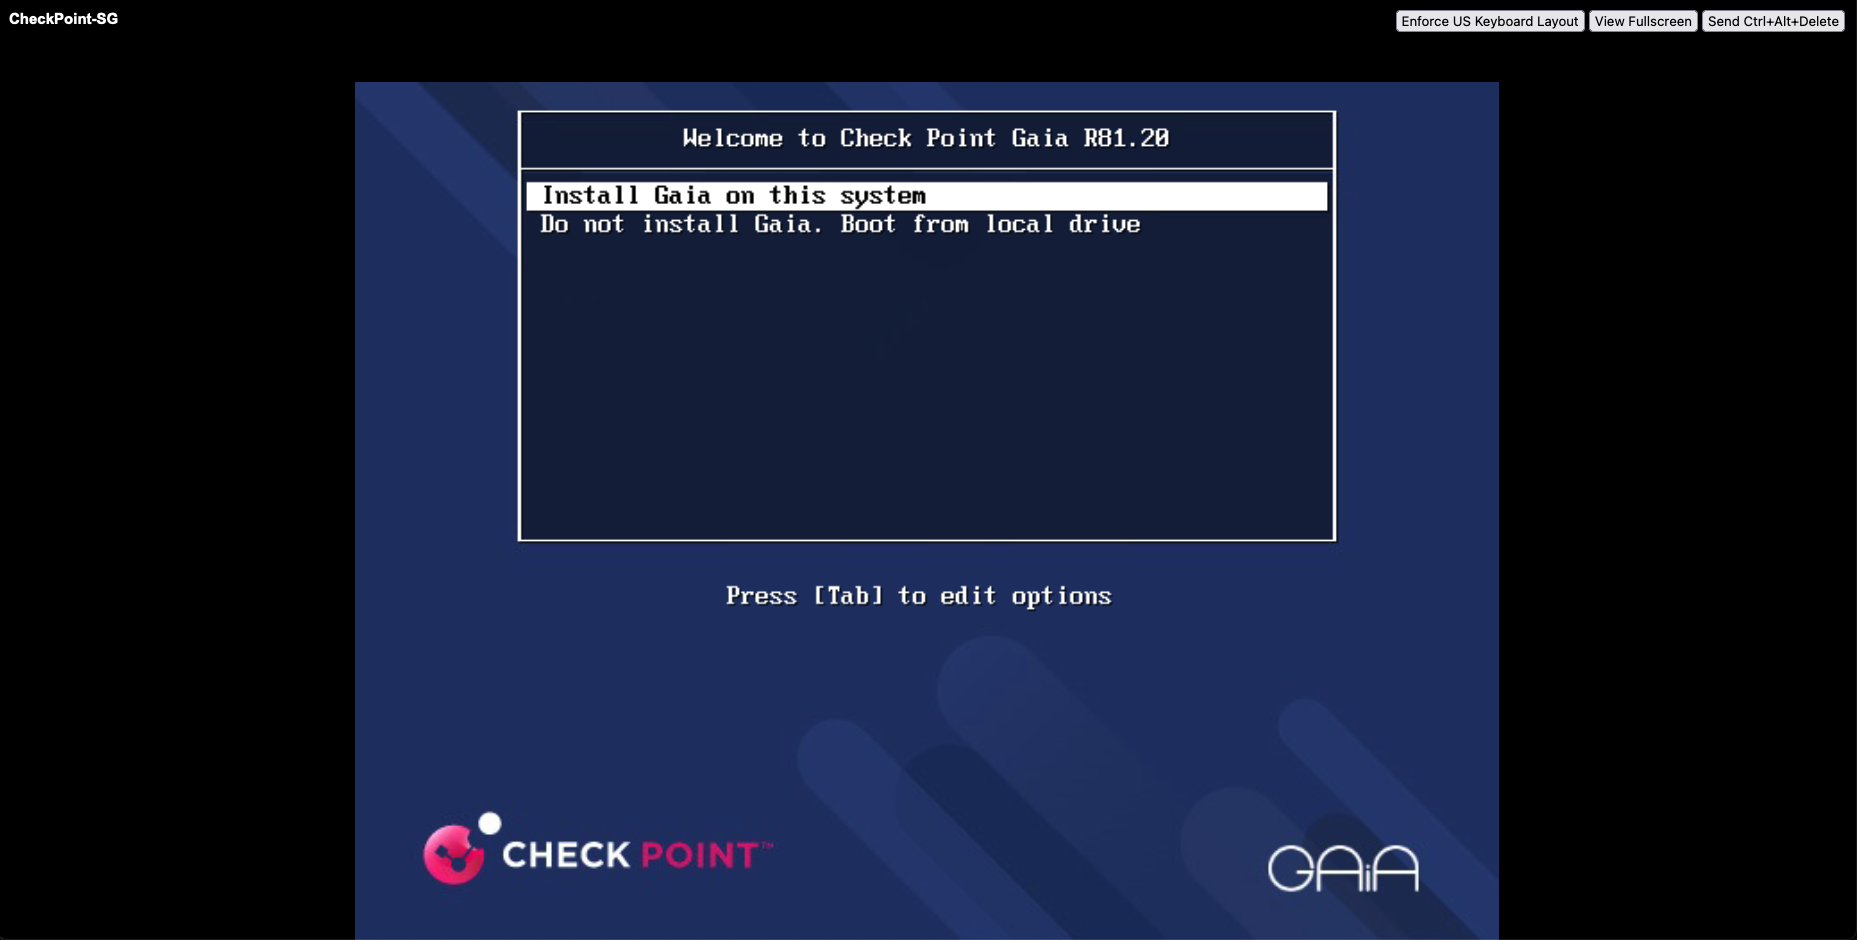
Run the installer and select Install Gaia
Gaia is an advanced, secure operating system for its security appliances. It’s designed to offer maximum flexibility and efficiency for managing security policies and configurations across various network environments. Gaia integrates the functionalities of different Check Point software blades into a single unified platform, providing a comprehensive security solution for enterprises.
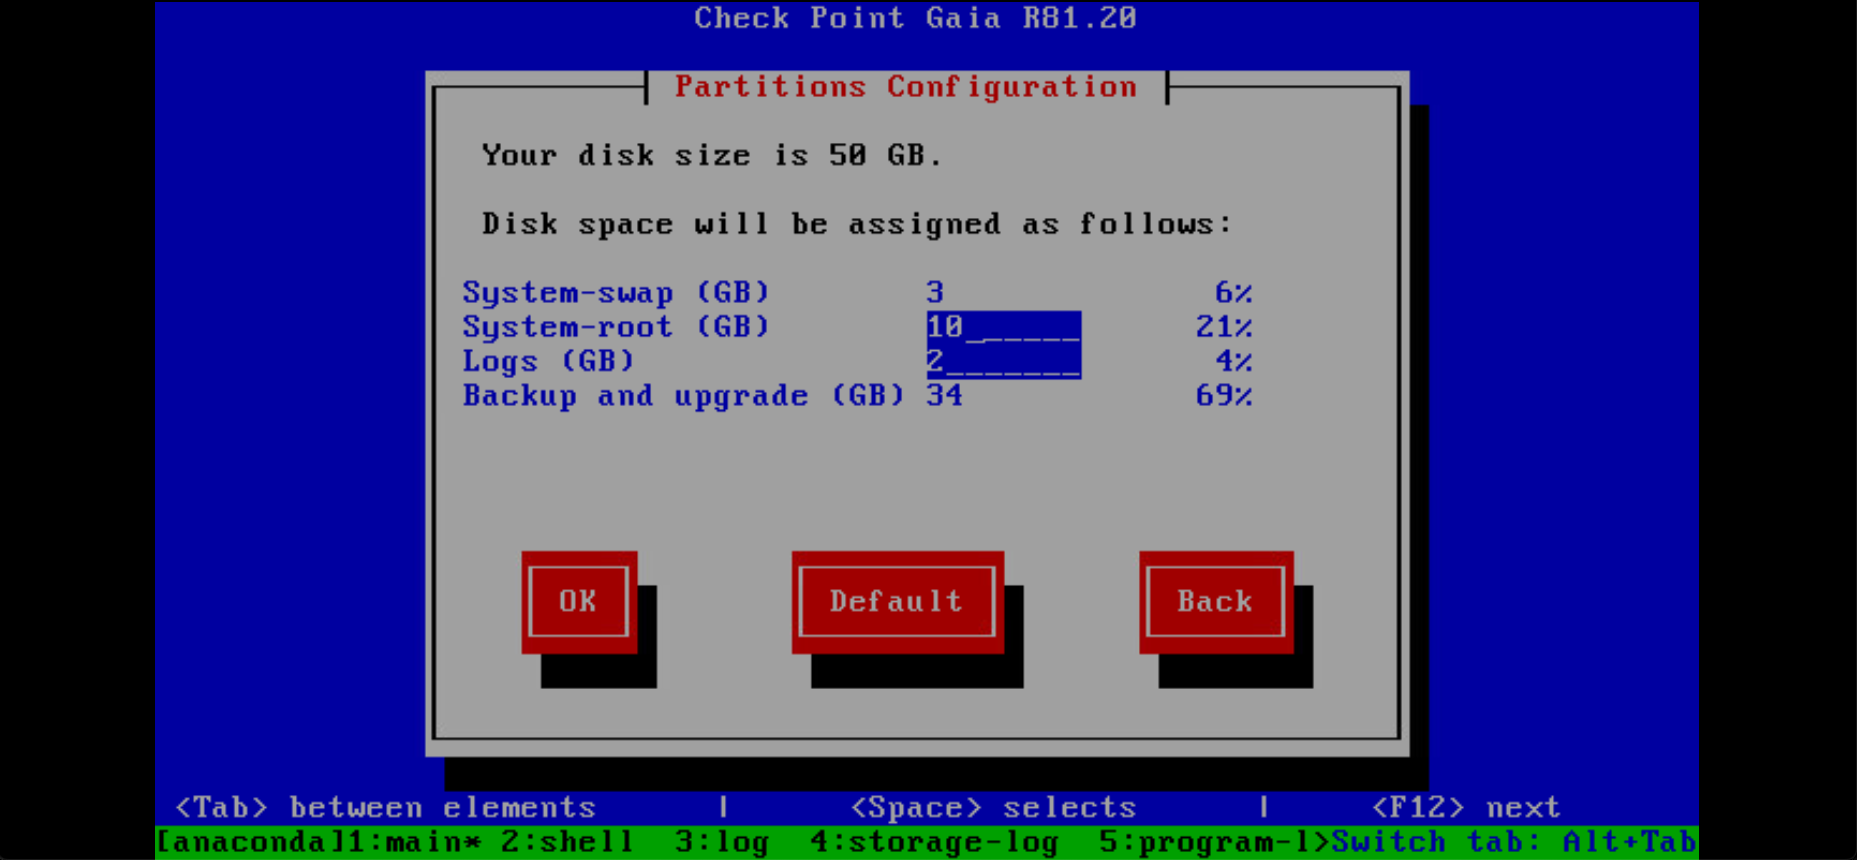
Then allocate the disk partitions
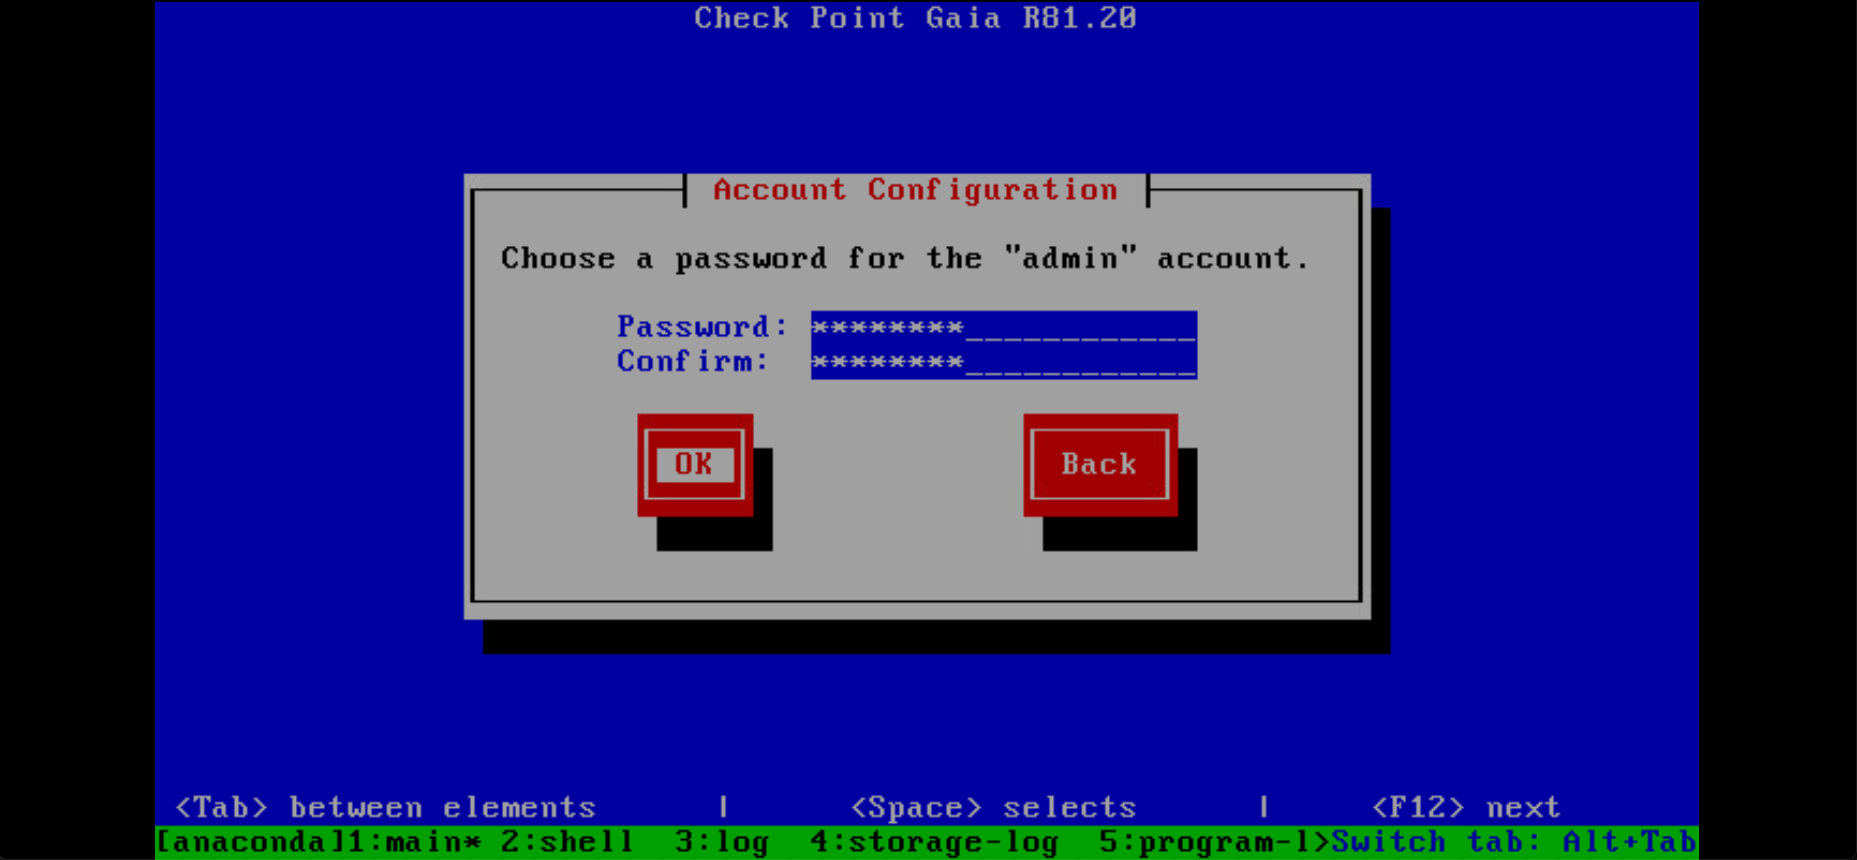
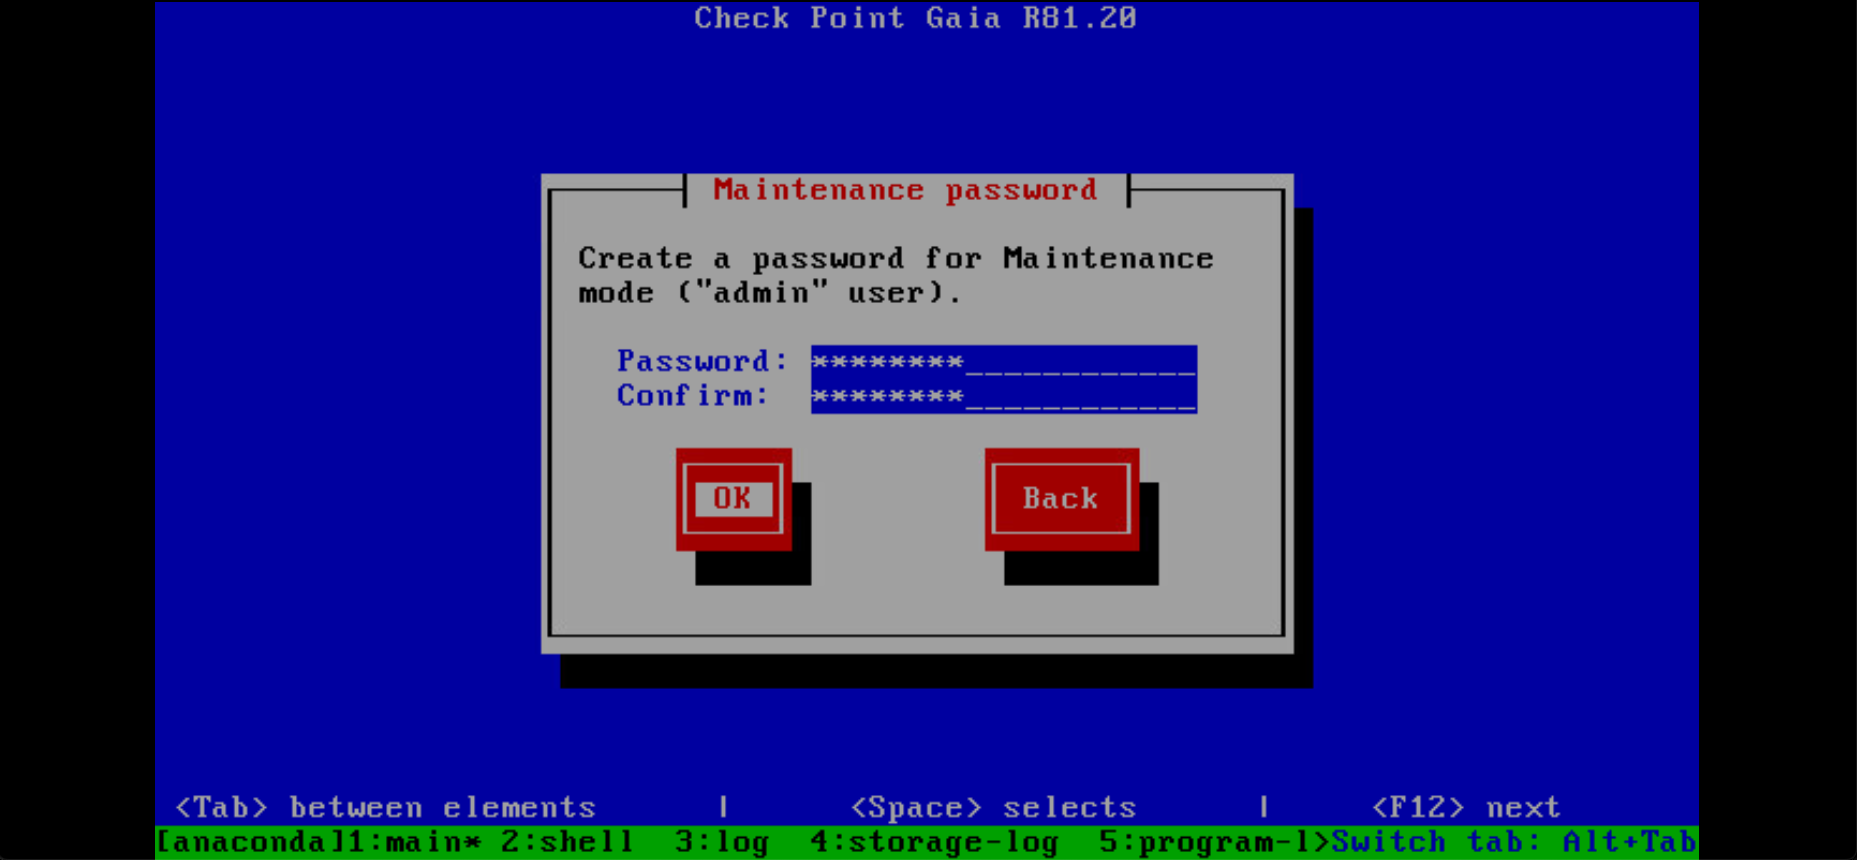
Next set the admin password
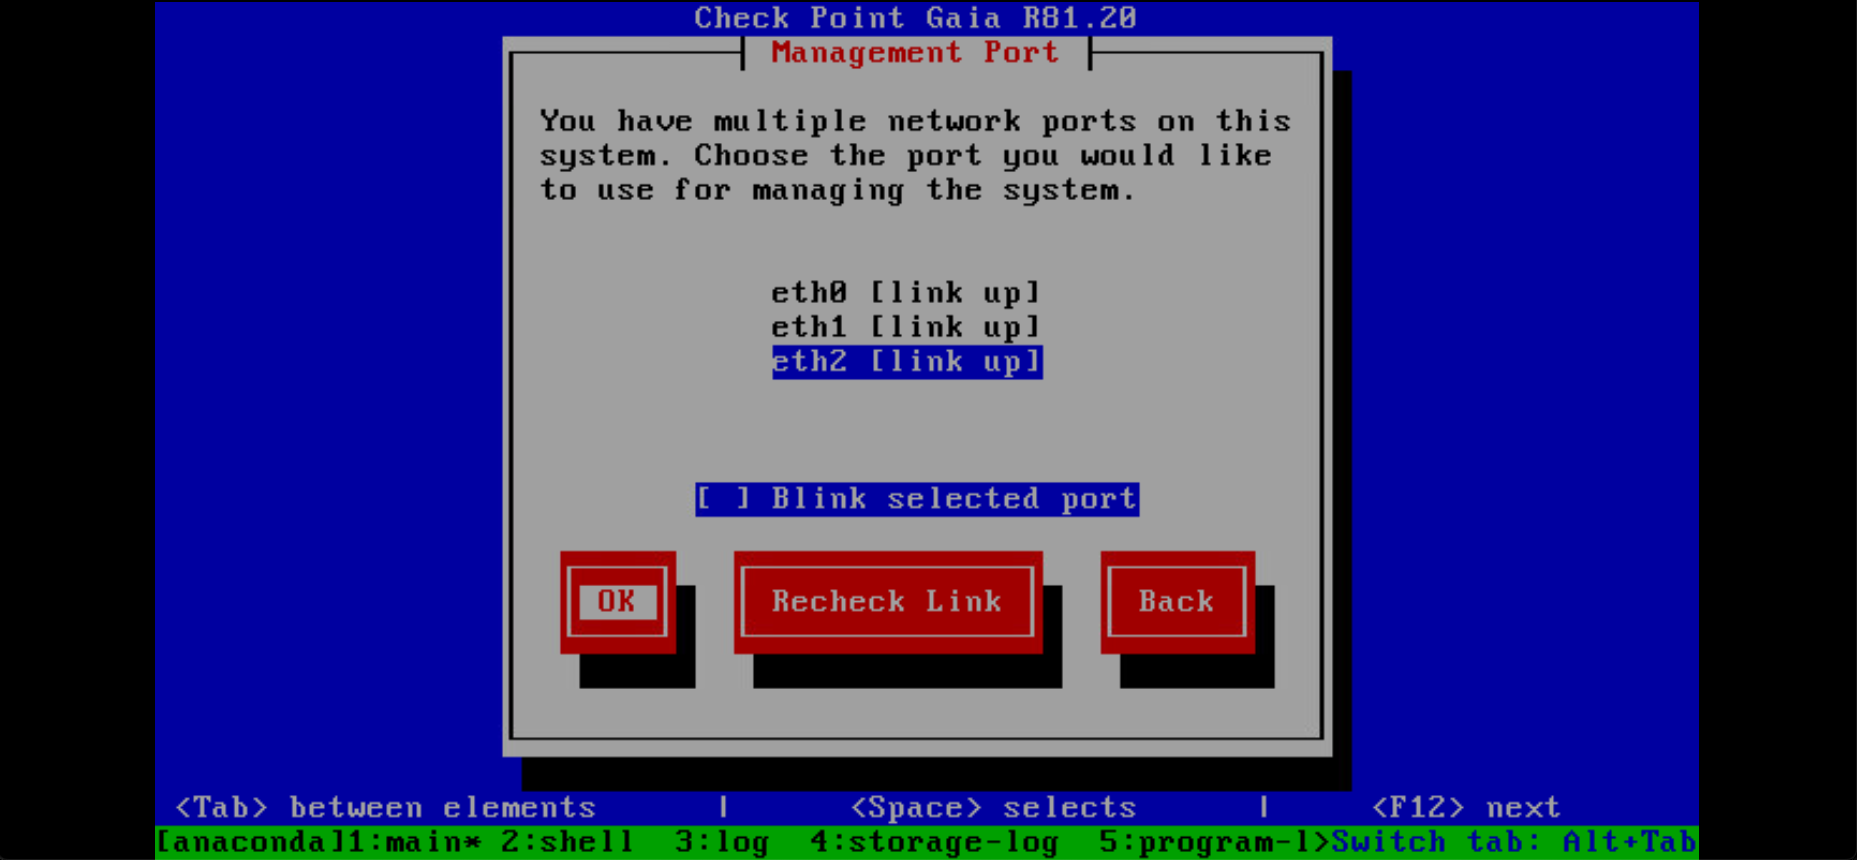
Next select the management network interface
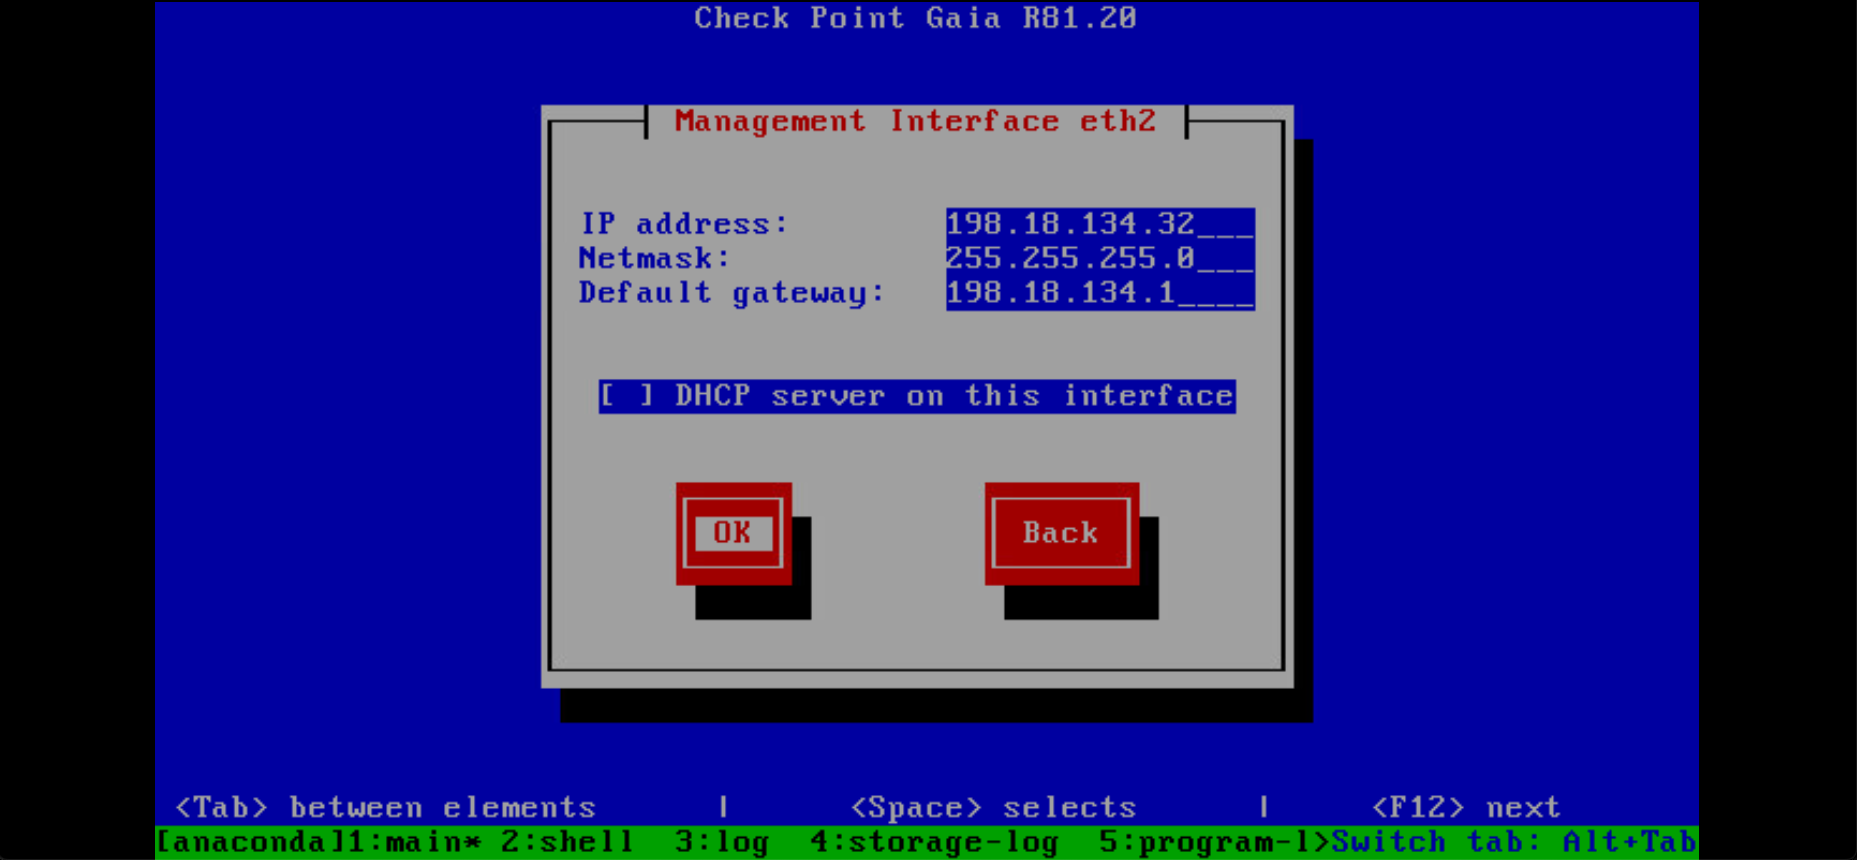
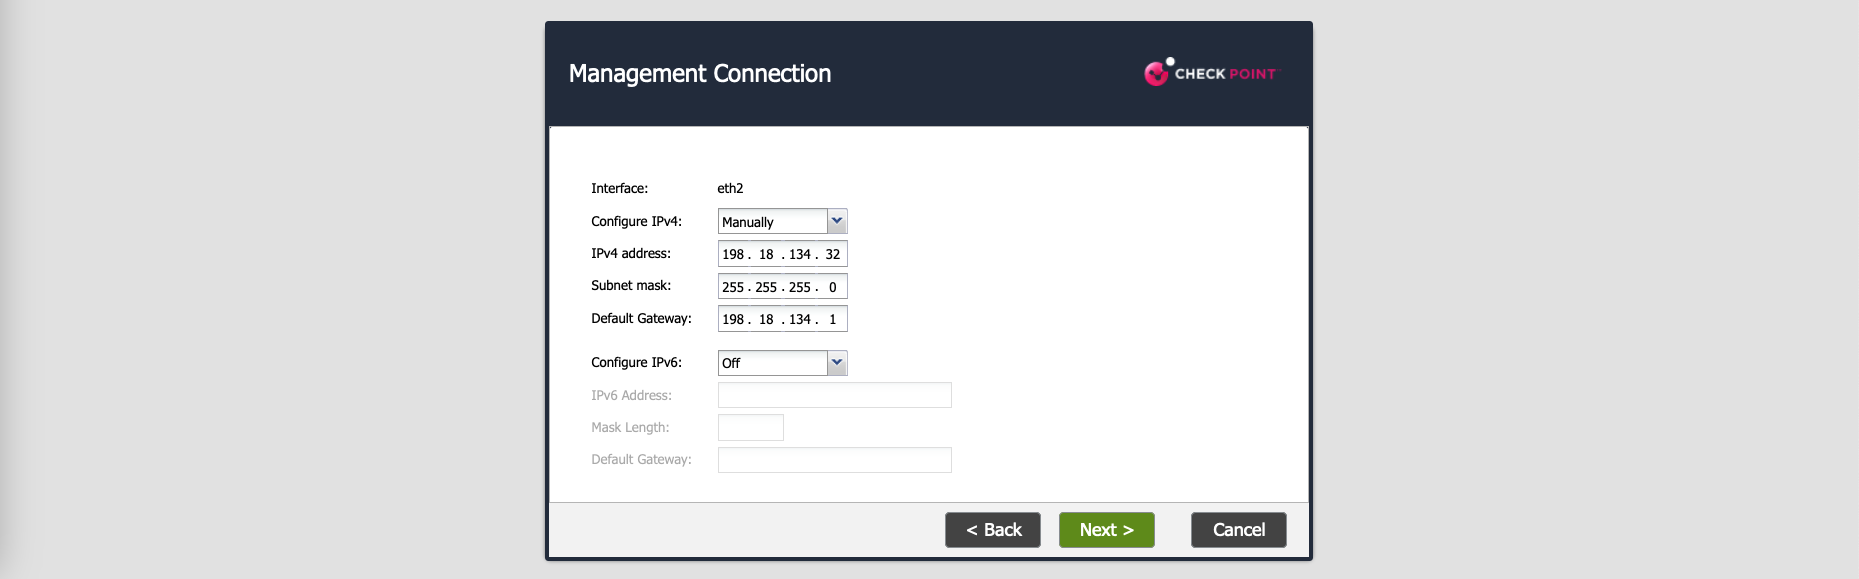
Then set the Management IP Addressing
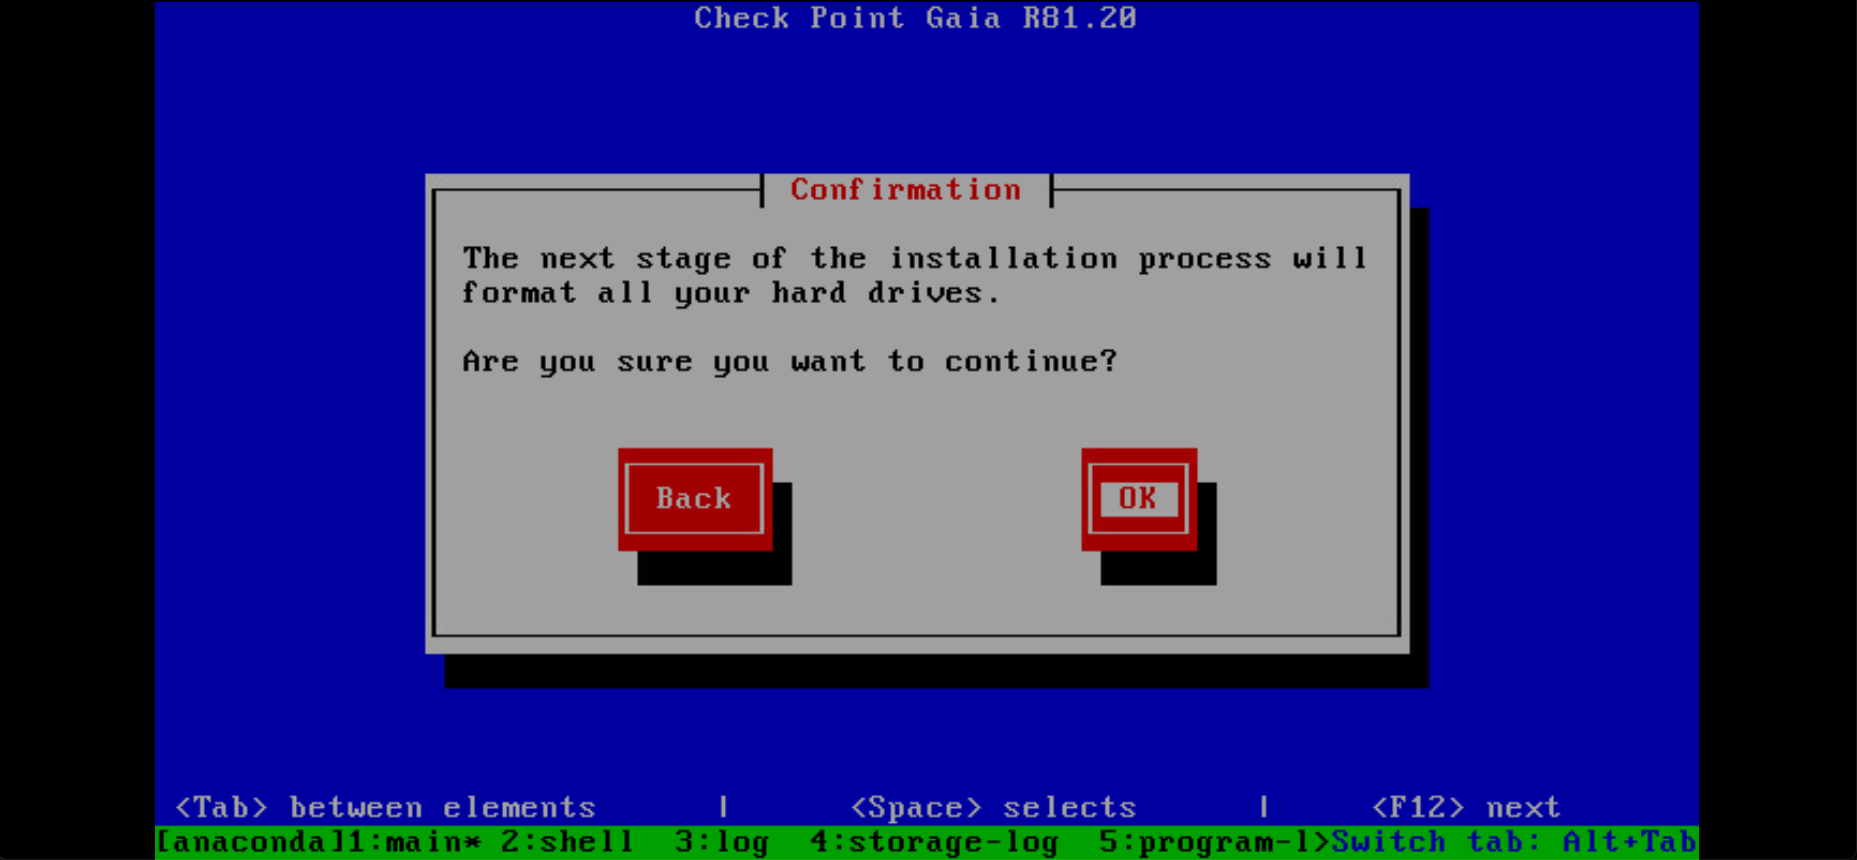
Confirm and start the installation
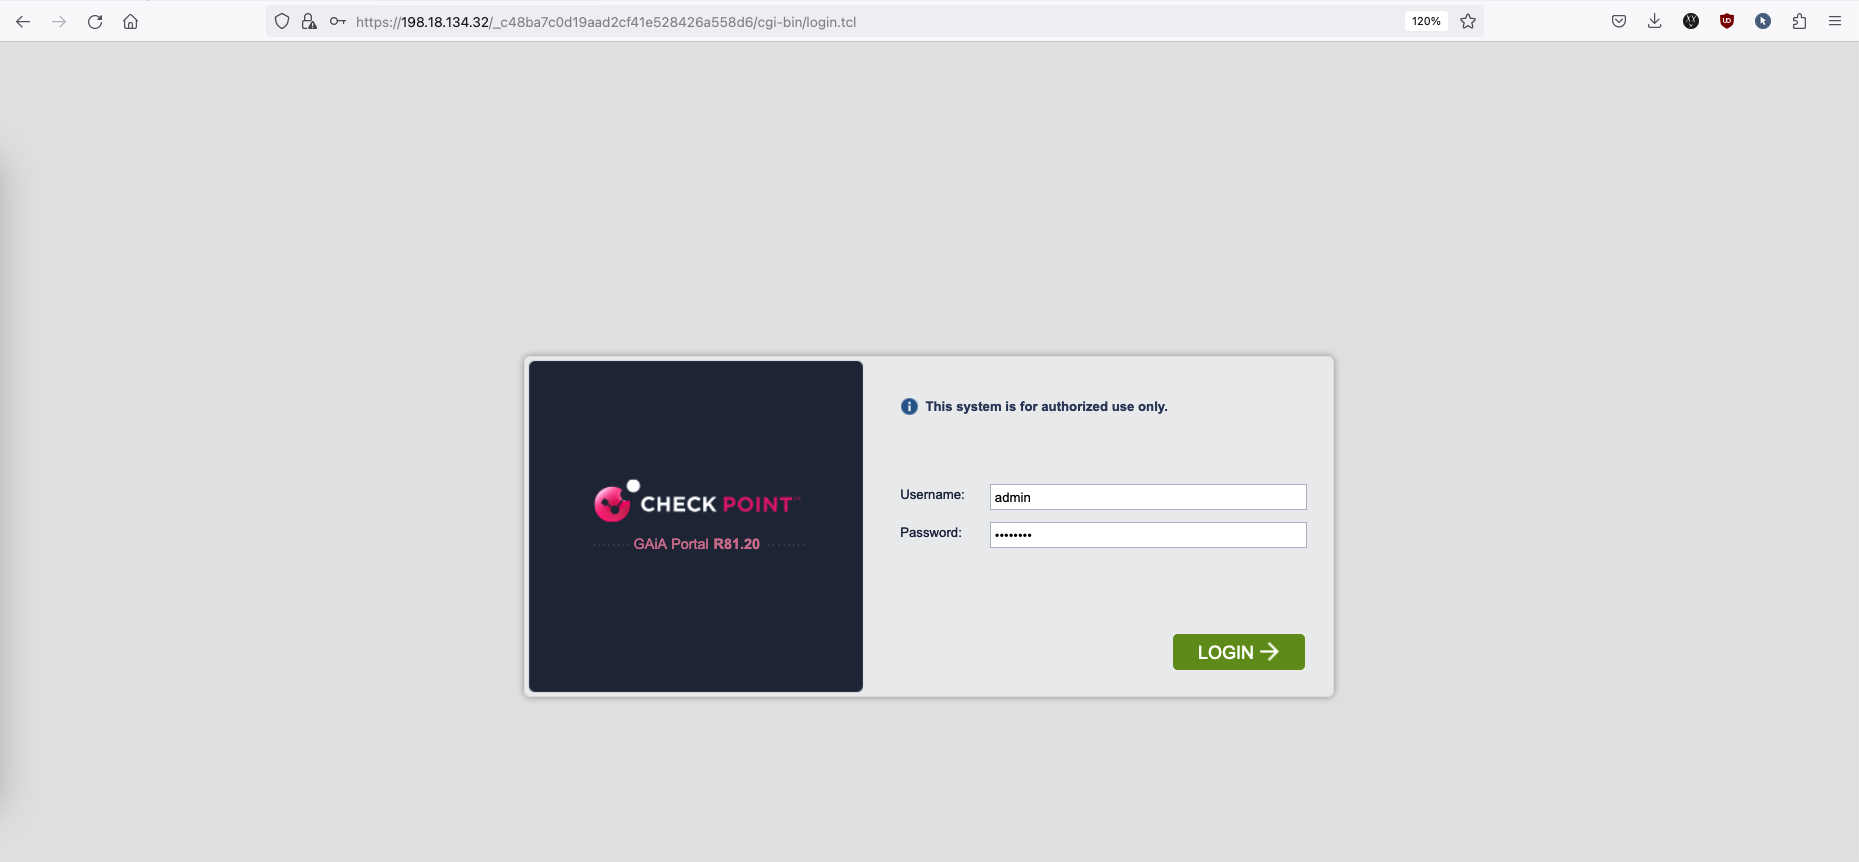
After a while, the Web UI should be accessible
Start the configuration wizard
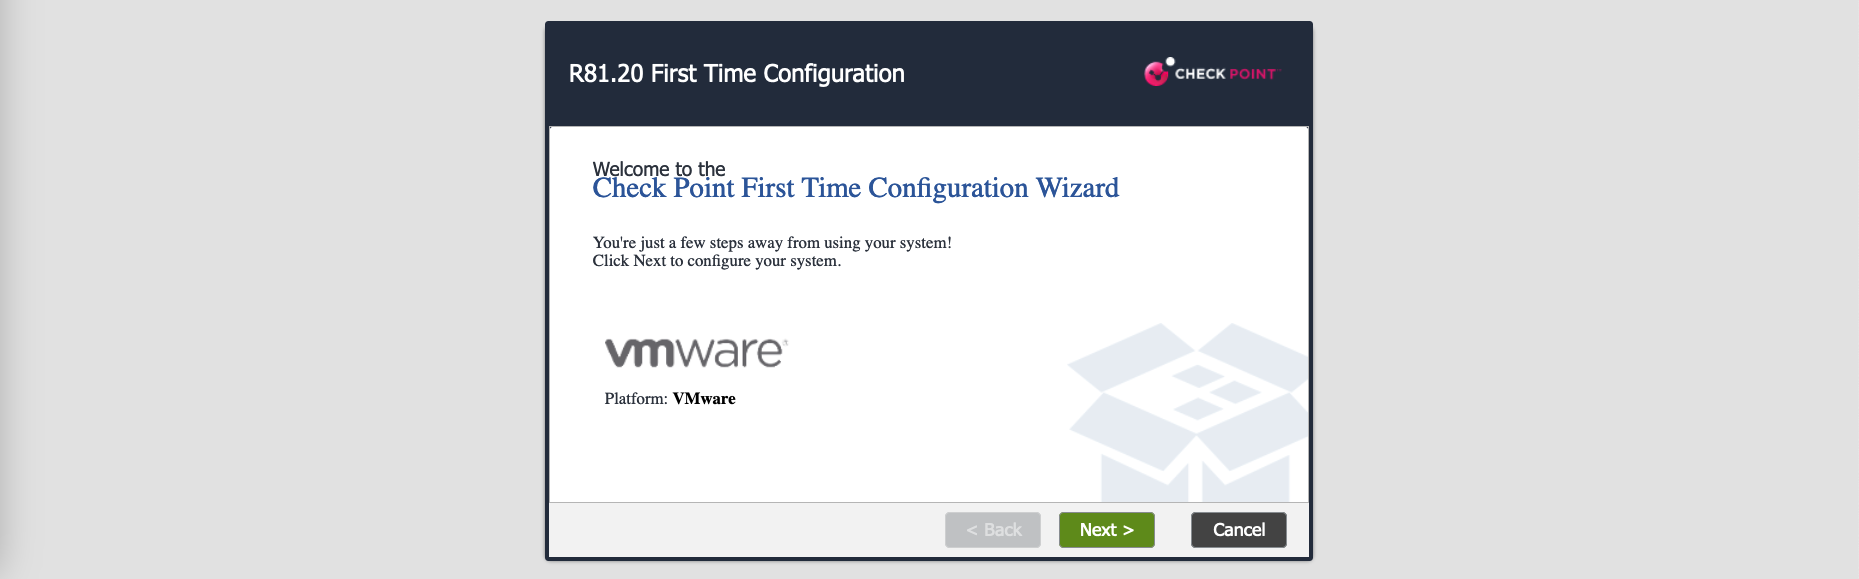
Hit continue

Configure the management interface again
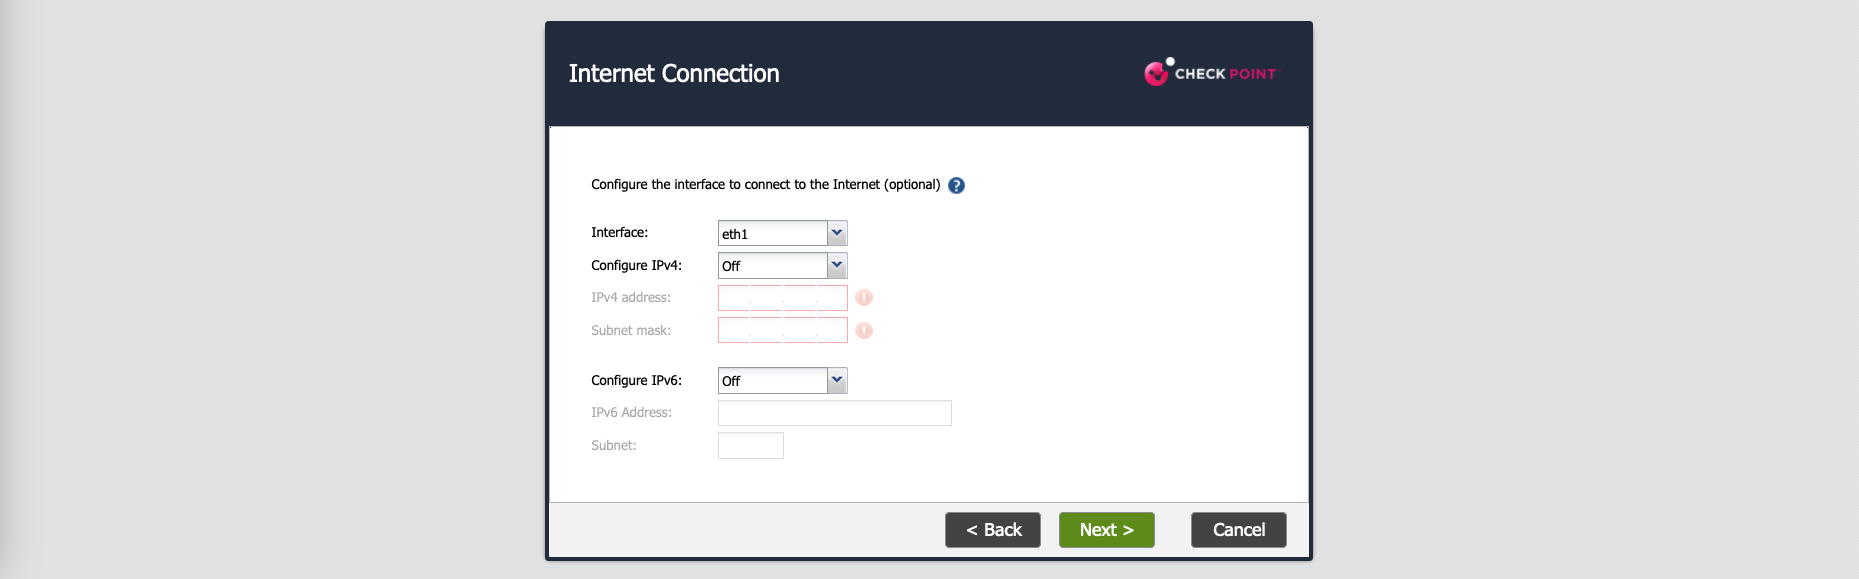
Optionally, configure the uplink interface, but we’ll do it later so just hit next
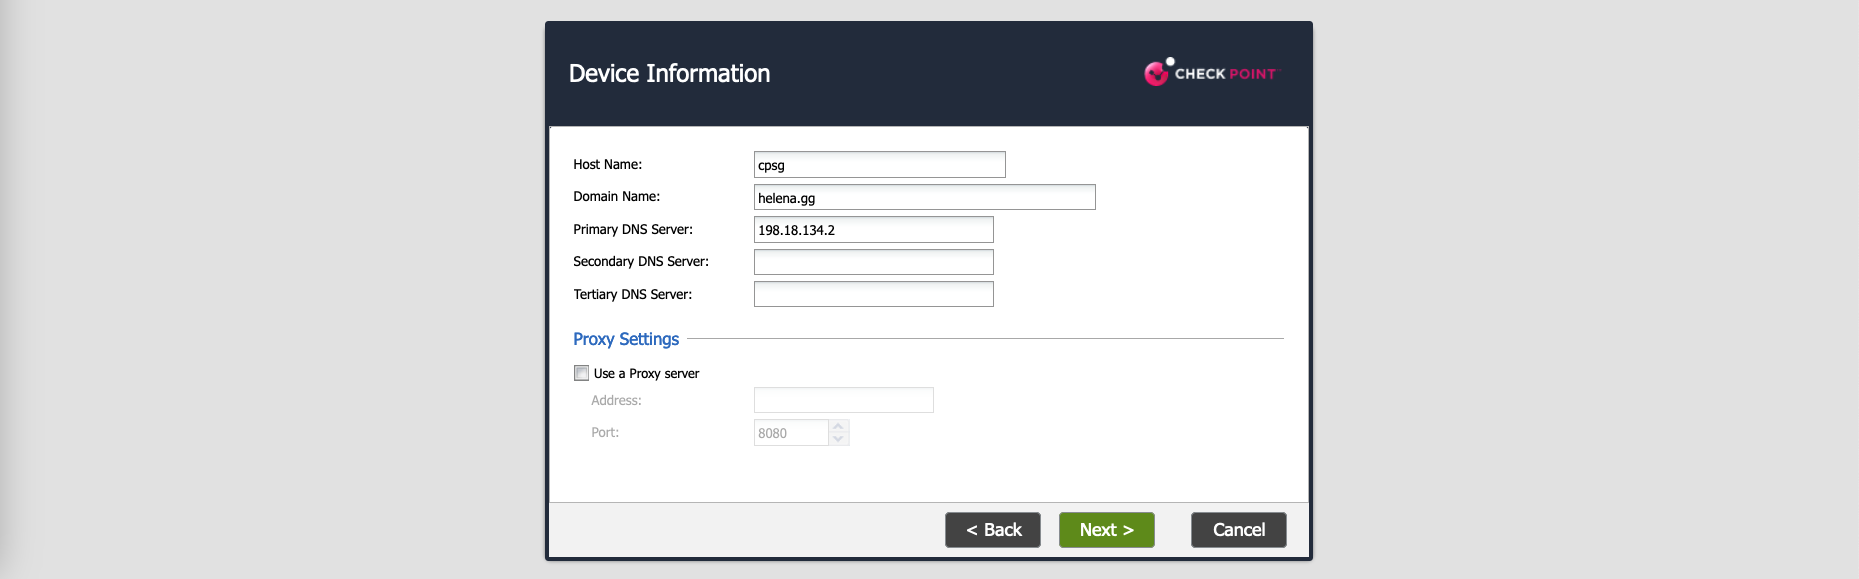
Configure hostnamem, DNS and NTP stuff

Next select the installation type

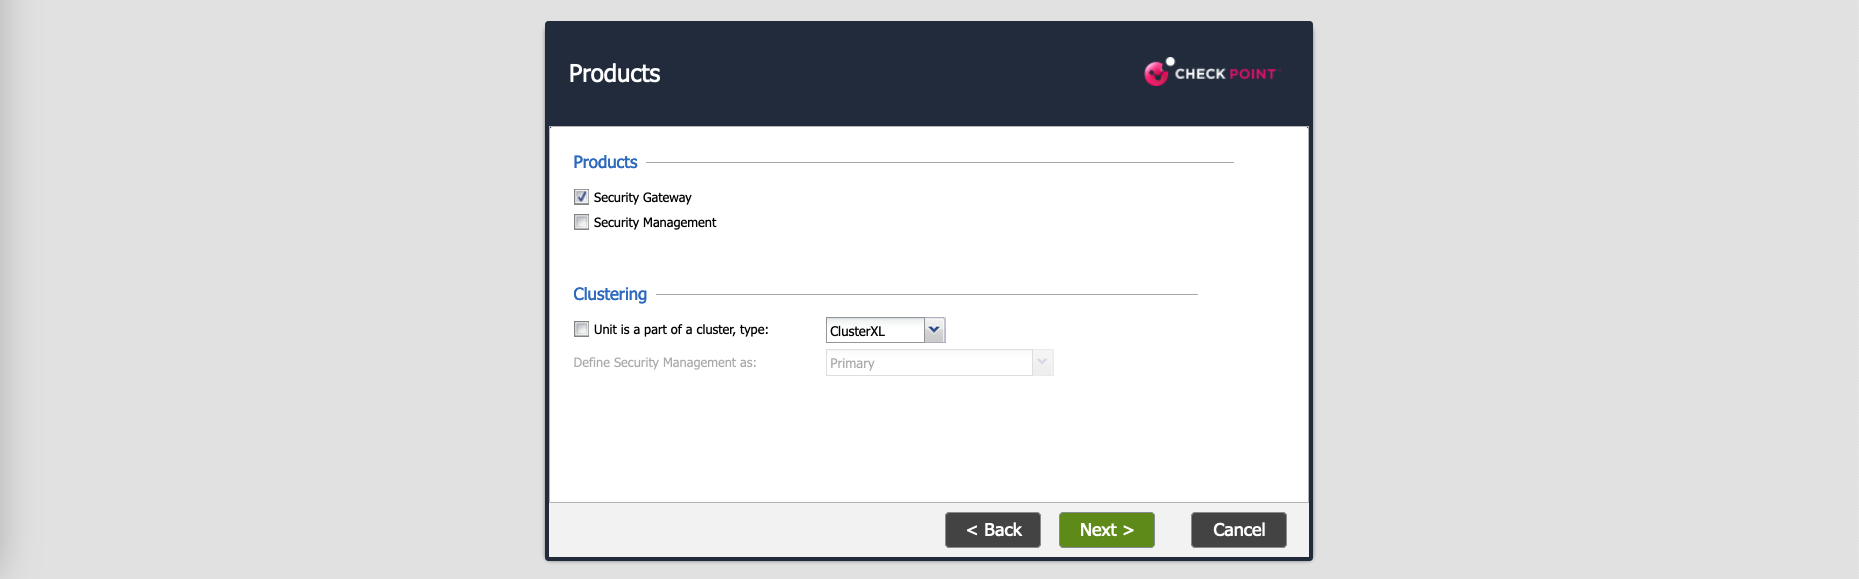
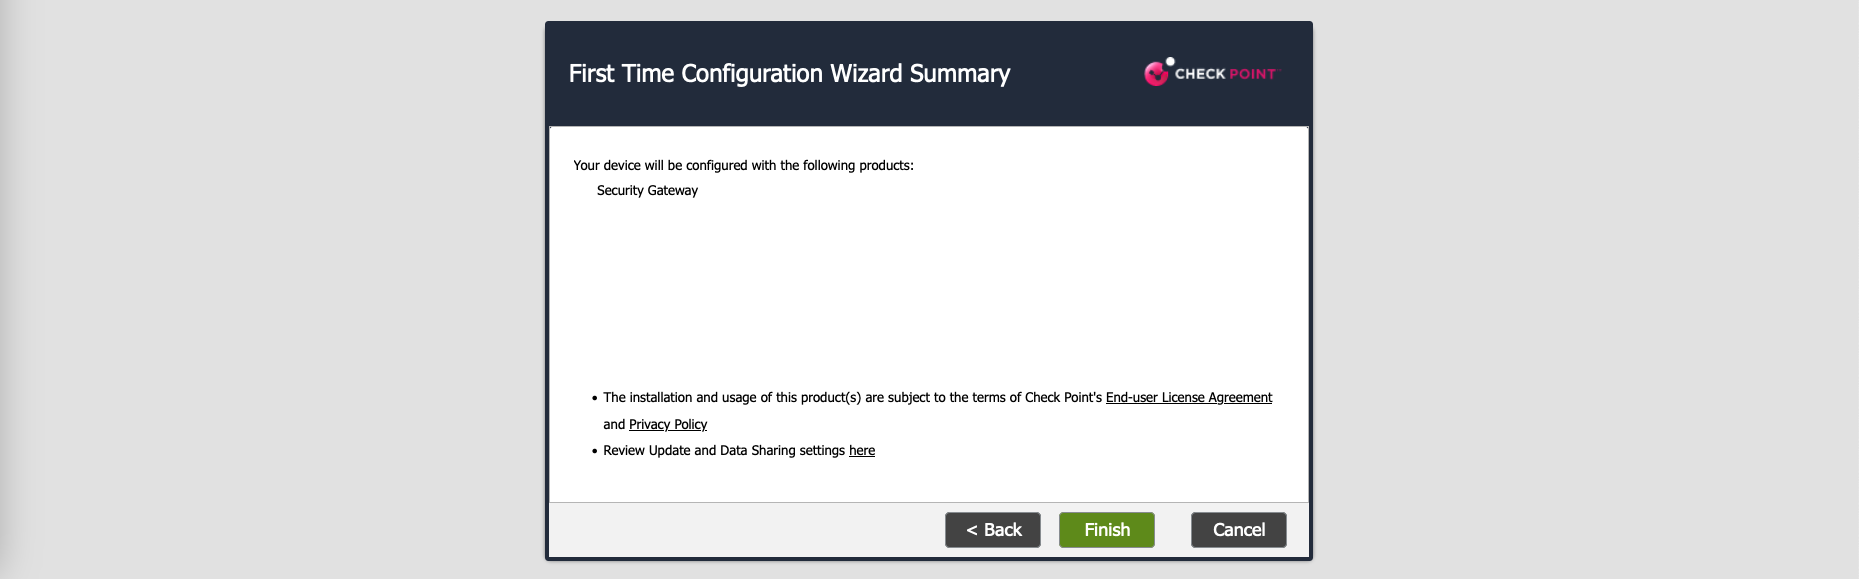
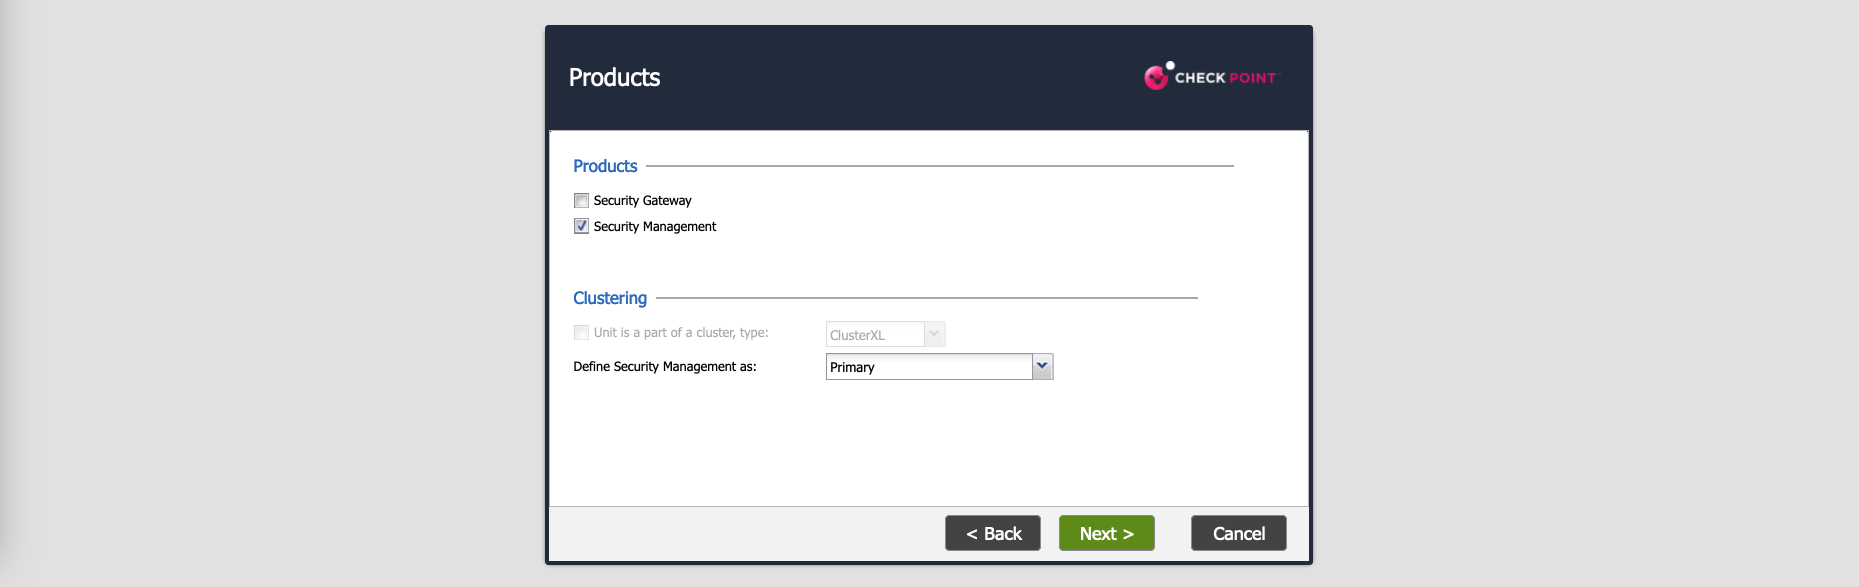
Then on Products, select only Security Gateway because we’re installing the Distributed Deployment
Then enter the Activation Key that’ll later be used to intergrate it with the Management Server

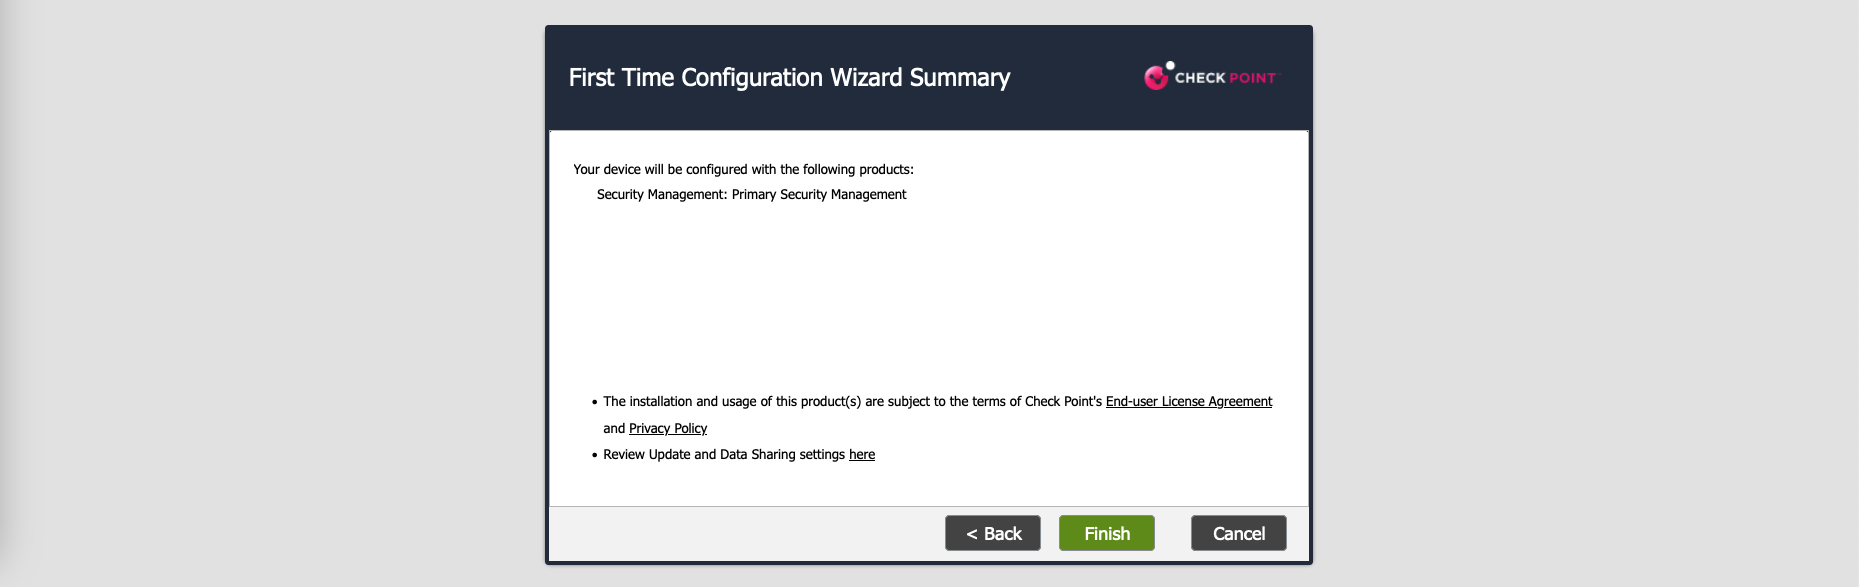
Review and hit Finish
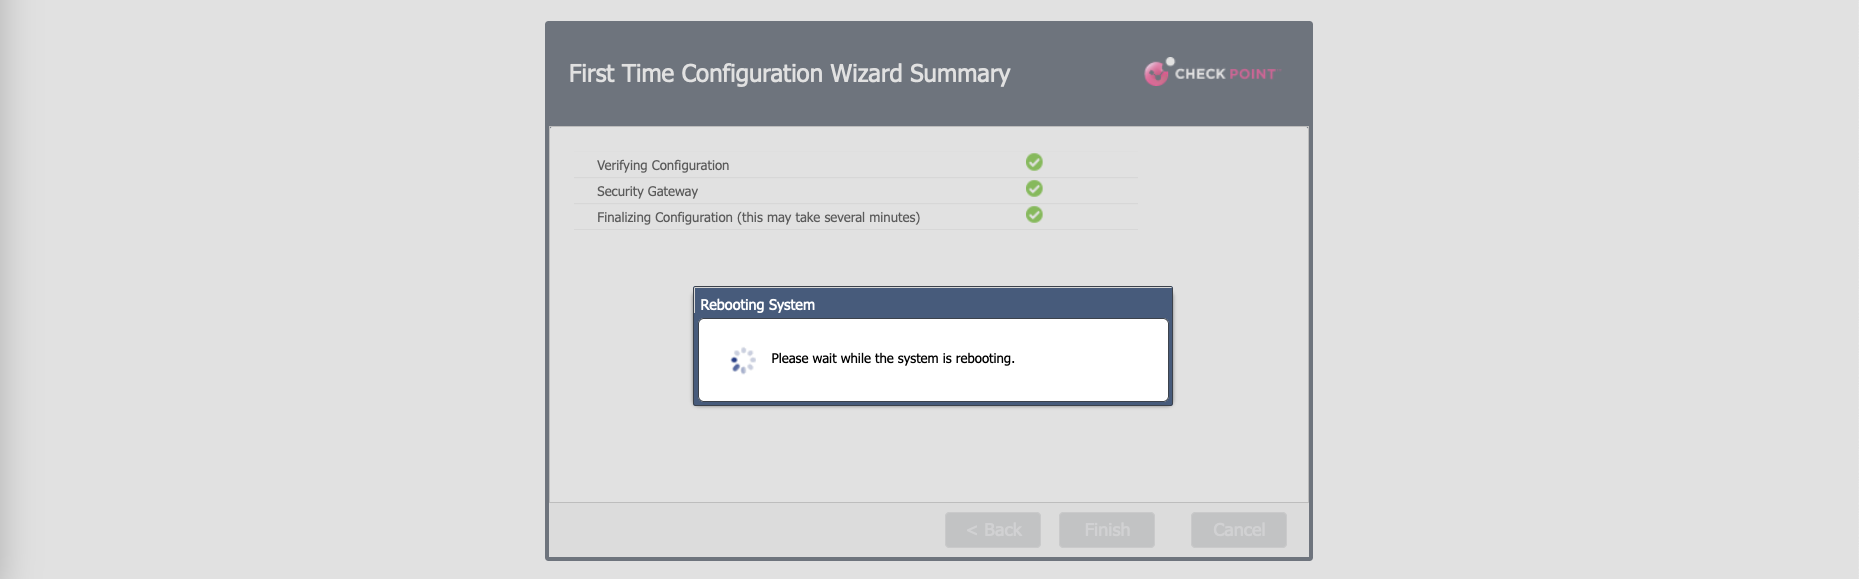
After installation finishes, reboot the system
And now we can log in to the Security Gateway
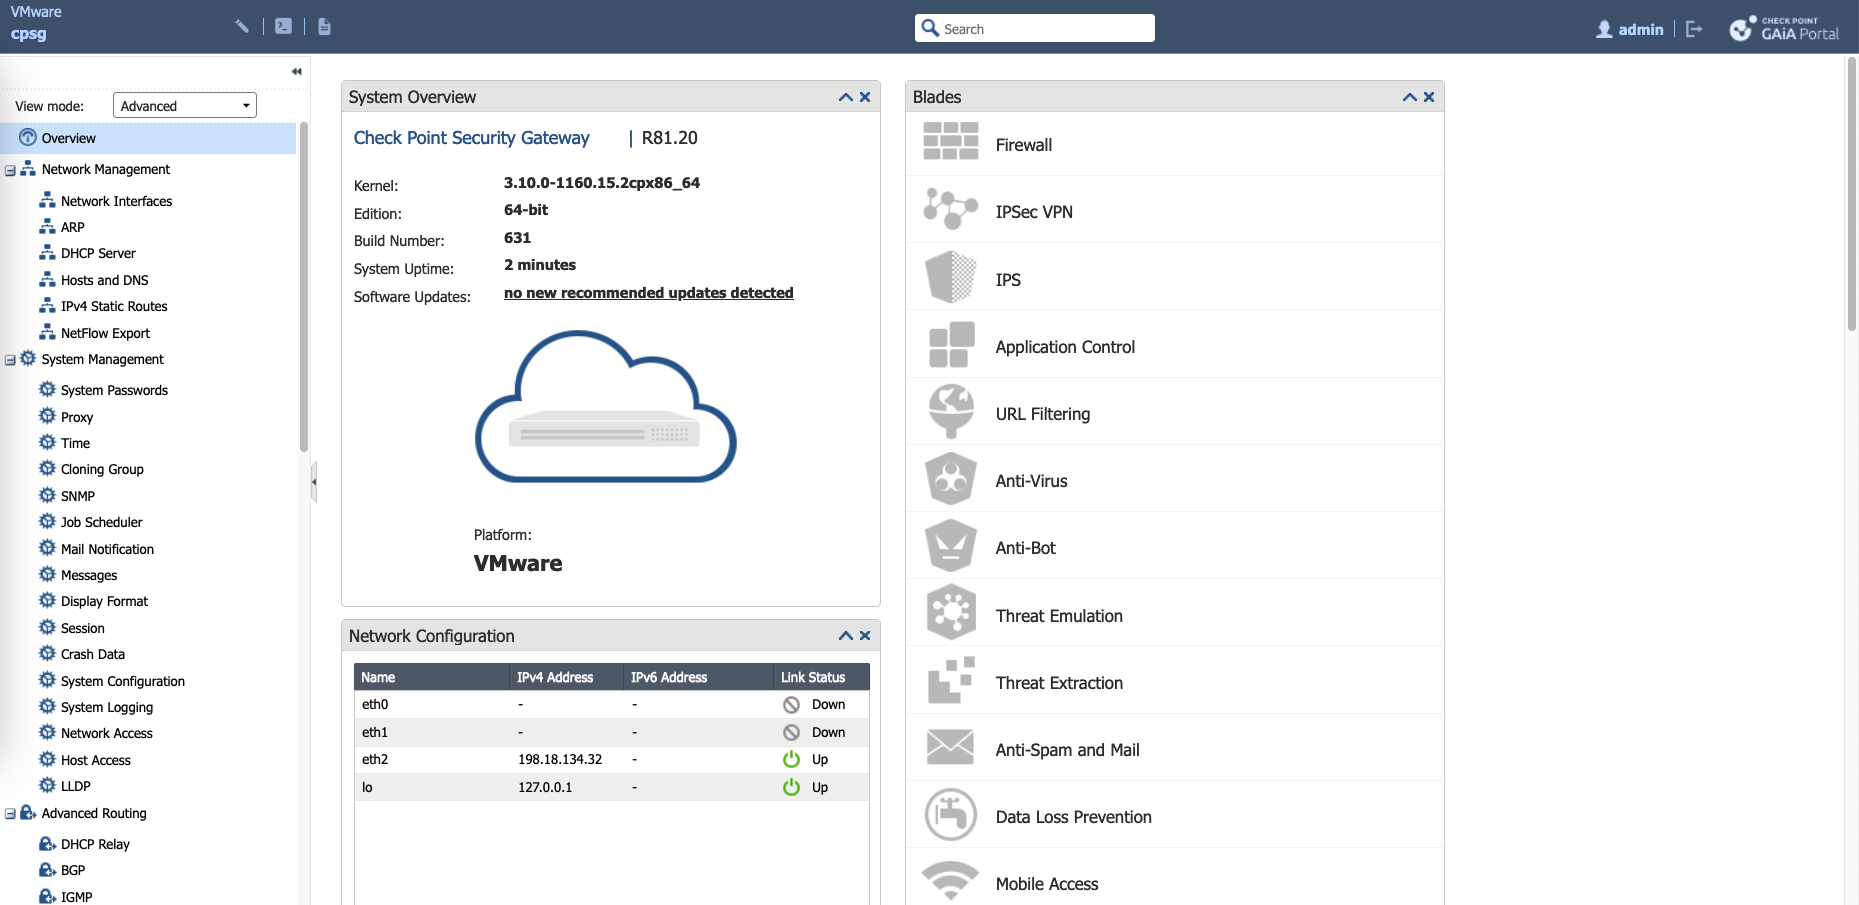
Here we configure the WAN, LAN, and Management Interfaces

Installing Check Point Management Server
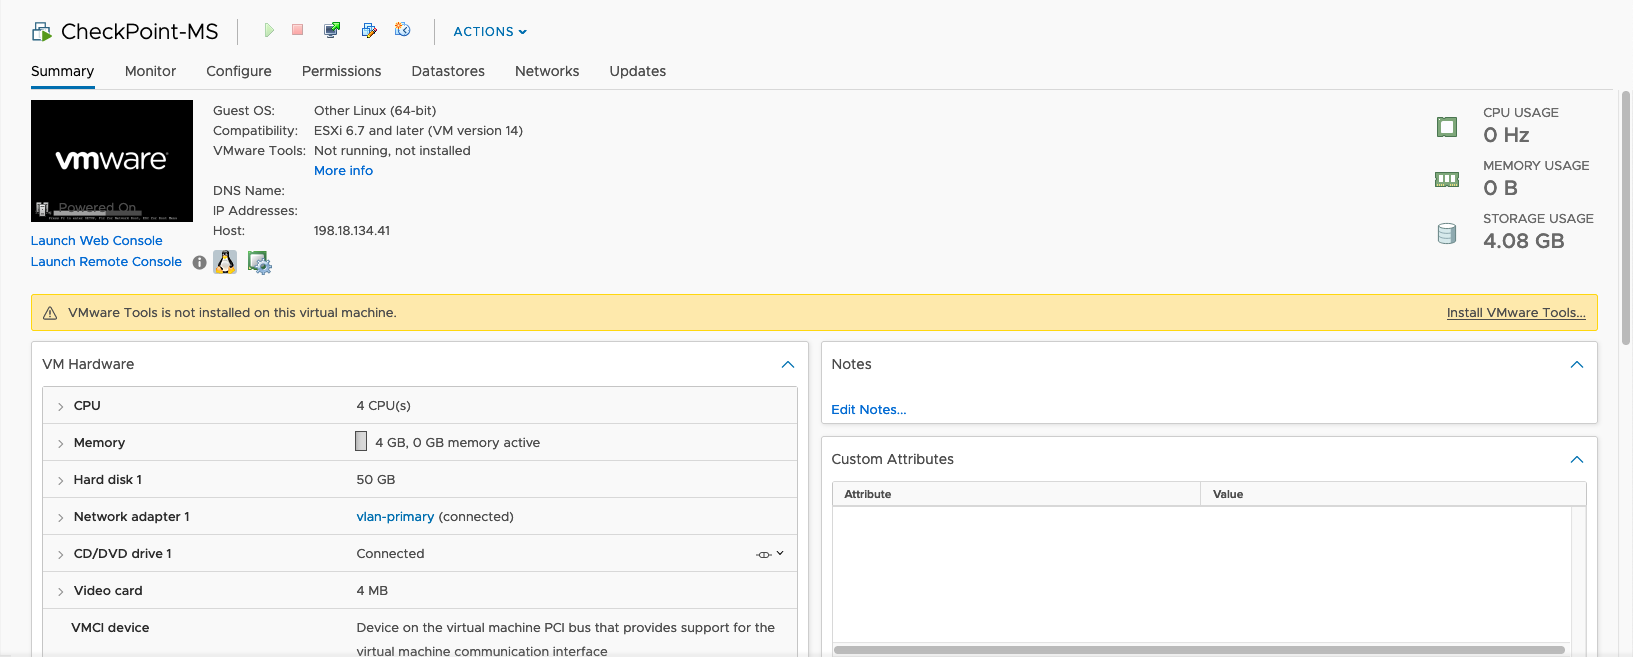
Using the same ISO Installer, deploy another VM with only one network inteface
Repeat pretty much everything that was done earlier, with the difference on the Products which we will only select the Security Management
Review and hit finish
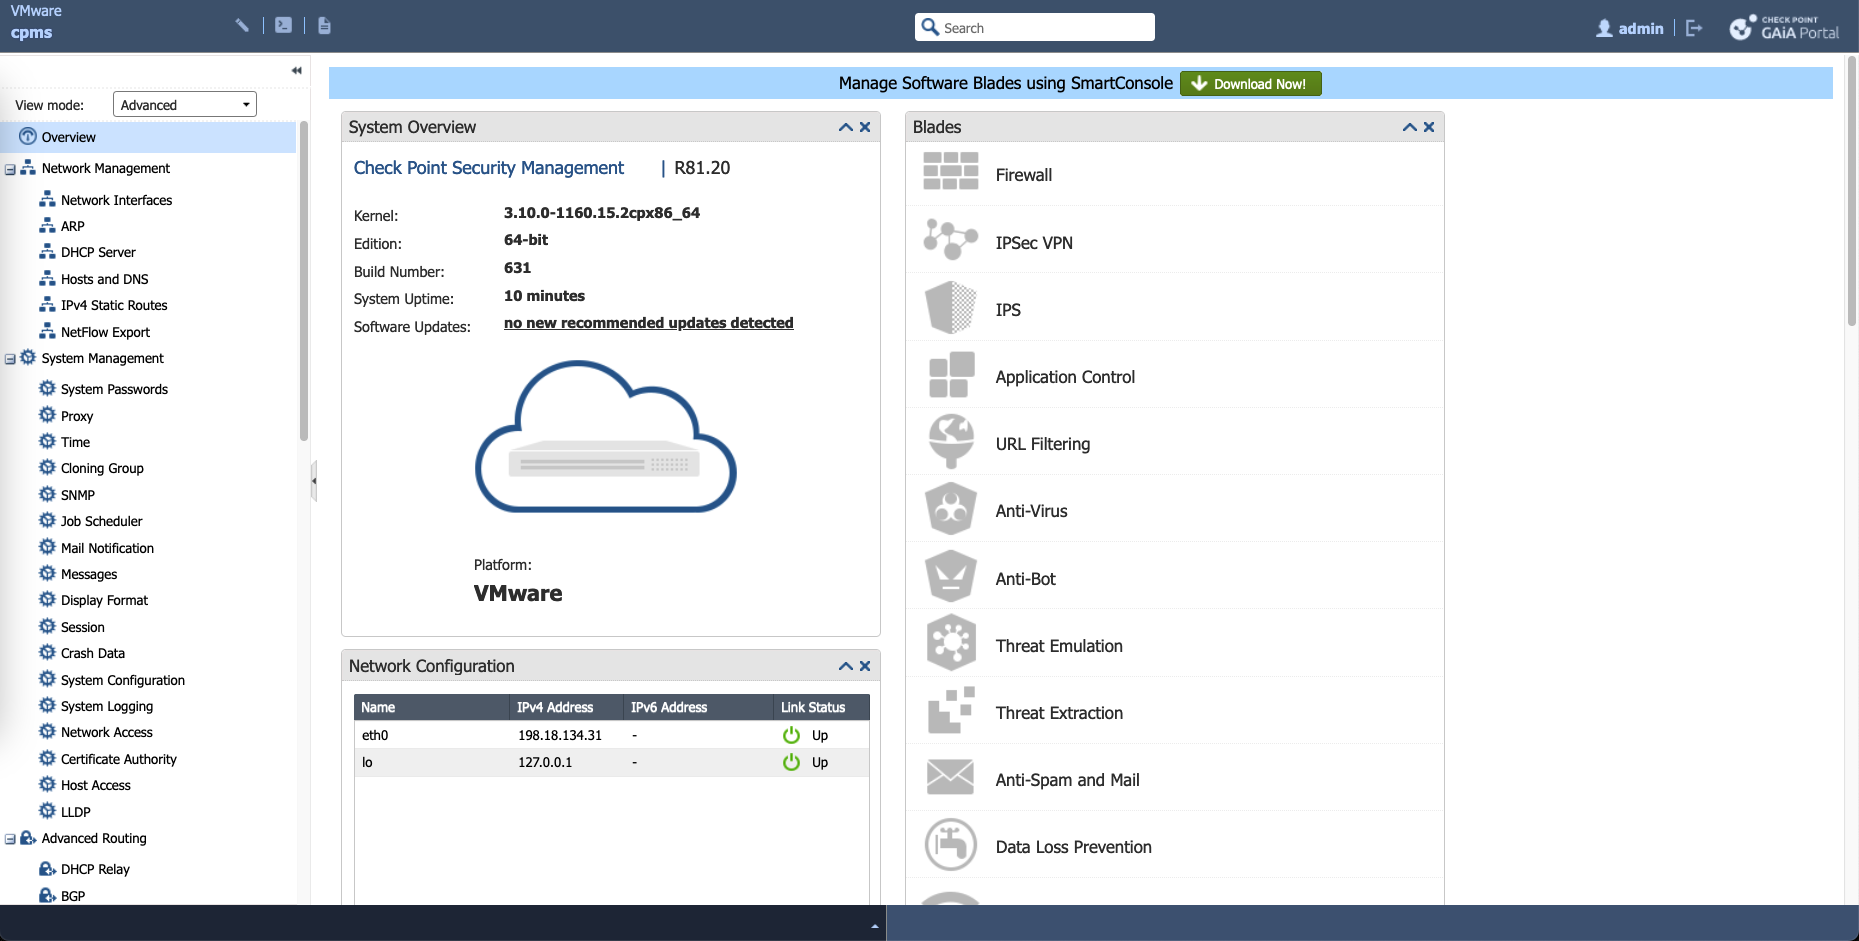
After a while, the Management Server Web UI should be accessible, and here we have a menu to download the SmartConsole software
Configuring Check Point Smart Console
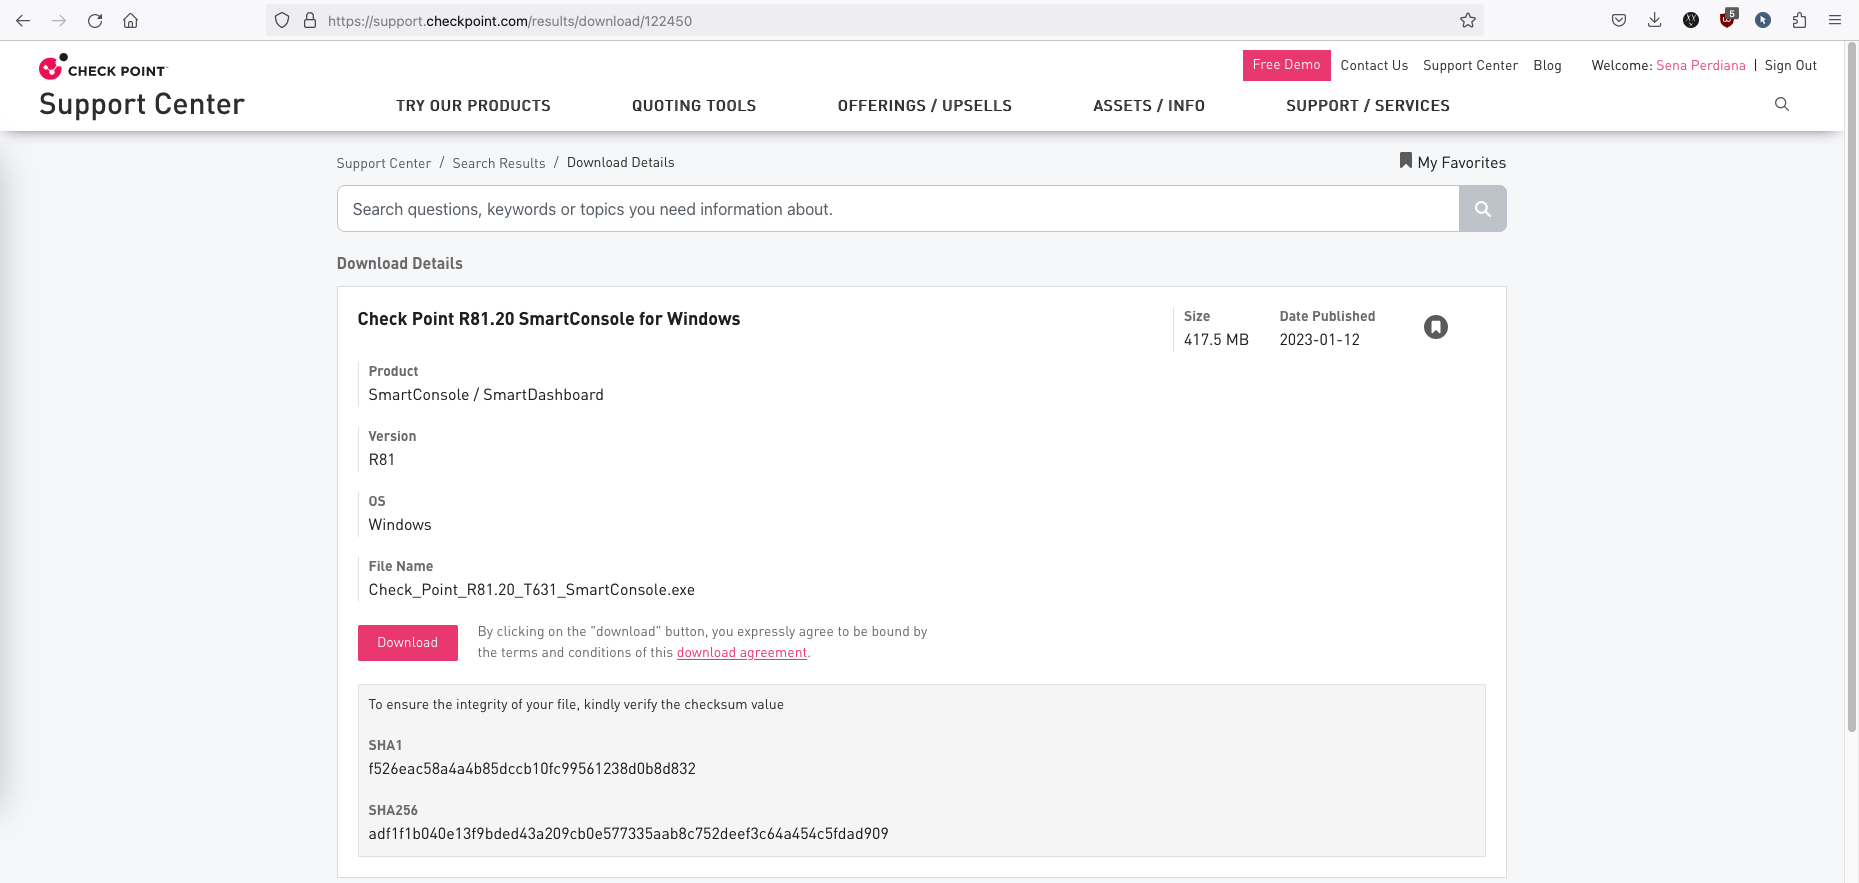
Download the SmartConsole
Install and access the Management Server’s IP Address through it
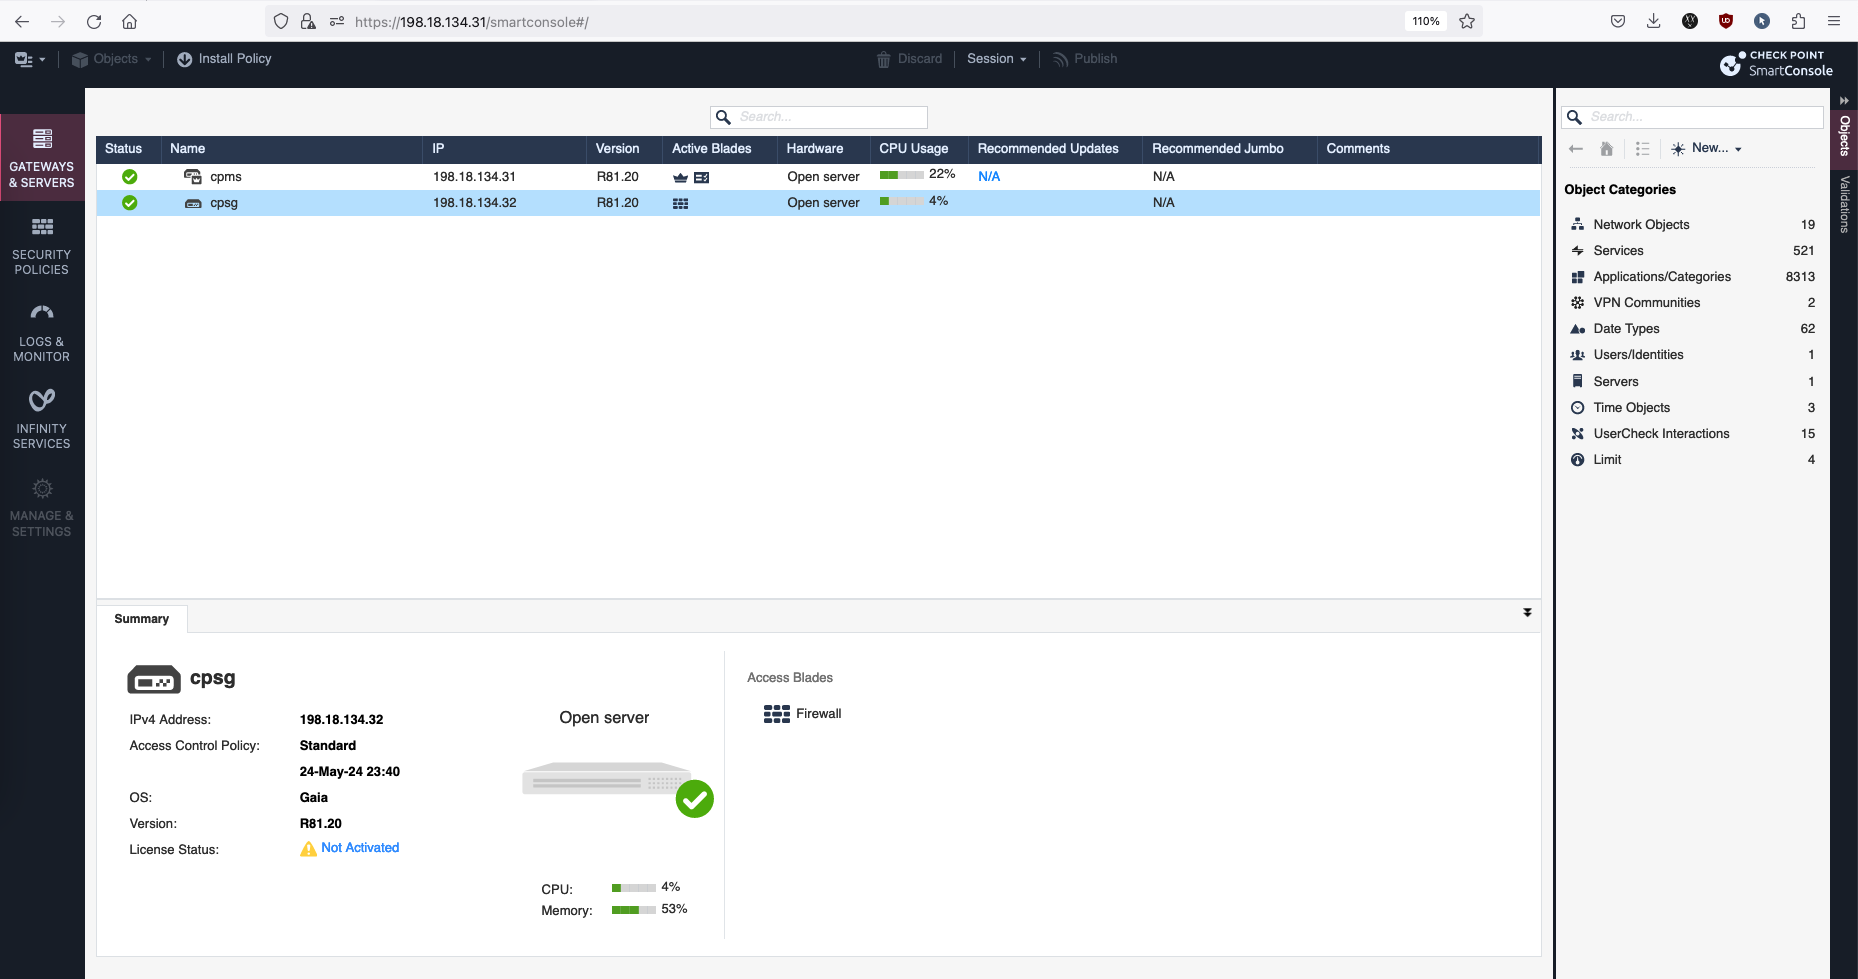
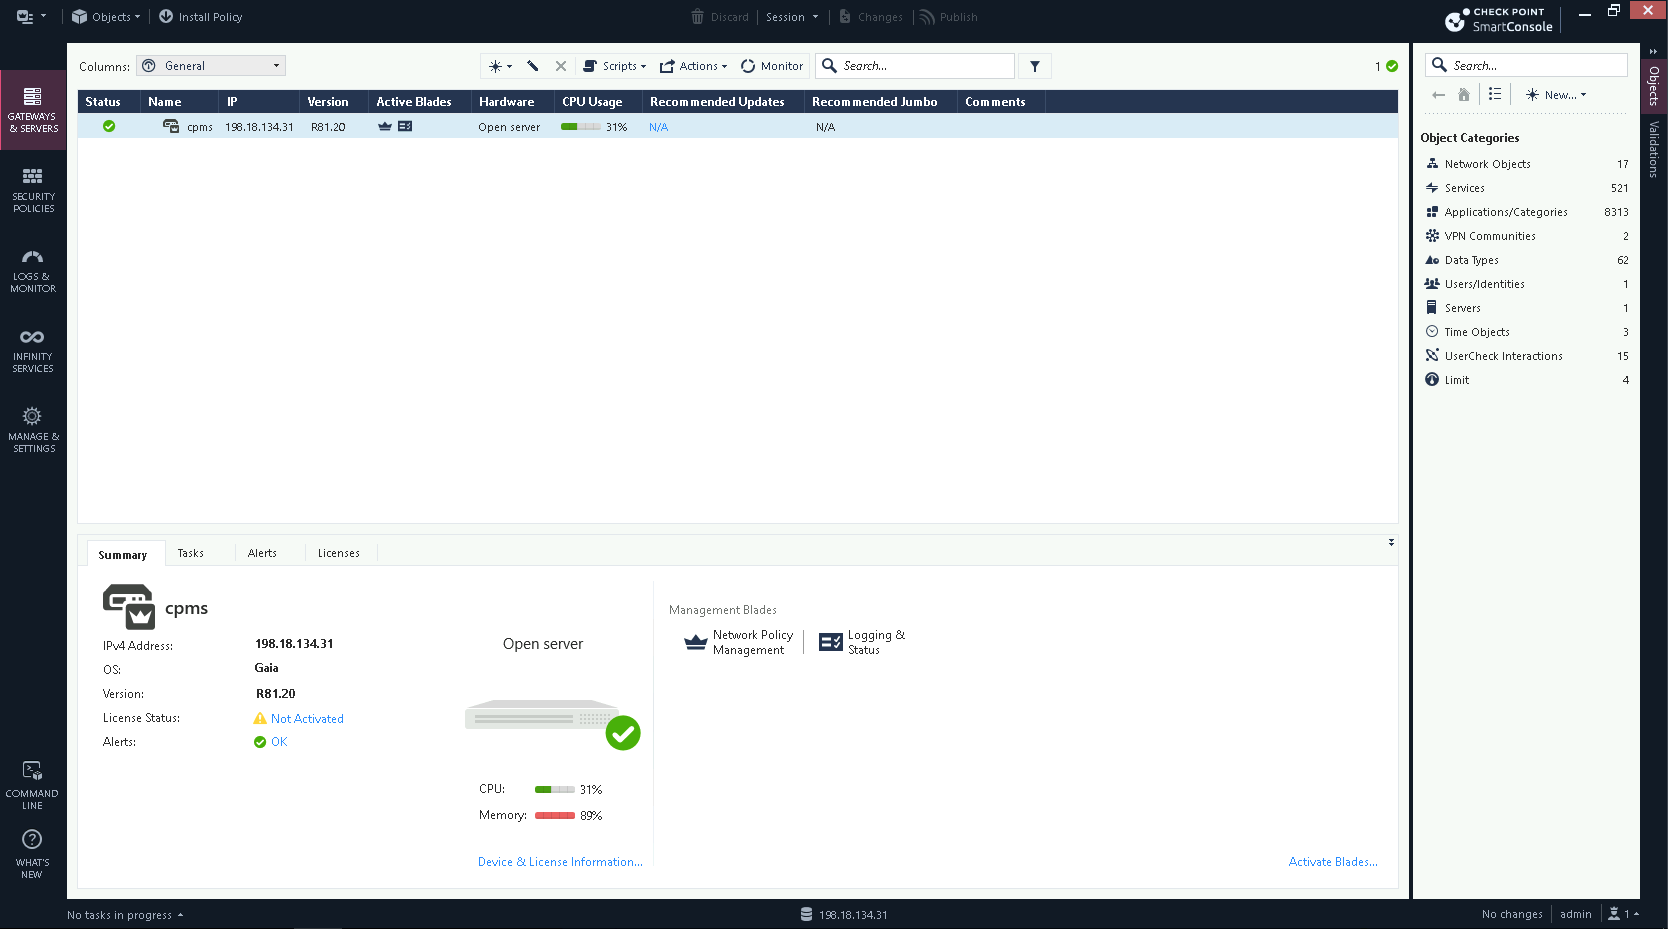
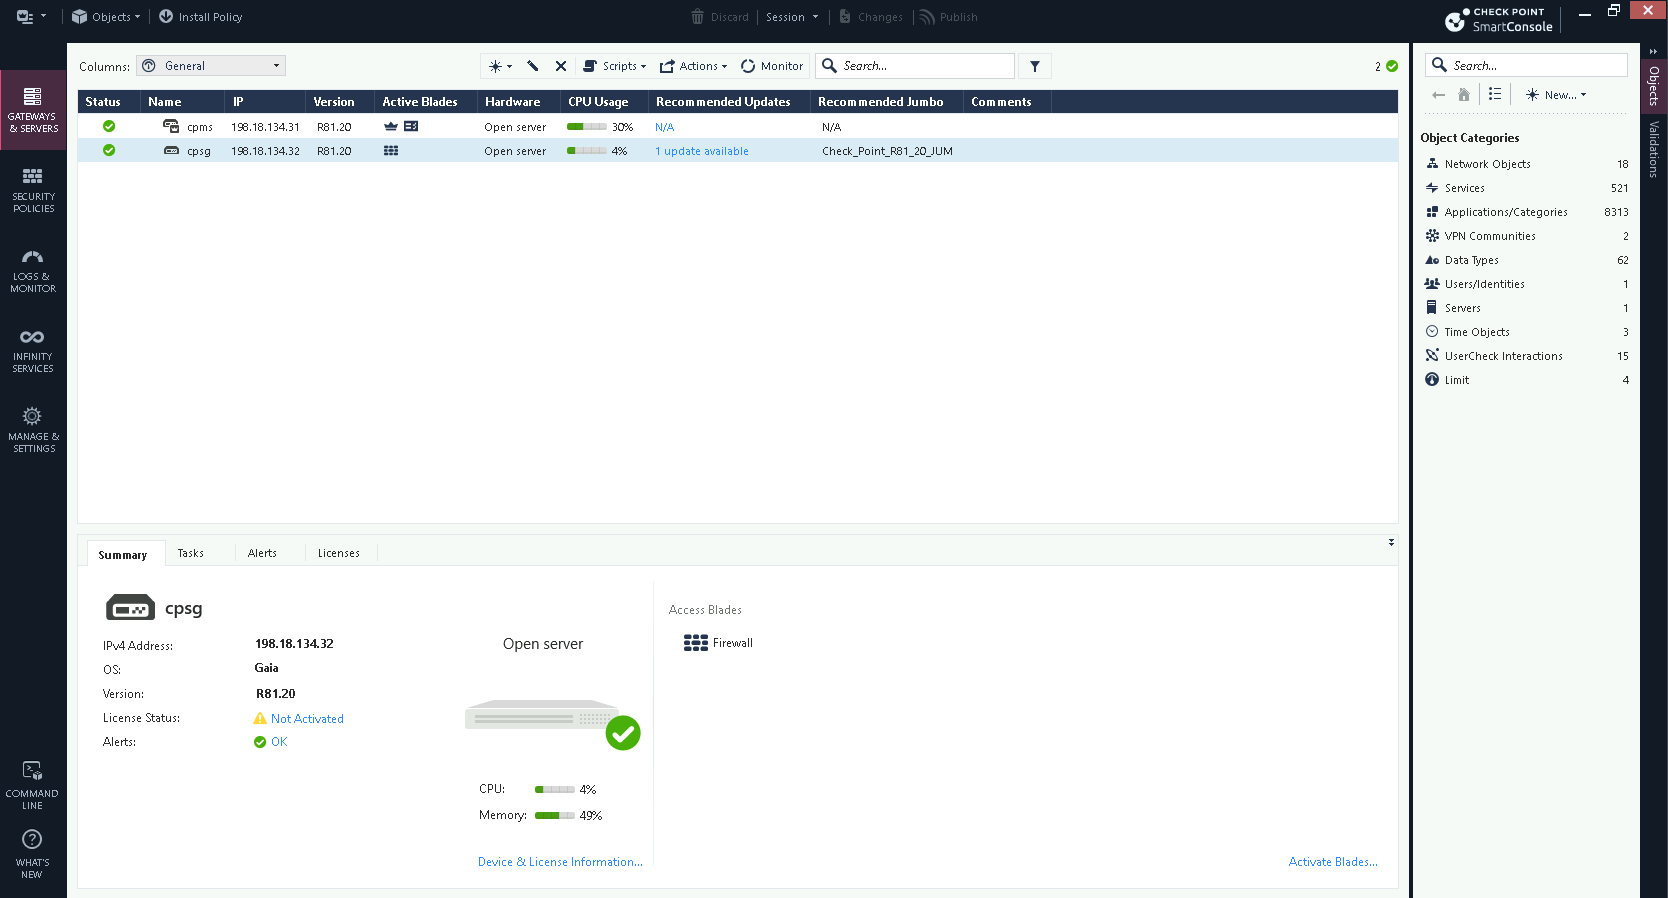
Now the Management Server is up
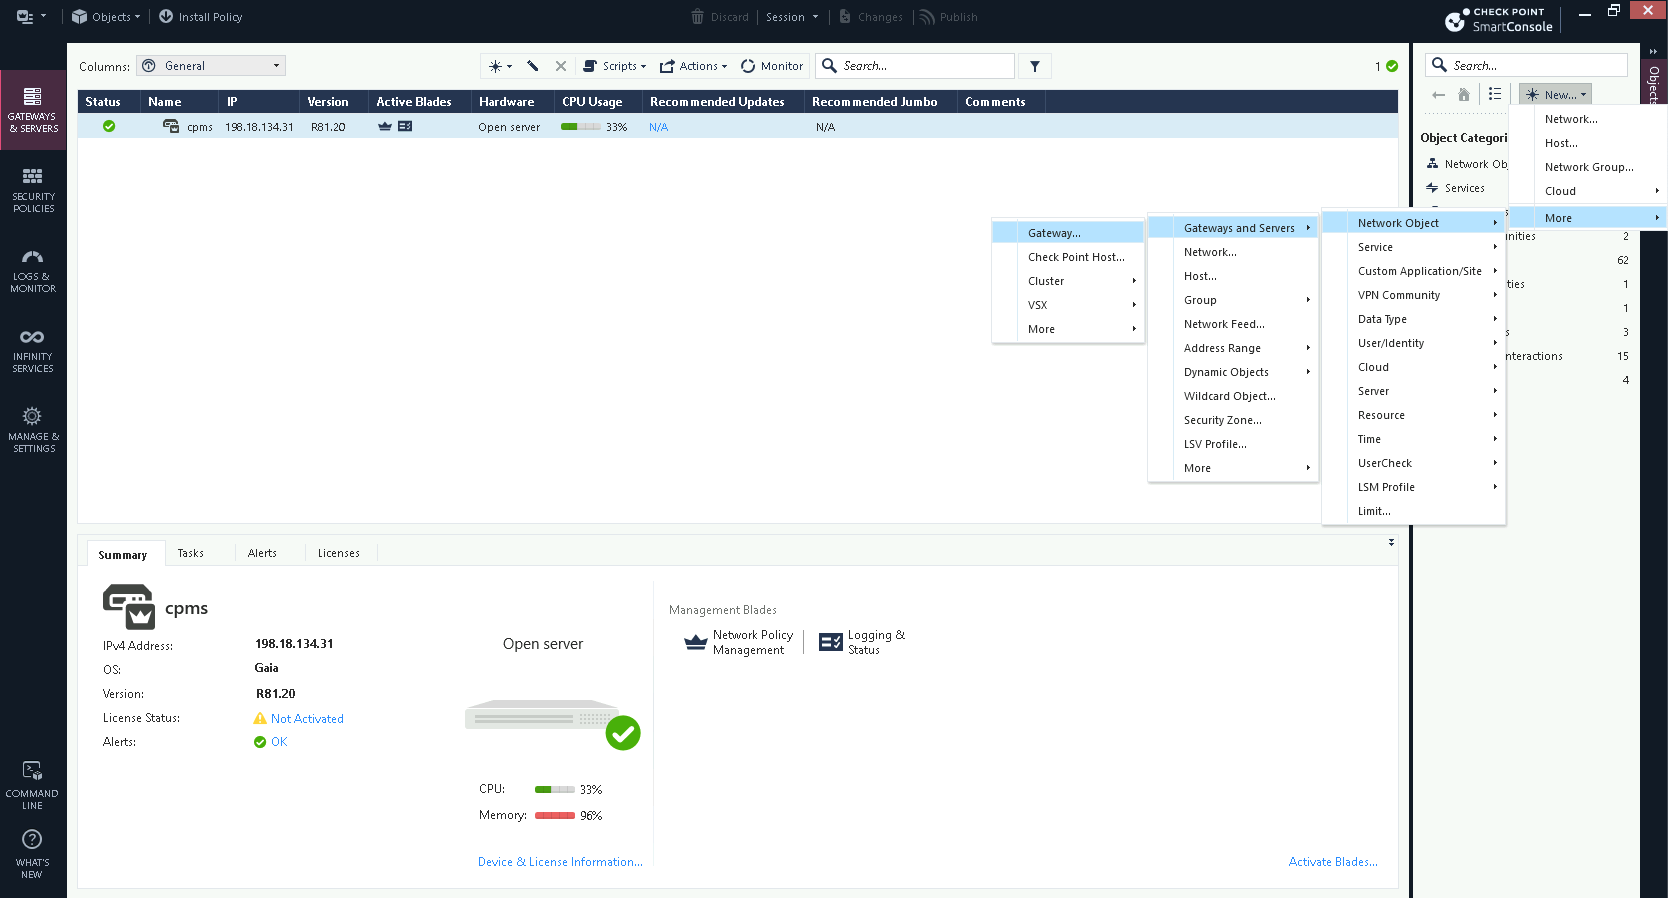
To add the Security Gateway, select add Gateway
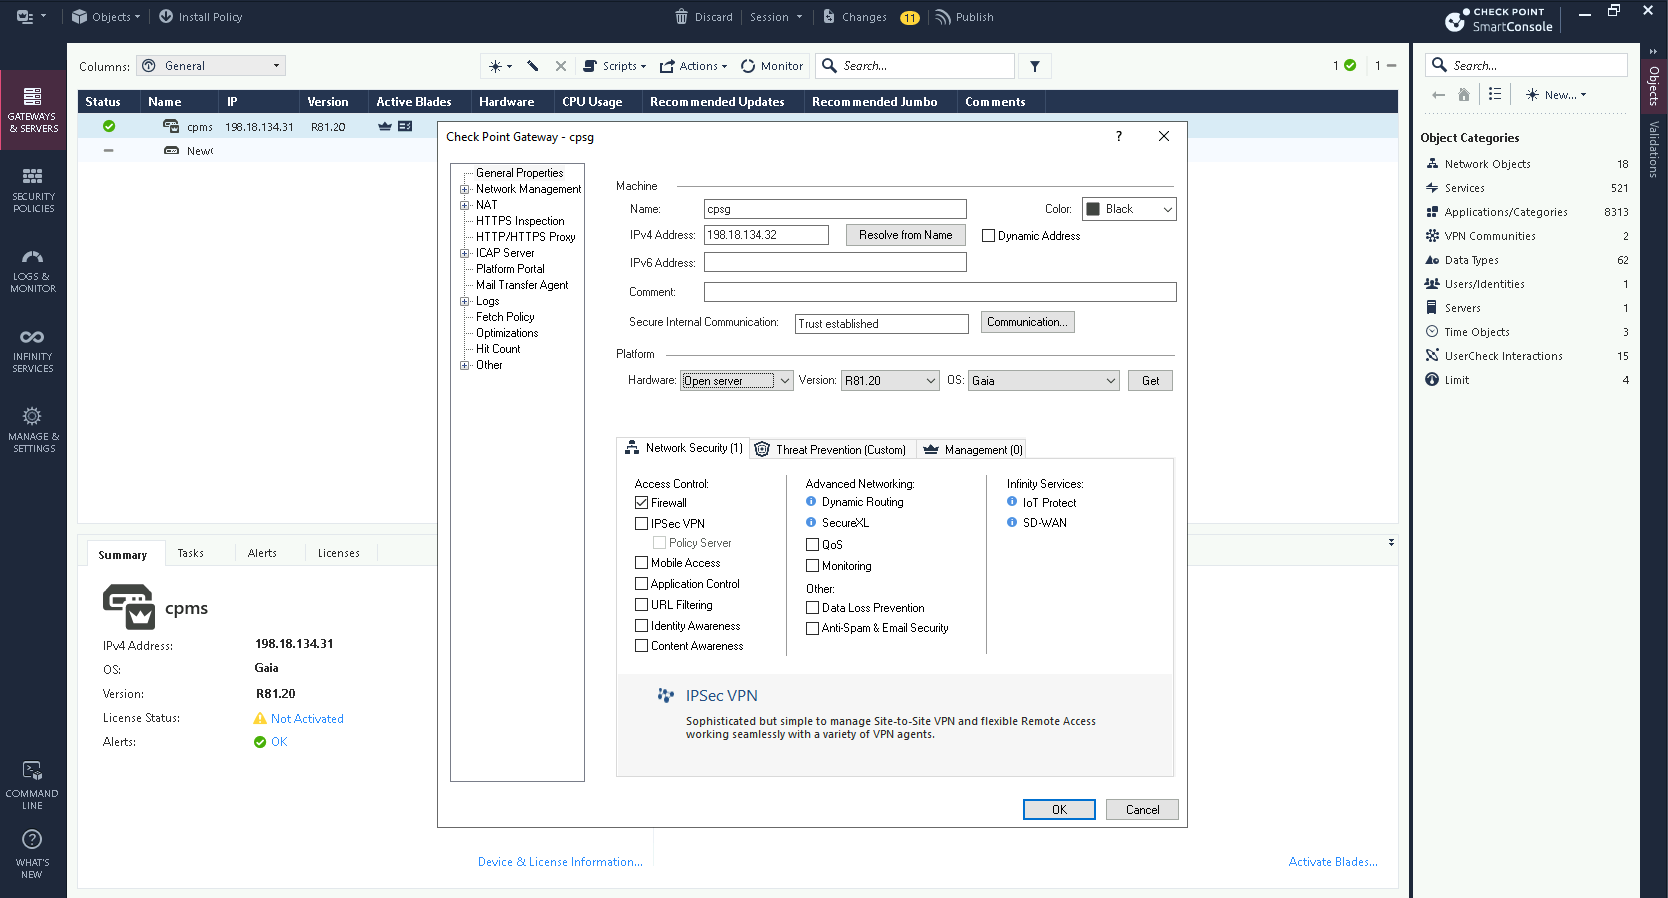
Fill in the details and the Activation Key configured earlier
Now both servers are up and running
Allowing Internet Access
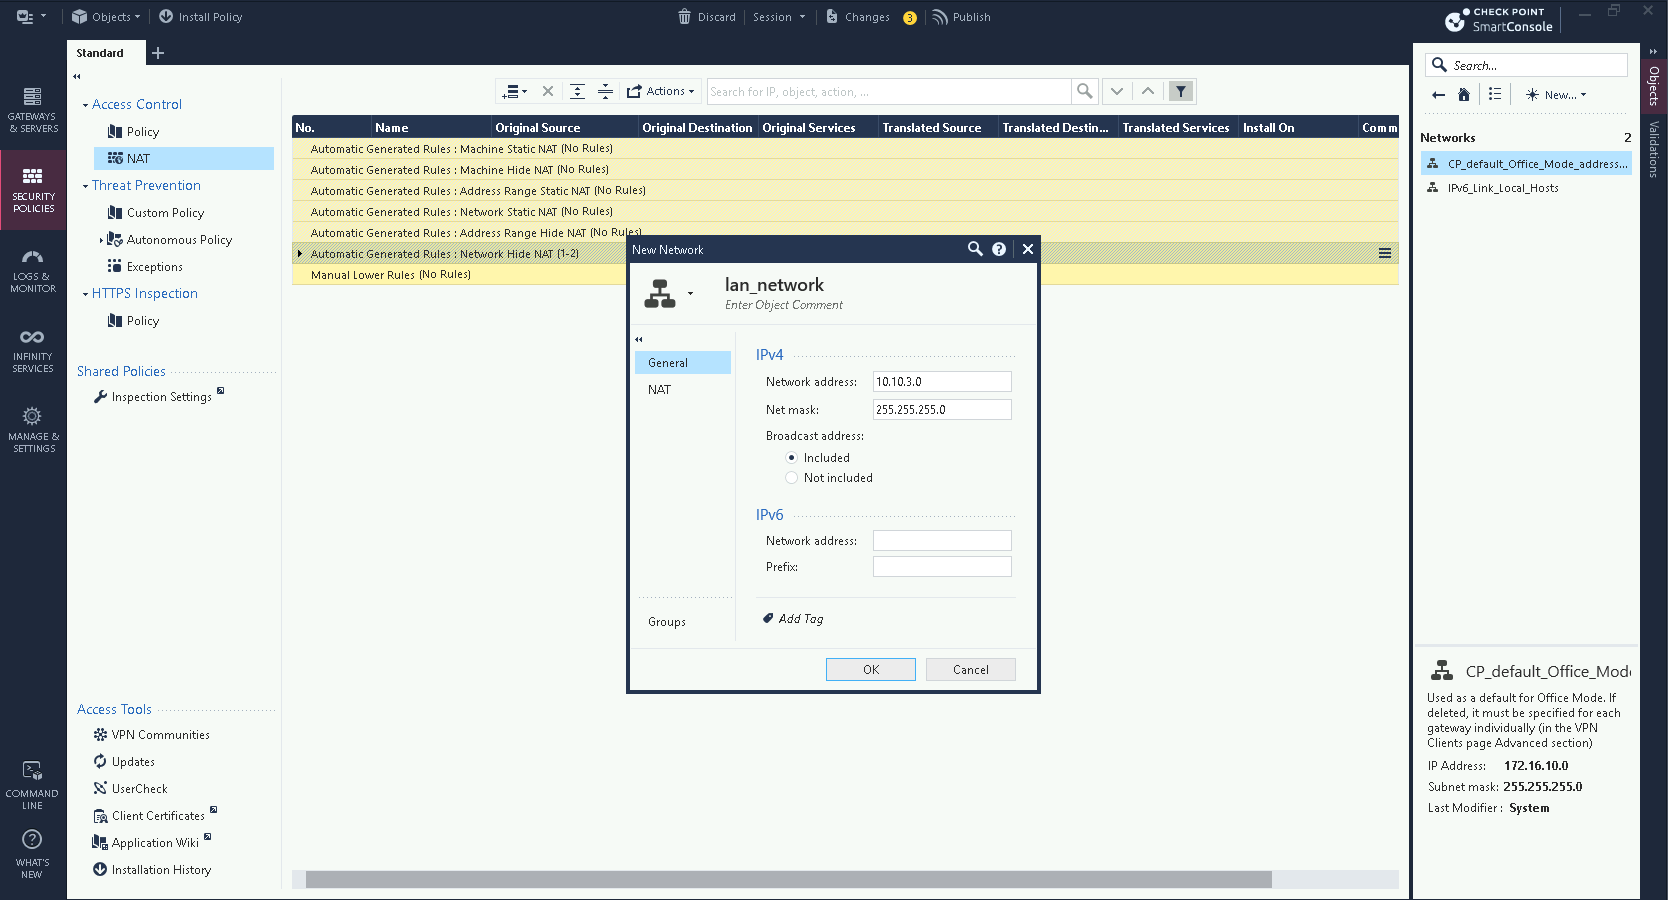
First, create a new network object named “lan network”
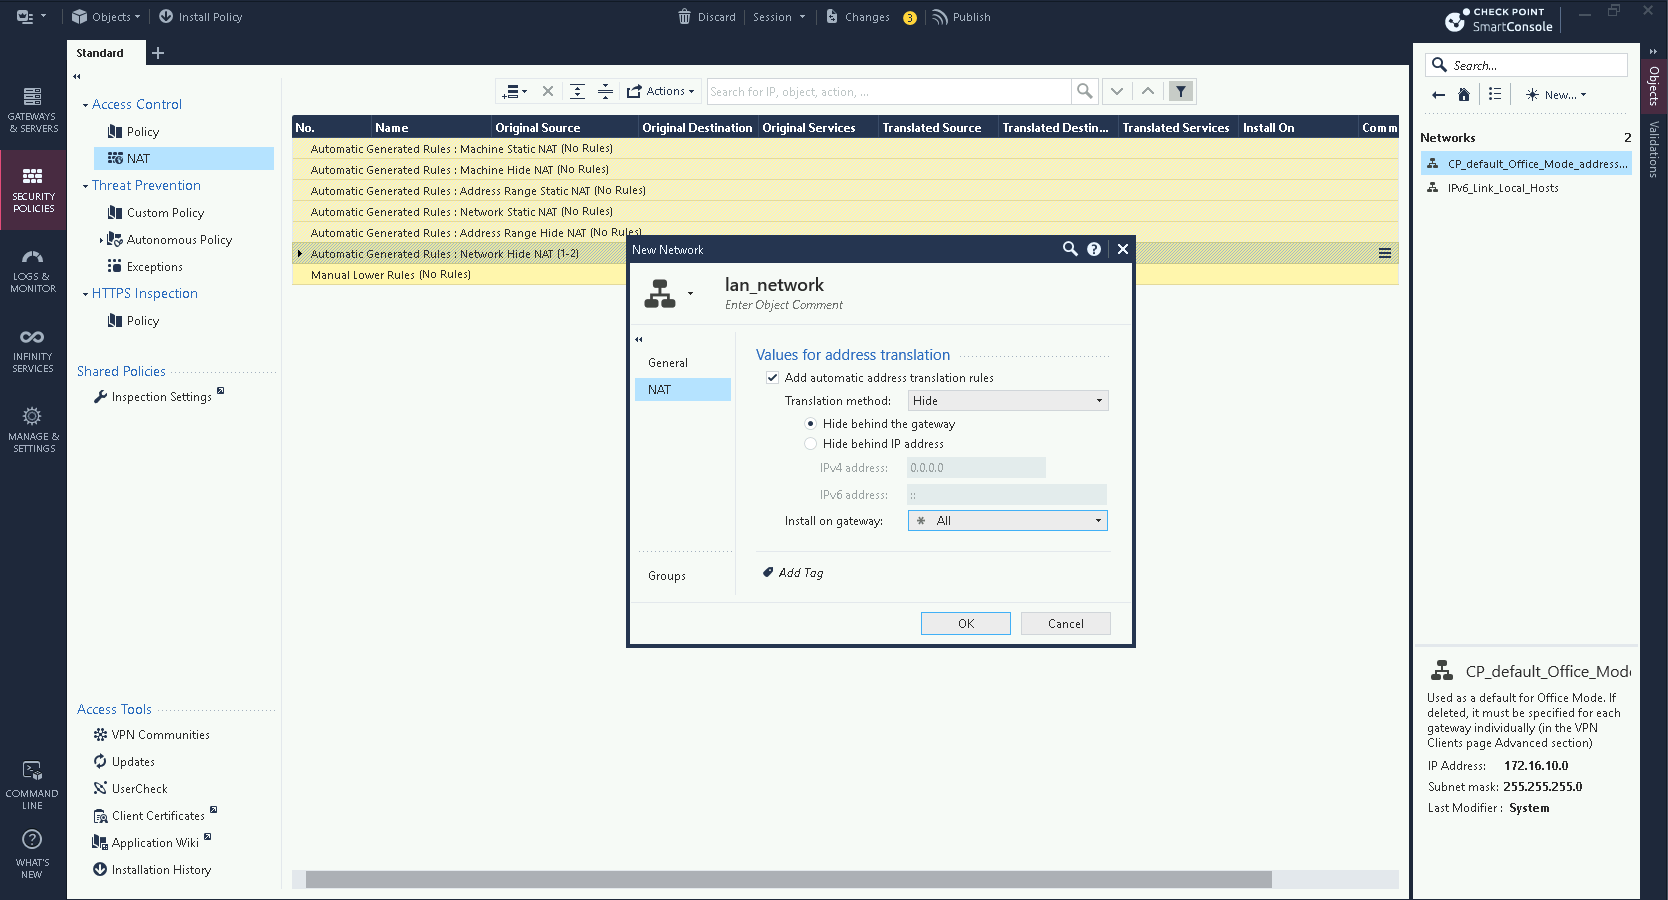
By default Check Point will configure the “hide” NAT Policy, basically meaning it’ll mask the newtork with the gateway’s IP Address
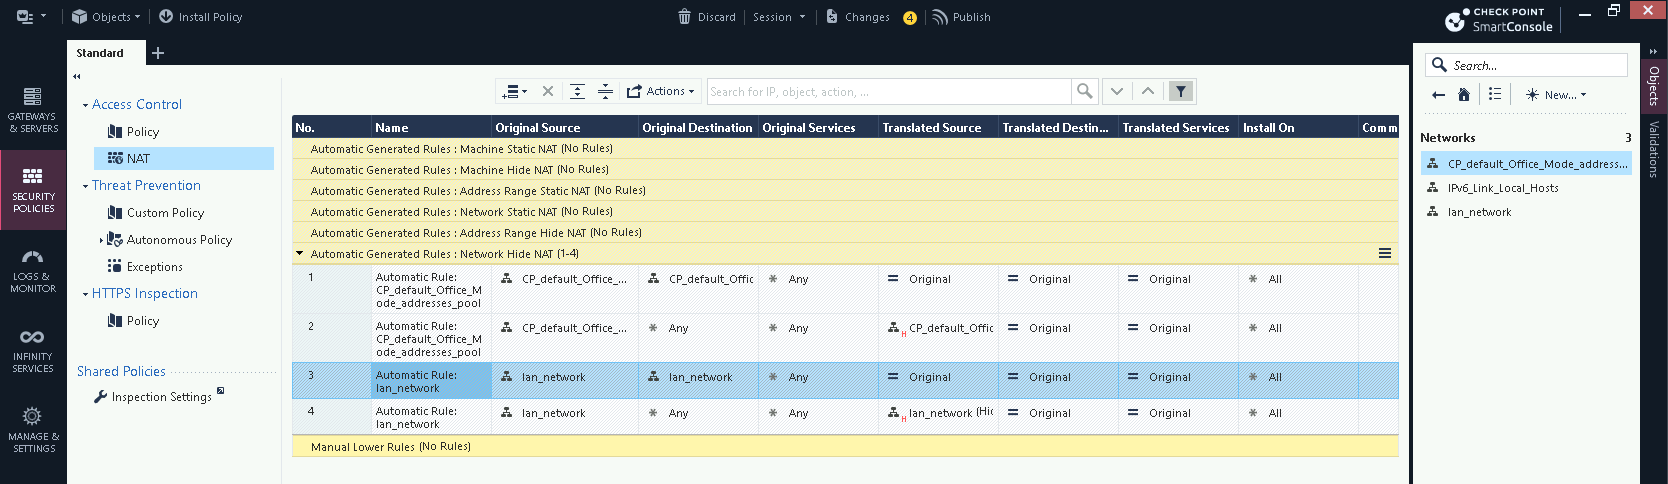
Next create a Policy to allow “lan_network” to access internet
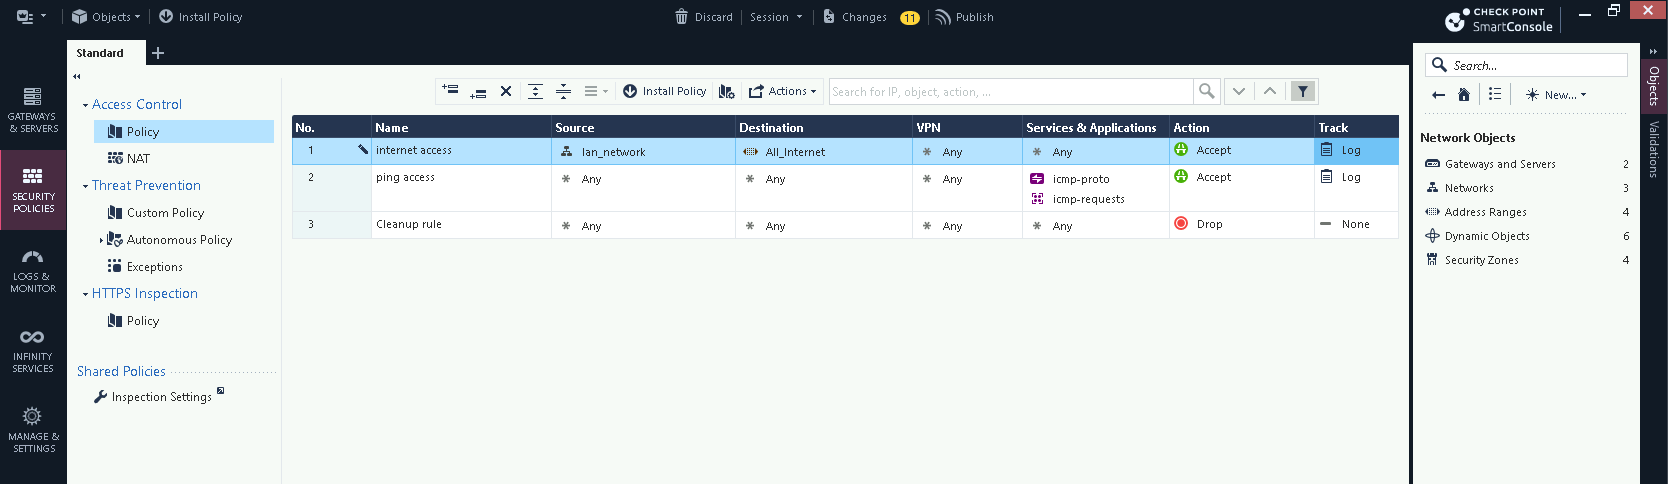
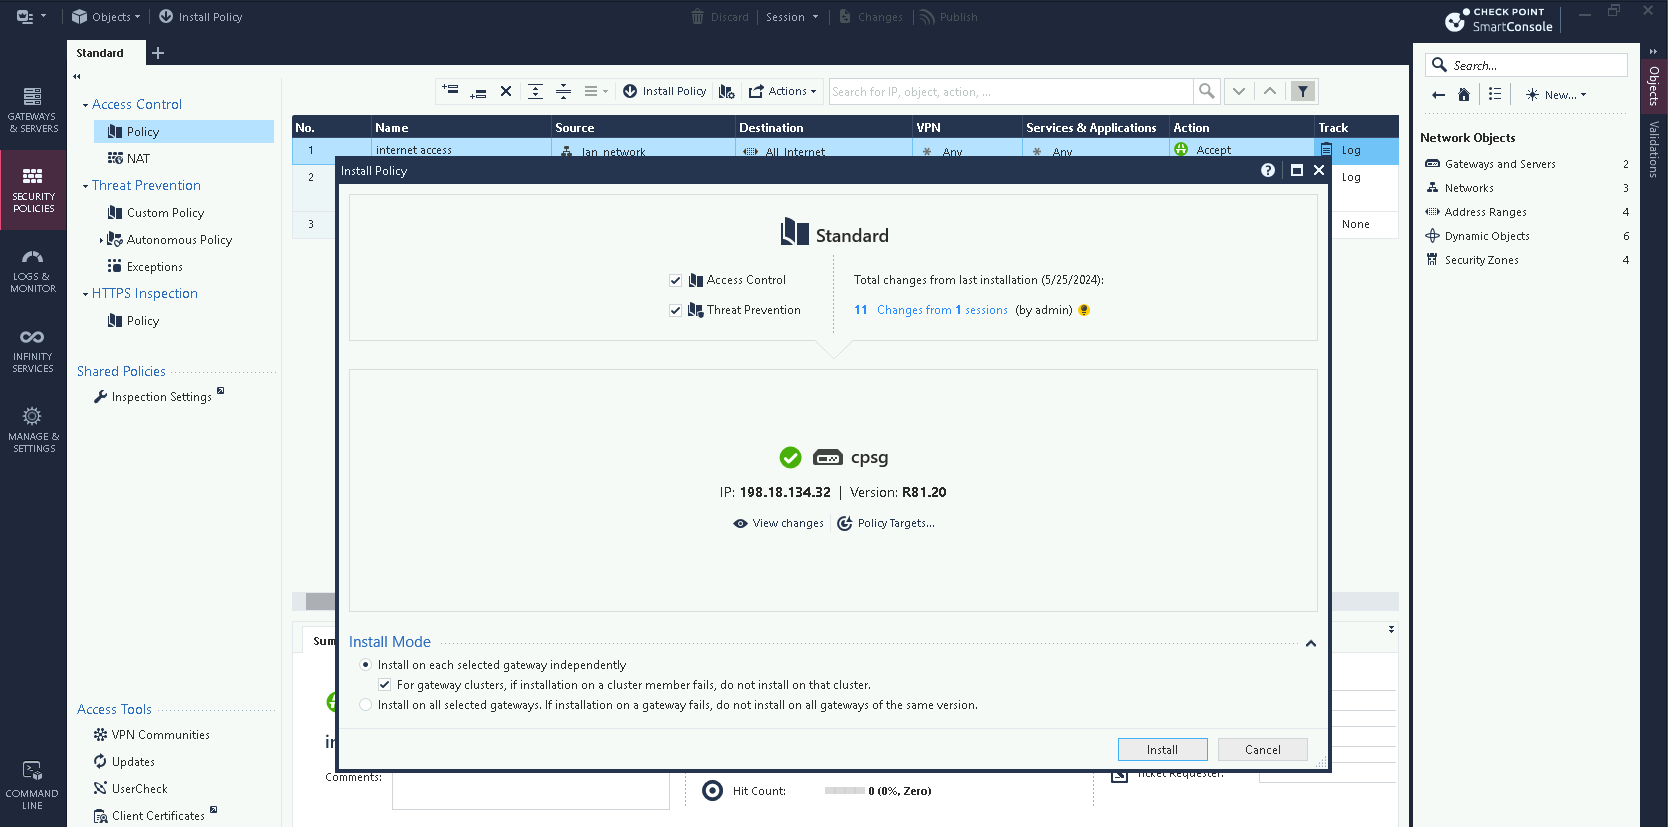
After that, Publish and hit Install Policy
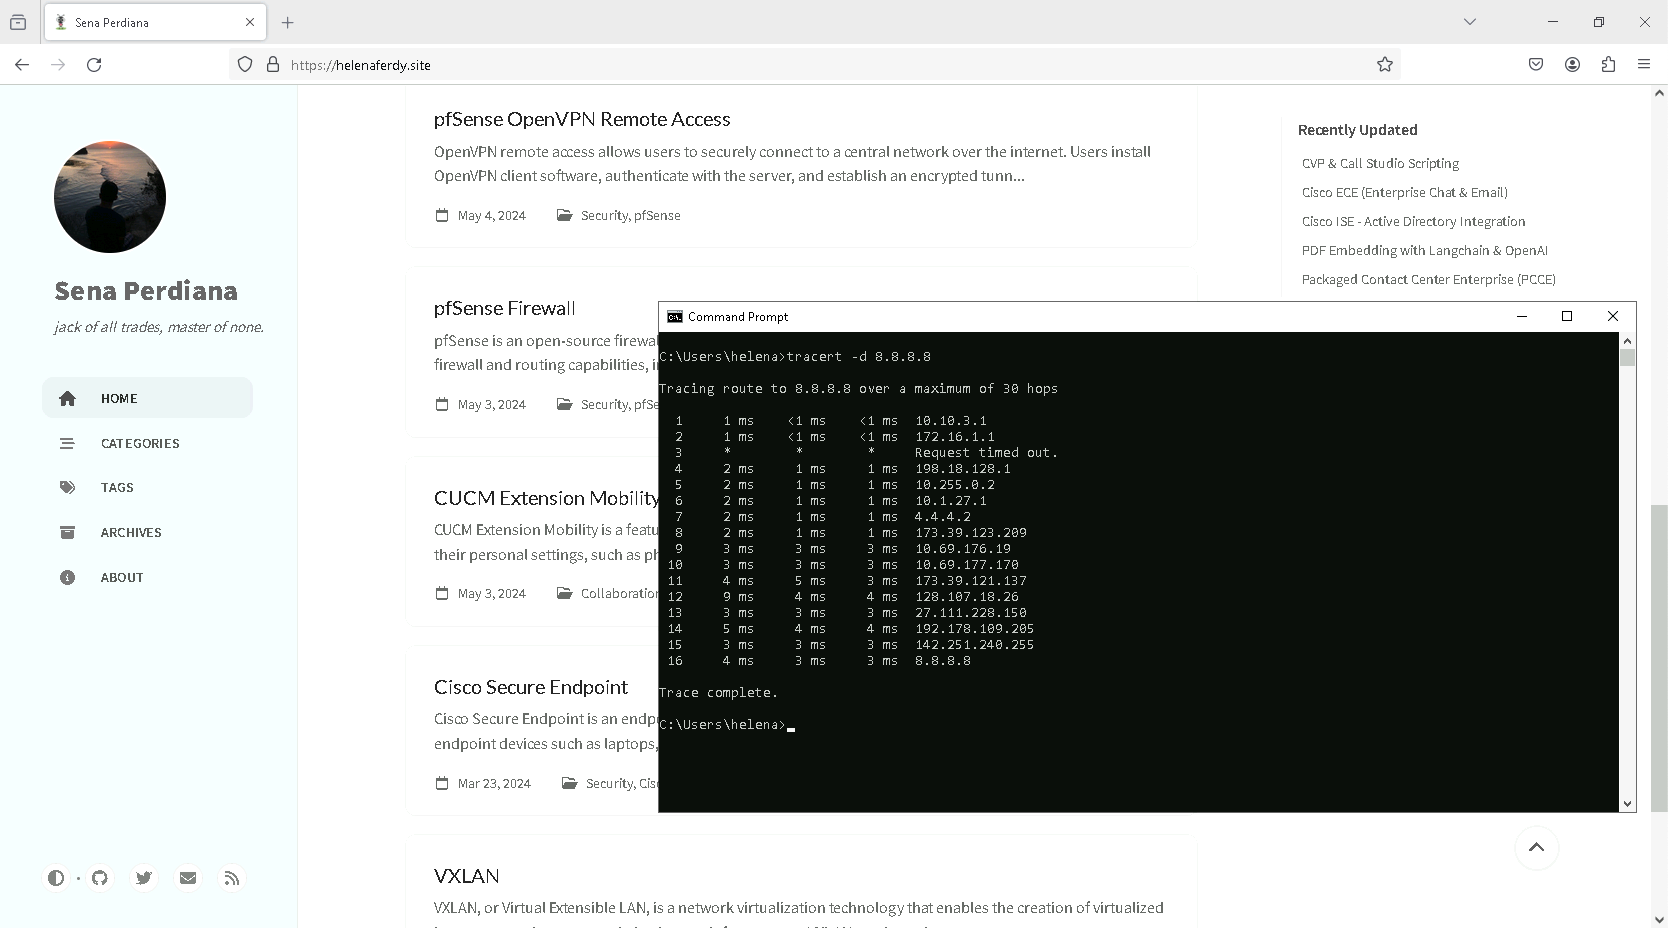
Now on the user pc, we should have an internet access
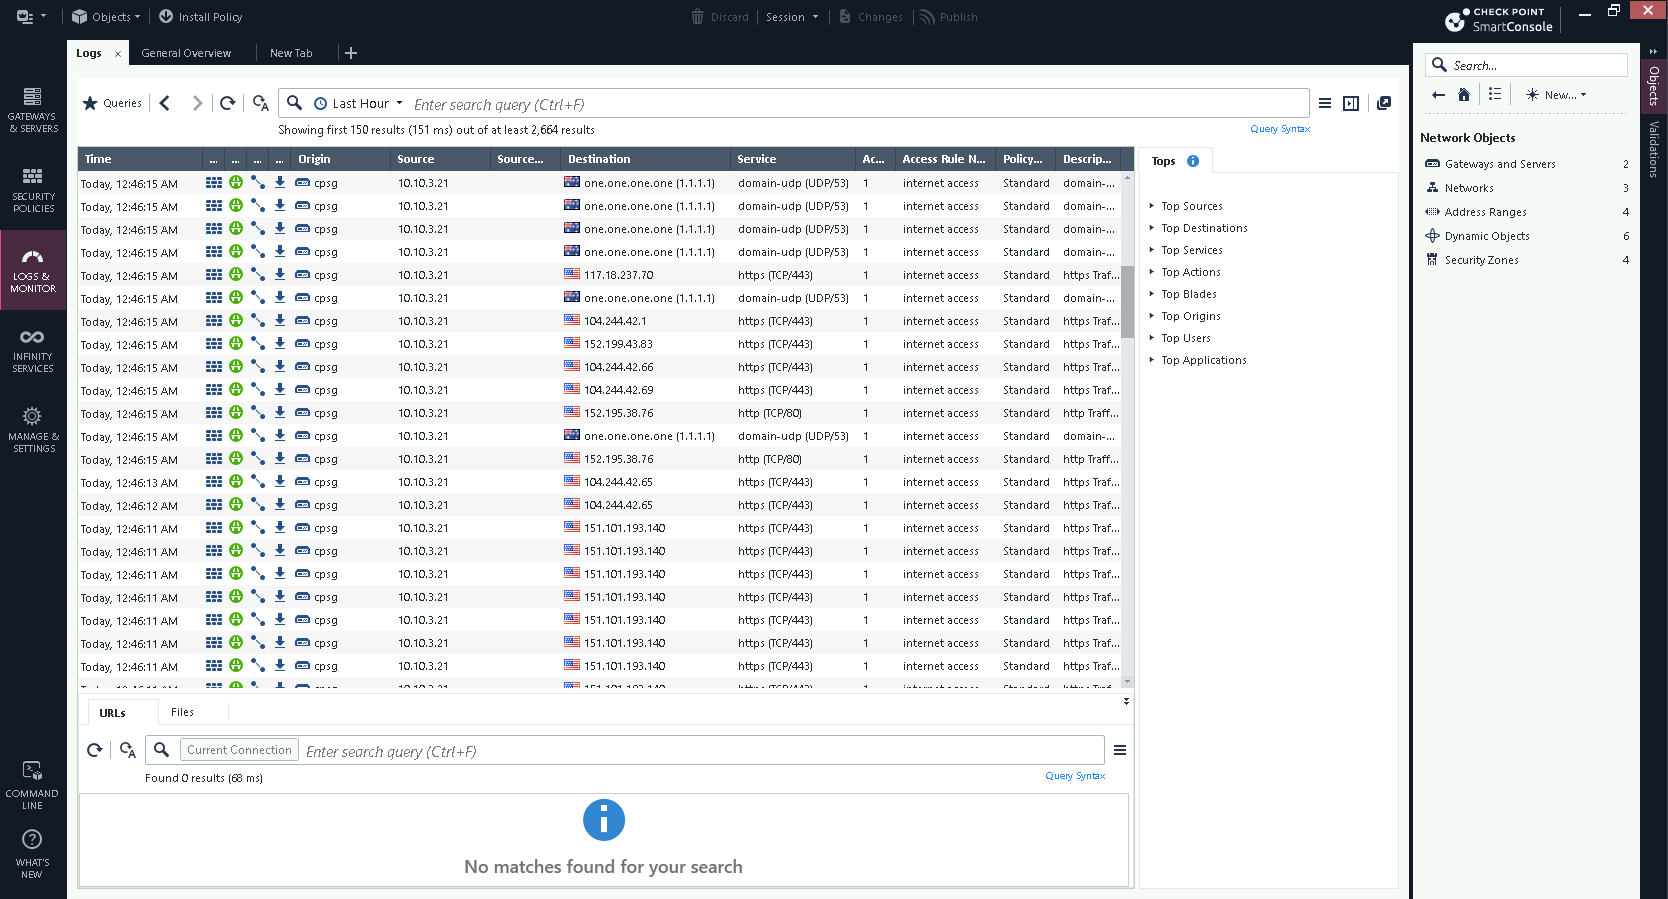
Back on the SmartConsole, on Logs & Monitor we can see the logs for the internet access
Oh ya, the Smart Console is only available for Windows, so if youre using MacOS then youre out of luck, although we can access the Web Smart Console, it has so many missing menus and features that it just leaves you wondering whats the point?