Cisco Meeting Server (CMS)
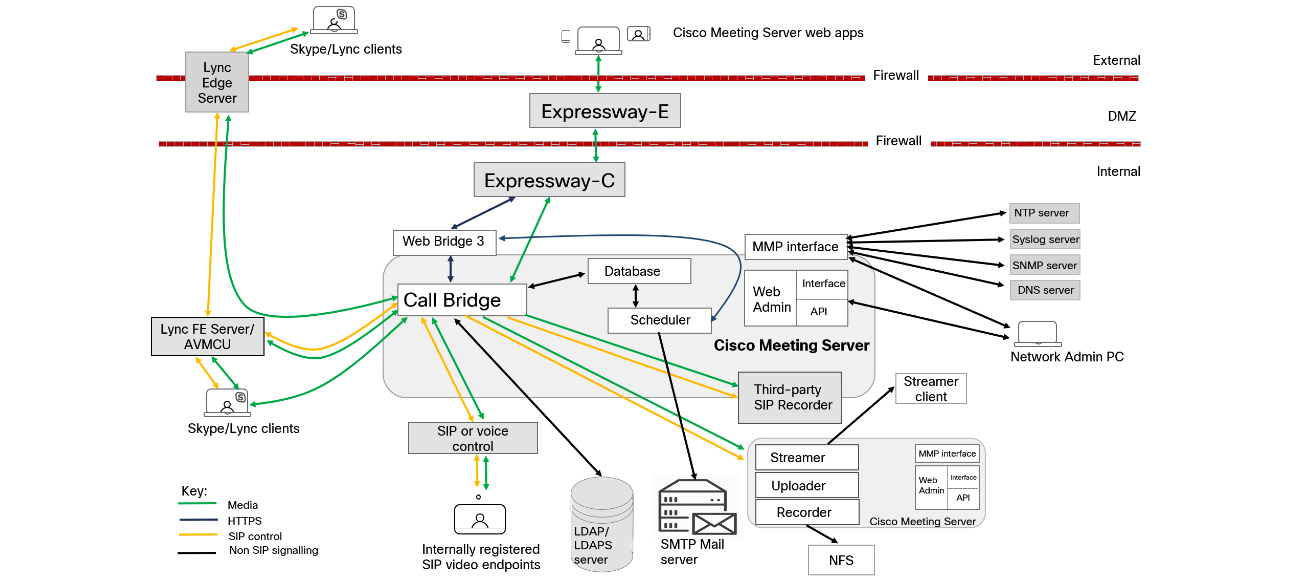
Cisco Meeting Server (CMS) is a robust, scalable platform for video conferencing that enables secure, high-quality virtual meetings with a wide range of interoperability across different devices and platforms. CMS consists of several components that work together to provide comprehensive meeting and conferencing solutions:
- Call Bridge: The core engine that manages and connects multiple calls, handling the audio, video, and content sharing.
- Web Bridge: Allows participants to join meetings via a web browser without needing additional software.
- Recorder: Captures and records meetings for later playback and archival purposes.
- Streamer: Streams live meetings to viewers, enabling real-time broadcasting.
- Uploader: Facilitates the uploading of recordings and other media files to the CMS.
- Database: Stores configuration data, user information, and other essential data for CMS operations.
- Load Balancer: Distributes incoming traffic across multiple servers to ensure optimal performance and reliability.
- Turn Server: Facilitates media traversal through NAT (Network Address Translation) and firewalls, ensuring connectivity for participants.
- XMPP Server: Manages messaging and presence information within the CMS environment.
- API: Provides programmable interfaces for integrating CMS with other systems and automating tasks.
Deploying CMM
Deploy the CMM ova as usual
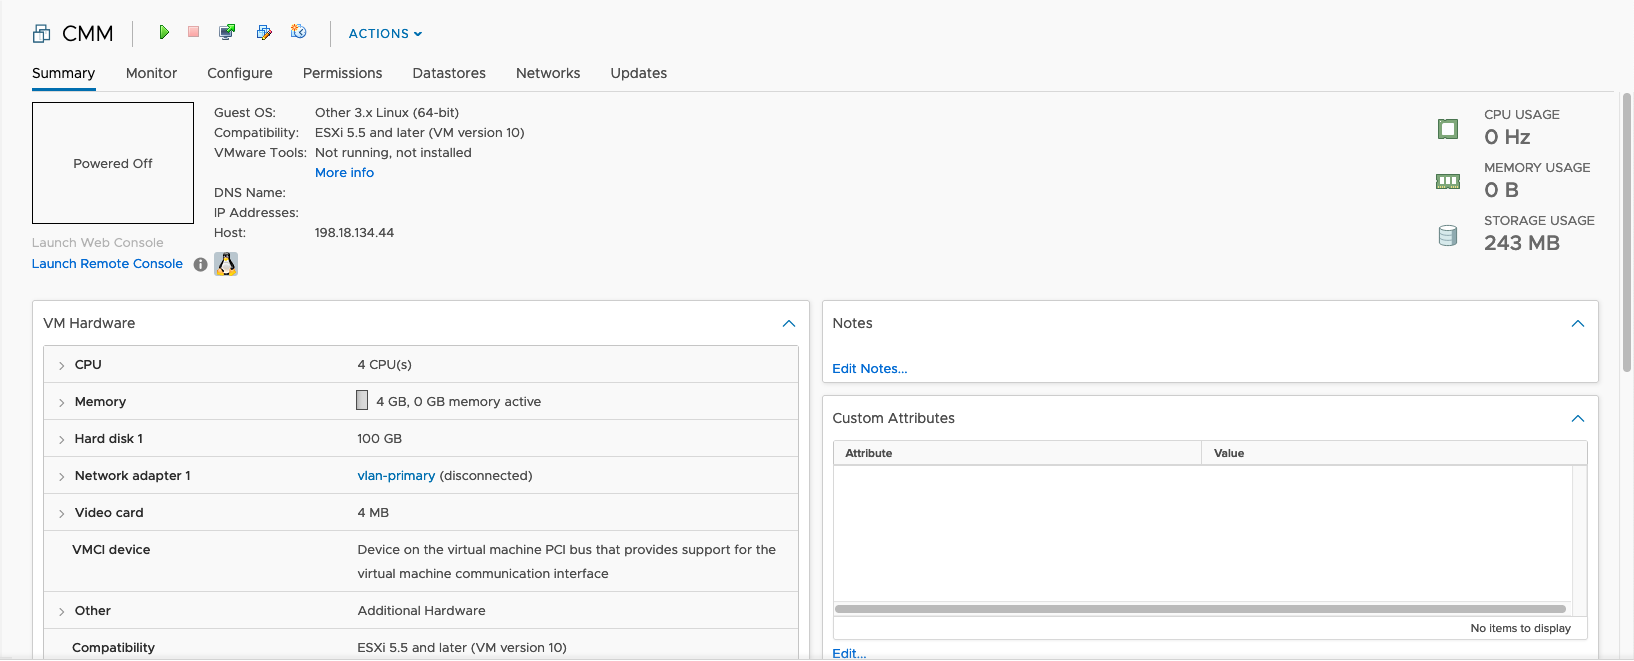
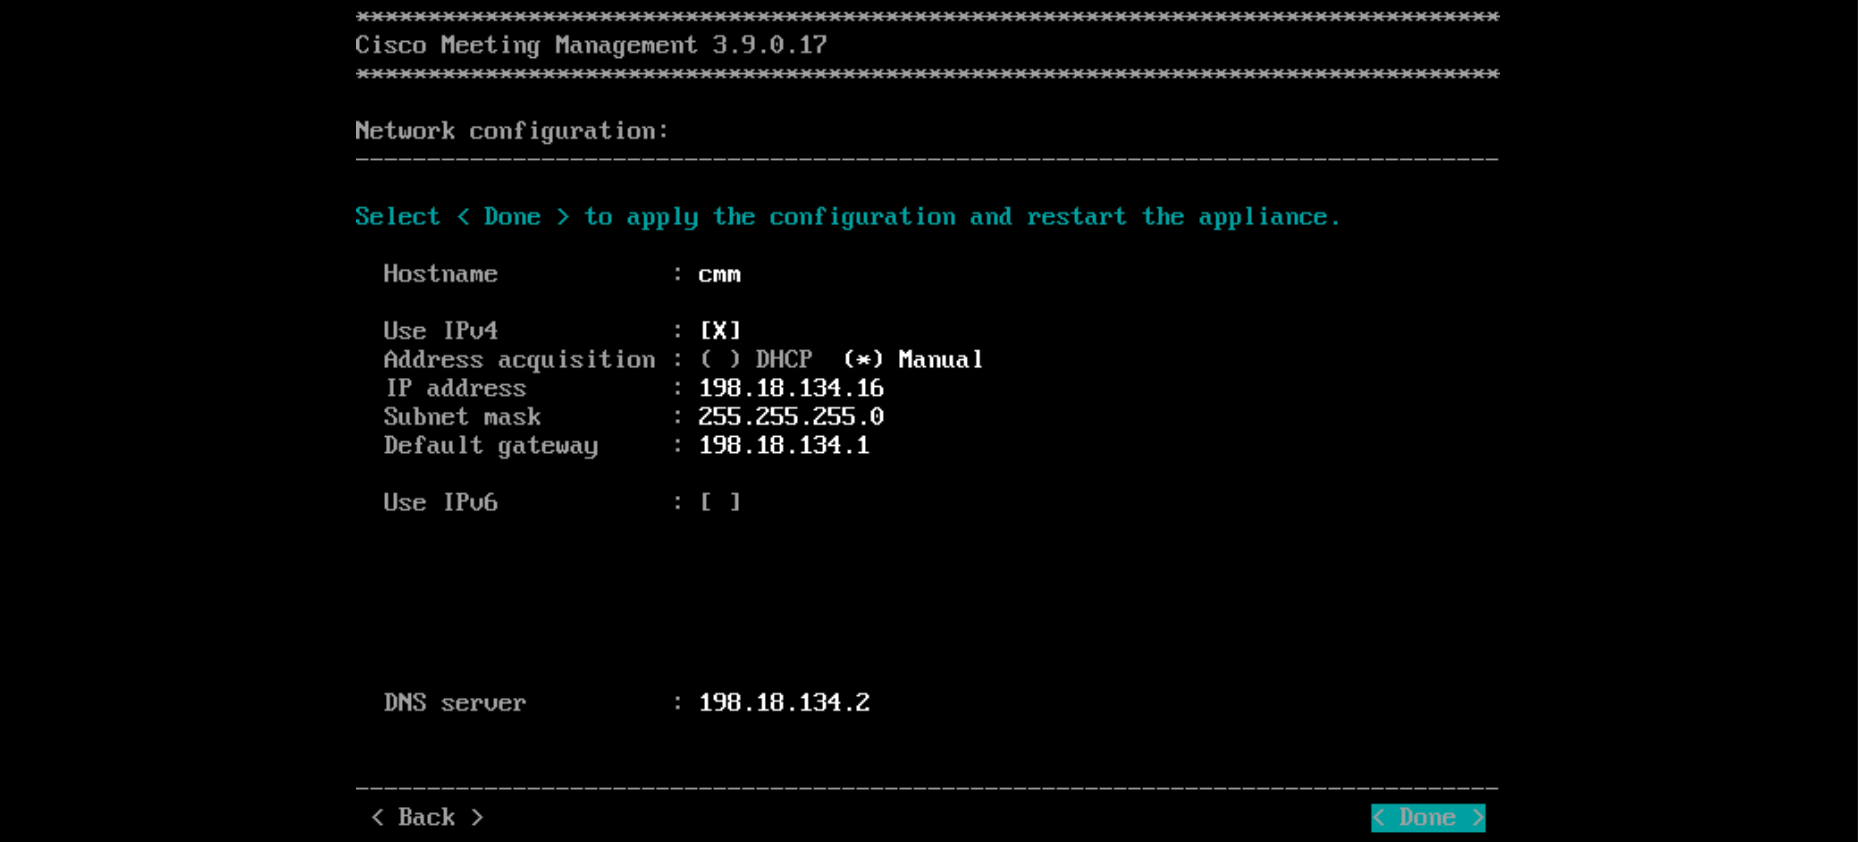
Boot up the server then give it proper IP Addressing
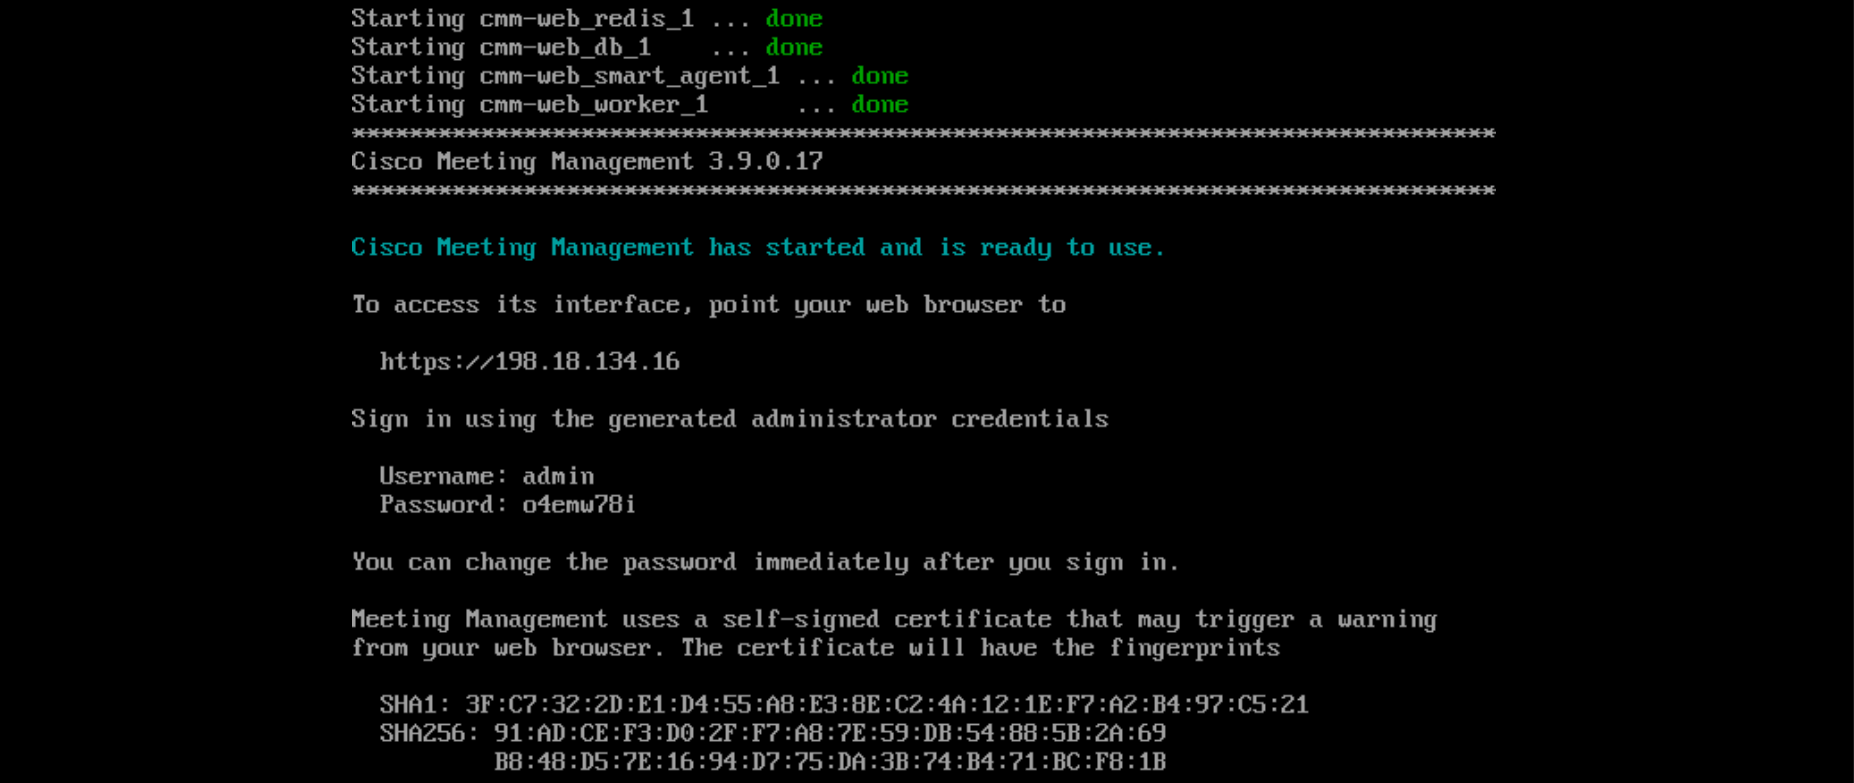
After some time the CMM is installed and can be accessed by web browser
Deploying CMS
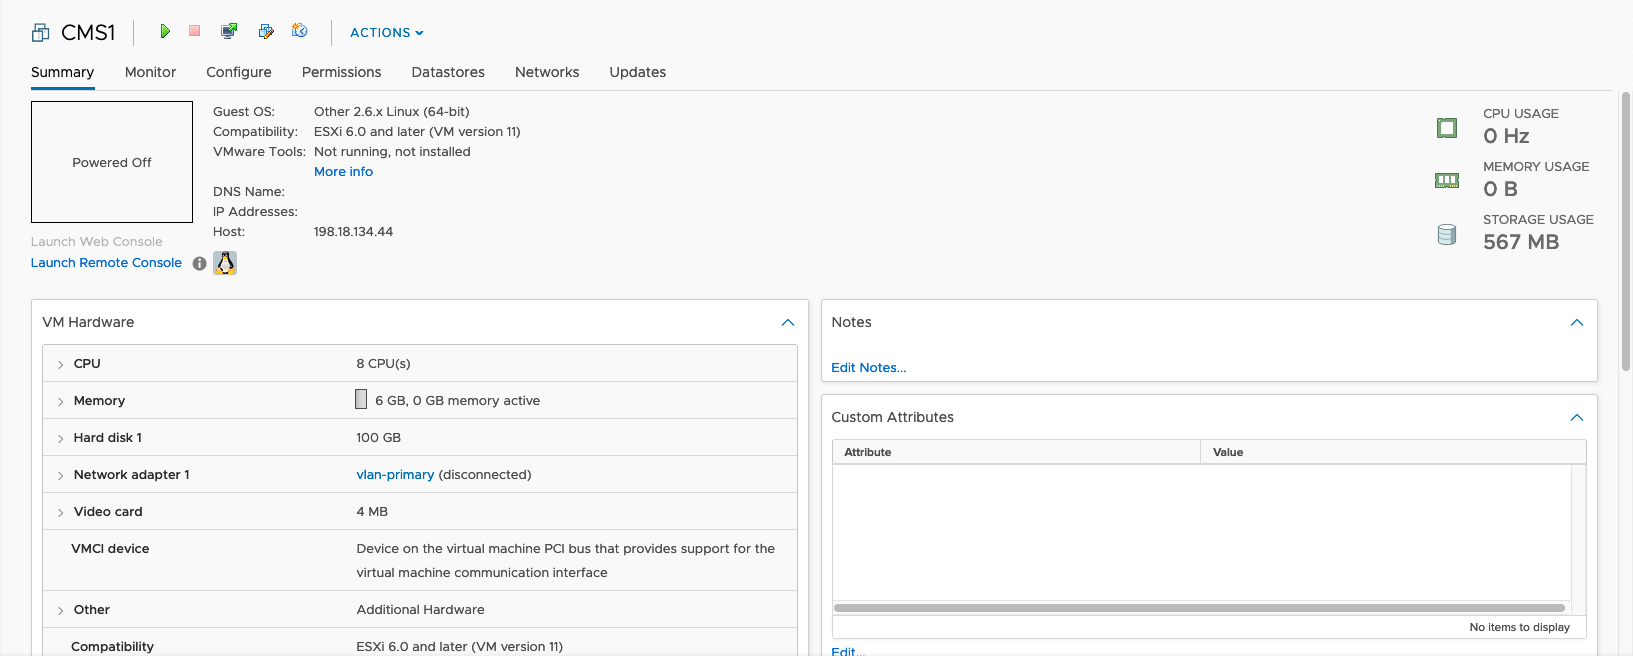
Next deploy the actual CMS Server
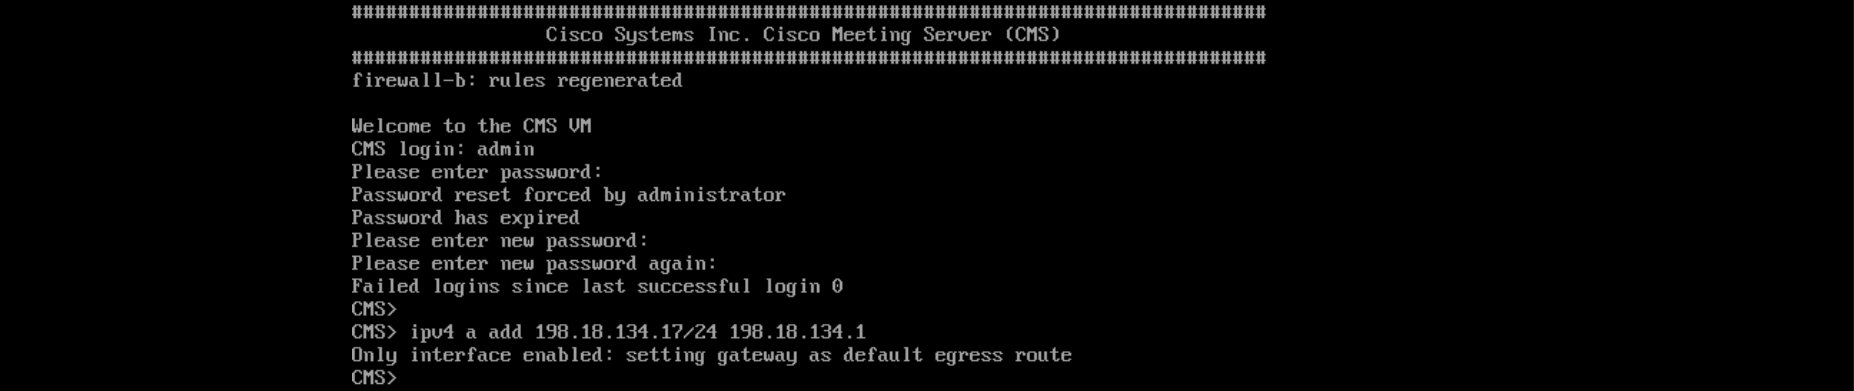
After the server boots up, login with admin and no password, and change the ip address of the “a” interface
Configuring CMM
Now access the CMM’s Web UI and change the default password


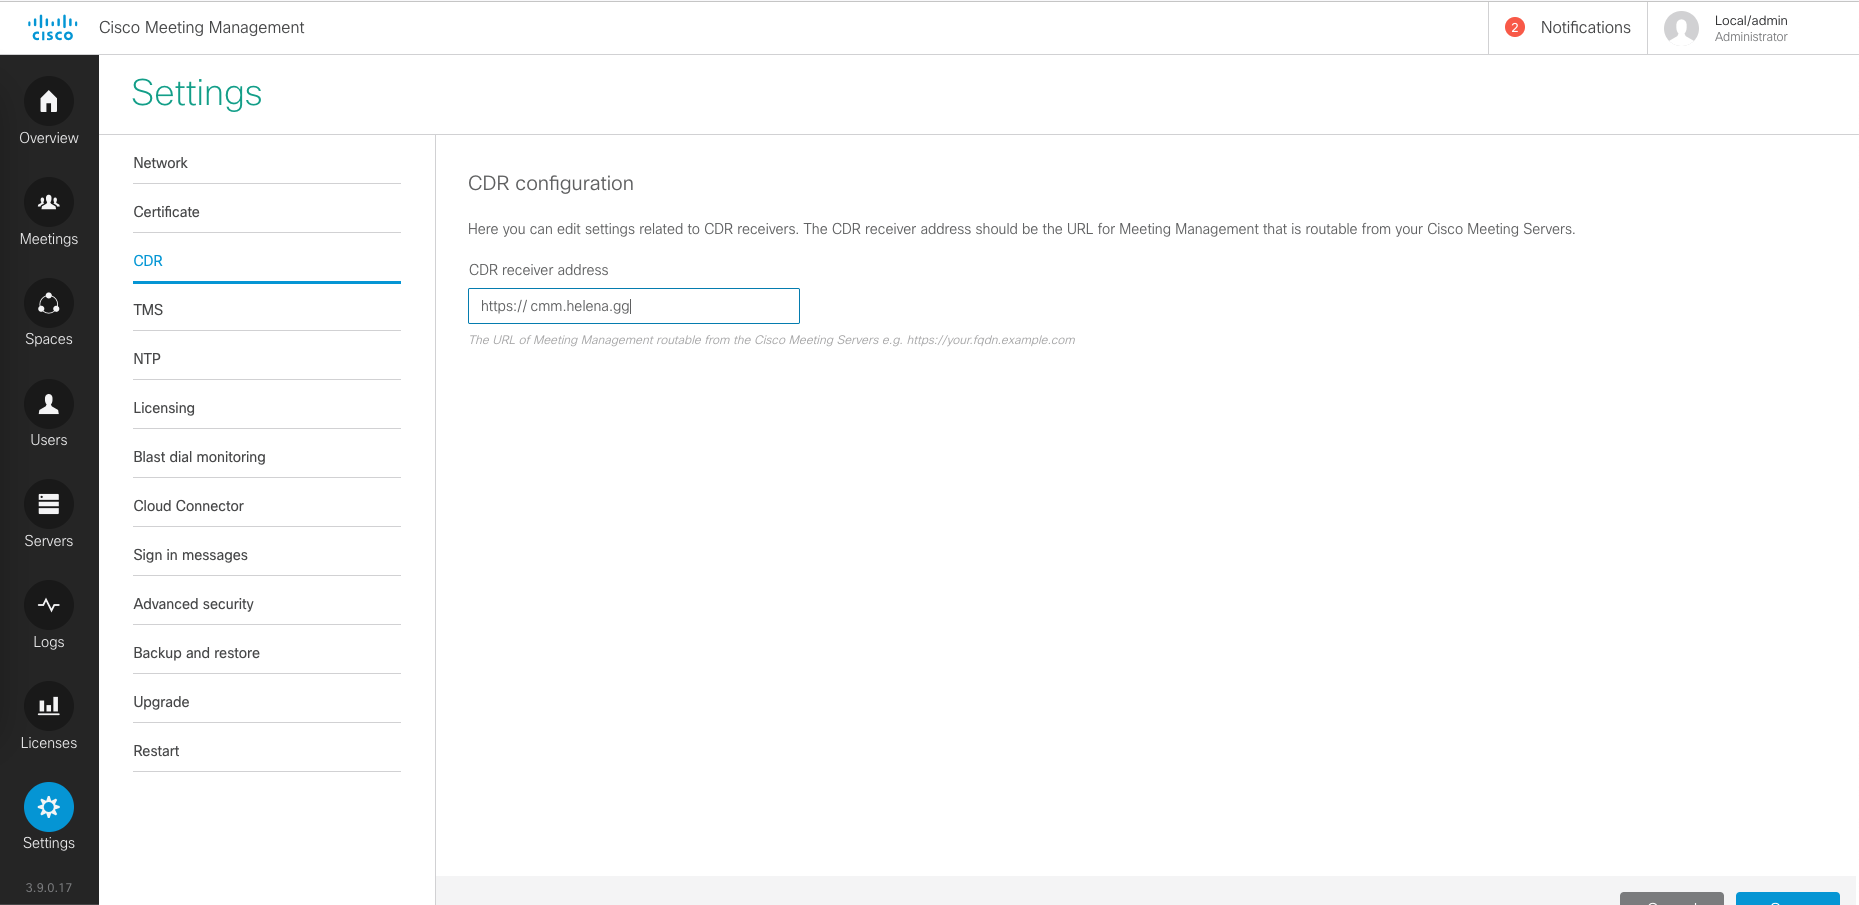
Next on Settings » CDR, enter the CMM’s FQDN
Then configure the NTP
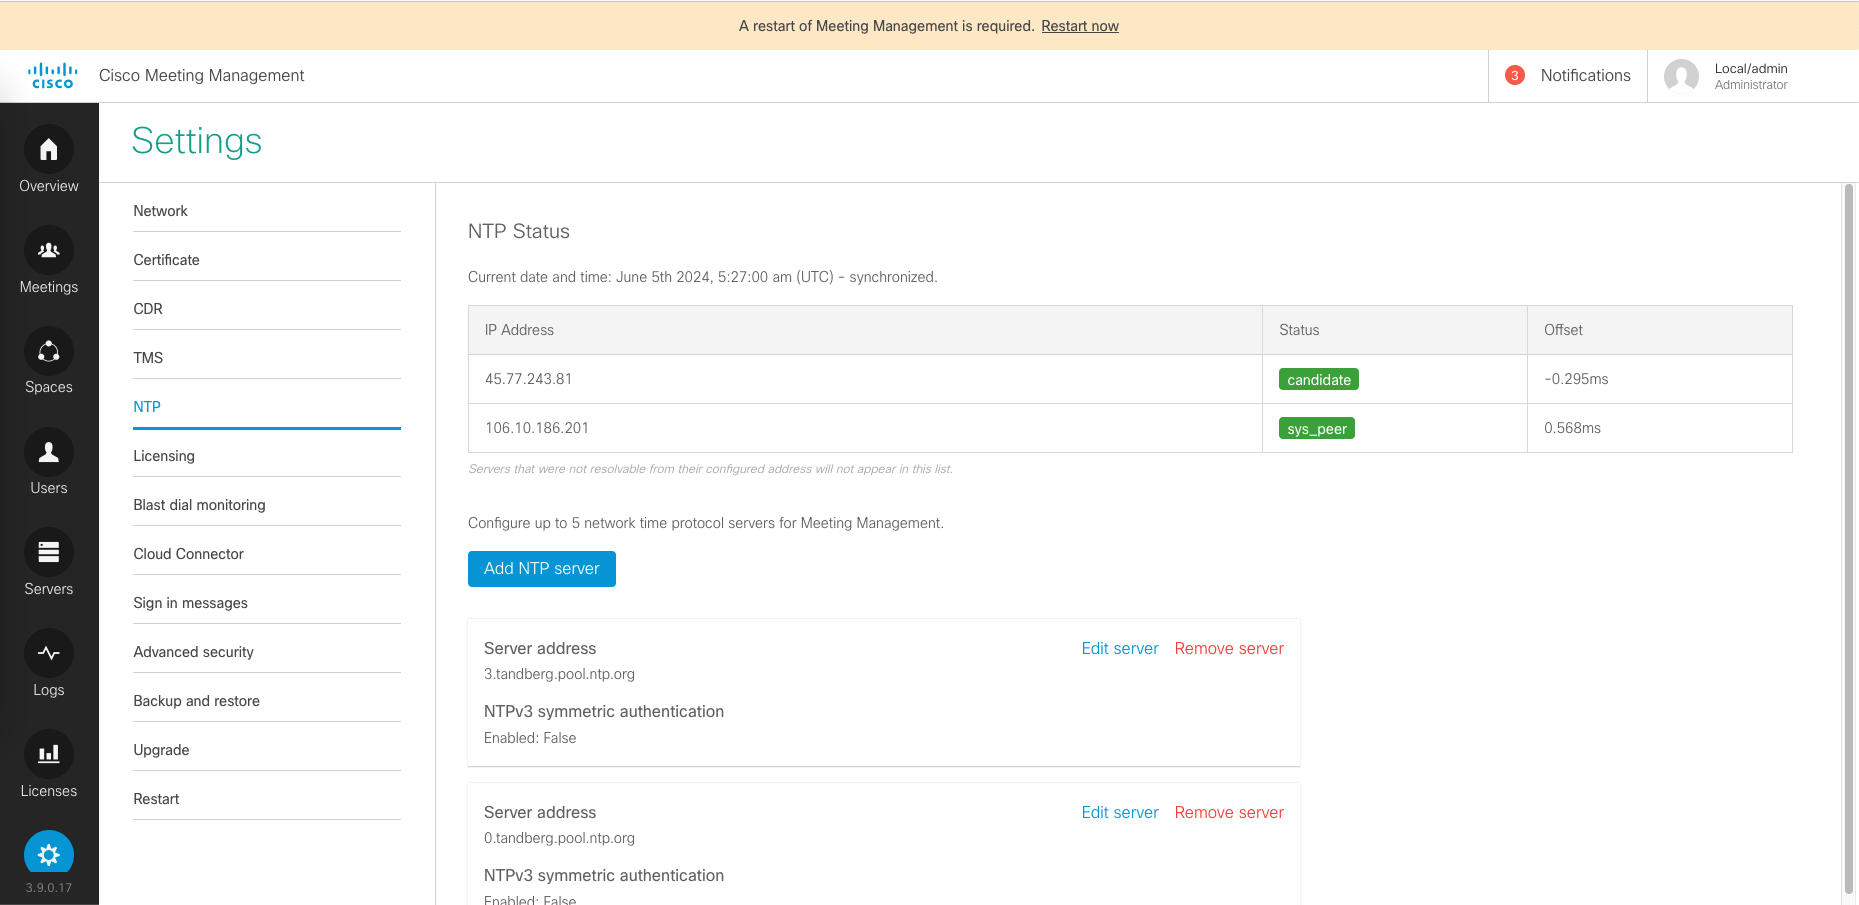
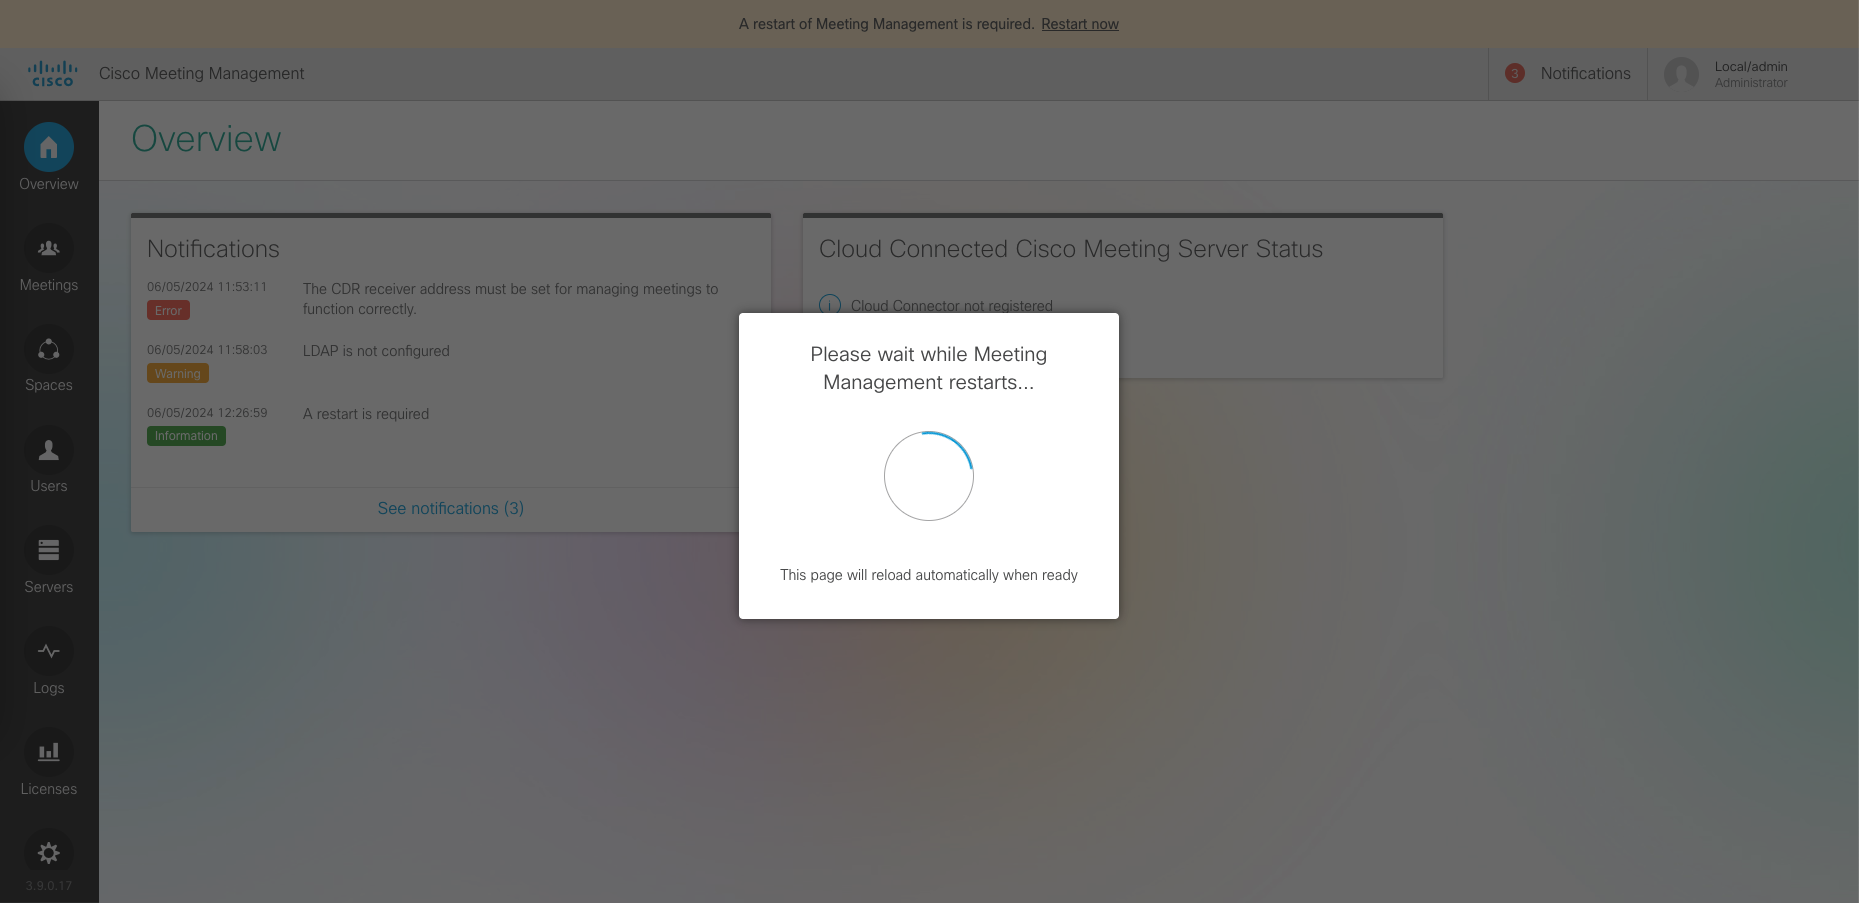
Restart the server for the changes to take effect
After the server is up again, go to Settings » Licensing, activate Smart Licensing

Installing CMS Node
Still on CMM, on Severs » Add Server, select Configure and Add new Meeting Server
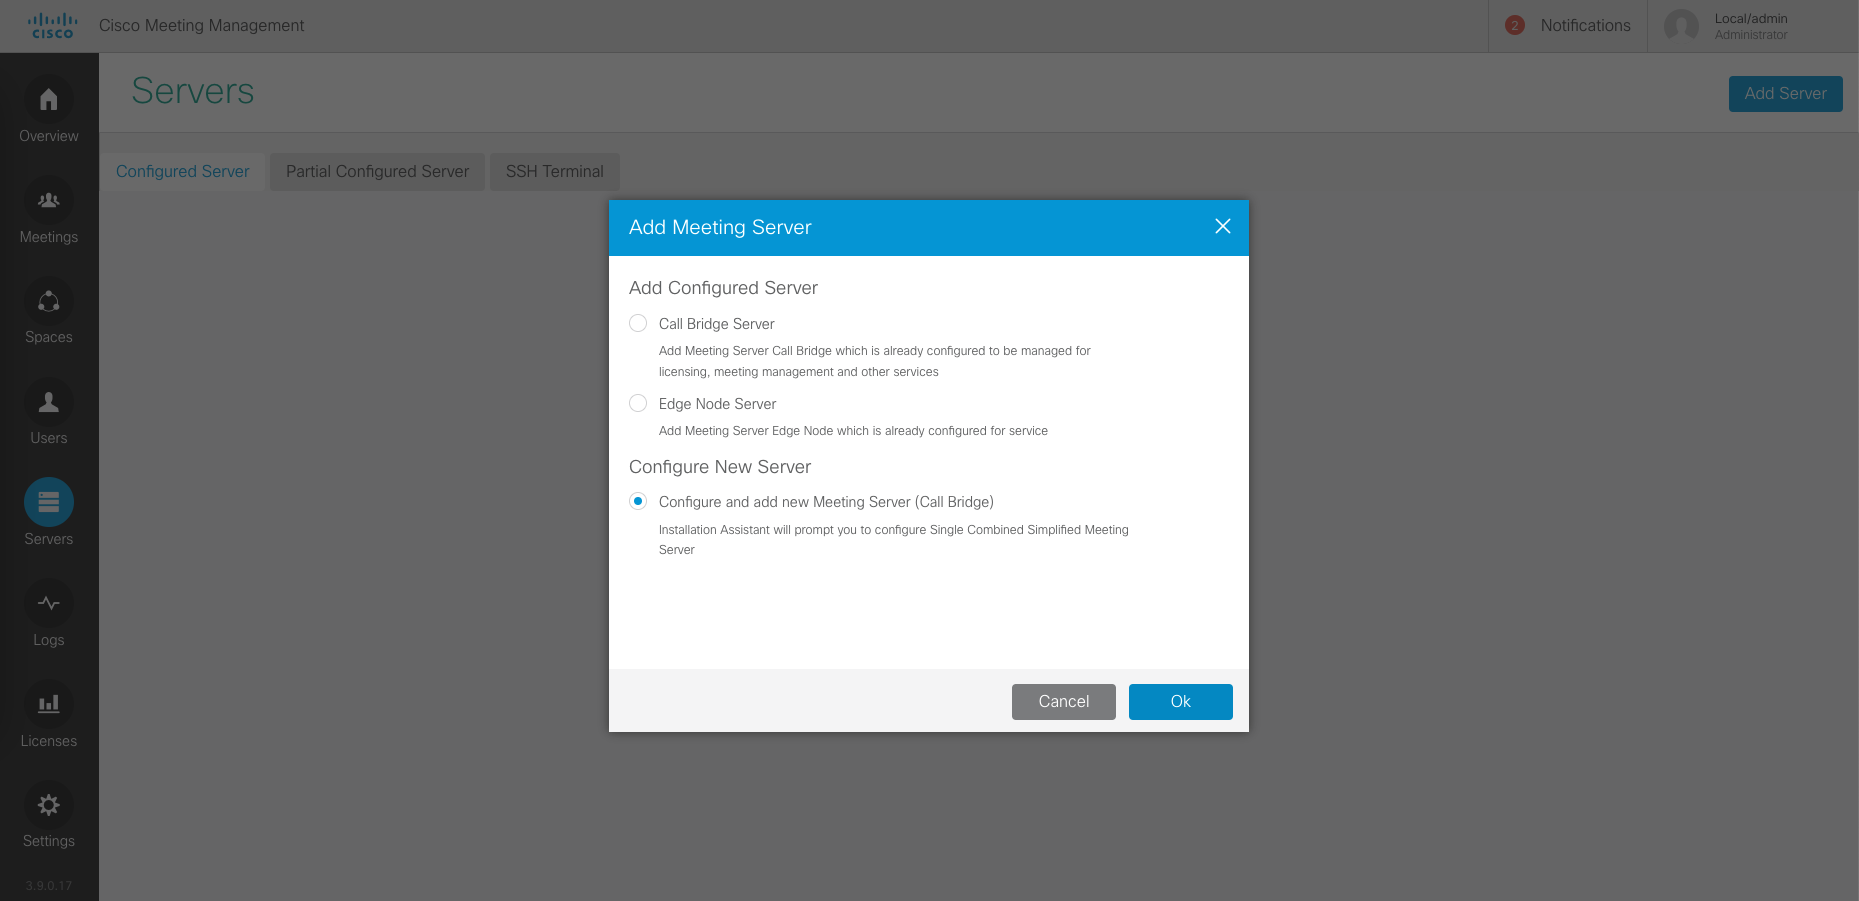
Enter CMS’s IP Address and the credentials

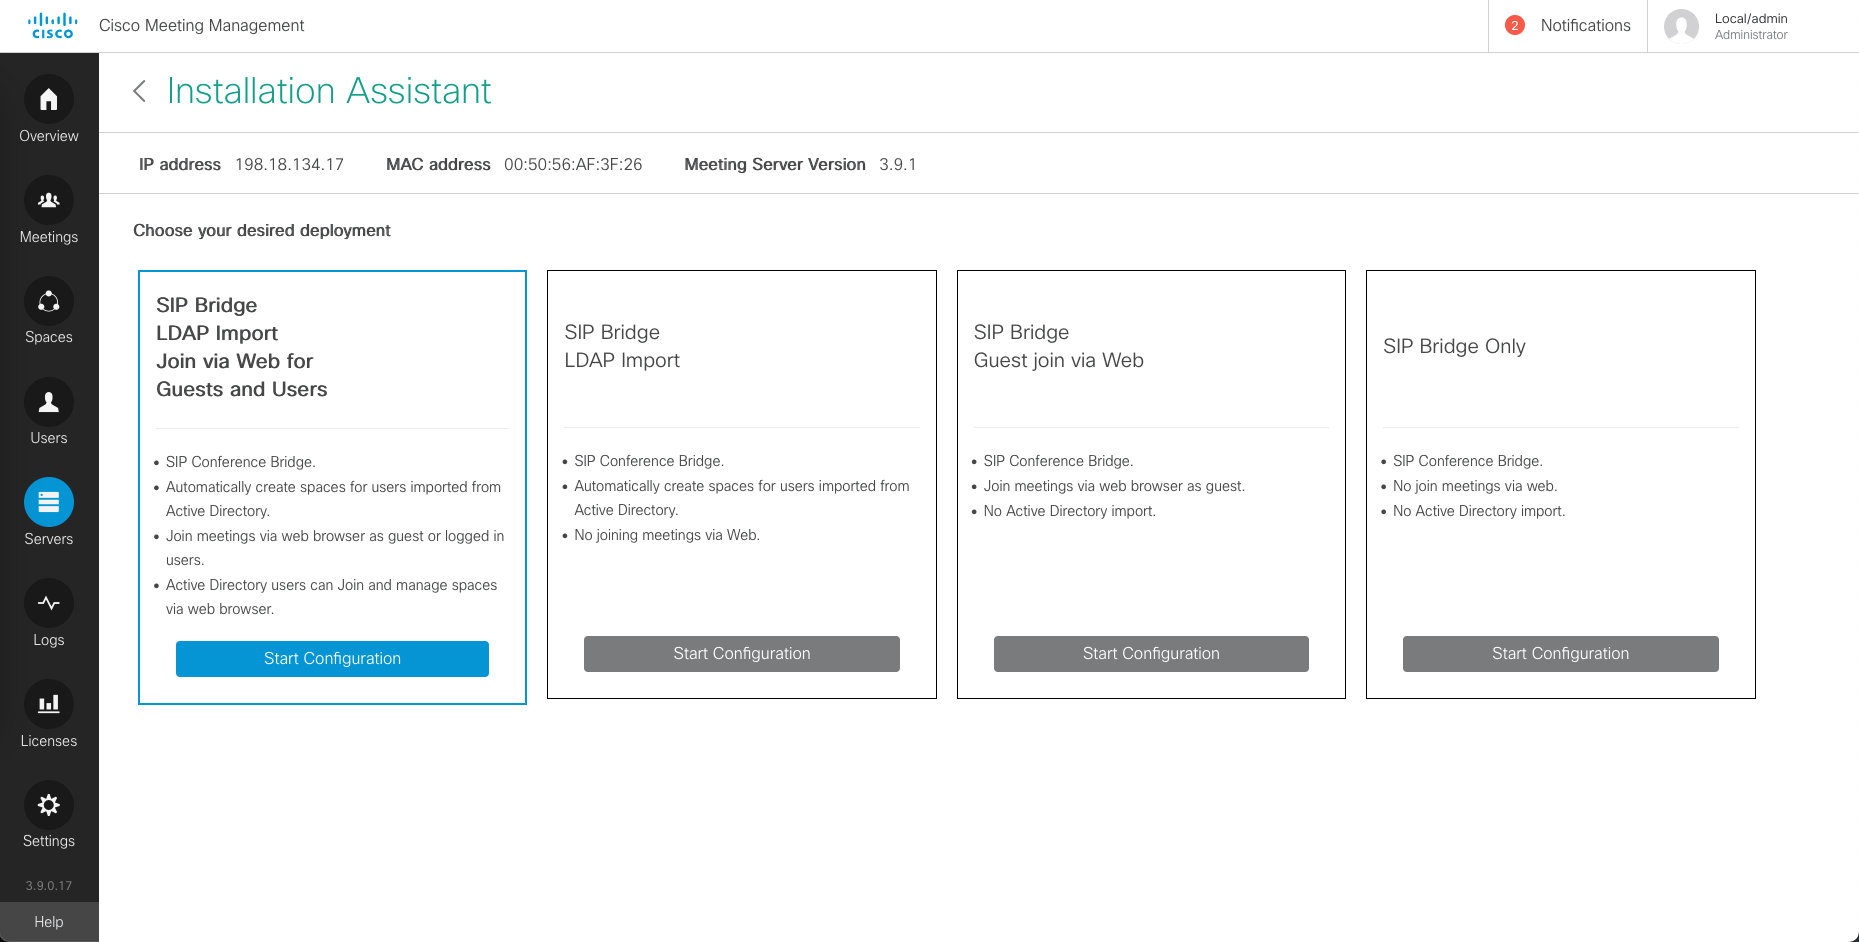
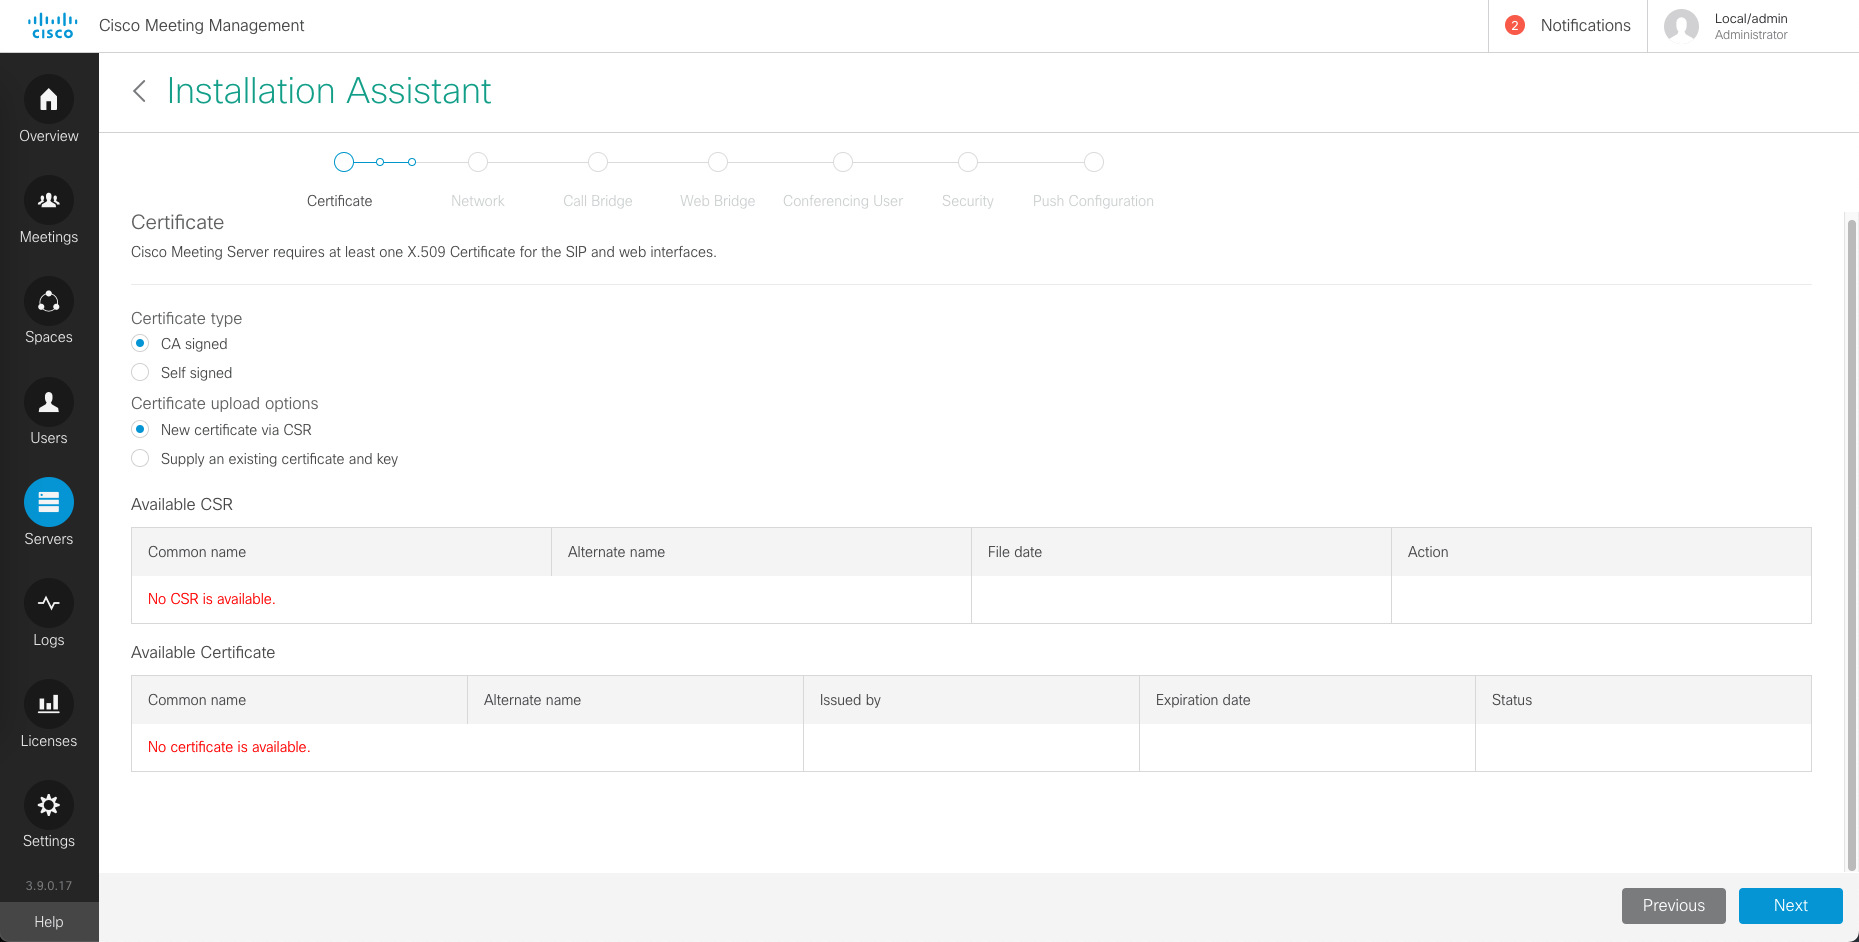
Select the desired deployment type
Select certificate type, here we’ll use CA Signed and create new CSR
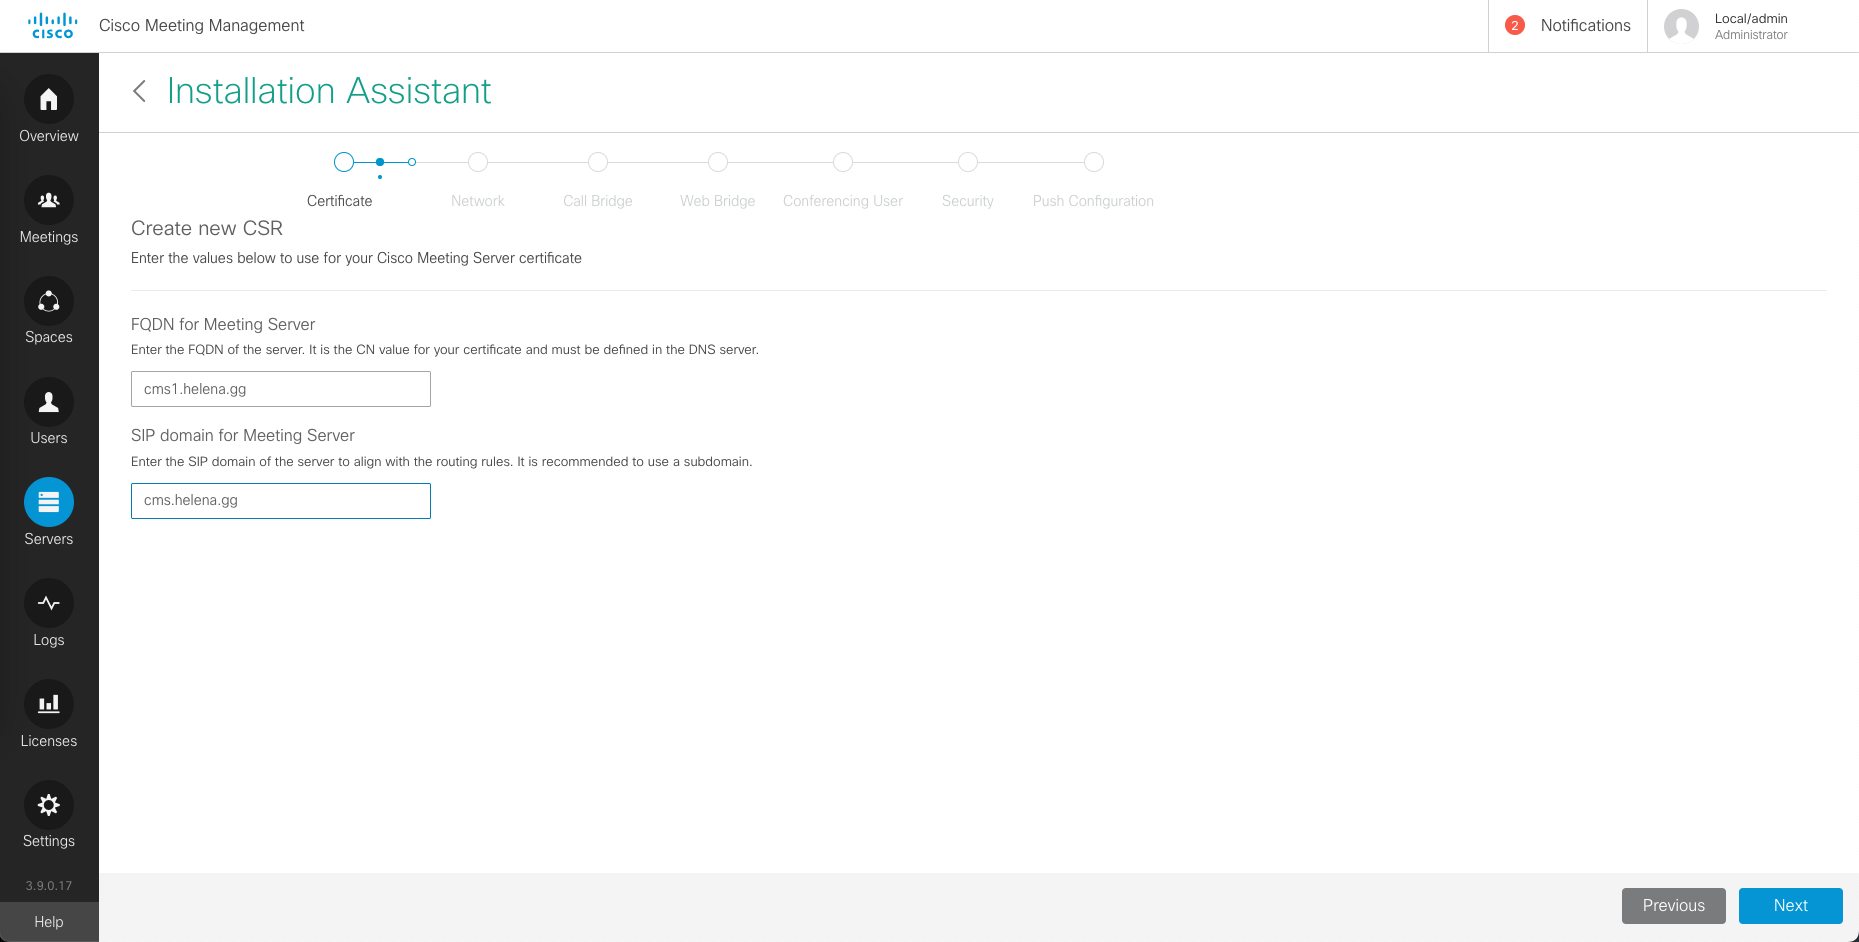
Enter the FQDN of CMS and the SIP Domain
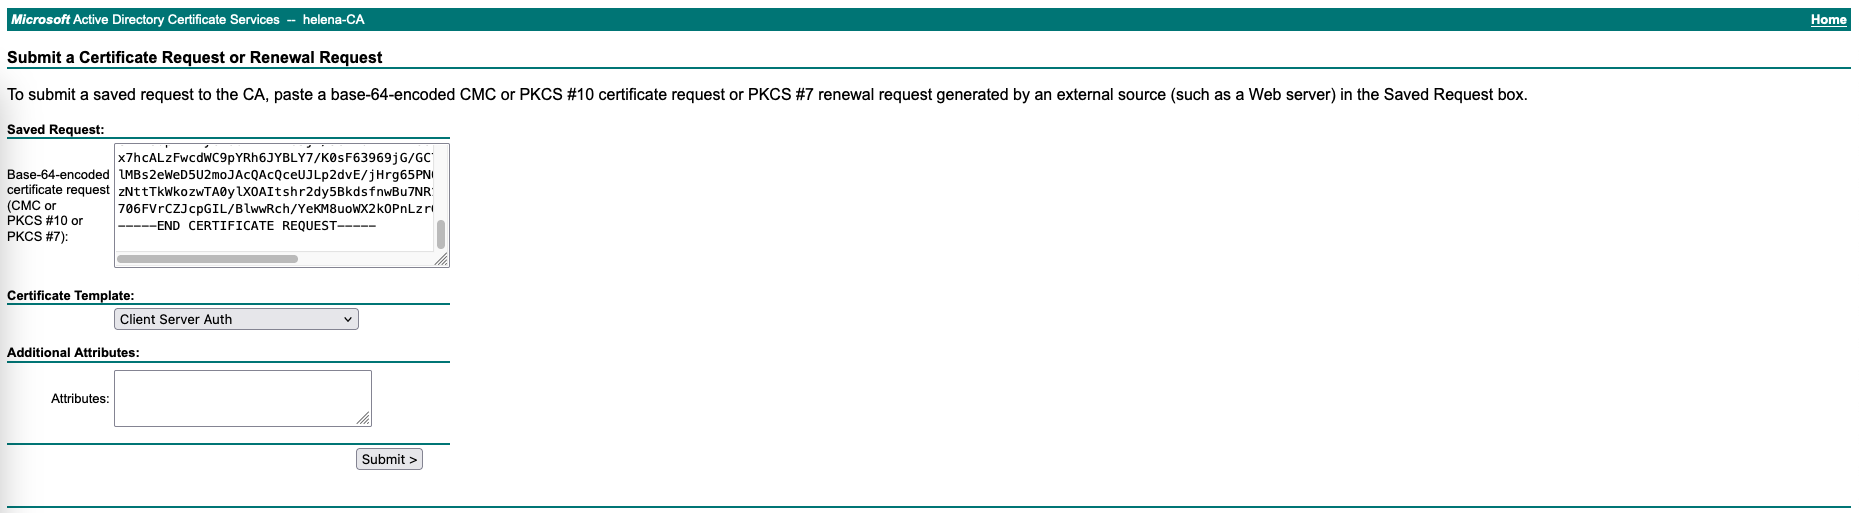
Sign the CSR with ClientServer Certificate Template
Then upload the Certificate and the CA

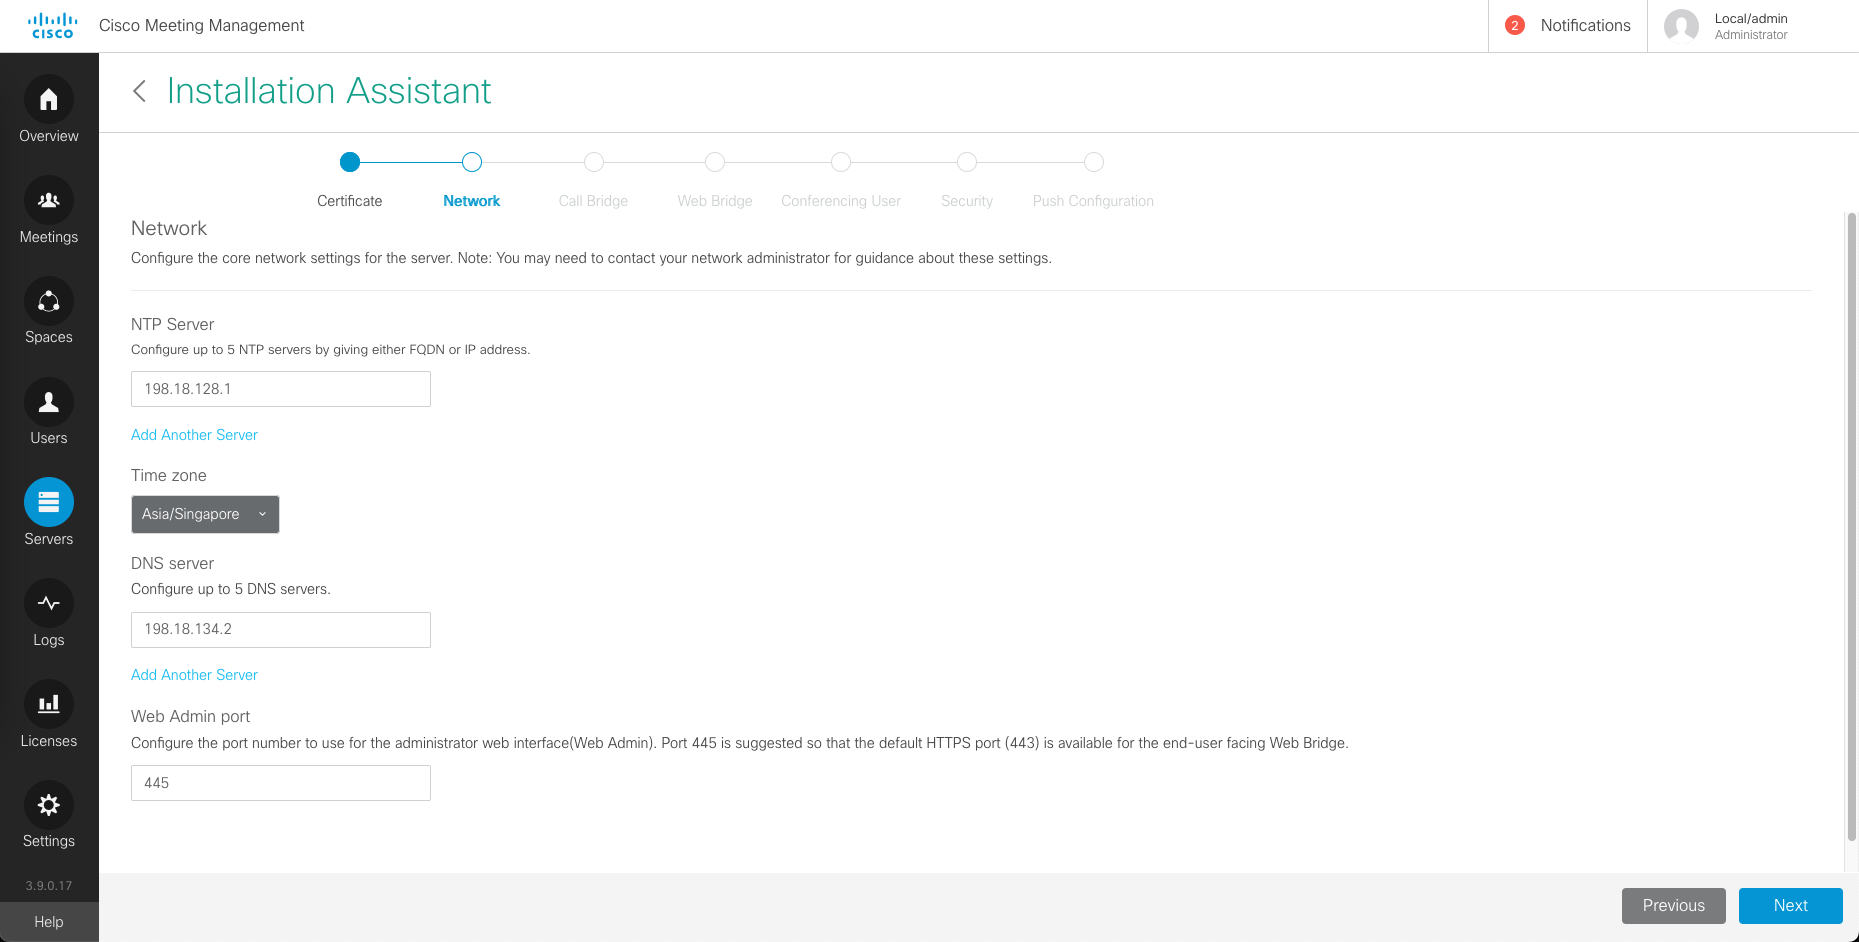
Configure NTP, DNS and Web admin port
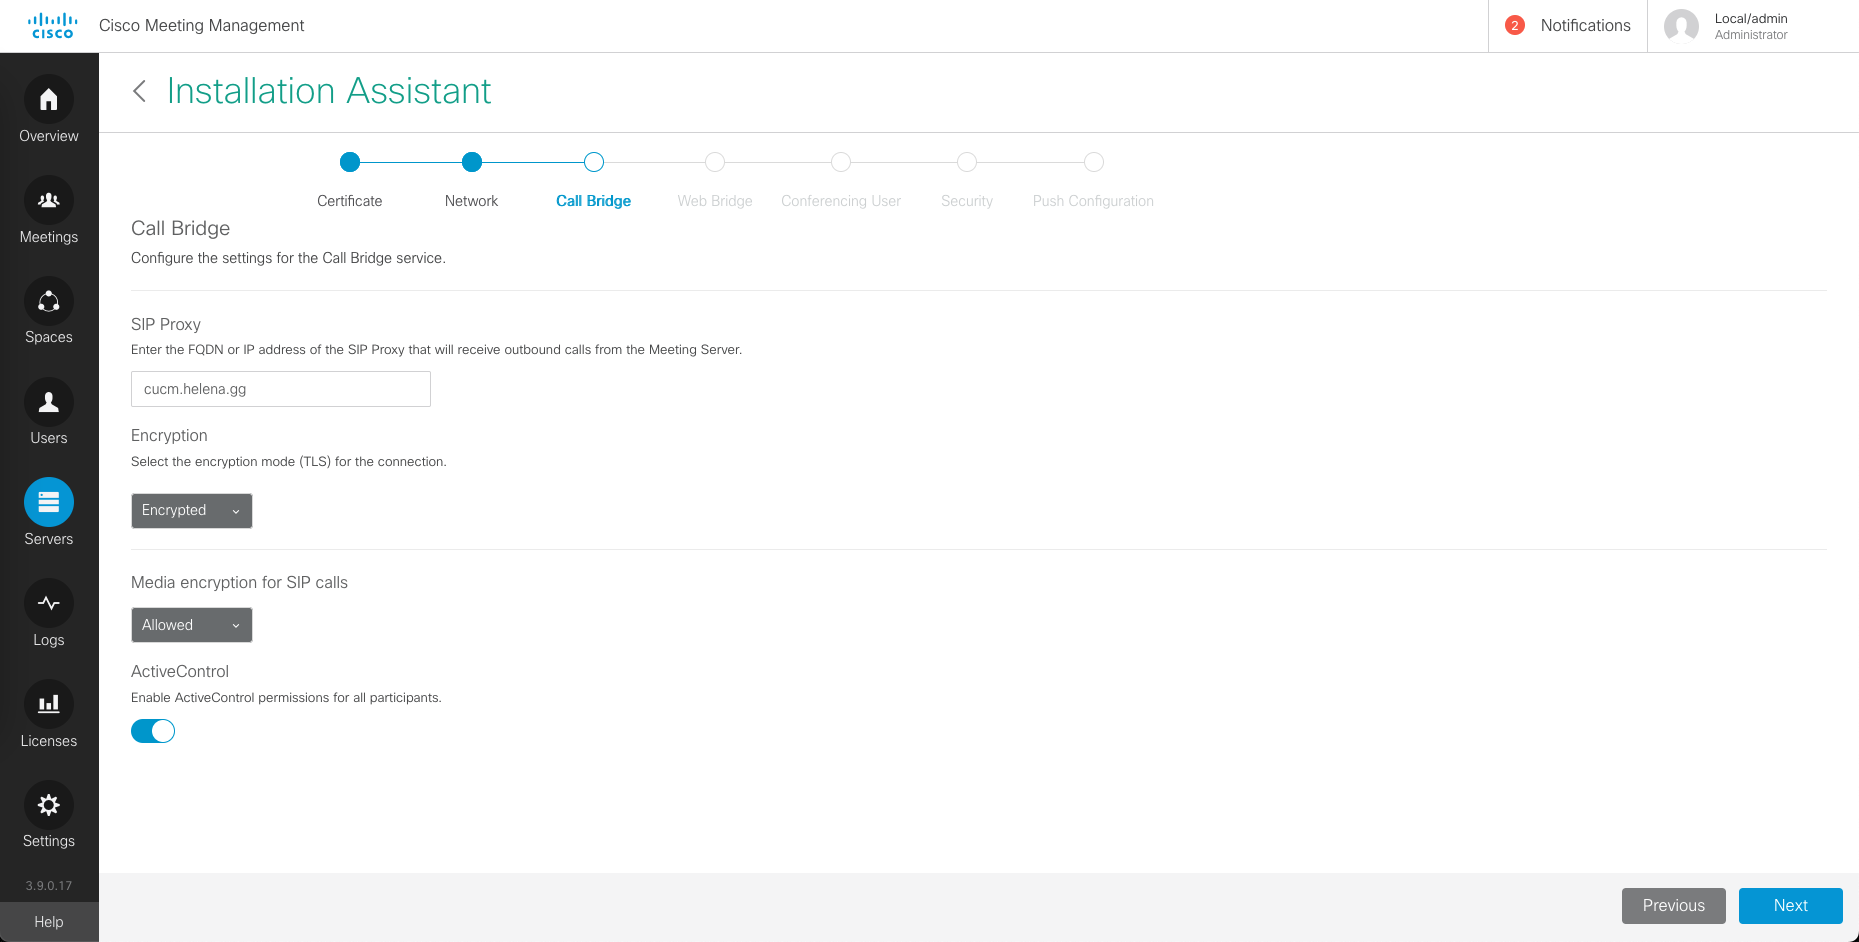
For call bridge, point the SIP Proxy to the CUCM
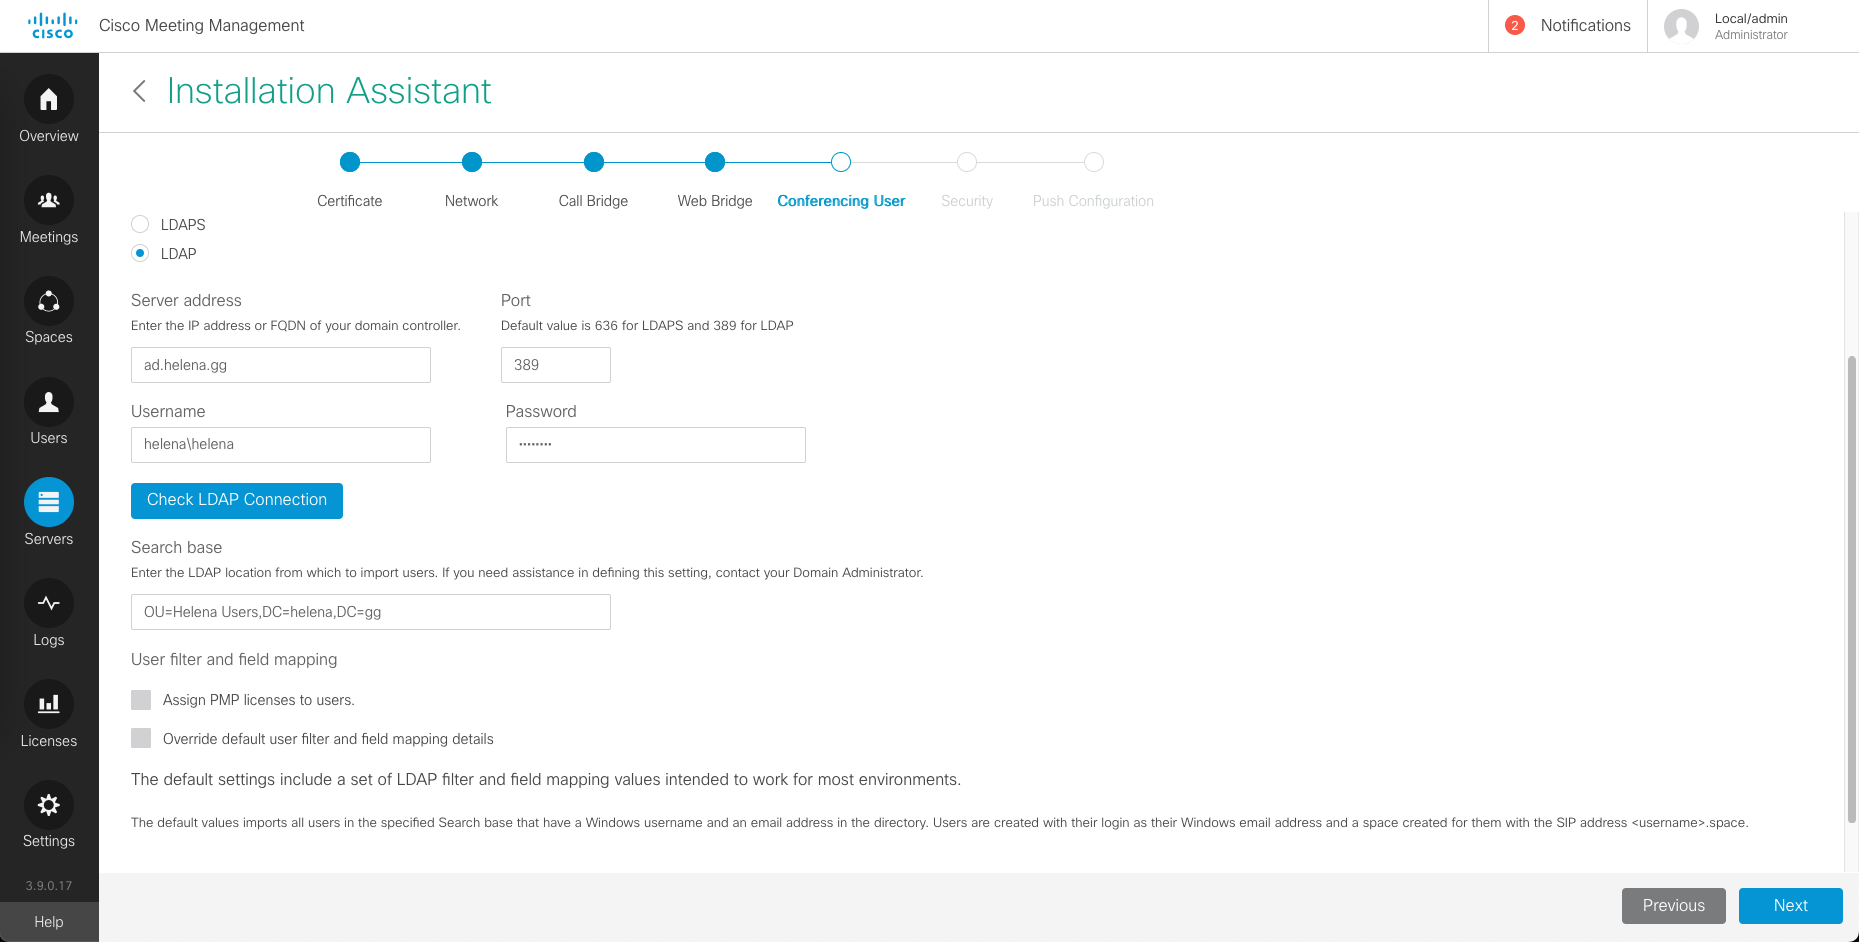
Next Configure the LDAP Integration
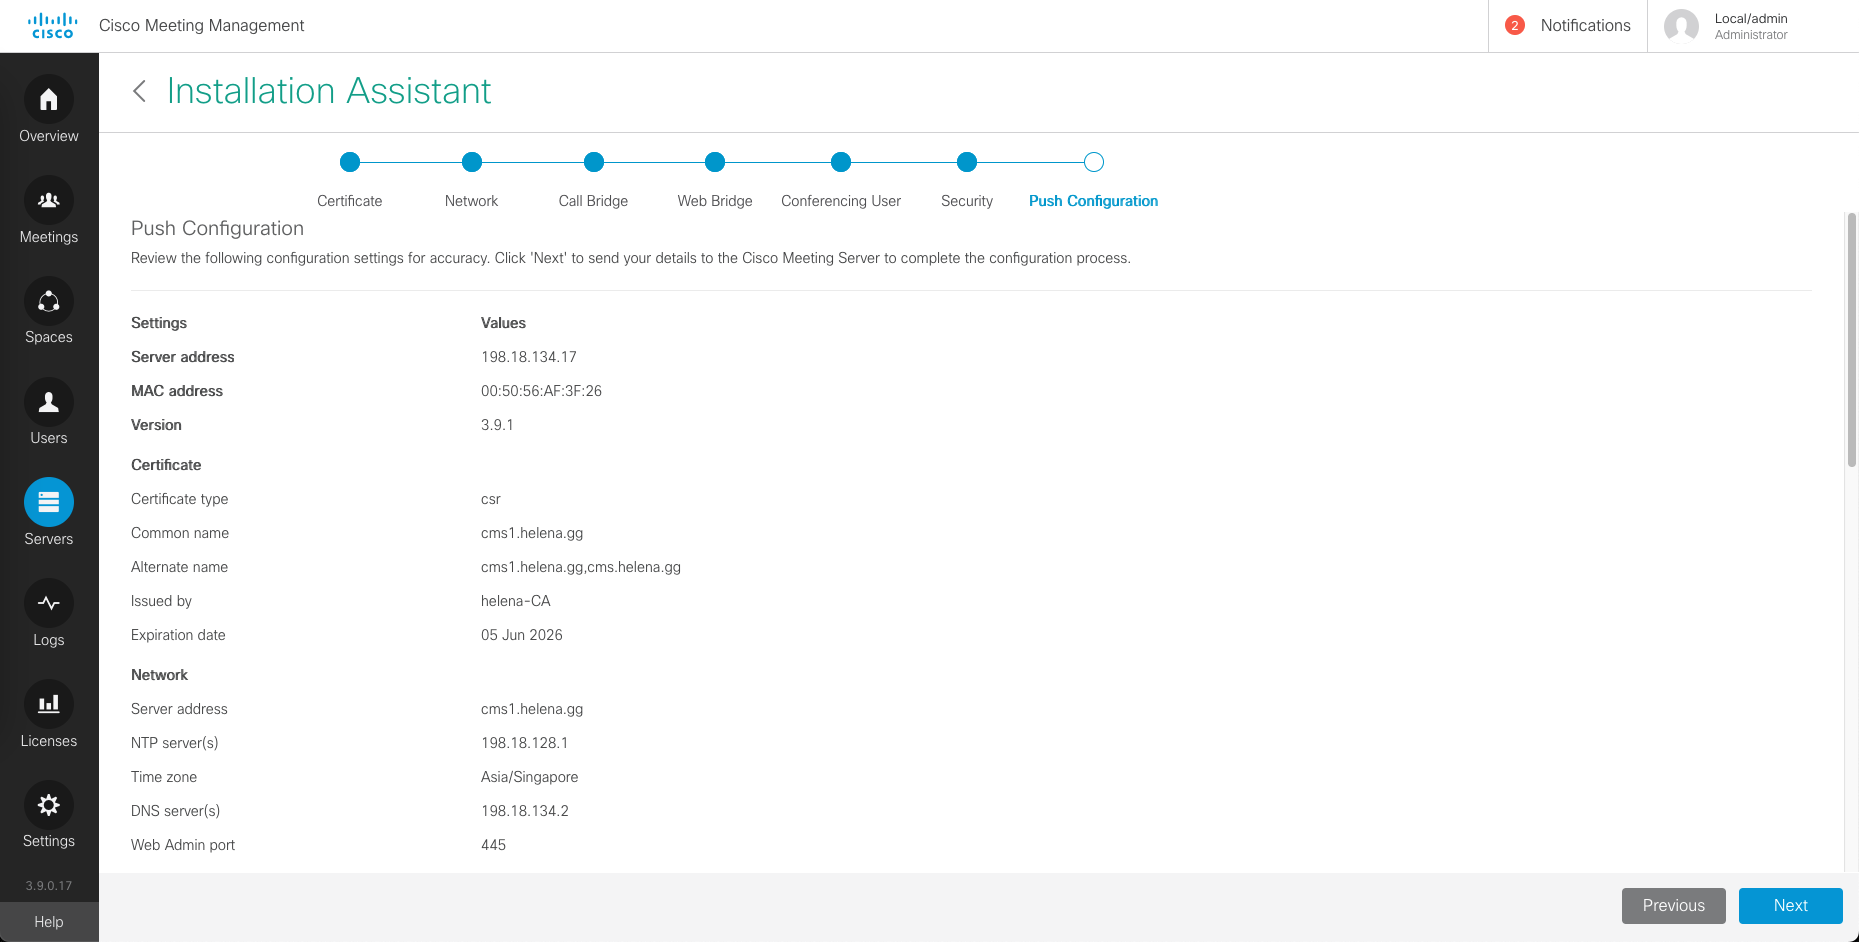
Review the configuration and hit next to push the configuration
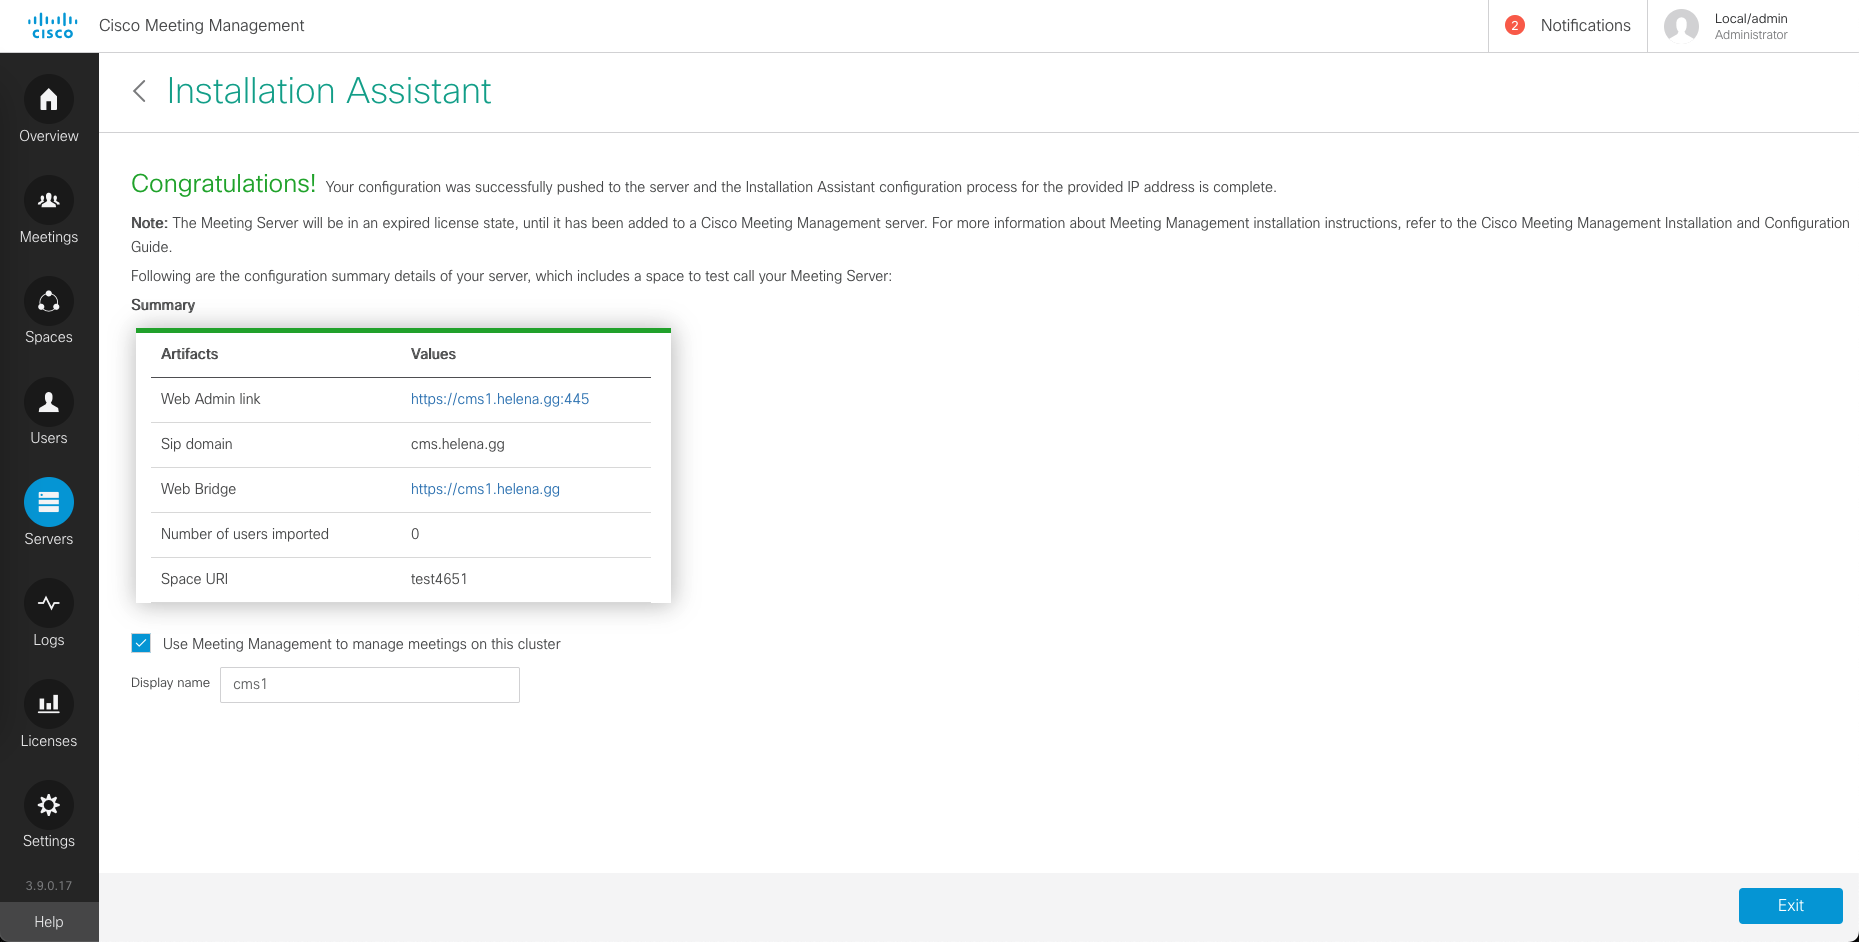
After some time, the CMS is no fully up and listed as a sever on CMM

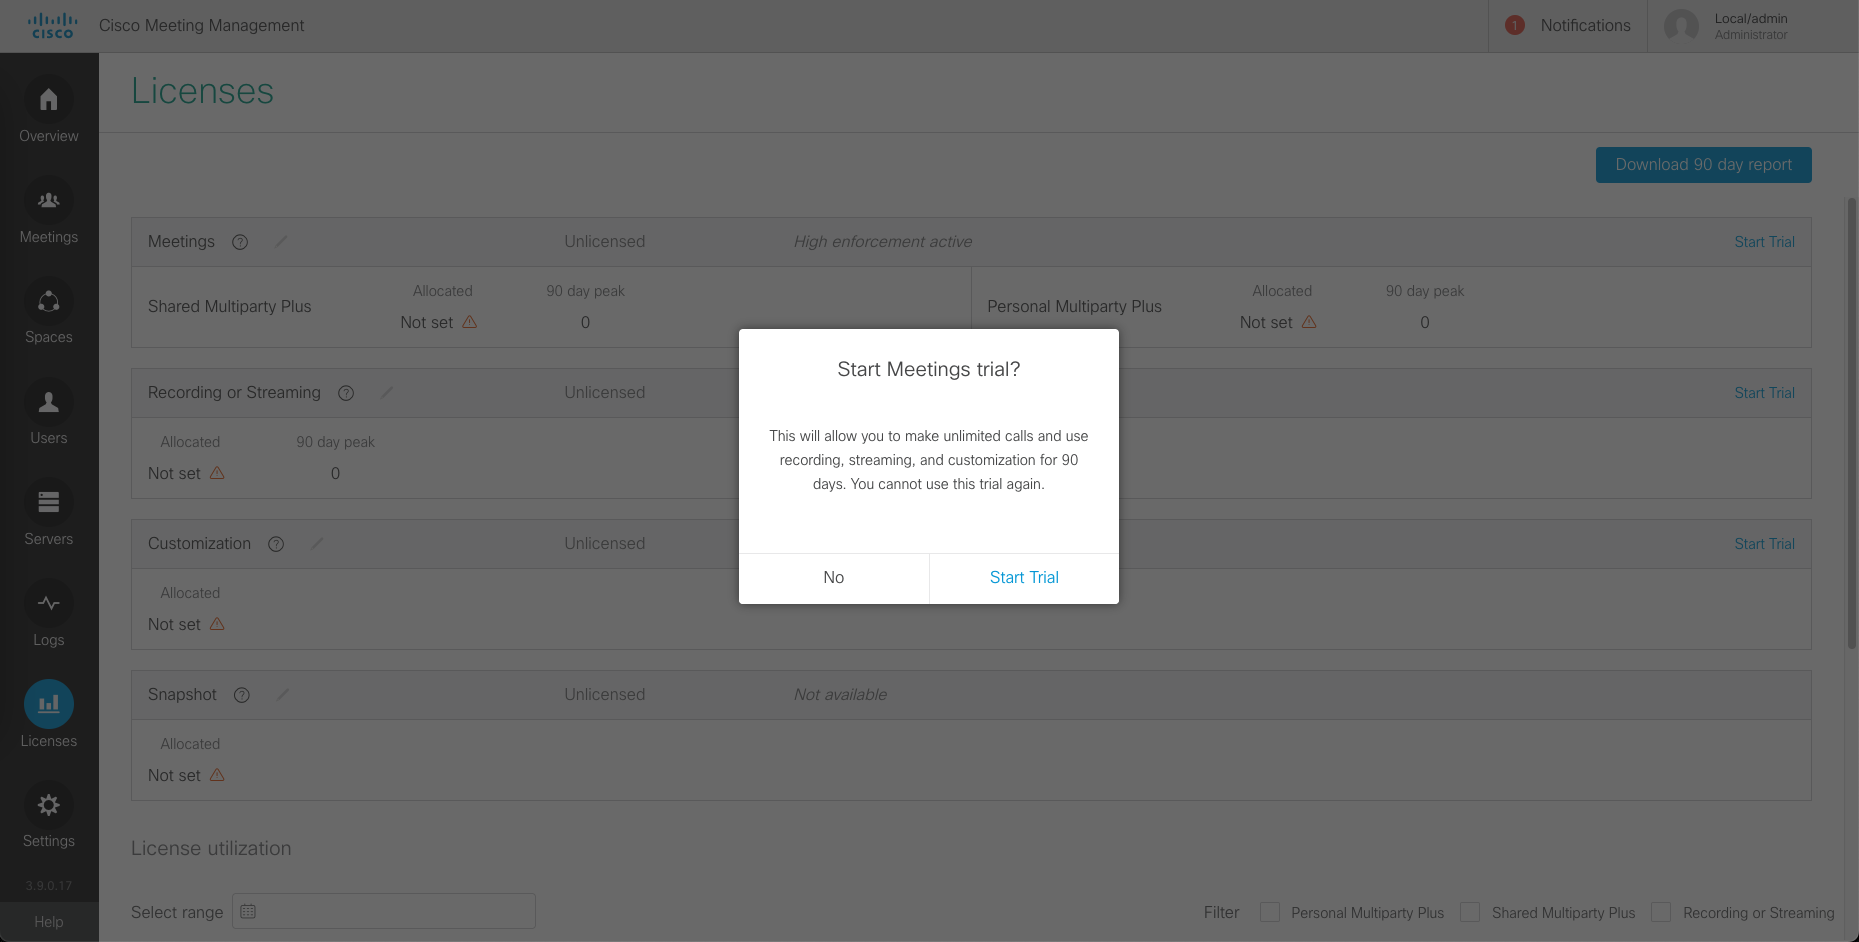
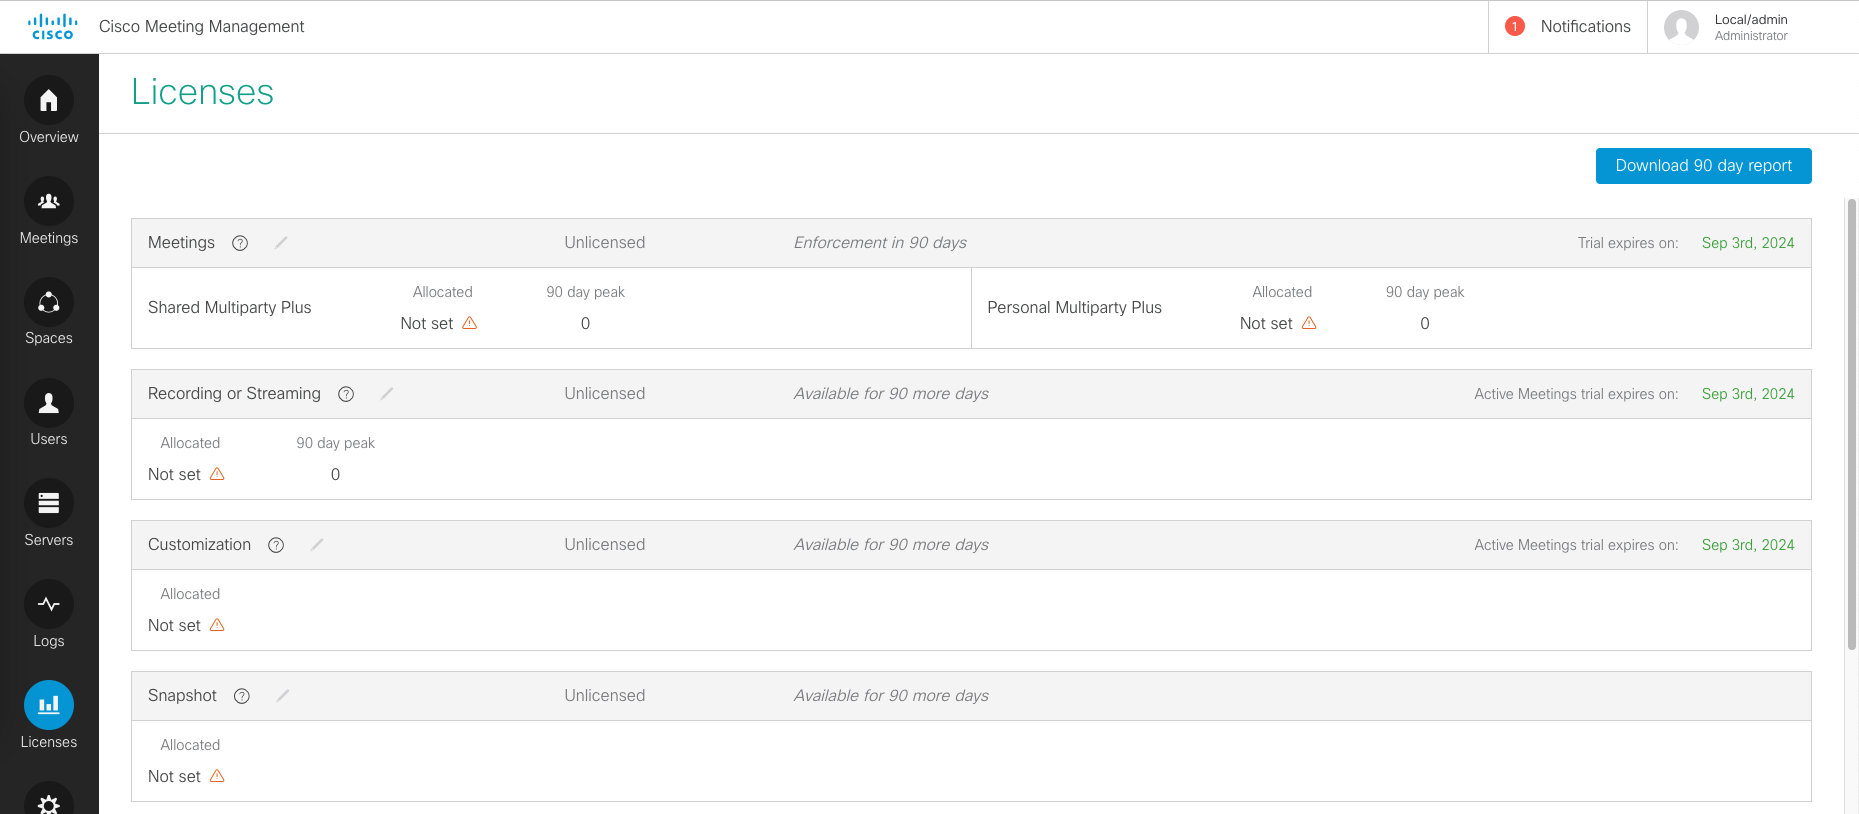
Lastly, activate the 90 days trial license so we can use all the features without waiting for the actual license being synced with the Smart Account
Configuring CMS
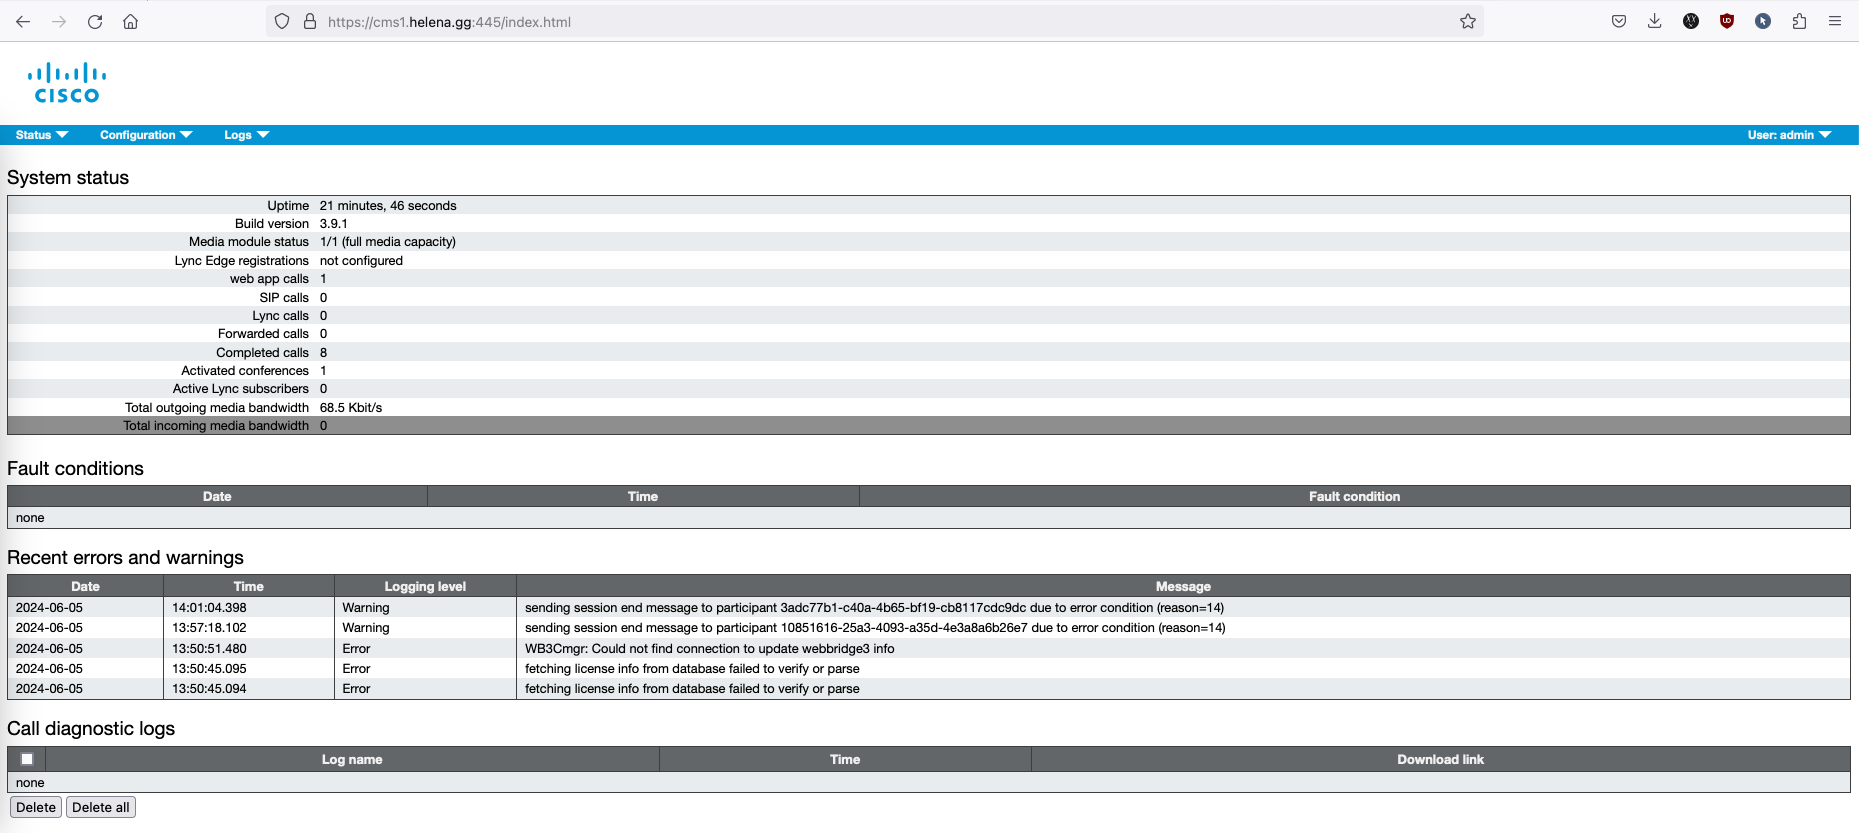
Now the CMS management web can be accessed on port 445
User Configuration
To retrieve users from Active Directory, go to Configuration » Active Directory and fill in the details

And after that on Status » Users, the AD users should show up

Meeting
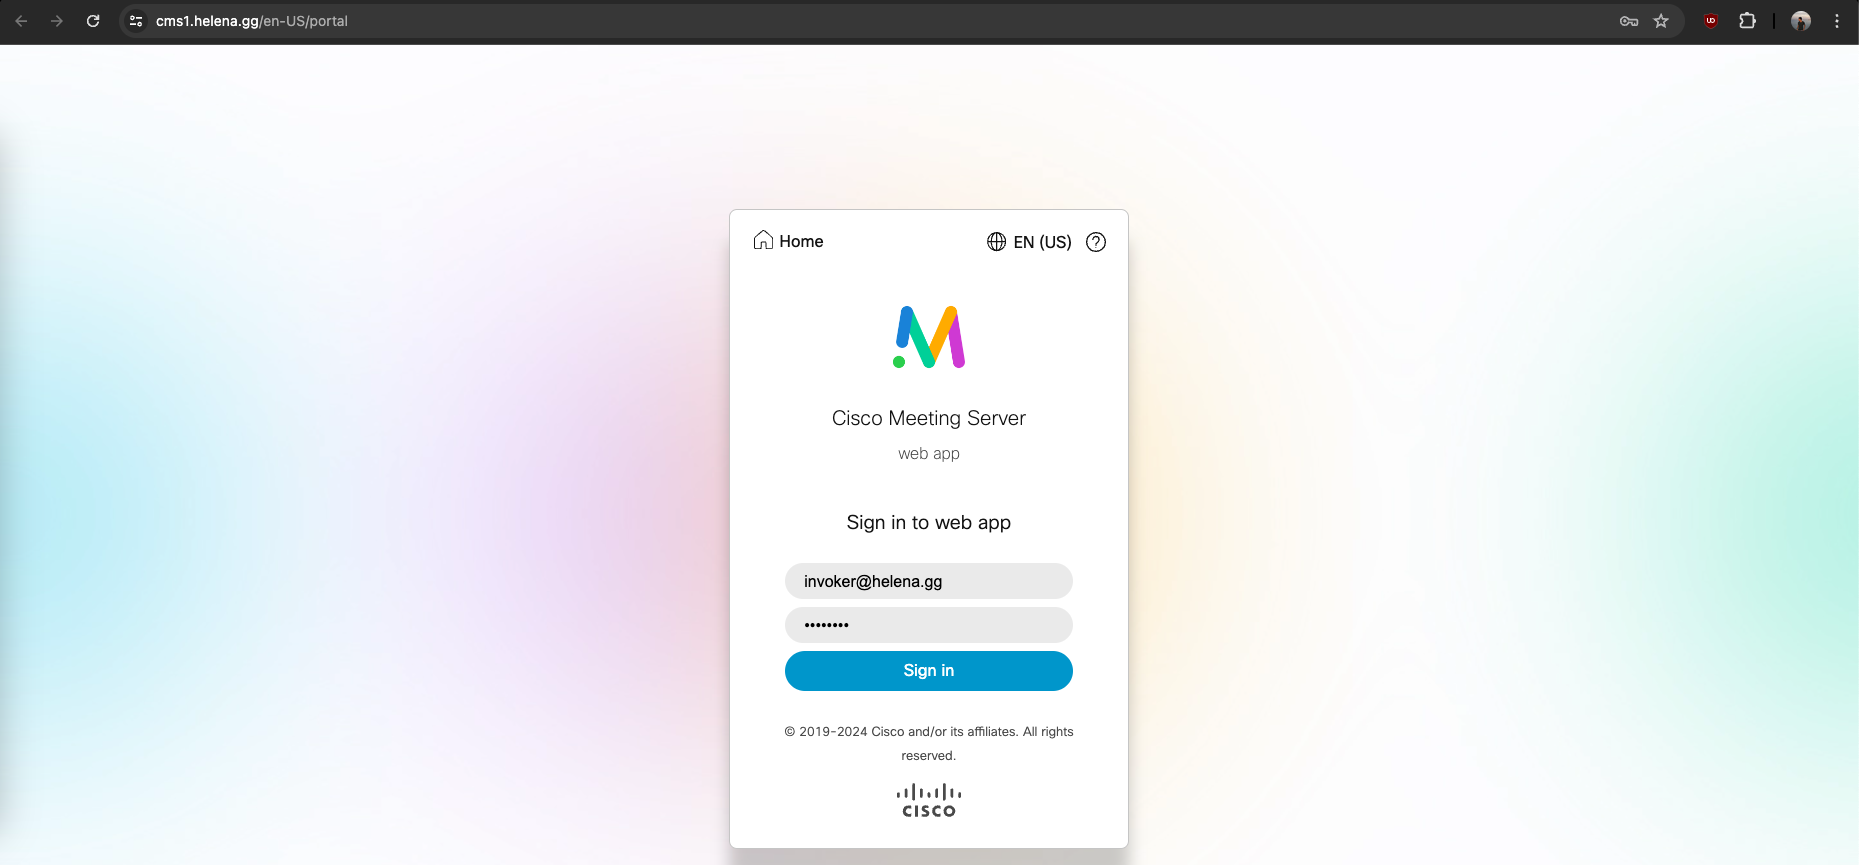
Now we can login to CMS using user invoker
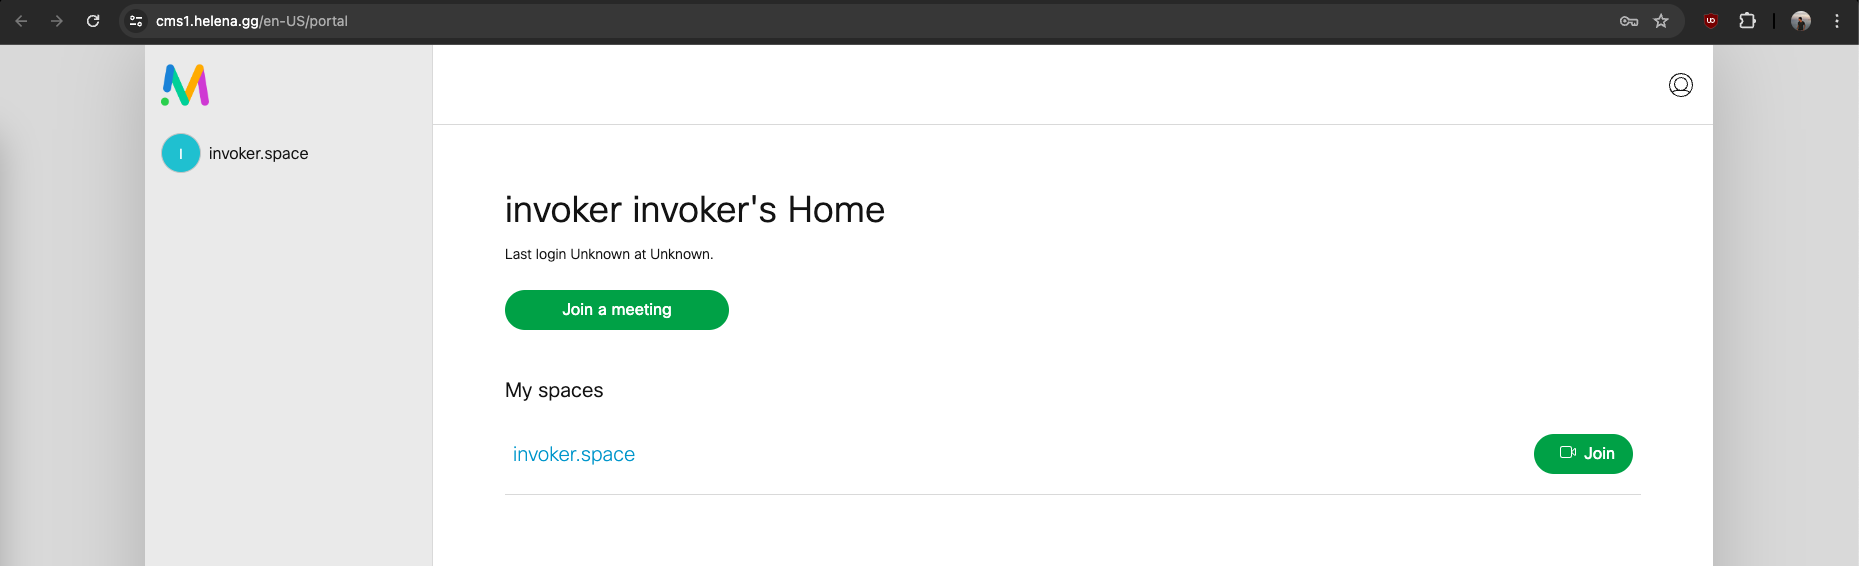
And here we can have a meeting in invoker’s personal space

Meeting Space
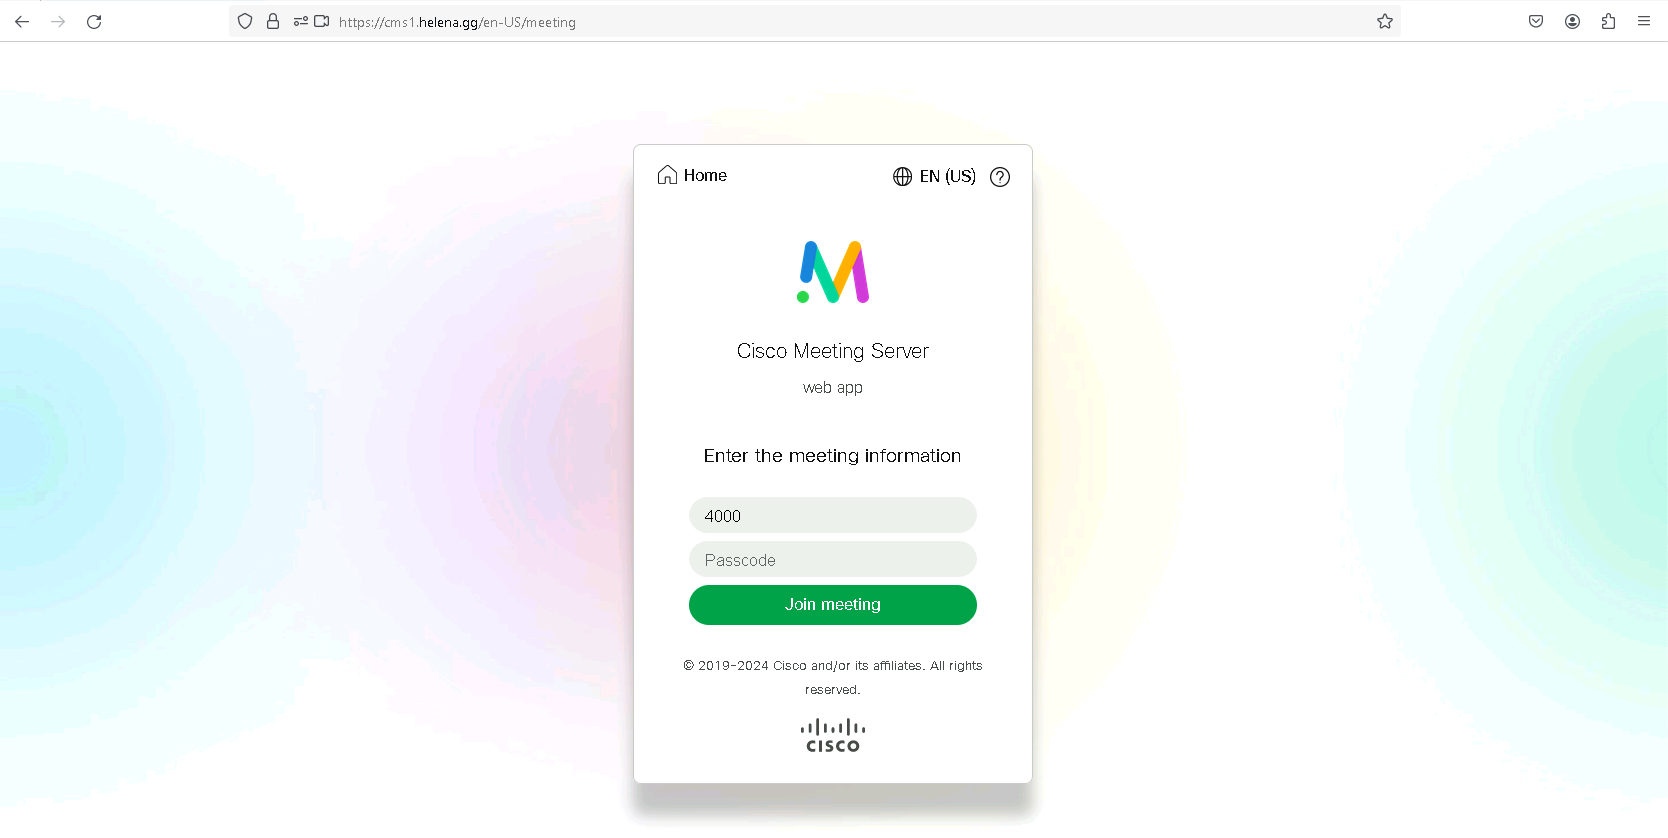
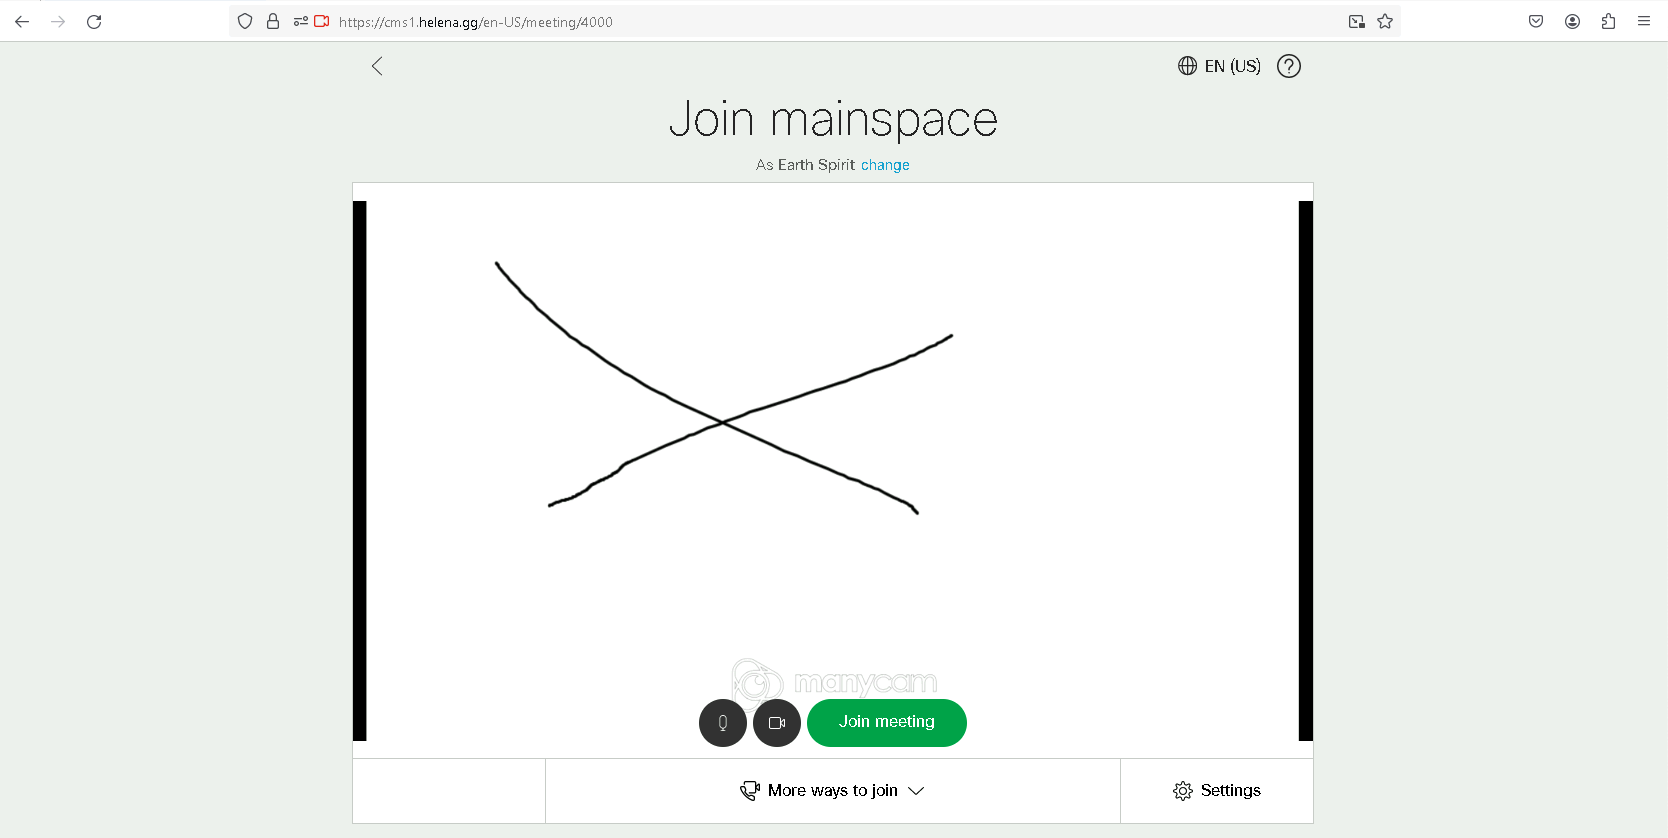
Next lets create a new space that can be dialed for instant meetings named “mainspace” with CallID “4000”

And now we can dial “4000” to enter the meeting space
Integrating with CUCM
In order to directly join a meeting from CUCM Endpoints, we need to configure the CUCM integration. Firstly create a Route Pattern and a SIP Trunk pointing to CMS

On CMS, catch the dialed pattern into a meeting space on “URI user part”

Now if we dial 4000, we will be directed to the meeting space
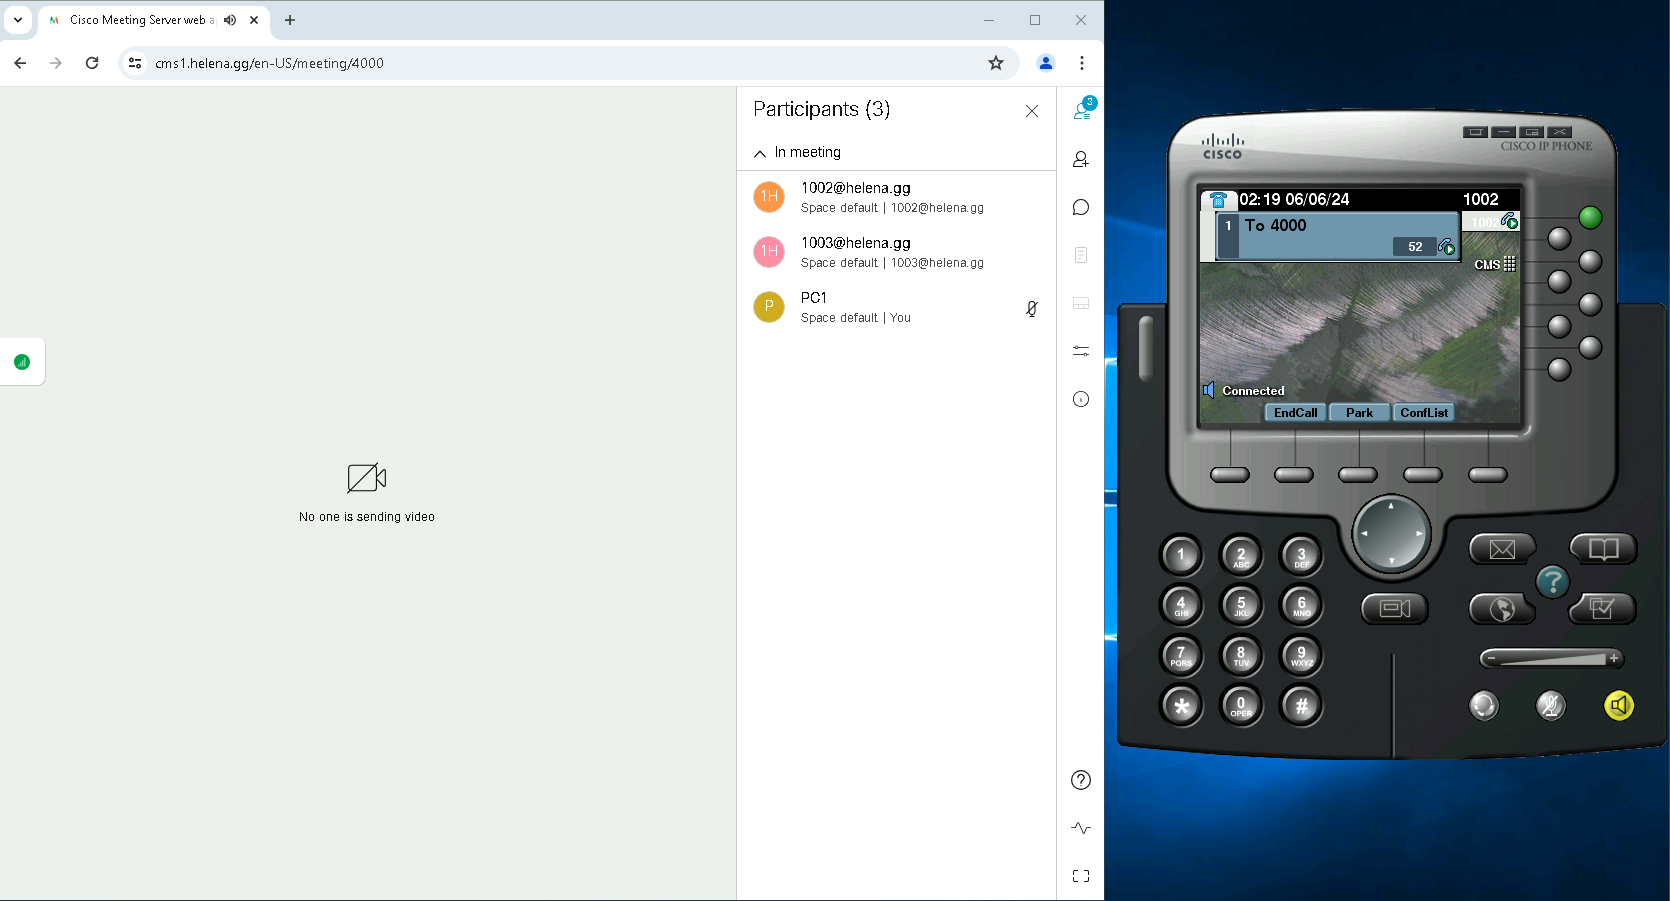
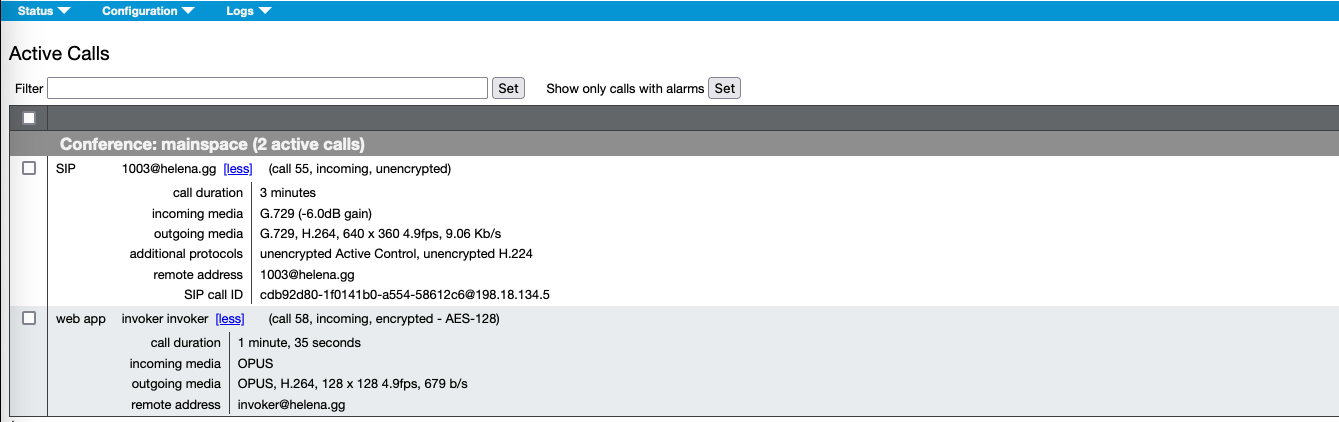
On CMM, we can see that this is a SIP Call Type
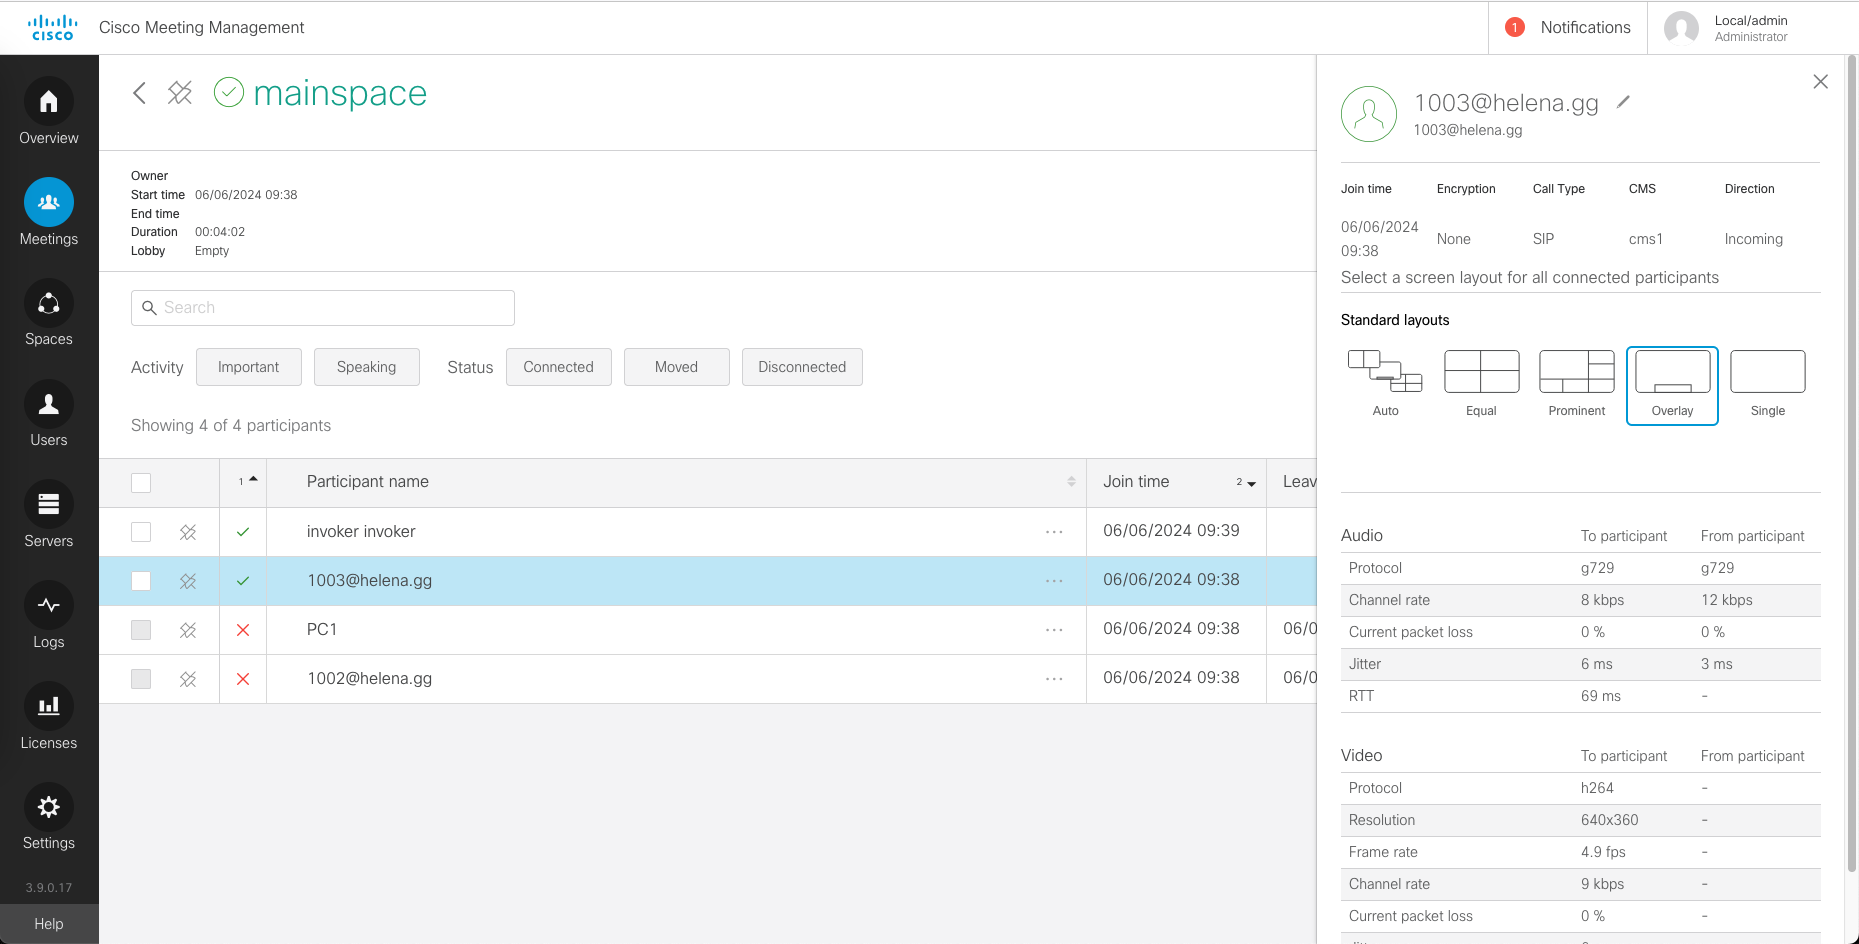
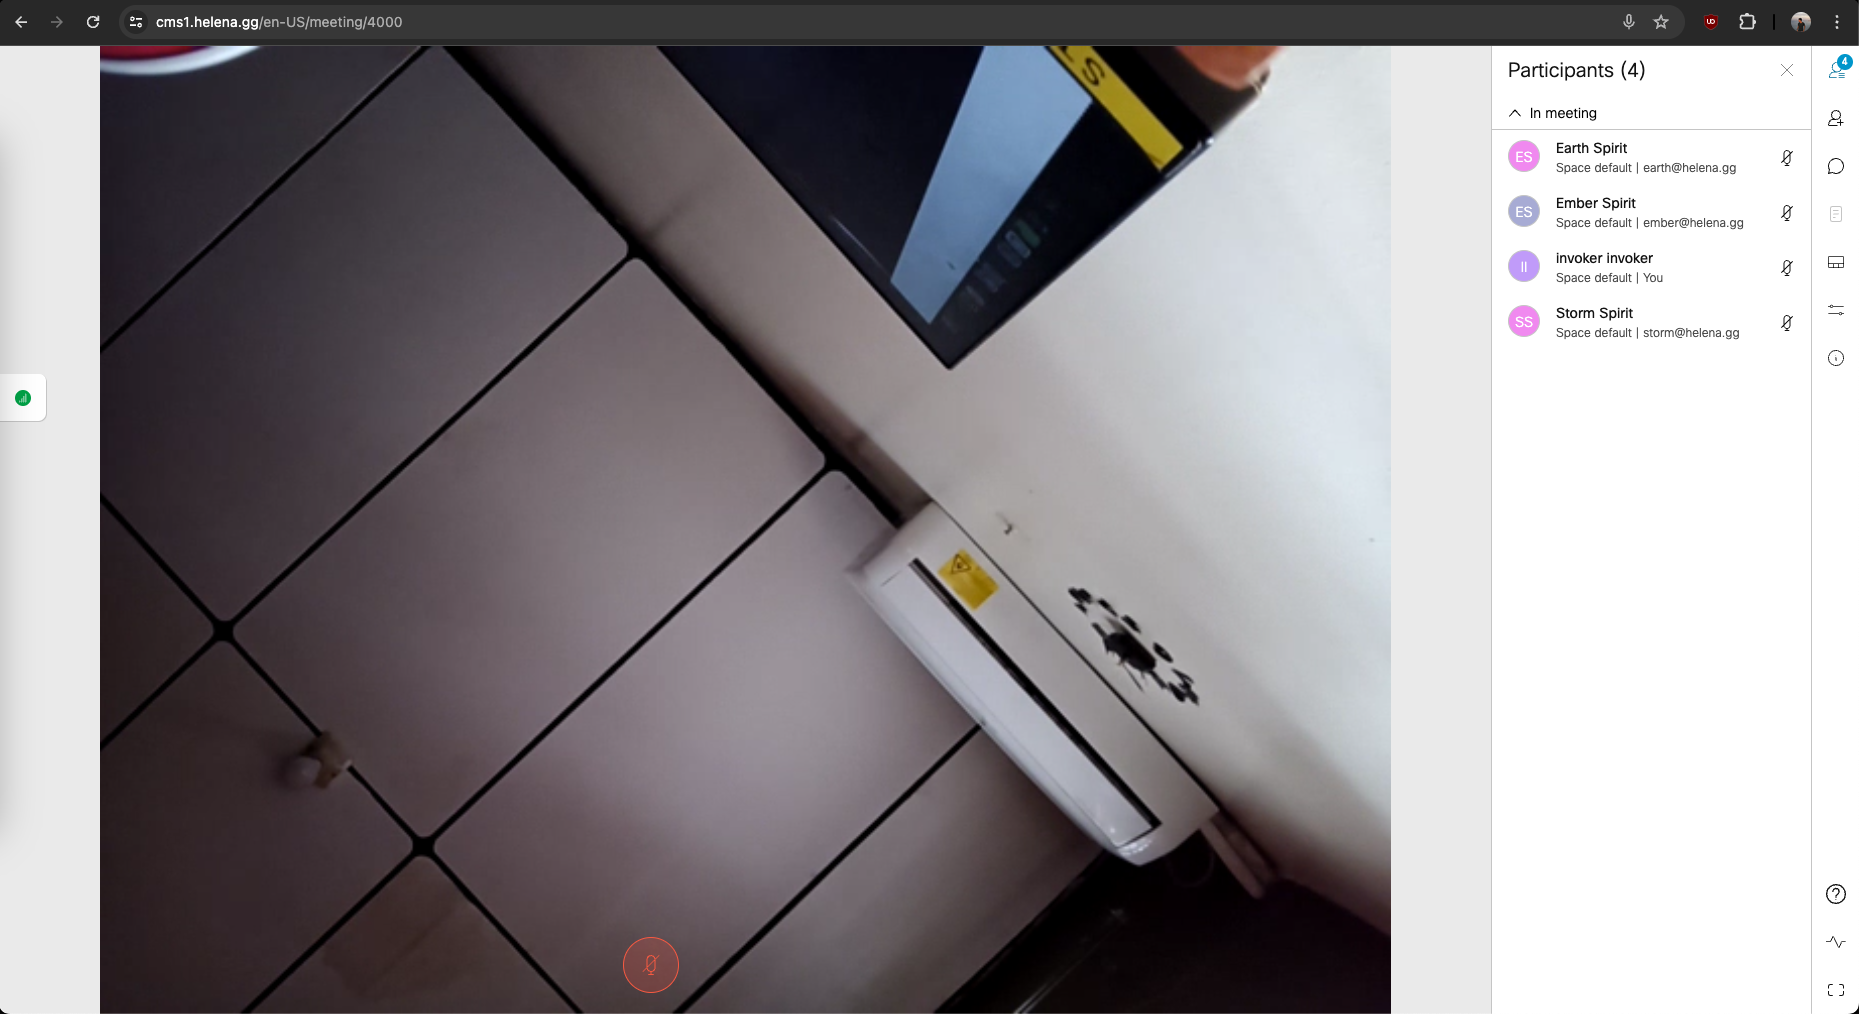
Same goes on CMS » Status » Calls, this shows both the SIP and Web App participants