Deploy and Configure Cisco Unified Communications Manager (CUCM)
What is CUCM?
Cisco Unified Communications Manager (CUCM) is a software-based call processing system that is commonly used for managing and controlling call routing, voice, video, messaging, and mobility services within an organization.
Preparing the Installation
Go to Cisco Downloads Page, and download the latest and greatest CUCM Installer (OVA and ISO), which at the time of this writing is CUCM 14 SU3.


The downloaded installer is not bootable by default, so we need to convert it.
this iso has a bootable information stored as a file called isolinux.bin, extract the file

“isolinux.bin” is a component of the ISOLINUX bootloader used to boot Linux operating systems from CDs, DVDs, or USB drives. It initiates the boot process and presents a menu of boot options.
After that, on Bootable menu, check the “Generate Bootinfotable” and select “Load Boot File”
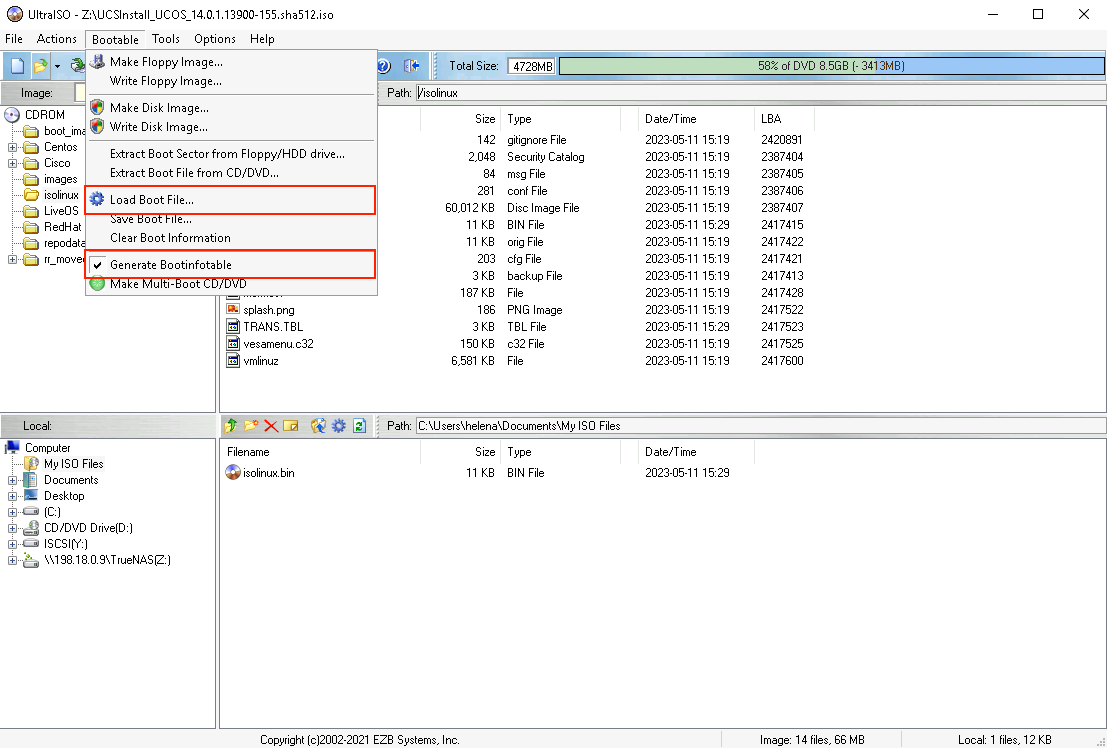
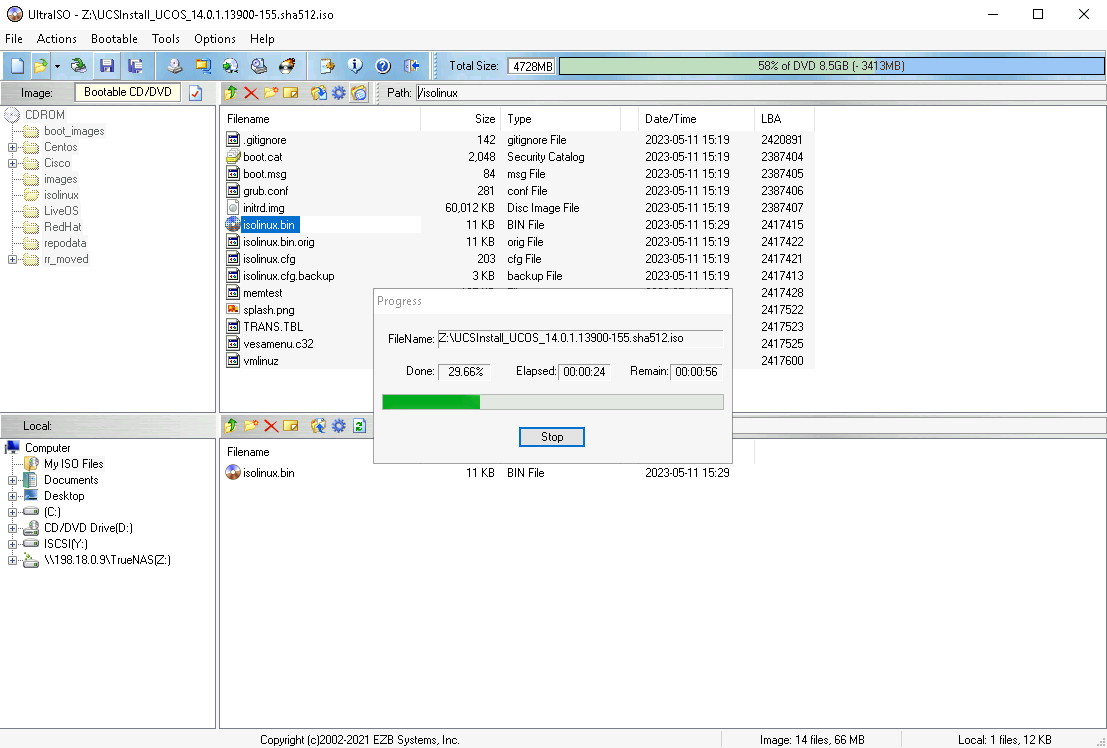
Select the “isolinux.bin” and hit save. New Bootable ISO Image will be generated
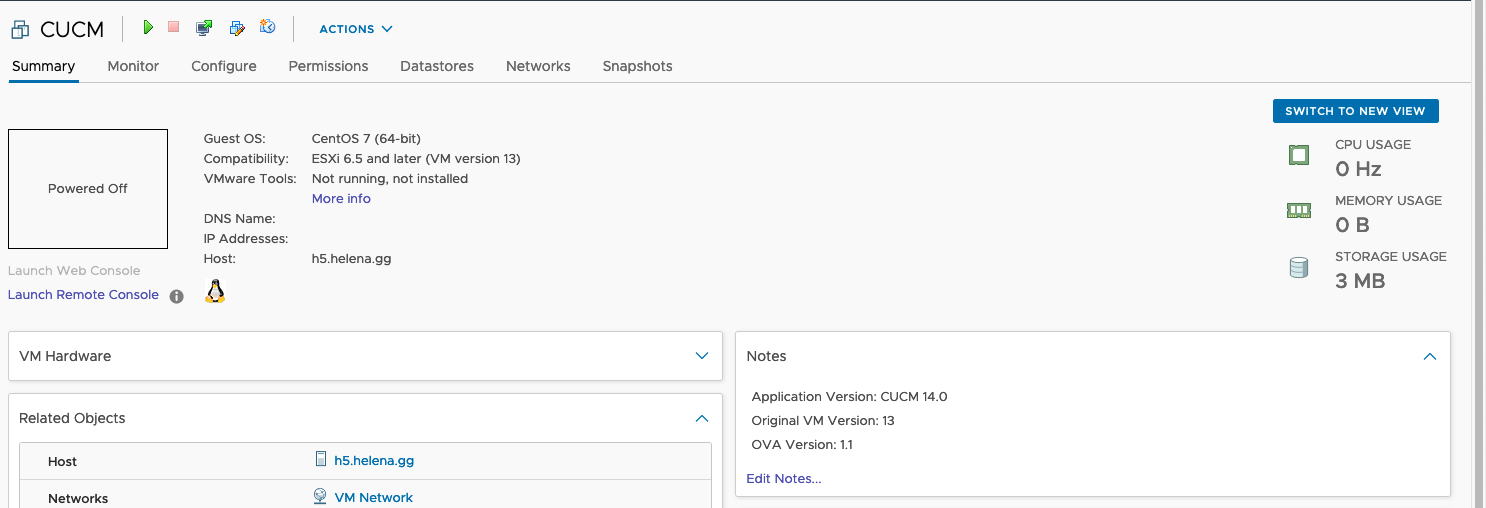
Then just deploy the OVA and ISO as usual
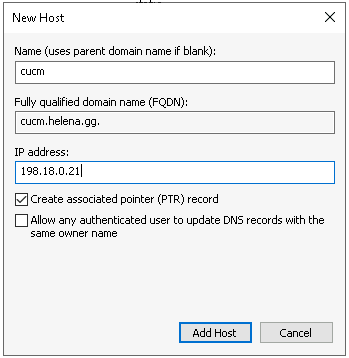
Lastly, we have to create a DNS entry record for this FQDN so it’s able to do both forward and reverse dns lookup
Running the Installation
Power On the CUCM, then access it through console. Breeze through the wizards as most of it we just need to click next.
On DHCP Configuration, choose not to use DHCP.

Give it network configuration

Next enable DNS Client, and input the DNS Server and the Search Domain

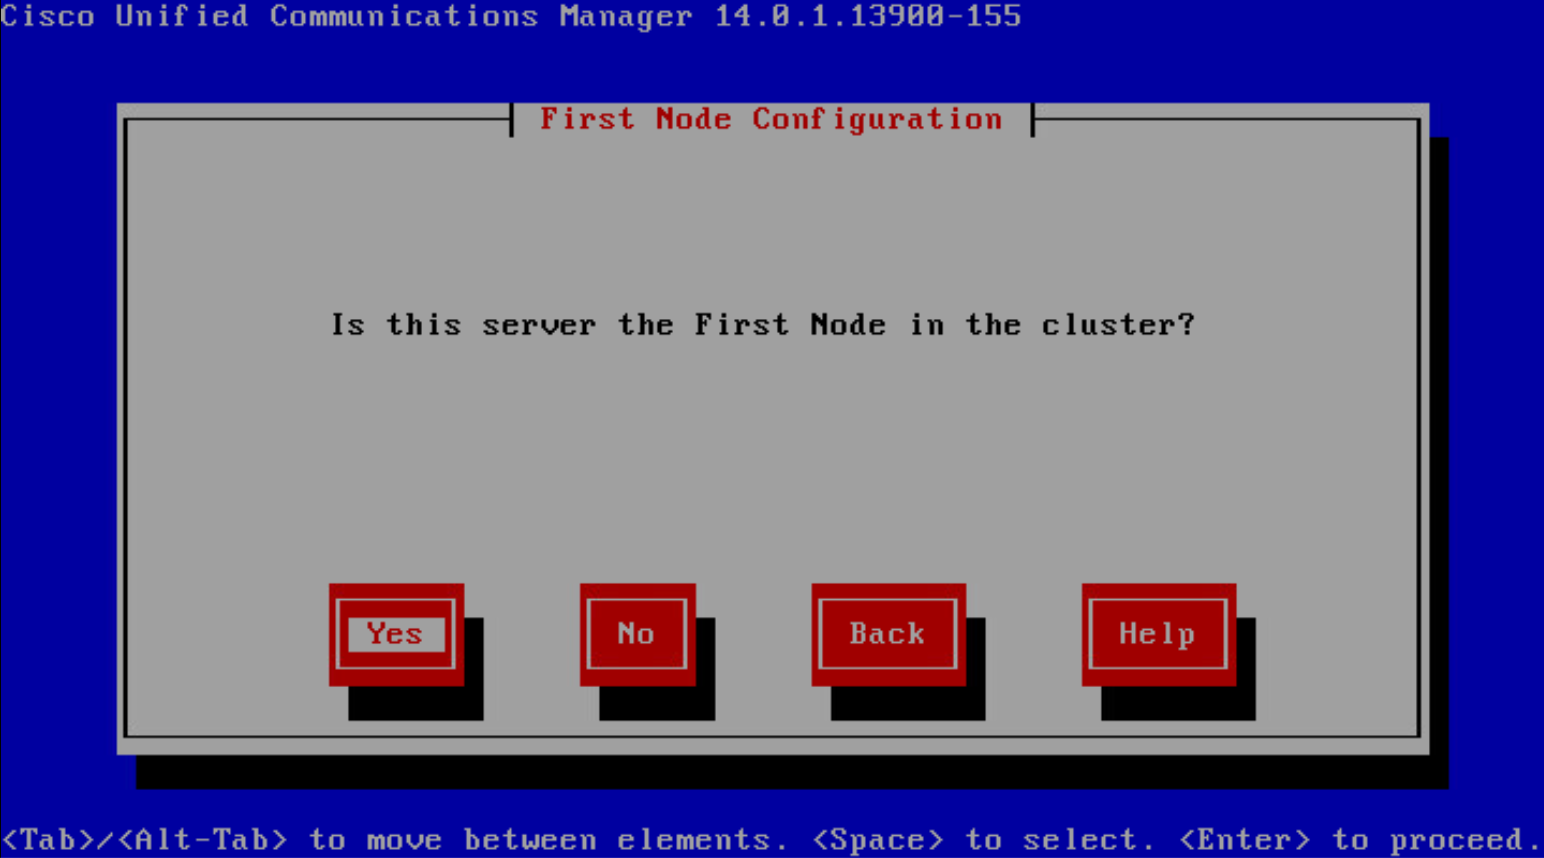
Then select Yes when asked if this node is the First Node
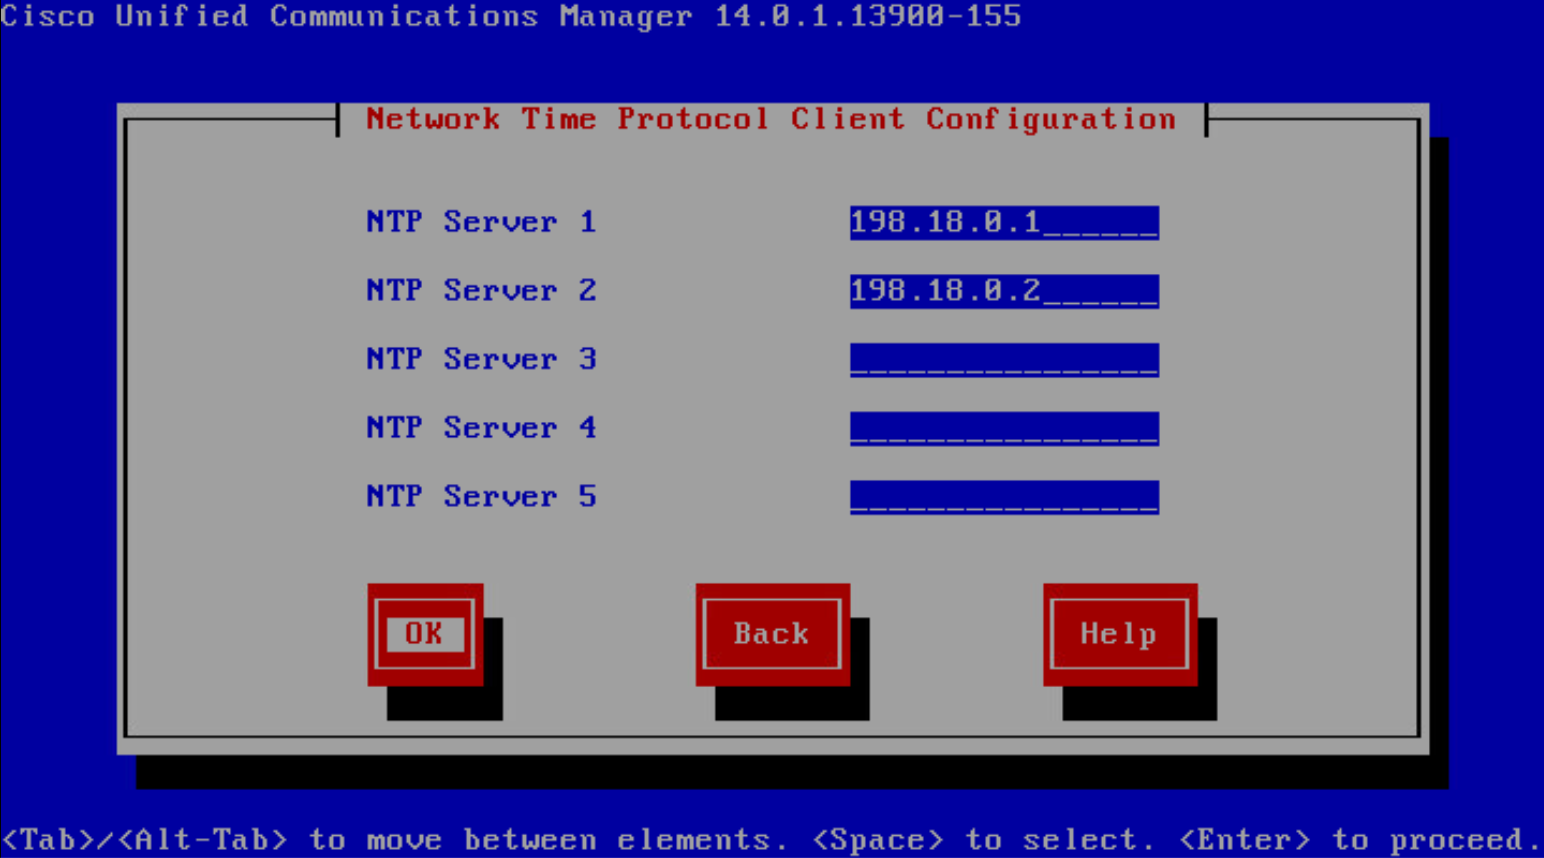
Enter NTP Servers
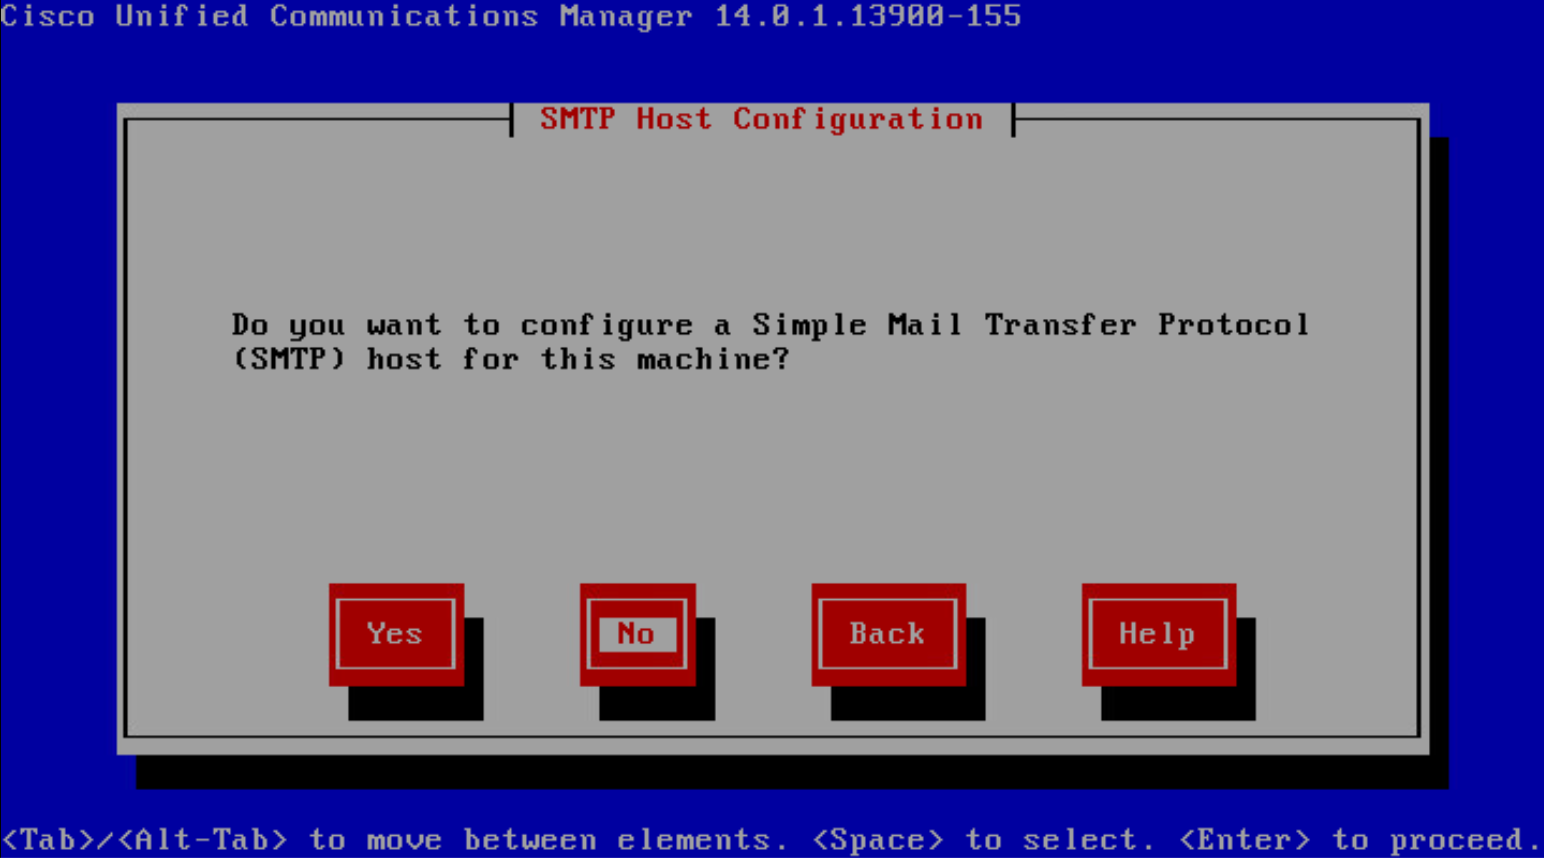
For SMTP, choose No
For Smart Call Home, choose Disable
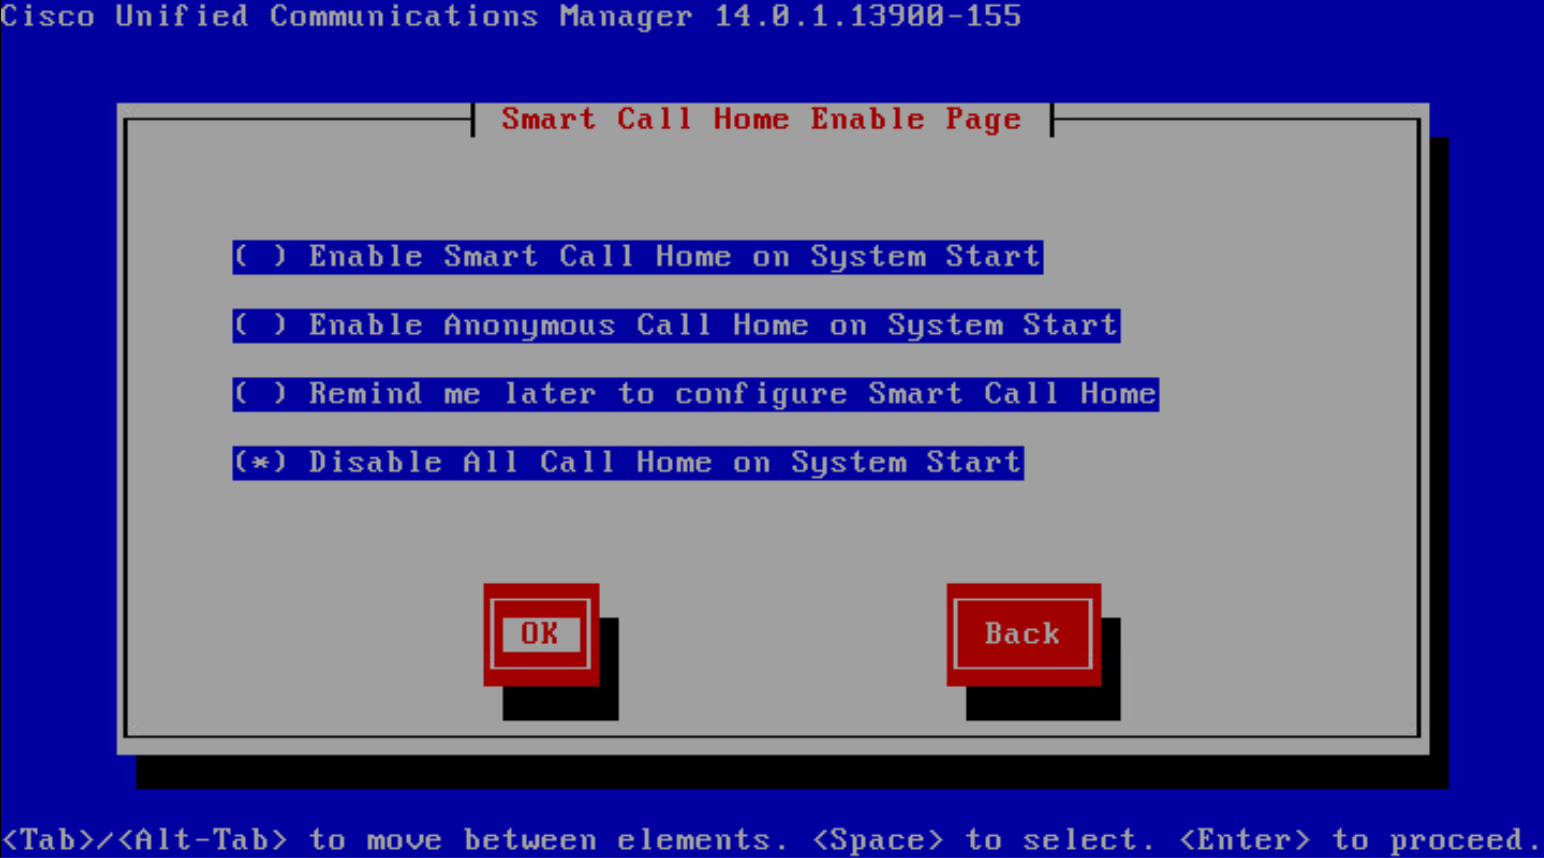
Cisco Smart Call Home is a proactive monitoring feature that sends diagnostic data to Cisco support, allowing them to identify and address issues before they become critical. This helps prevent downtime, improve device health, and enhance network reliability.
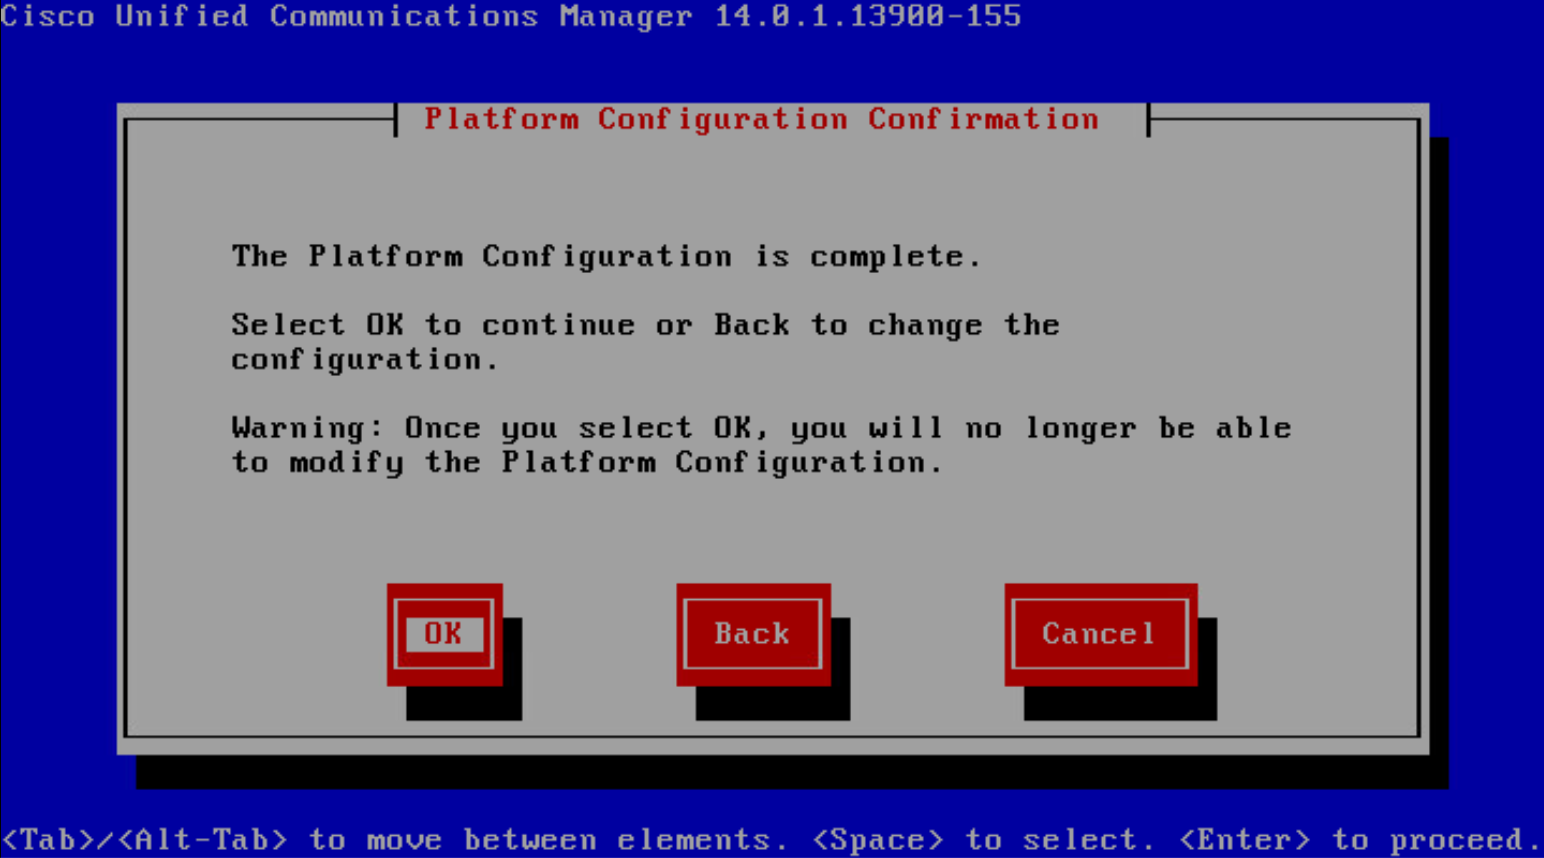
And when configuration completes, click Ok and let the installation begins
Configuring CUCM
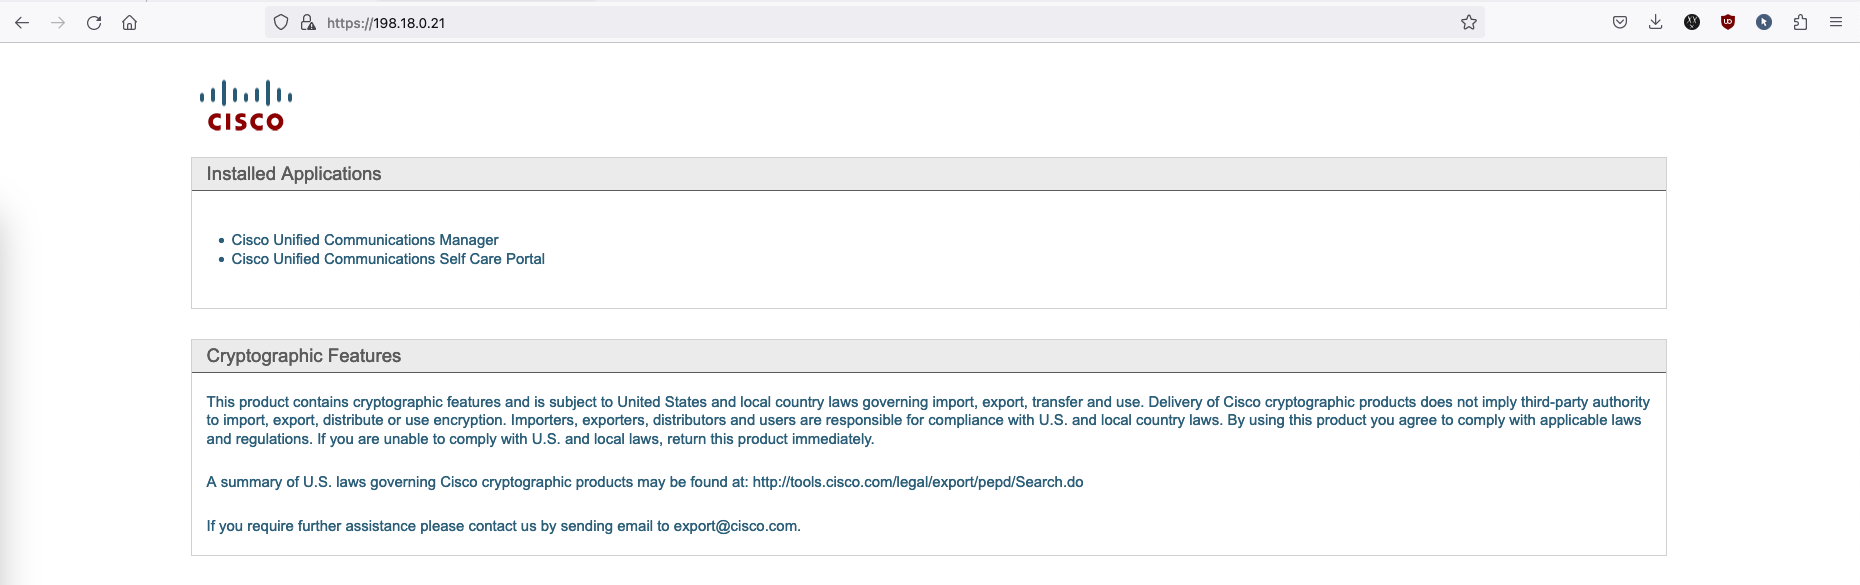
After couple of hours, the Web UI should be accessible on 198.18.0.21
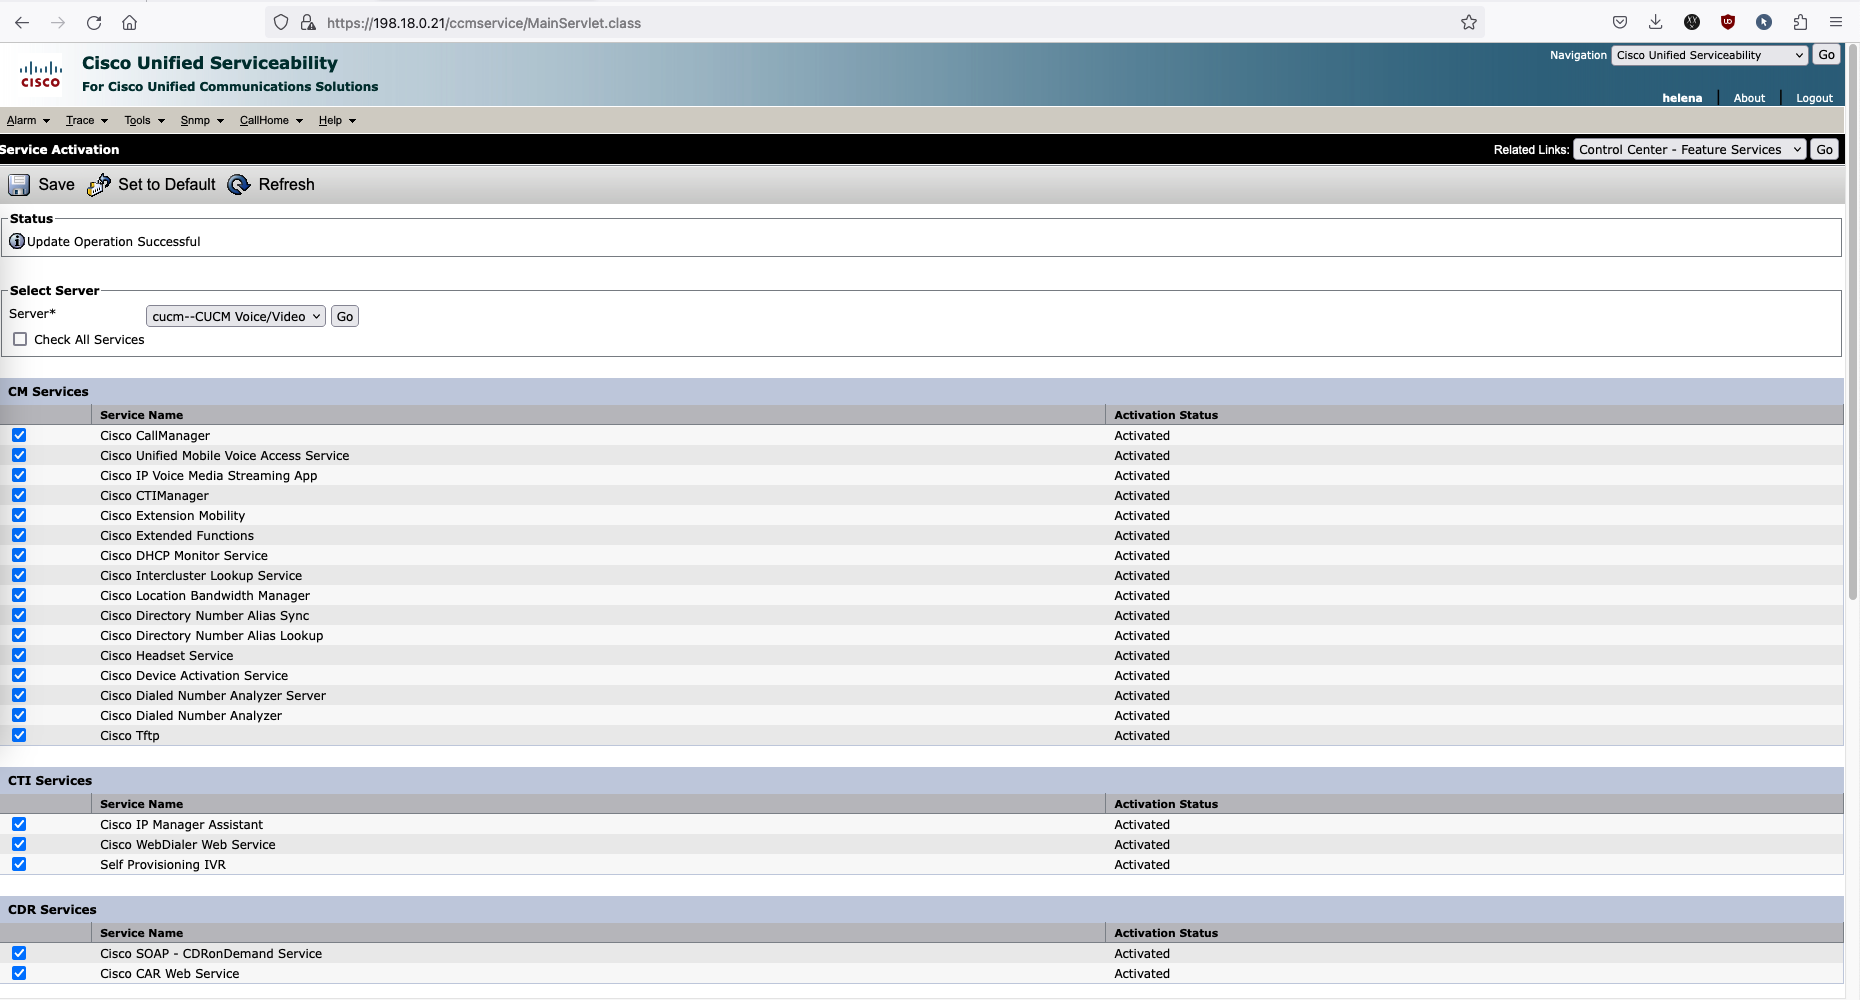
Activate the services, go to Cisco Unified Servicability » Tools » Service Activtion
Next on Unified CM Administration, create an End User used to login on User Management » End User

Give it permission group of Standrad CCM End Users
After that create endpoint phone device, which in this case we’ll use jabber.
Go to Device » Phone » Add New » Cisco Unified Client Services Framework
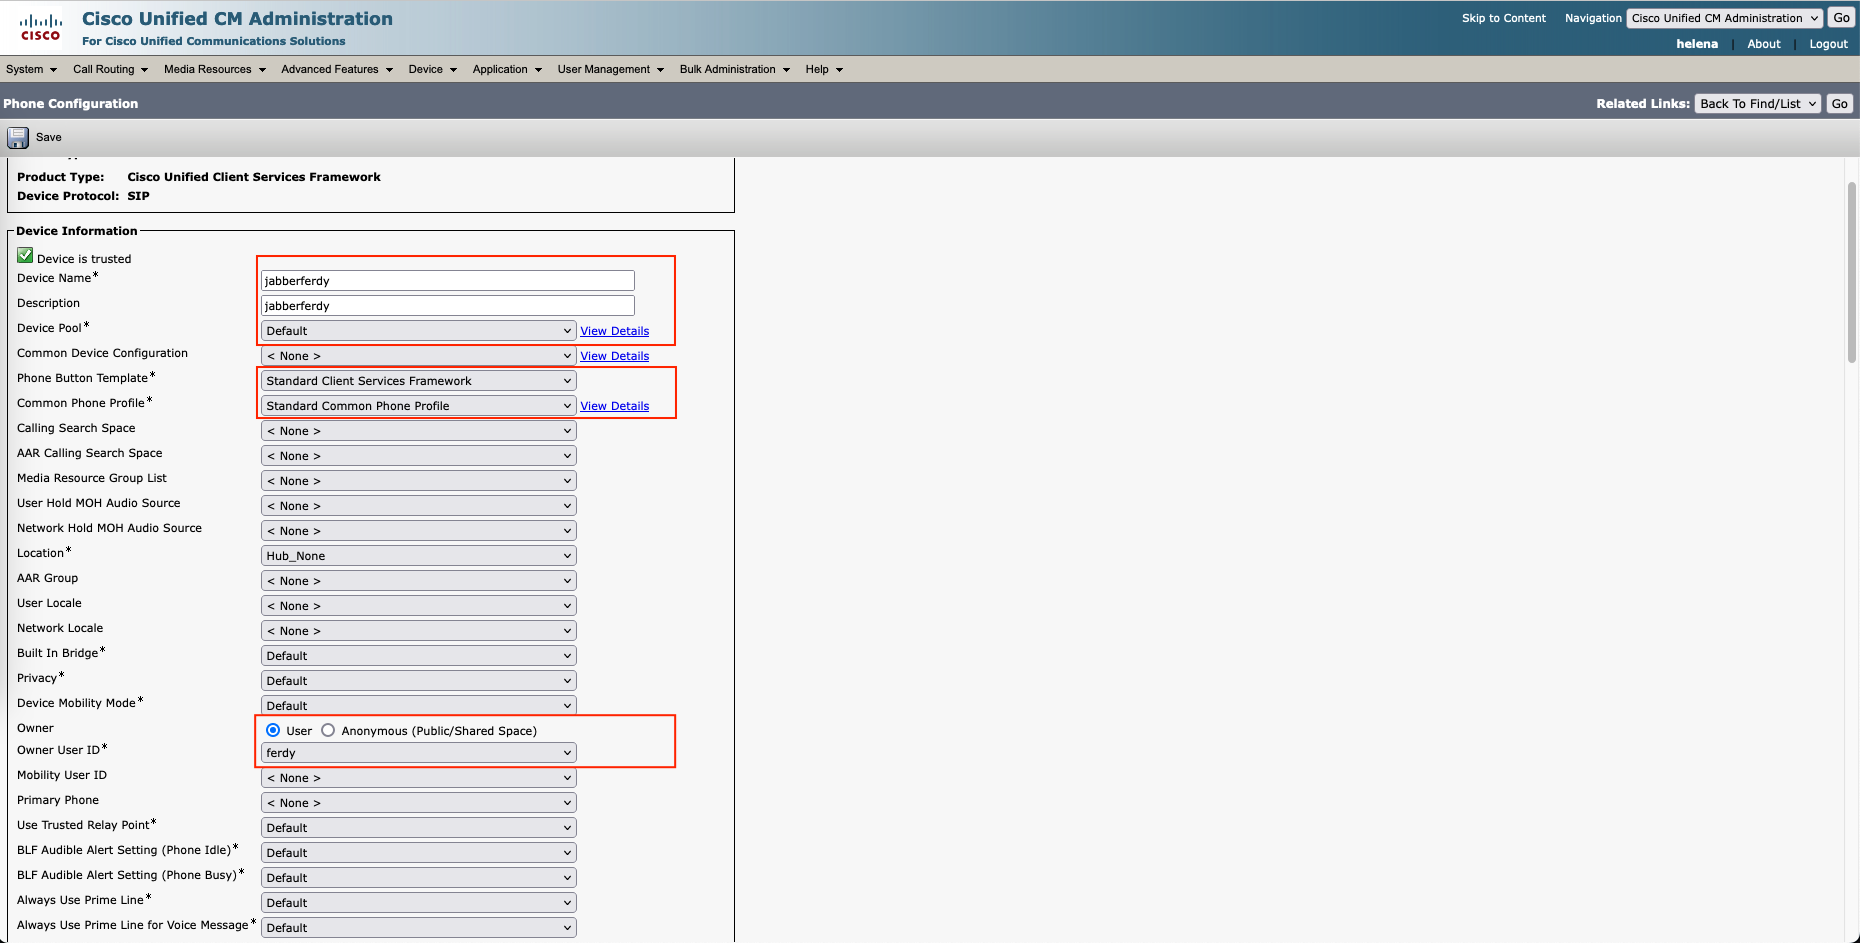
Then give it an phone number extension
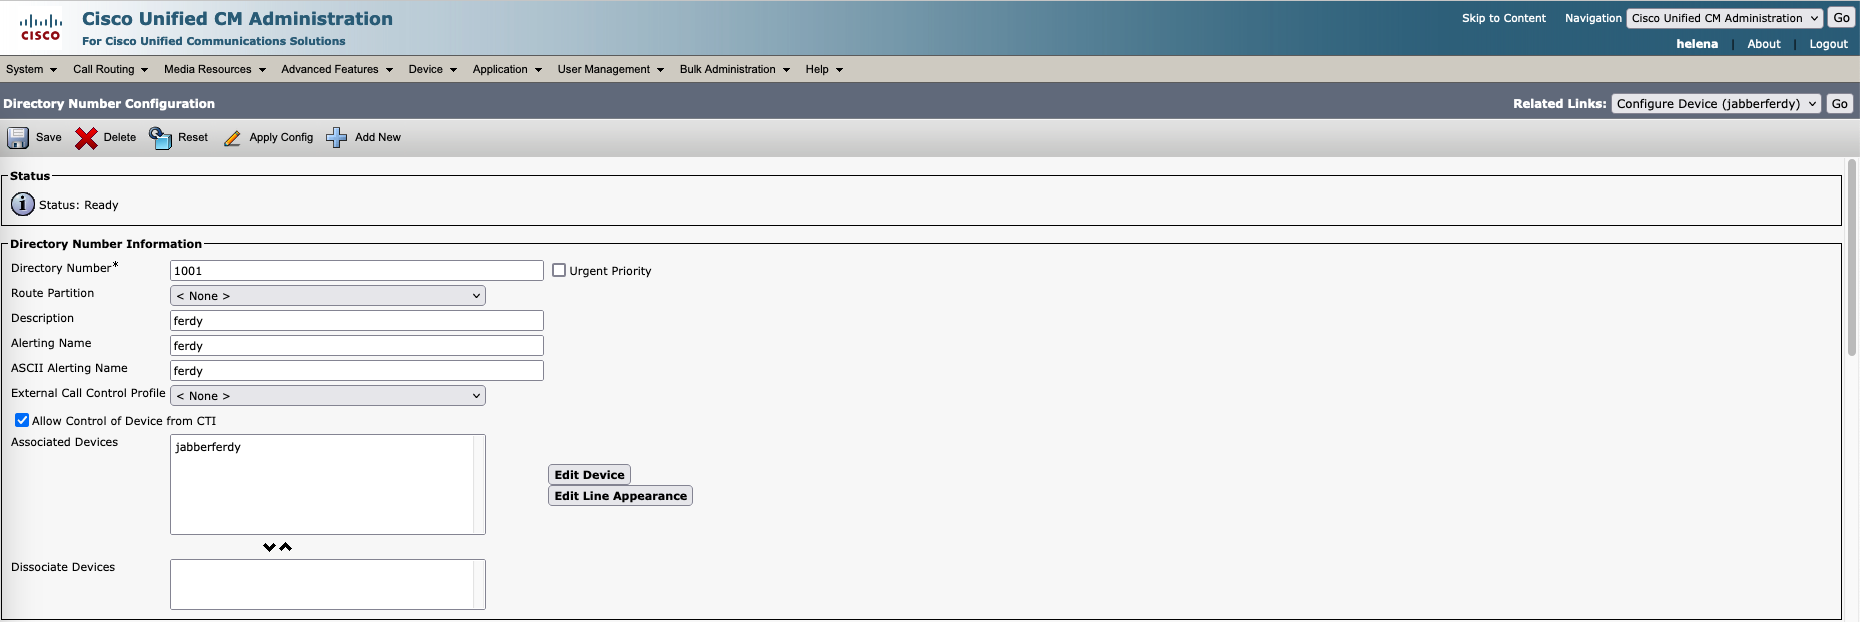
And that should do it.
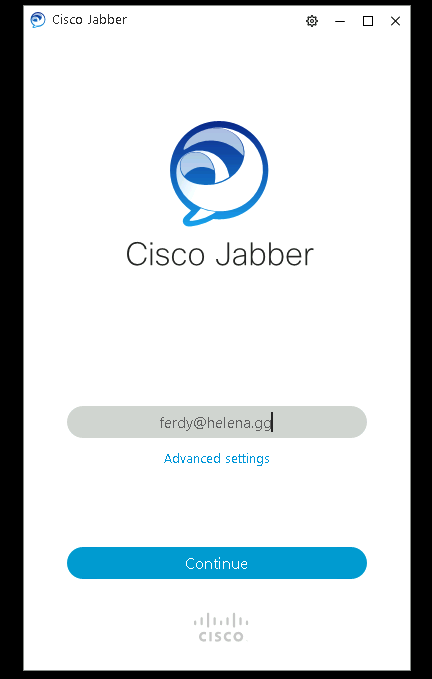
Logging in to Jabber
Now lets try logging in to the user and device that was just created

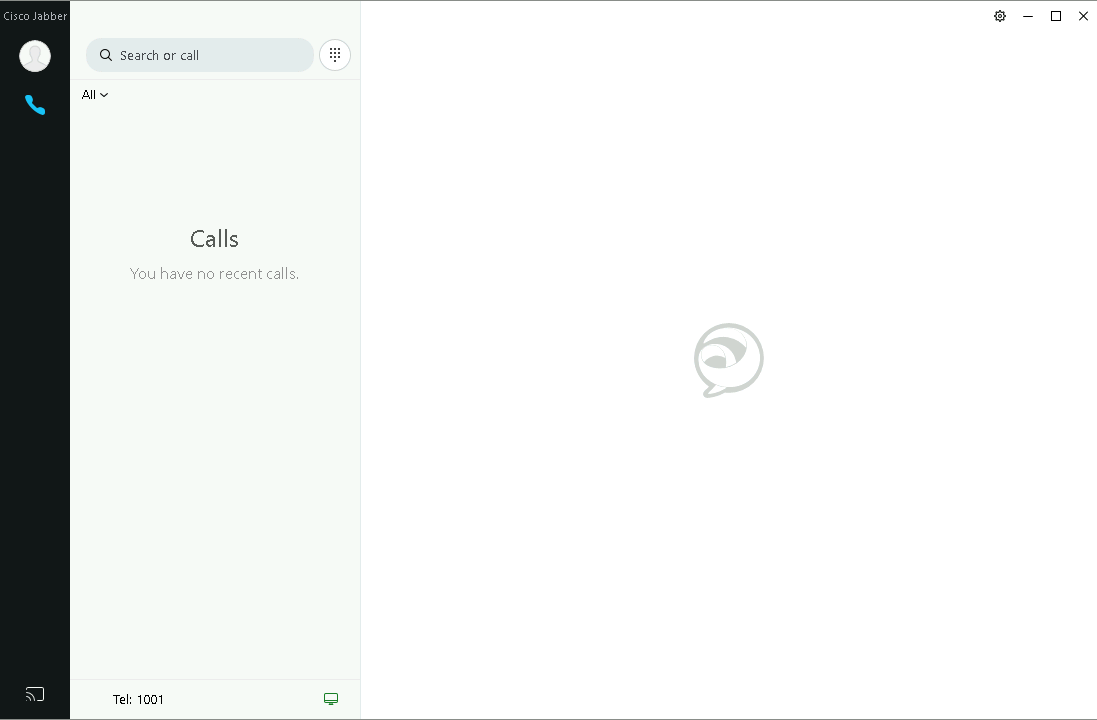
And we have successfully logged in and register the device to CUCM
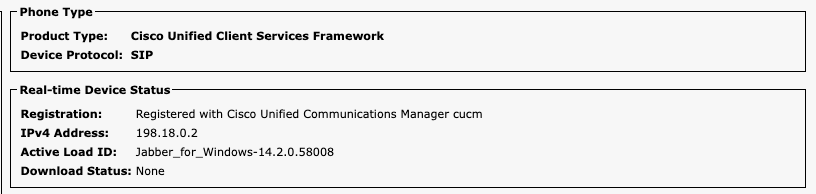
Checking on CUCM also shows that device is registered on PC with IP 198.18.0.2
Calling
Add another phone with extension 1002, and try doing a call
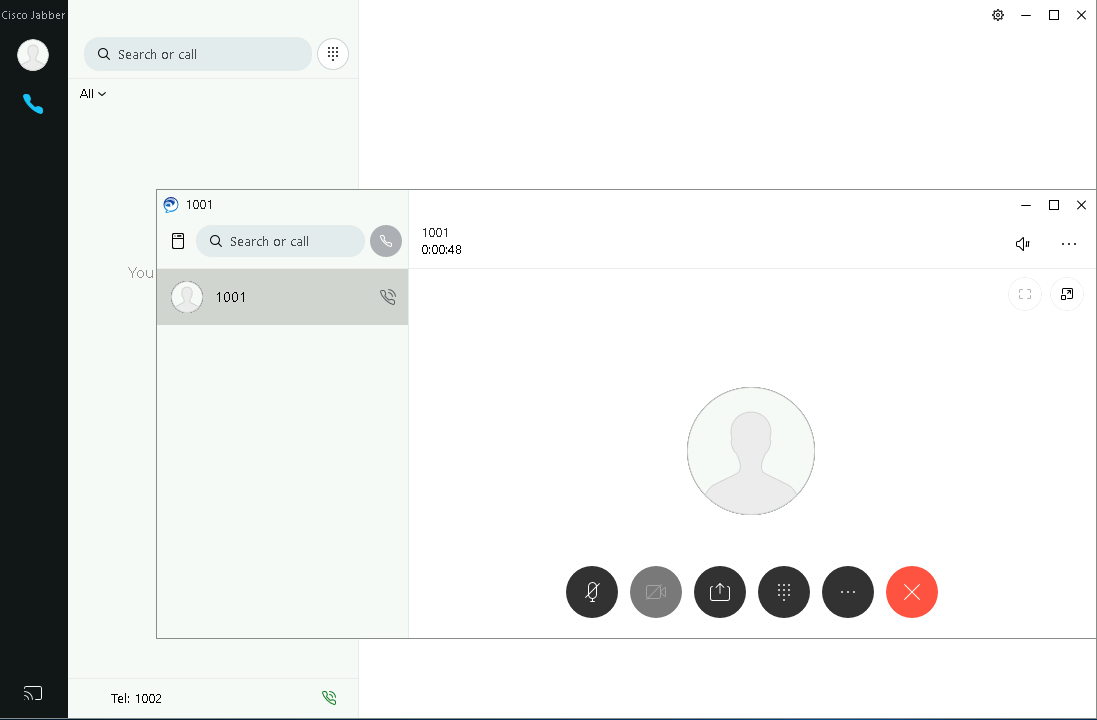
The call successfully went through
Configuring SIP Trunk to Voice Gateway
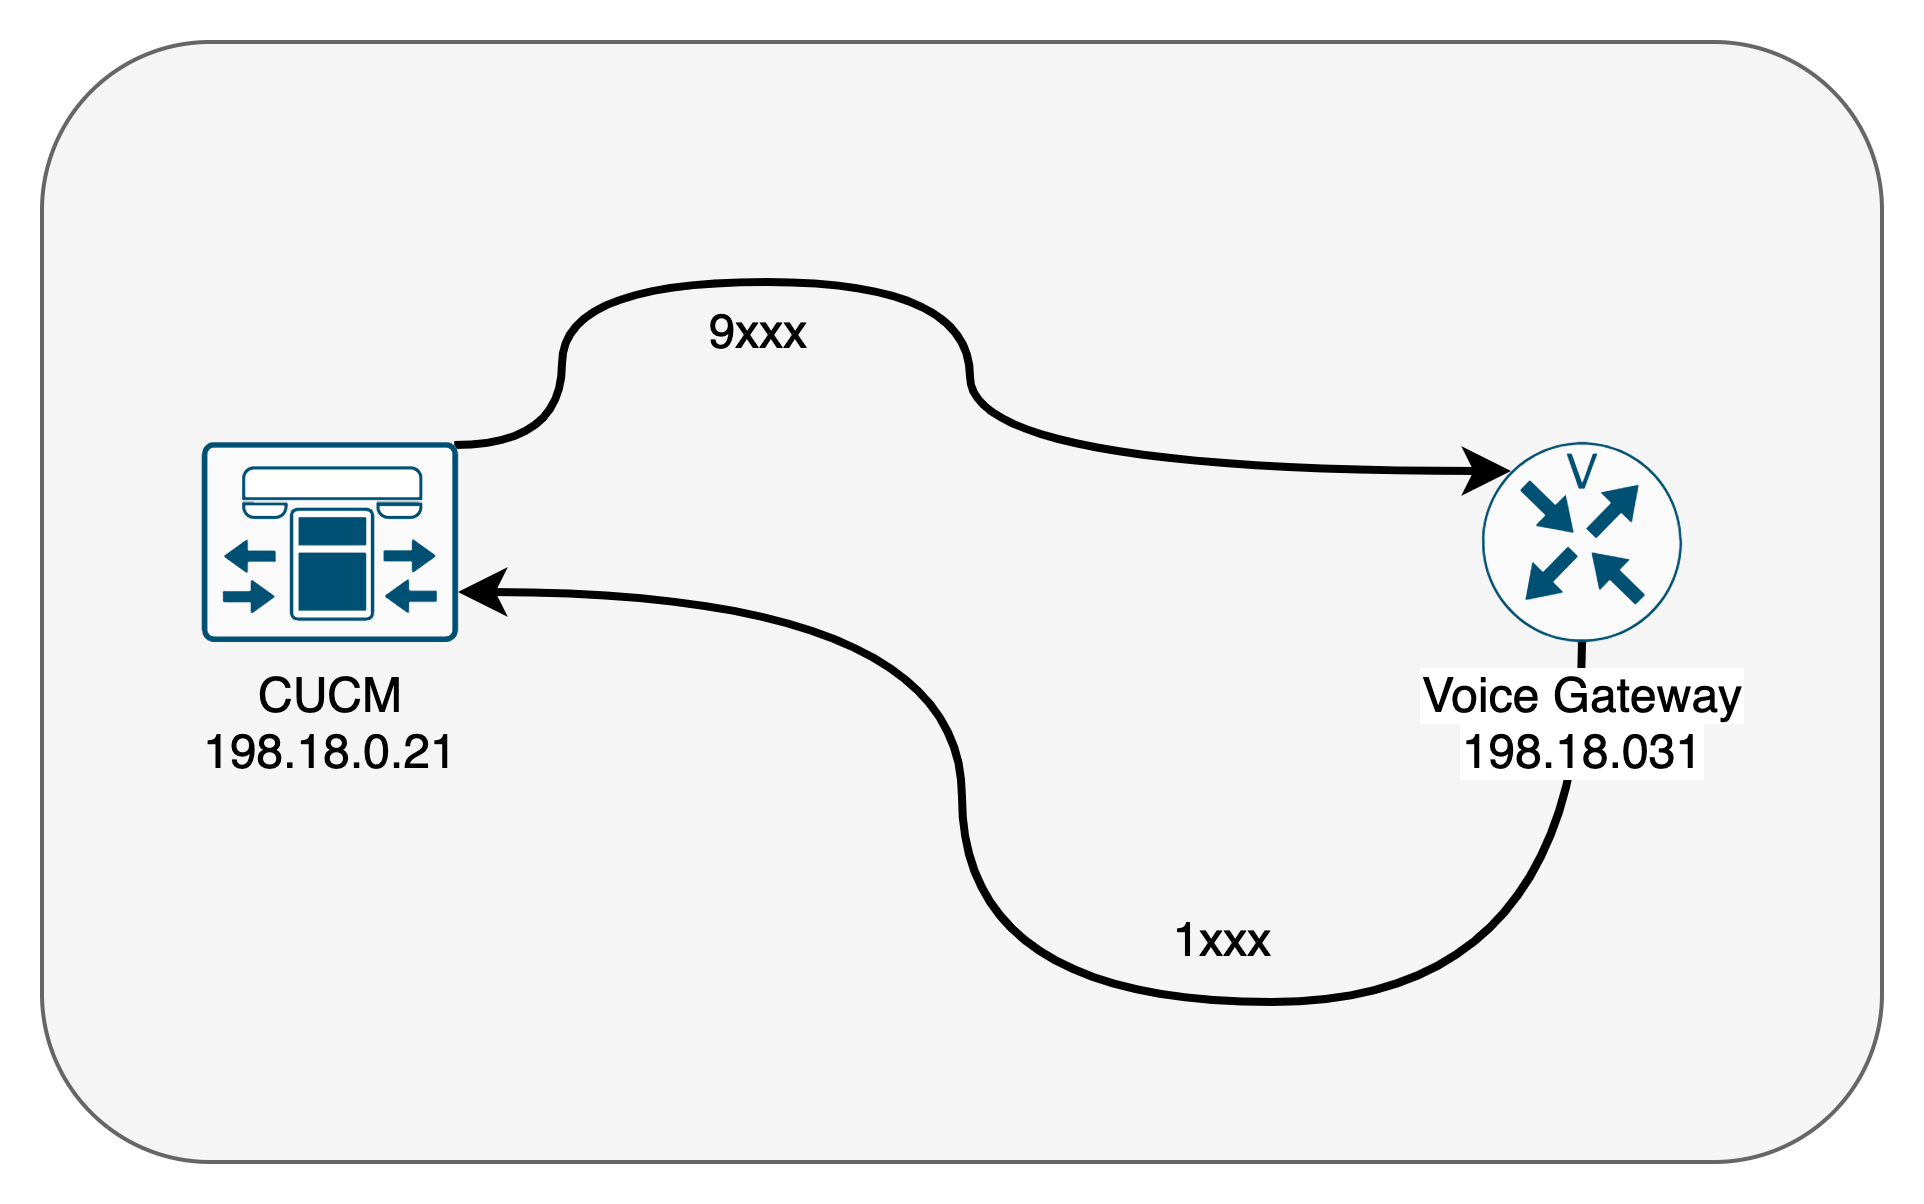
Now we’re gonna try to make a call going to external voice gateway, translate the called number, and send it back to CUCM to be received by the other device.
Here’s the call flow topology
First, lets configure the Voice Gateway to do that
1
2
3
4
5
6
7
8
9
10
11
12
13
14
15
16
17
18
19
20
21
22
voice service voip
 allow-connections sip to sip

voice translation-rule 1
 rule 1 /^9/ /1/

voice translation-profile NINE_TO_ONE
 translate called 1

dial-peer voice 1 voip
 description FROM CUCM
 translation-profile incoming NINE_TO_ONE
 session protocol sipv2
 incoming called-number .
 dtmf-relay rtp-nte

dial-peer voice 2 voip
 description TO CUCM
 destination-pattern 1.
 session protocol sipv2
 session target ipv4:198.18.0.21
 dtmf-relay rtp-nte
Now we configure SIP Trunk on CUCM, go to Device » Trunk » Add new » Select SIP Trunk
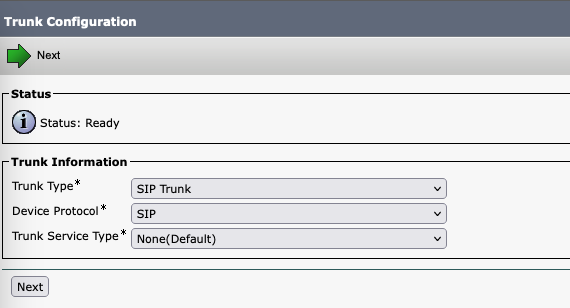
Then configure it and point it to the IP Address of the voice gateway
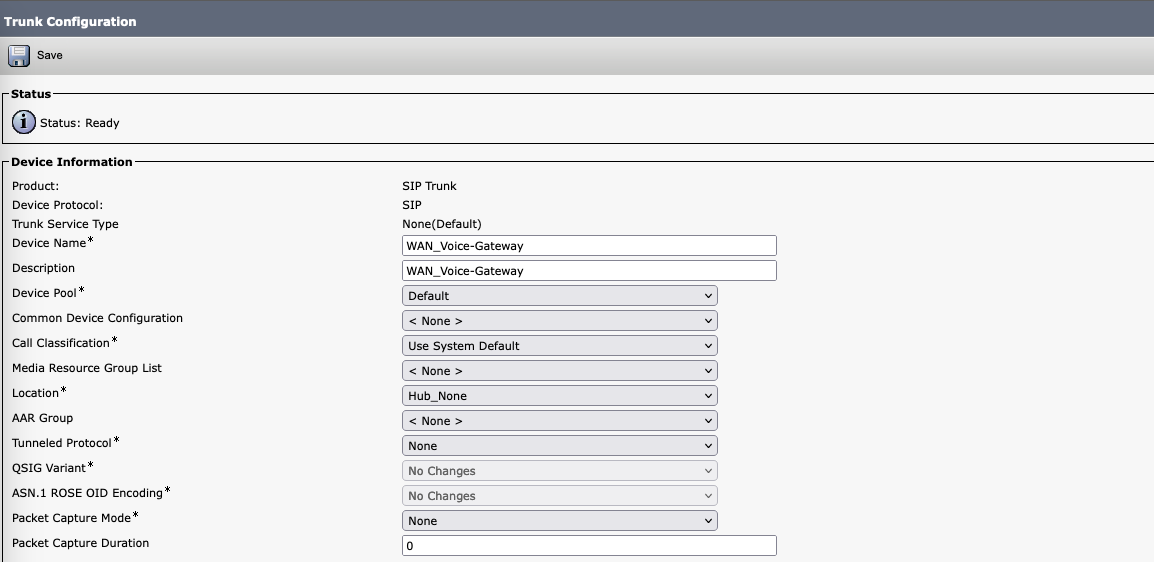

After that configure Route Pattern of 9XXX going out through the SIP Trunk
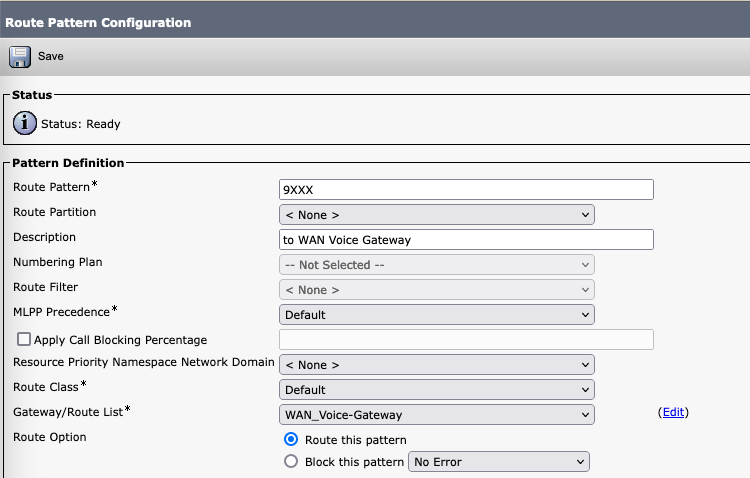
And we end up with this SIP Trunk configuration

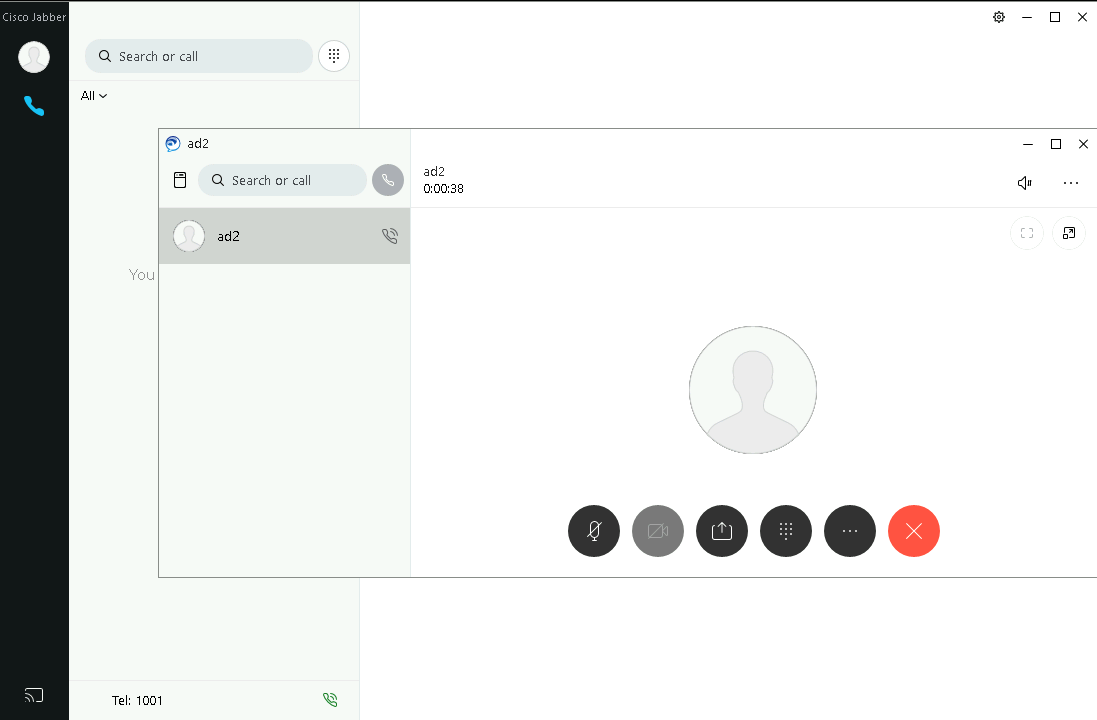
Now we try making a call from 1001 to 9002, this call should be received by the extension 1002 (user ad2)

And it does!
Running “debug ccsip messages” on voice gateway, we can see the snippet of the SIP Invite message being sent from CUCM (198.18.0.21) to VG (198.18.0.31)
1
2
3
4
5
6
7
8
9
10
11
12
13
14
15
16
17
18
19
20
21
22
23
24
25
26
Aug 17 04:20:16.373: //-1/xxxxxxxxxxxx/SIP/Msg/ccsipDisplayMsg:
Received:
INVITE sip:9002@198.18.0.31:5060 SIP/2.0
Via: SIP/2.0/TCP 198.18.0.21:5060;branch=z9hG4bK2b3a65fae7
From: <sip:1001@198.18.0.21>;tag=162~7a27e885-a31f-42e1-b56c-f0ae9eb897f2-24511436
To: <sip:9002@198.18.0.31>
Date: Thu, 17 Aug 2023 04:14:39 GMT
Call-ID: 93fb2700-1ef15ab7-2a-150012c6@198.18.0.21
Supported: timer,resource-priority,replaces
Min-SE:  1800
User-Agent: Cisco-CUCM14.0
Allow: INVITE, OPTIONS, INFO, BYE, CANCEL, ACK, PRACK, UPDATE, REFER, SUBSCRIBE, NOTIFY
CSeq: 101 INVITE
Expires: 180
Allow-Events: presence, kpml
Supported: X-cisco-srtp-fallback,X-cisco-original-called
Call-Info: <sip:198.18.0.21:5060>;method="NOTIFY;Event=telephone-event;Duration=500"
Call-Info: <urn:x-cisco-remotecc:callinfo>;x-cisco-video-traffic-class=DESKTOP
Session-ID: 000014ef00105000a00002cb91505c7c;remote=00000000000000000000000000000000
Cisco-Guid: 2482710272-0000065536-0000000002-0352326342
Session-Expires:  1800
P-Asserted-Identity: <sip:1001@198.18.0.21>
Remote-Party-ID: <sip:1001@198.18.0.21>;party=calling;screen=yes;privacy=off
Contact: <sip:1001@198.18.0.21:5060;transport=tcp>;video;audio;+u.sip!devicename.ccm.cisco.com="jabberferdy";bfcp
Max-Forwards: 69
Content-Length: 0