Distributed File System (DFS)
Windows DFS (Distributed File System) is a Microsoft technology that allows us to organize and access files from multiple servers as if they were in a single shared folder. It provides fault tolerance, load balancing, and easier data management in a networked environment.
Topology
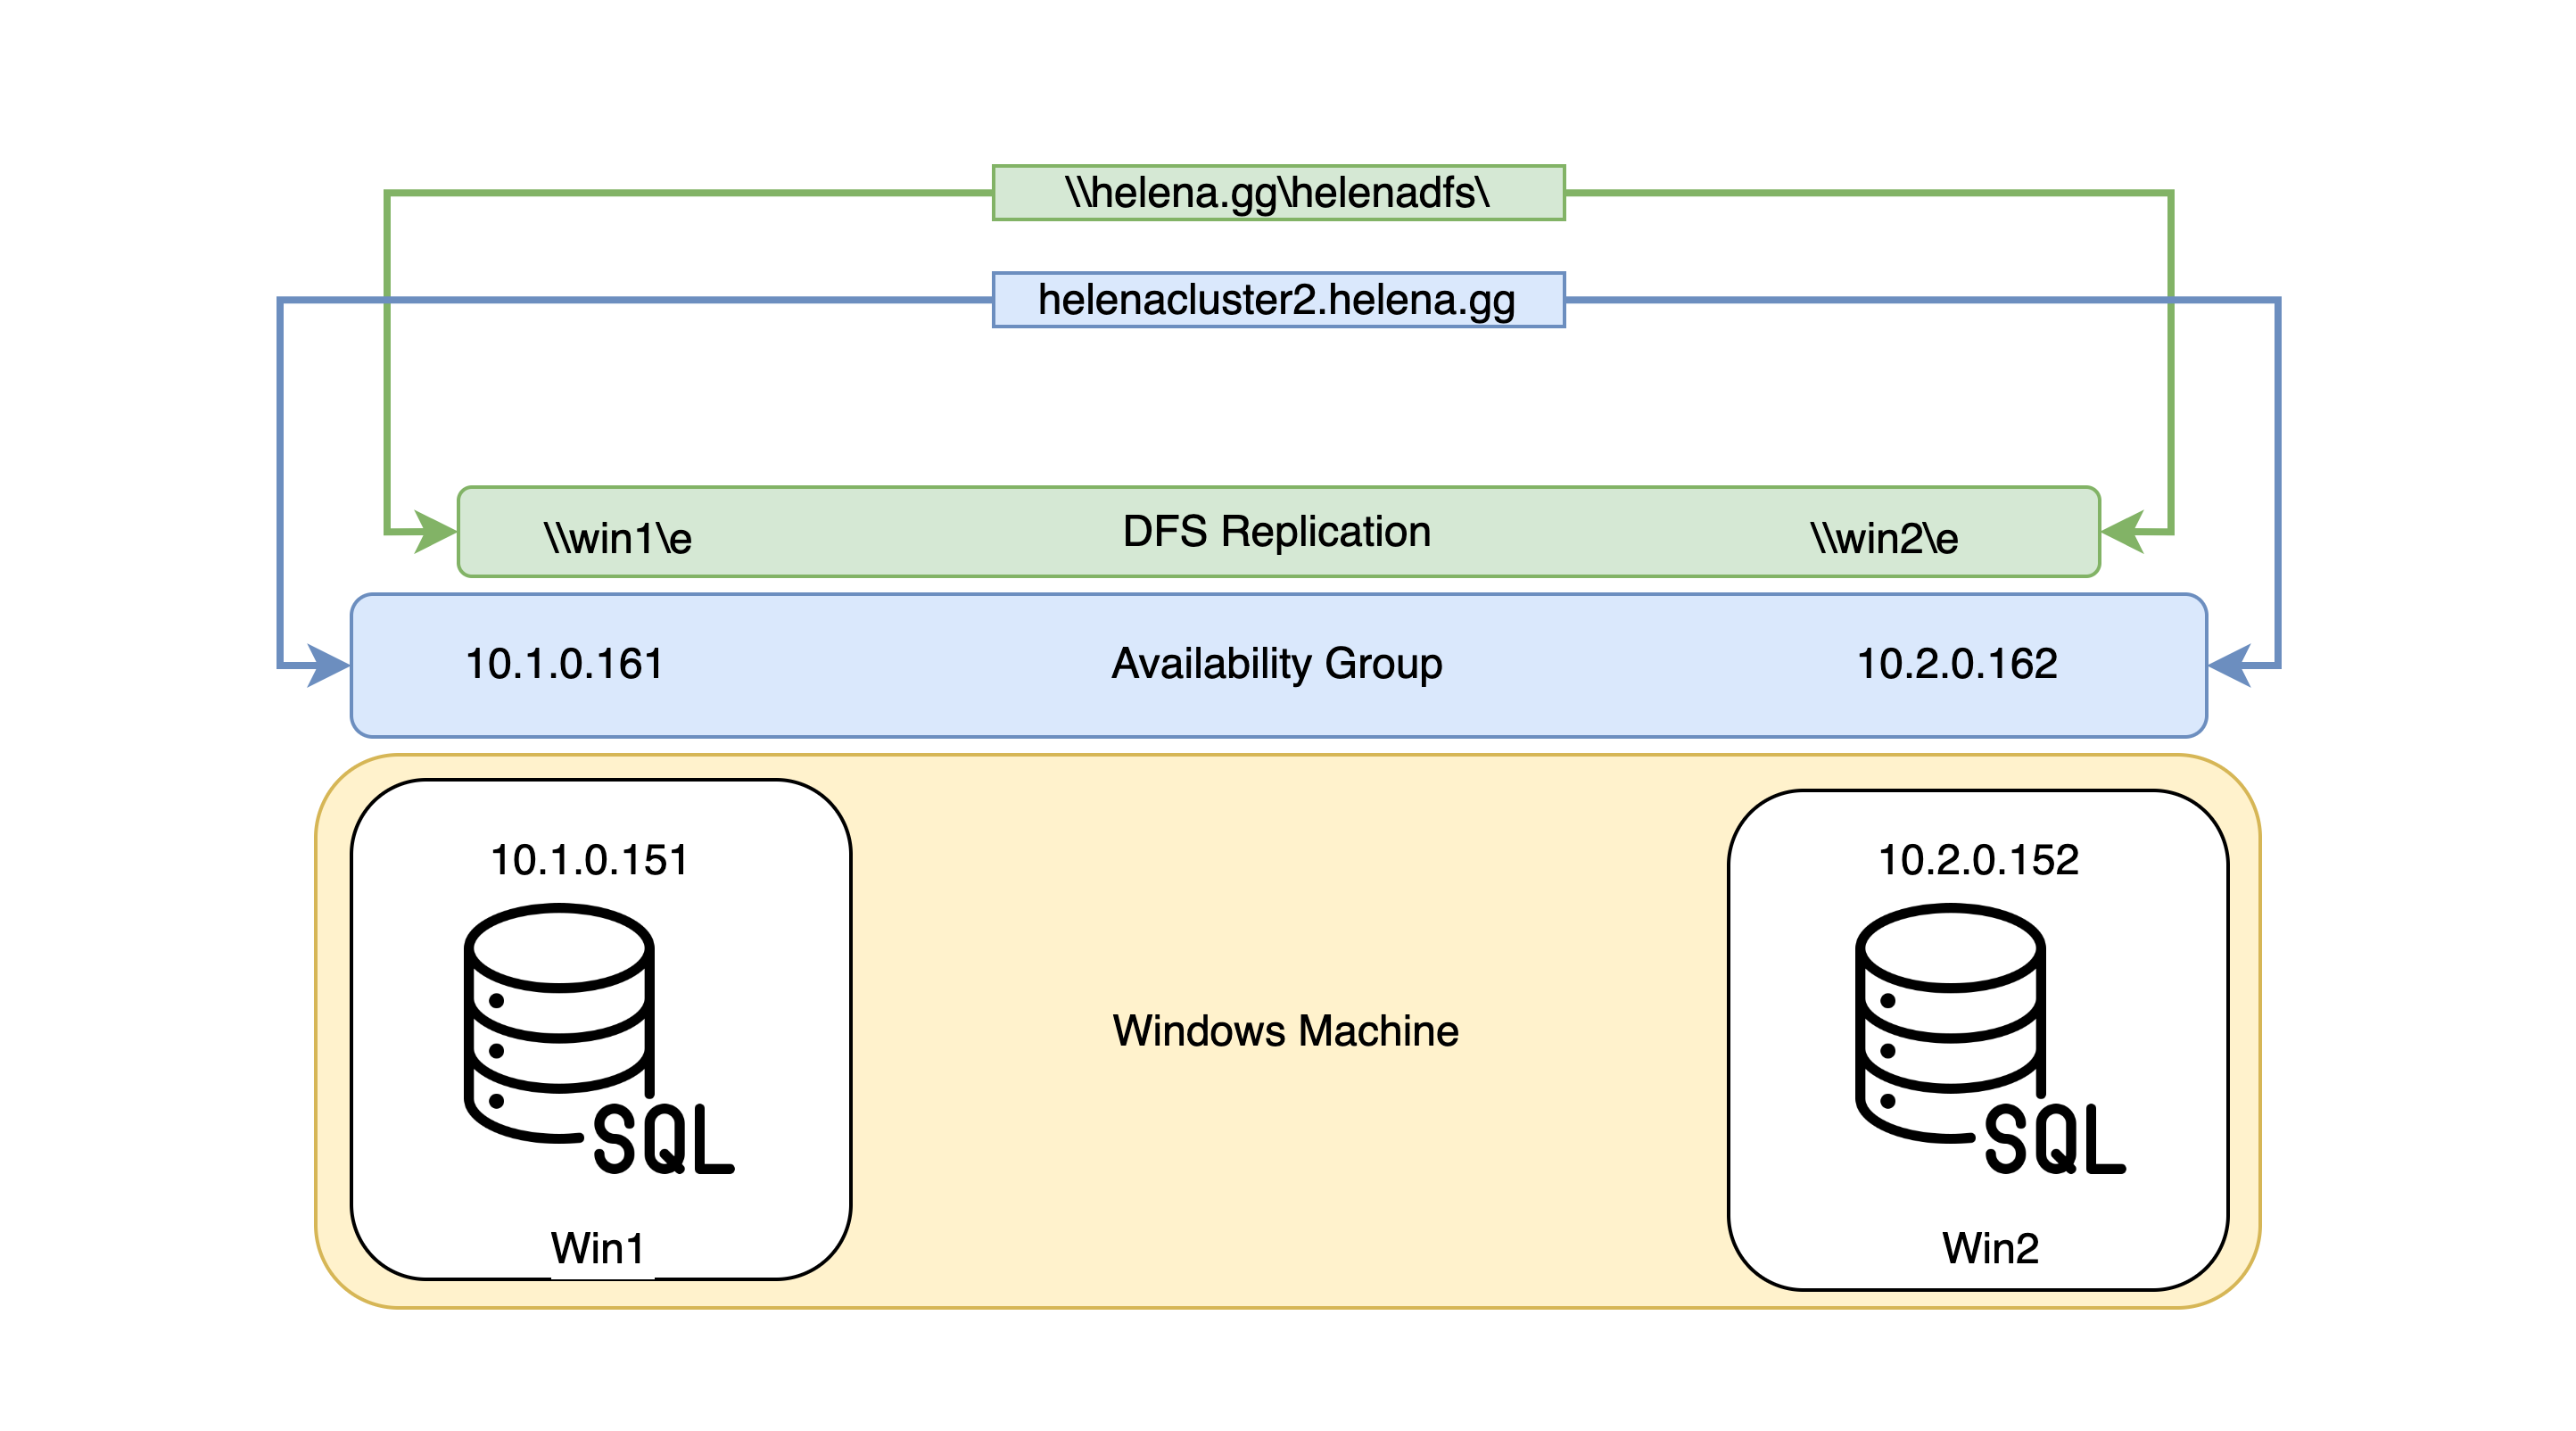
Here’s this deployment topology, here we will configure DFS on top of Windows Failover Cluster, where ultimately we’re able to access two different shared folder paths using one namespace
Configuring Windows Failover Cluster
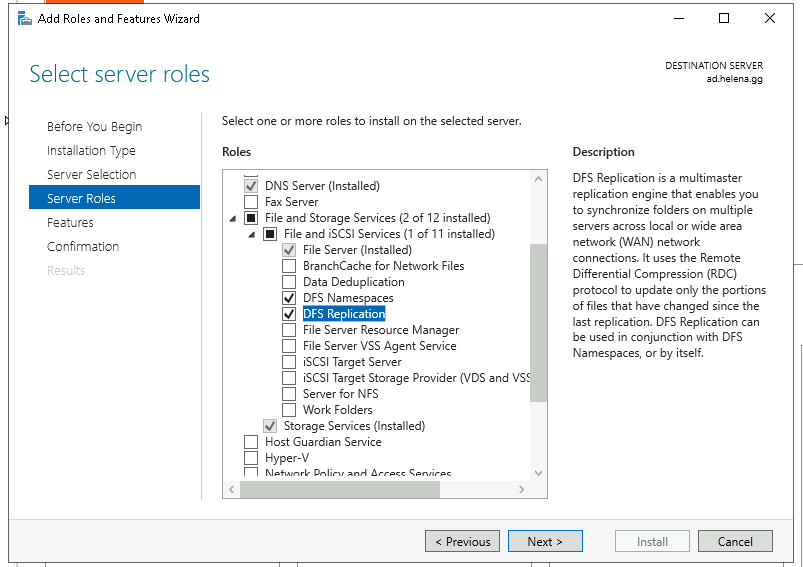
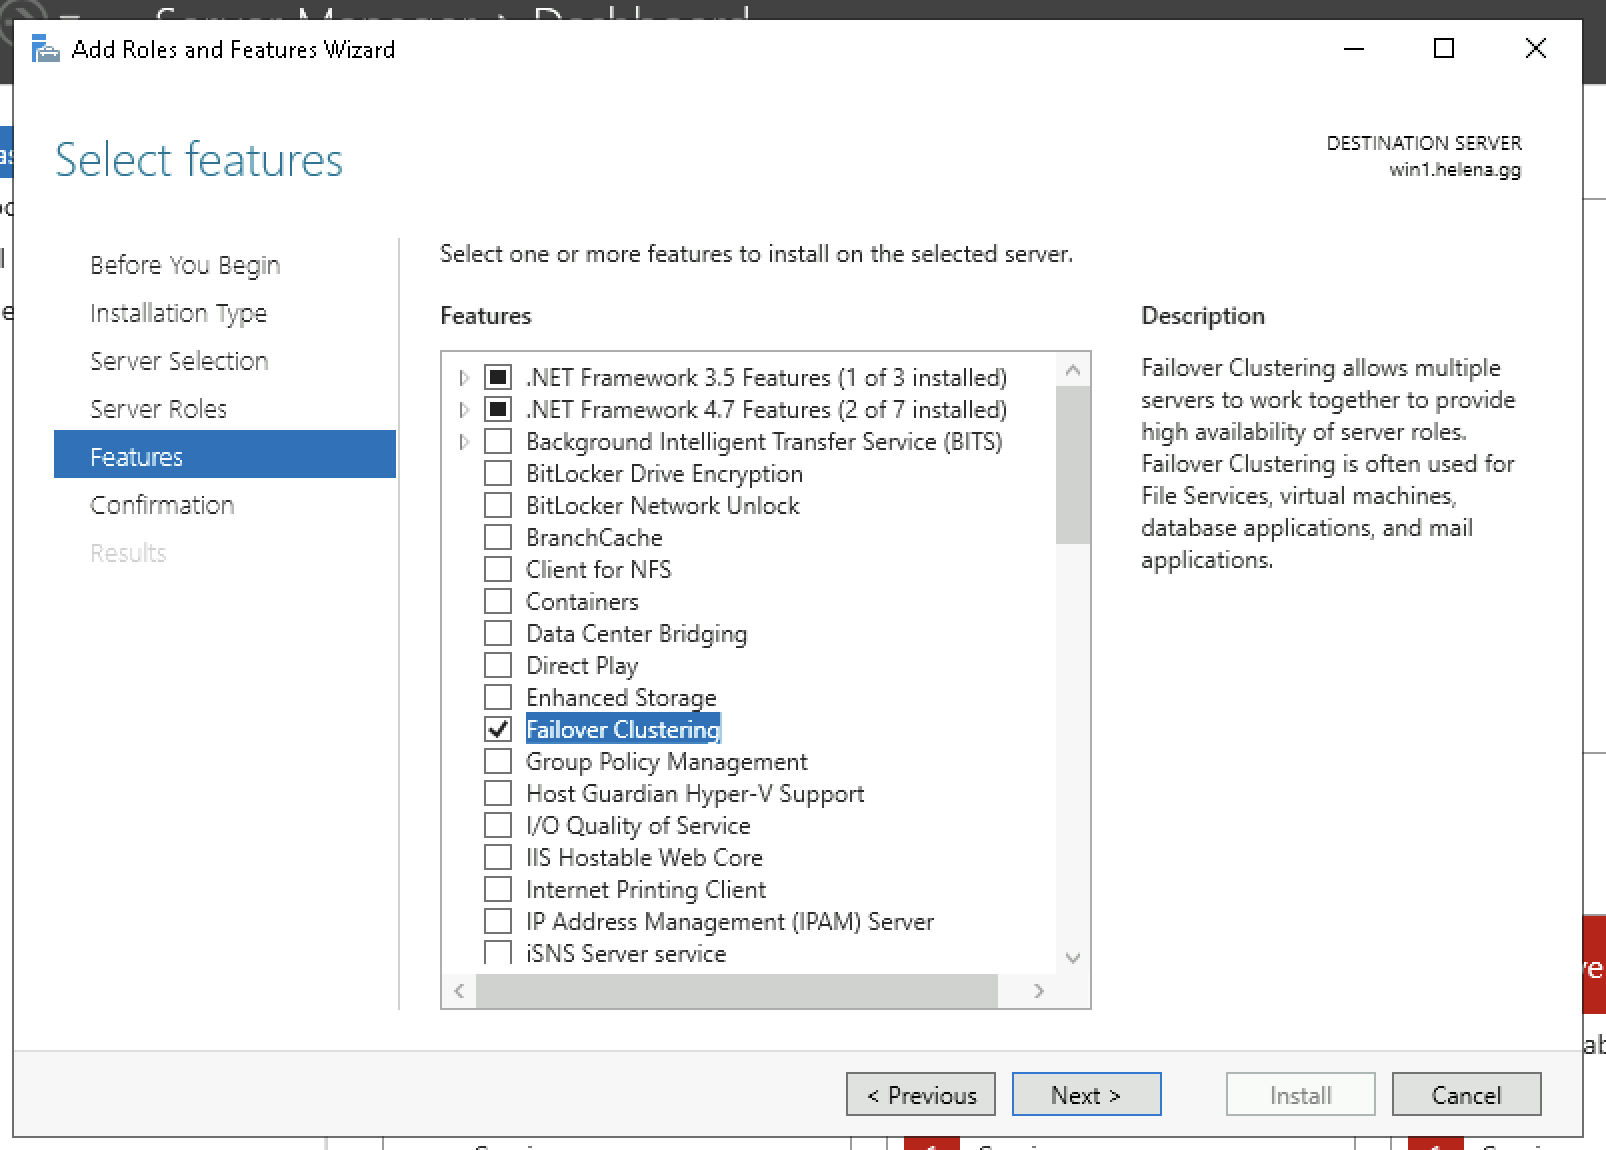
First install DFS and Failover Clustering on the Windows Server Manager on both servers
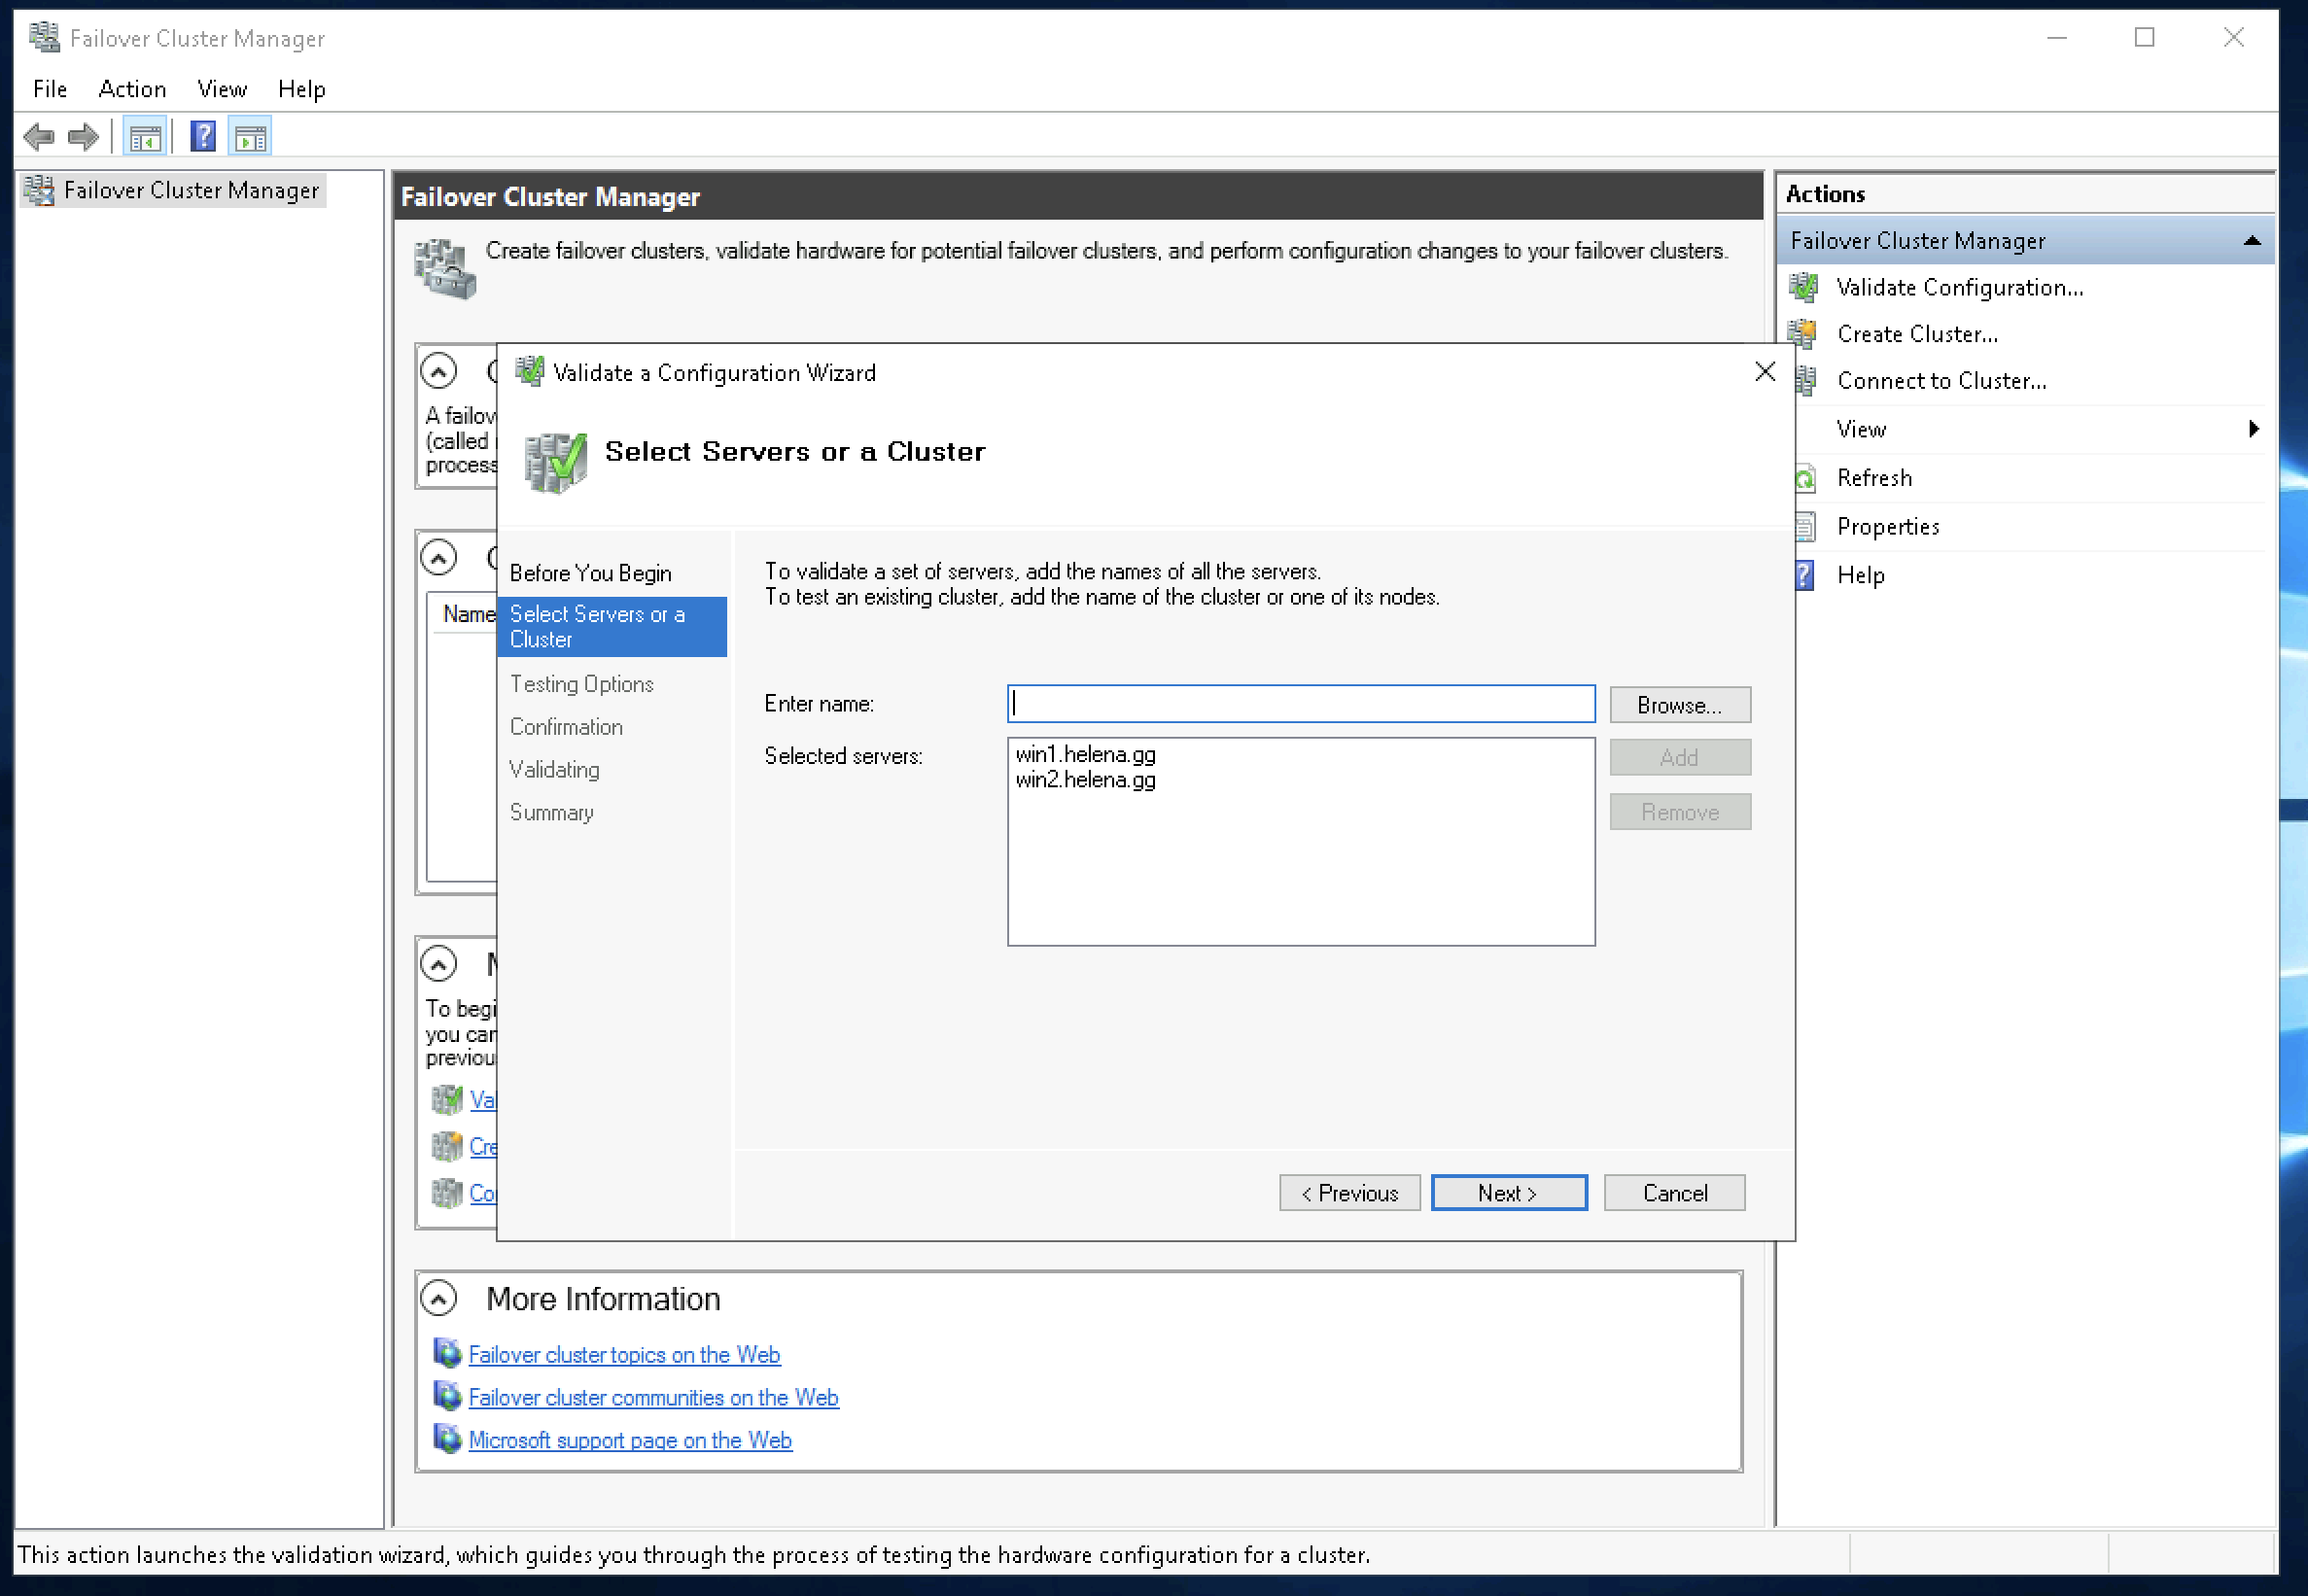
After that, on one of the server open Failover Cluster Manager, select Validate Configuration, and add the 2 servers
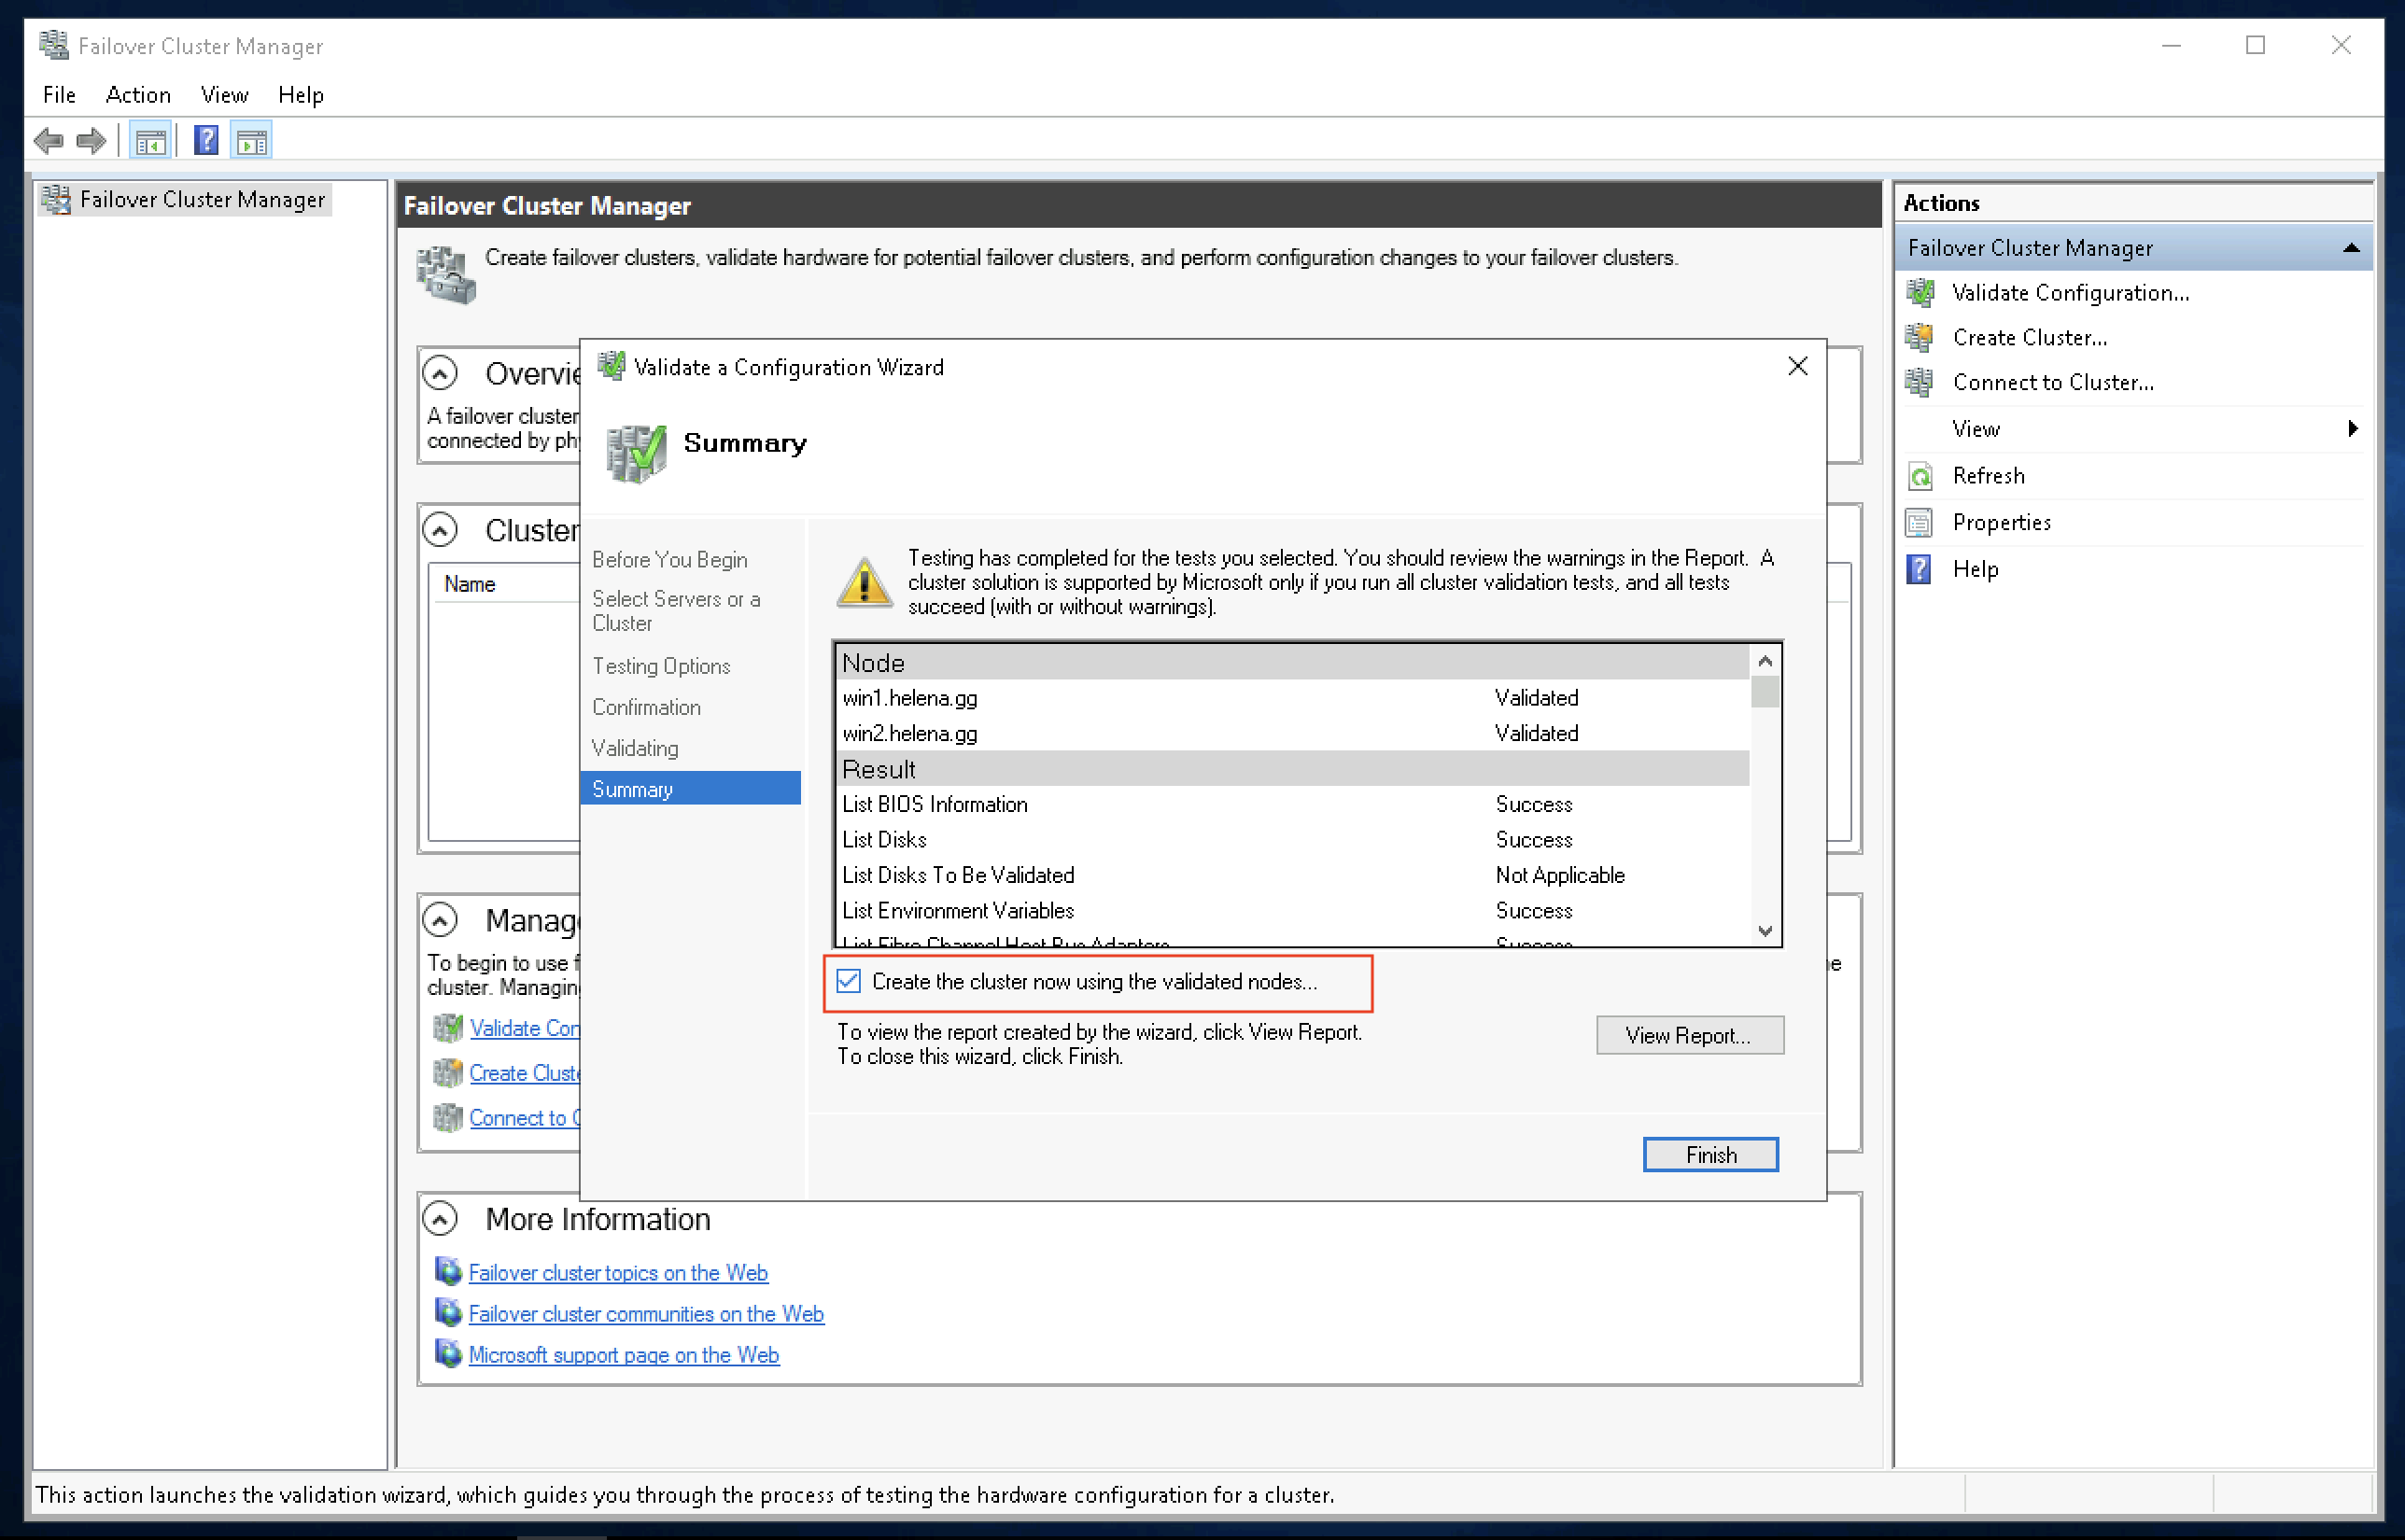
After the process finishes, check on “Create the cluster now … “ and select finish
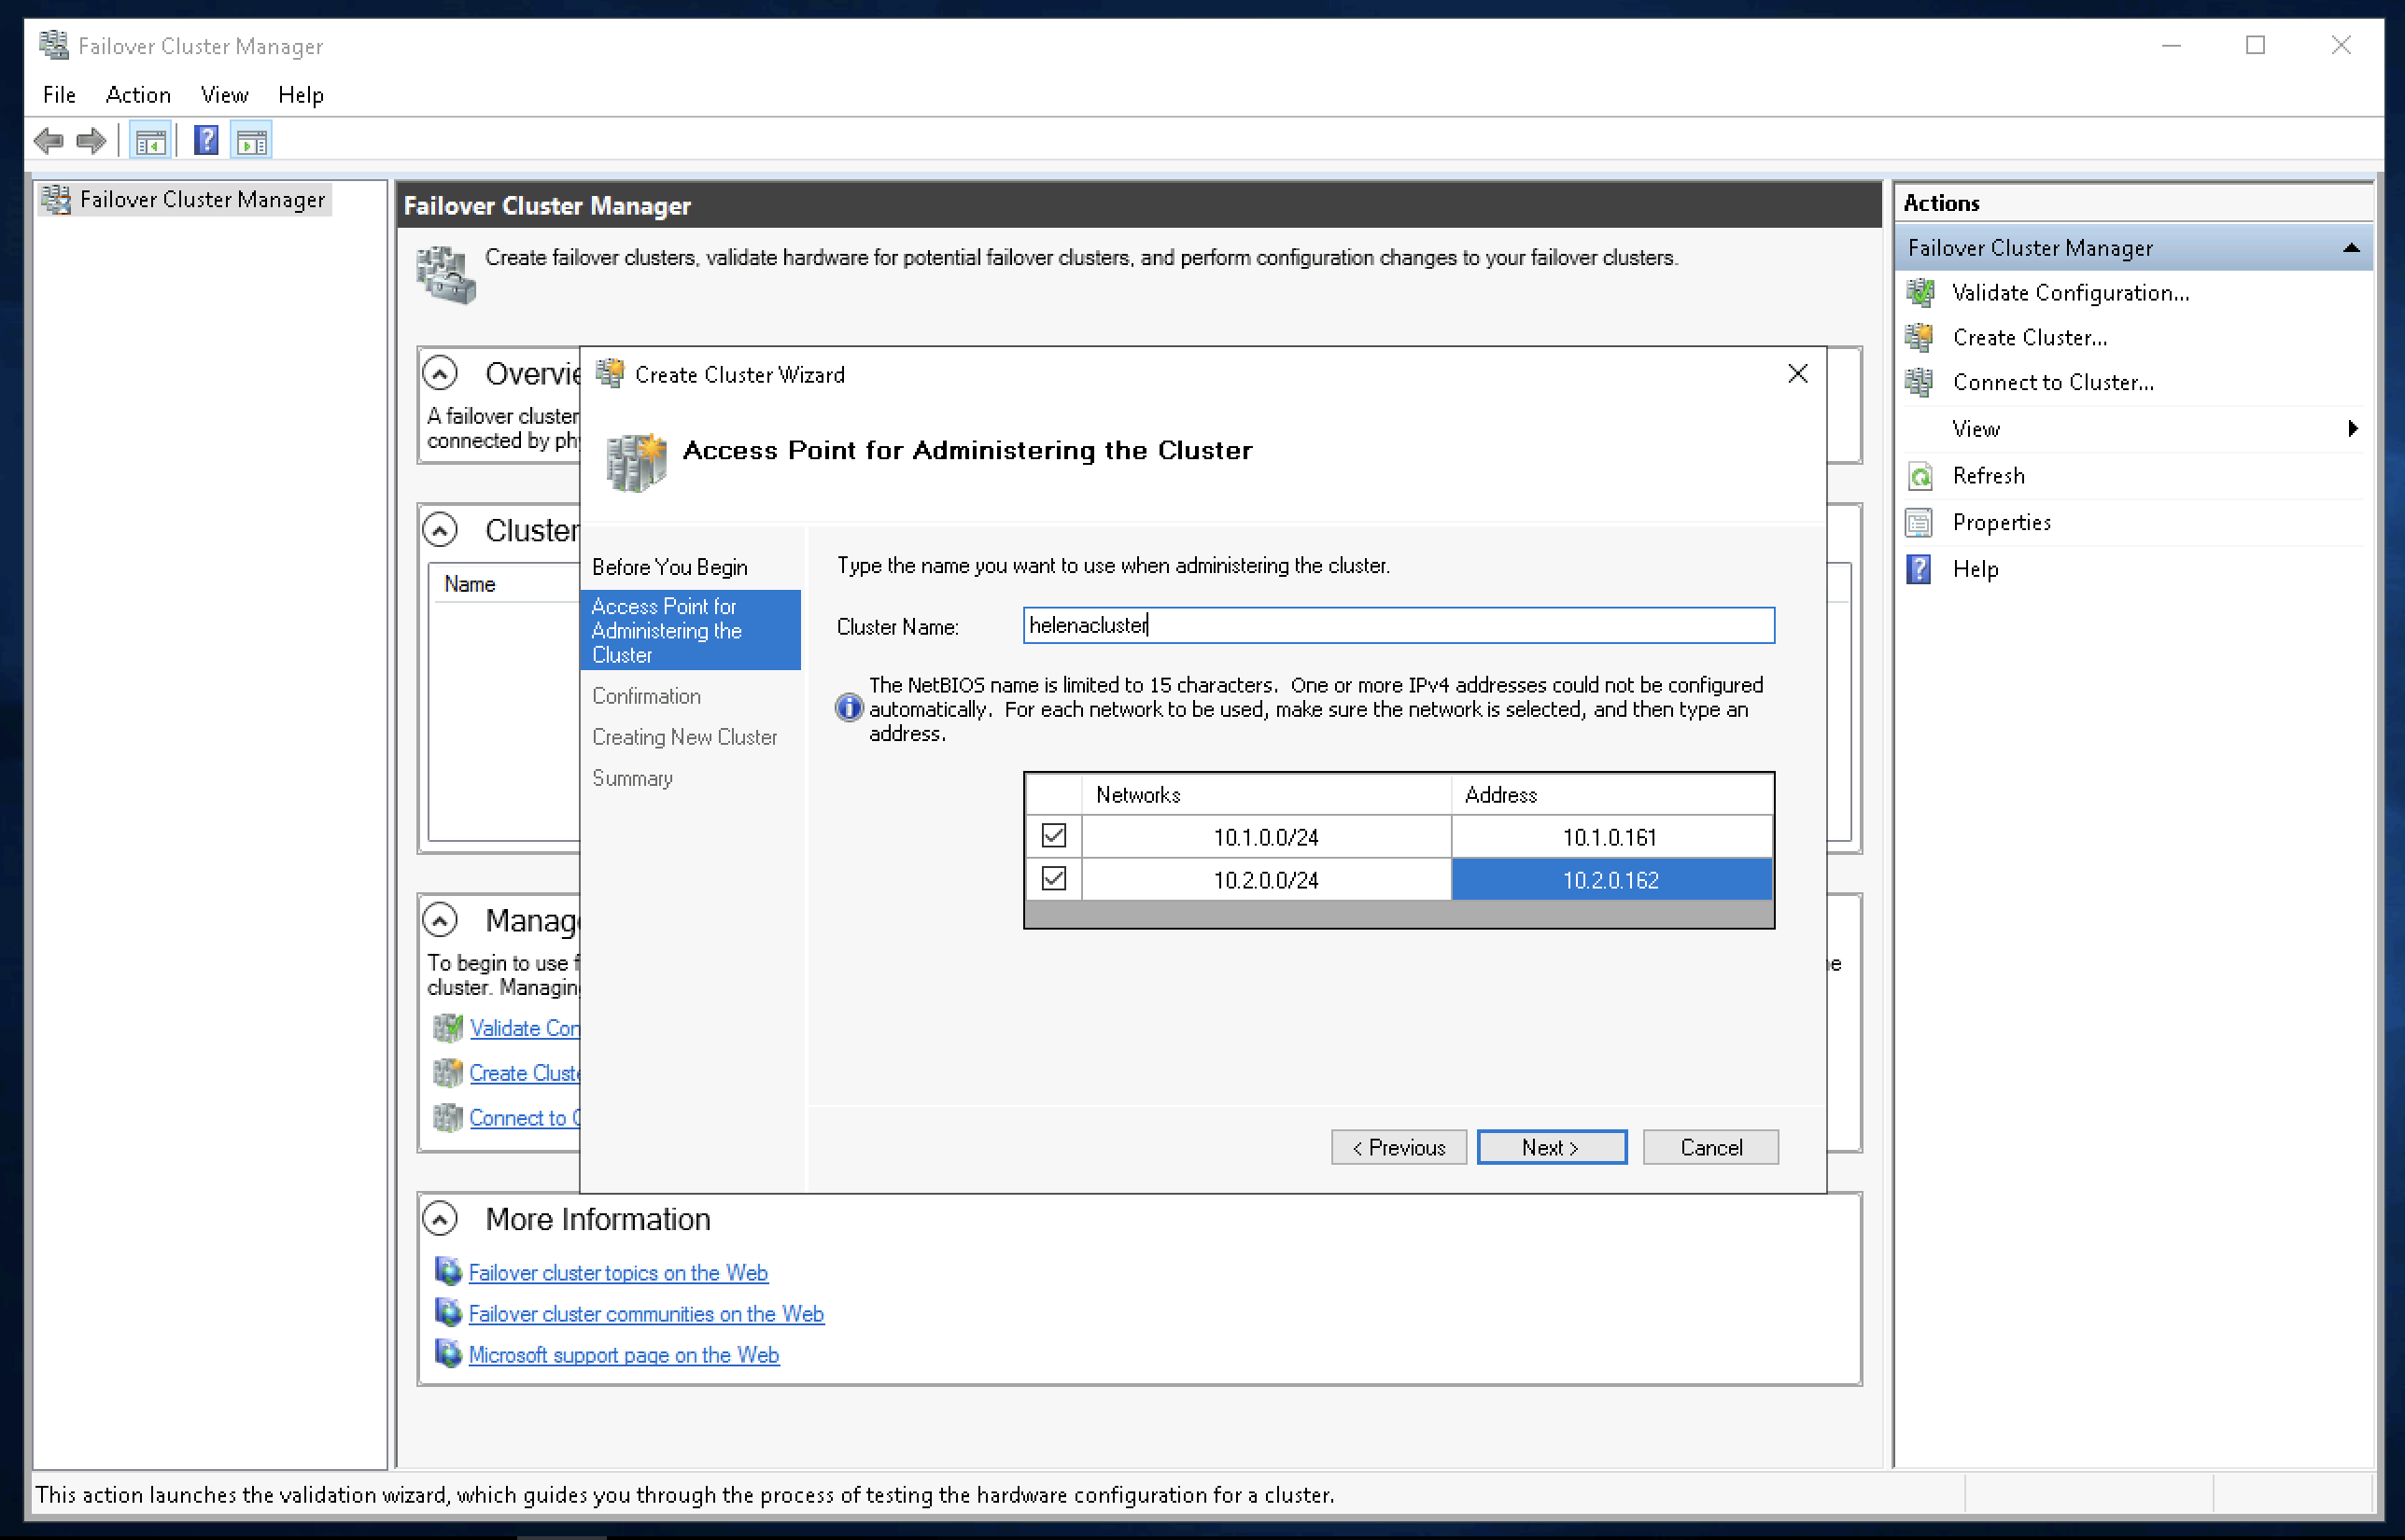
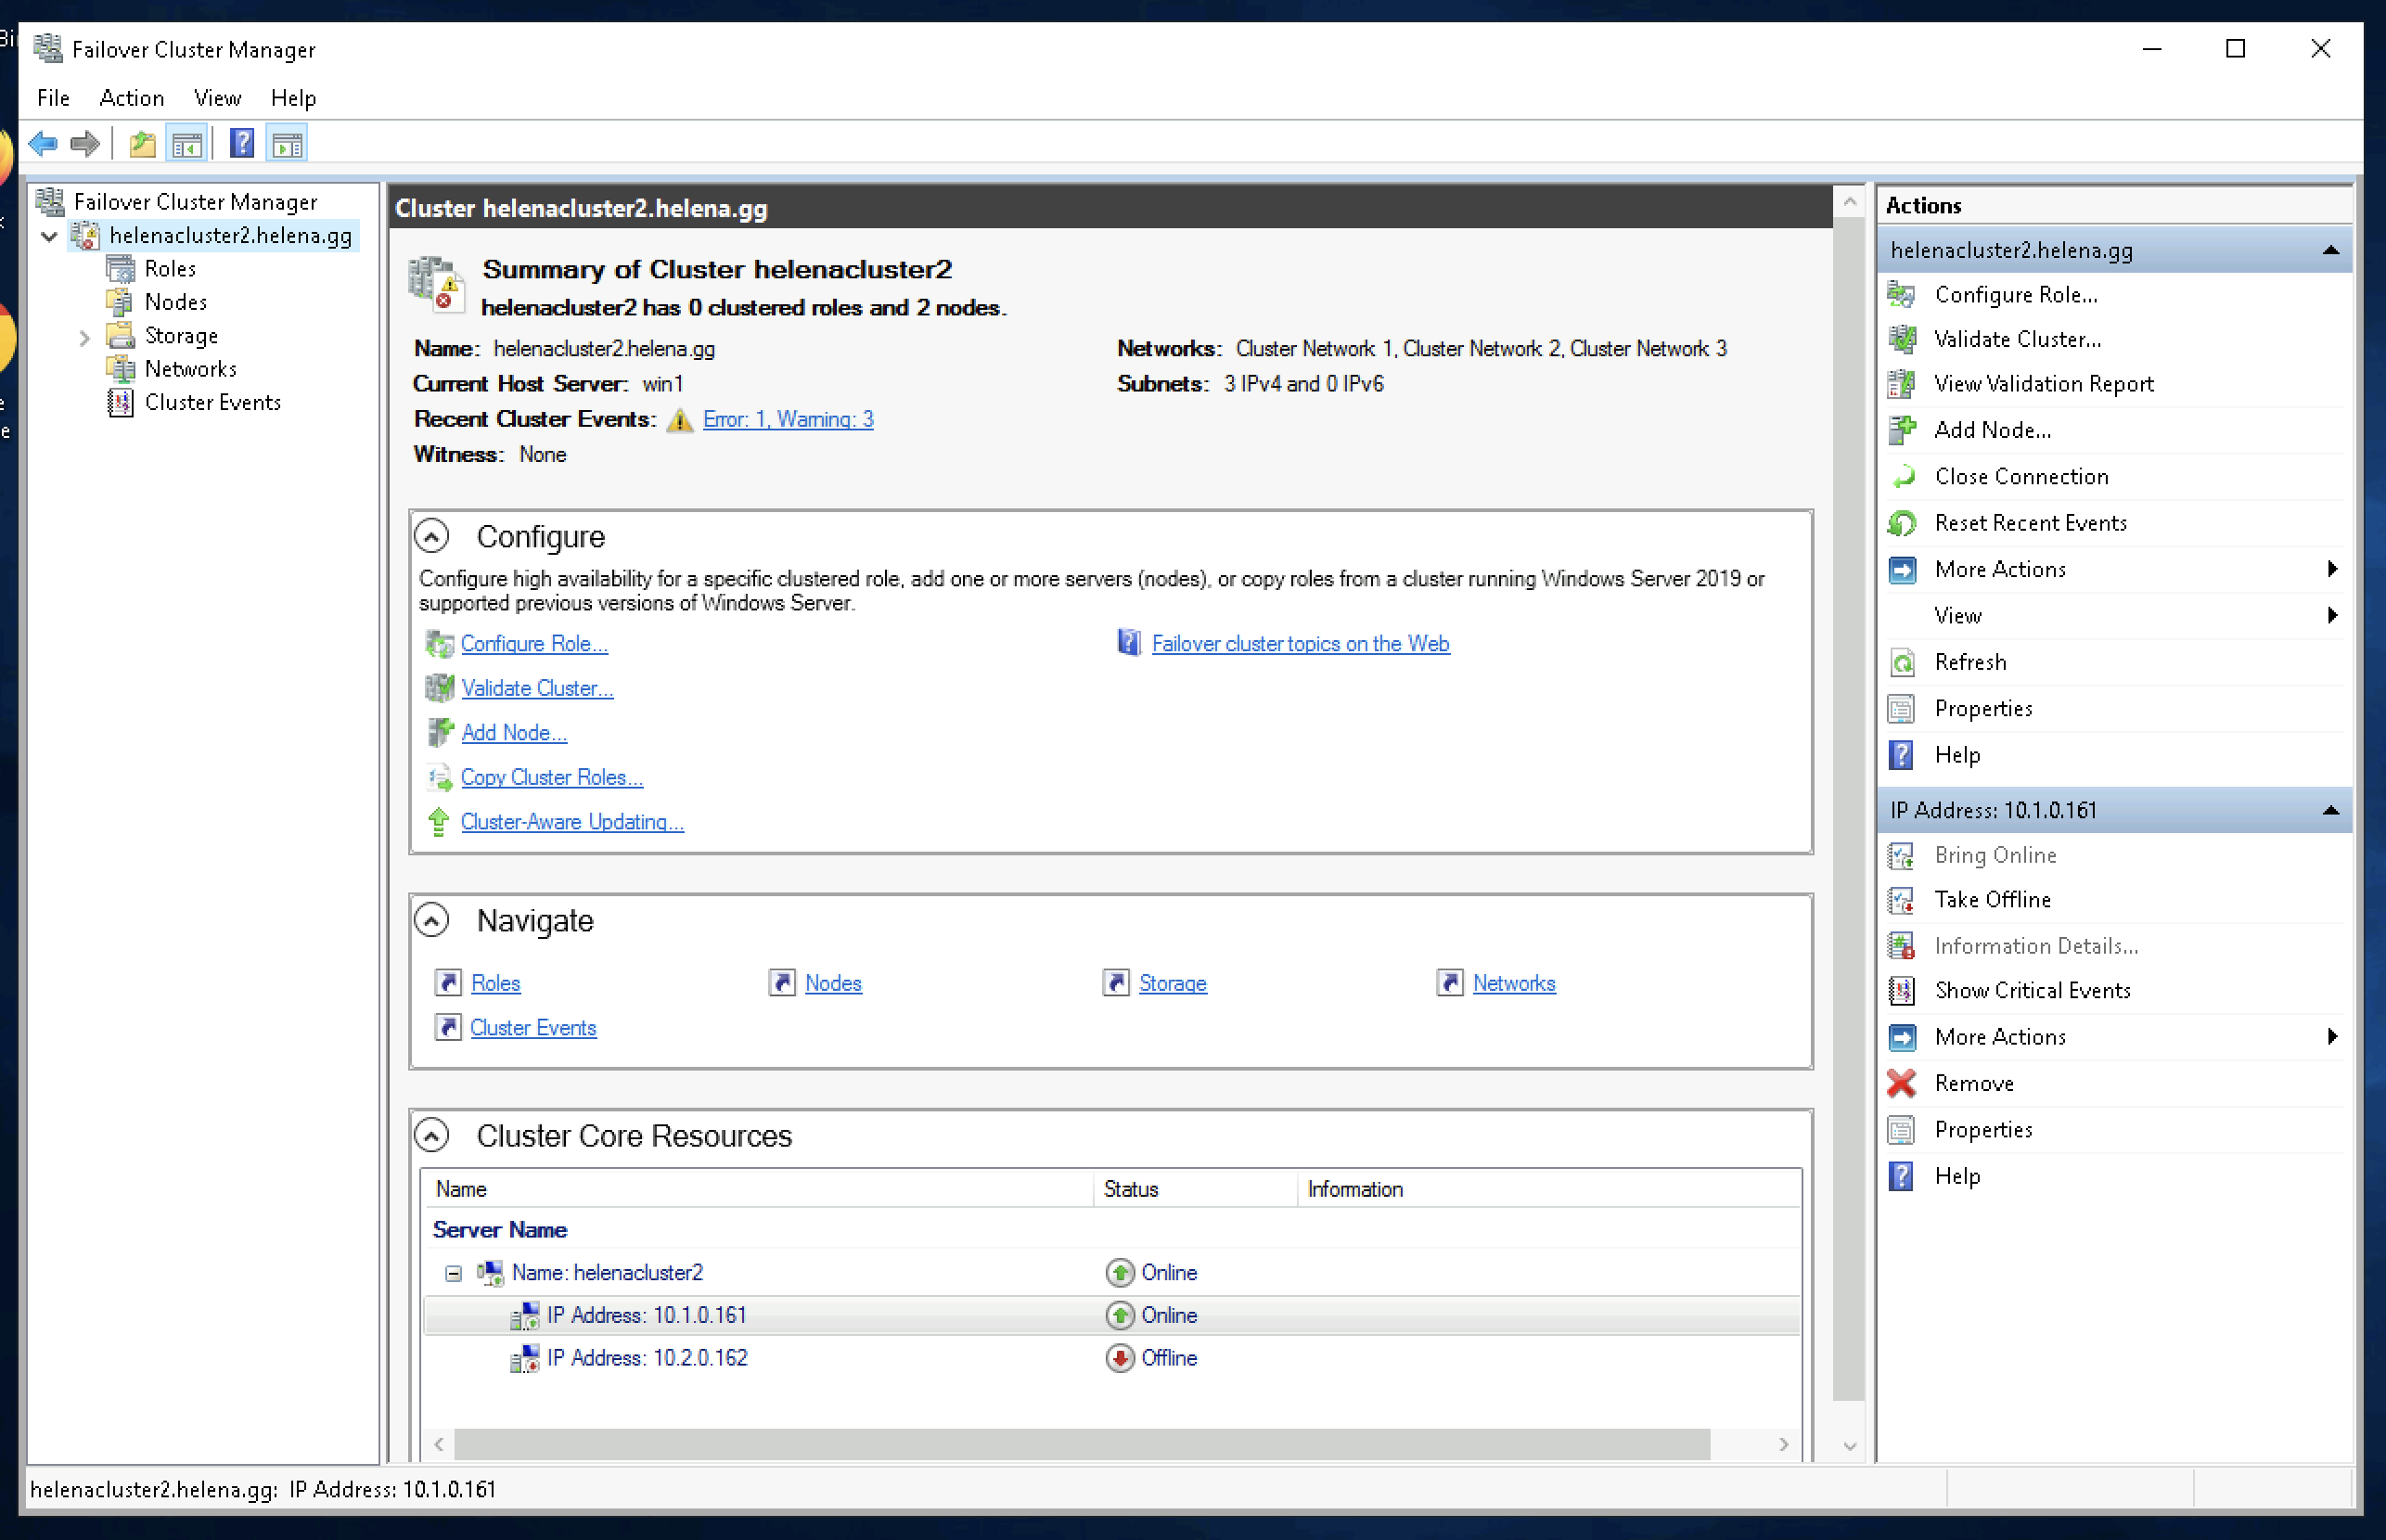
Now create the cluster name of “helenacluster2” and give each of them an IP Address
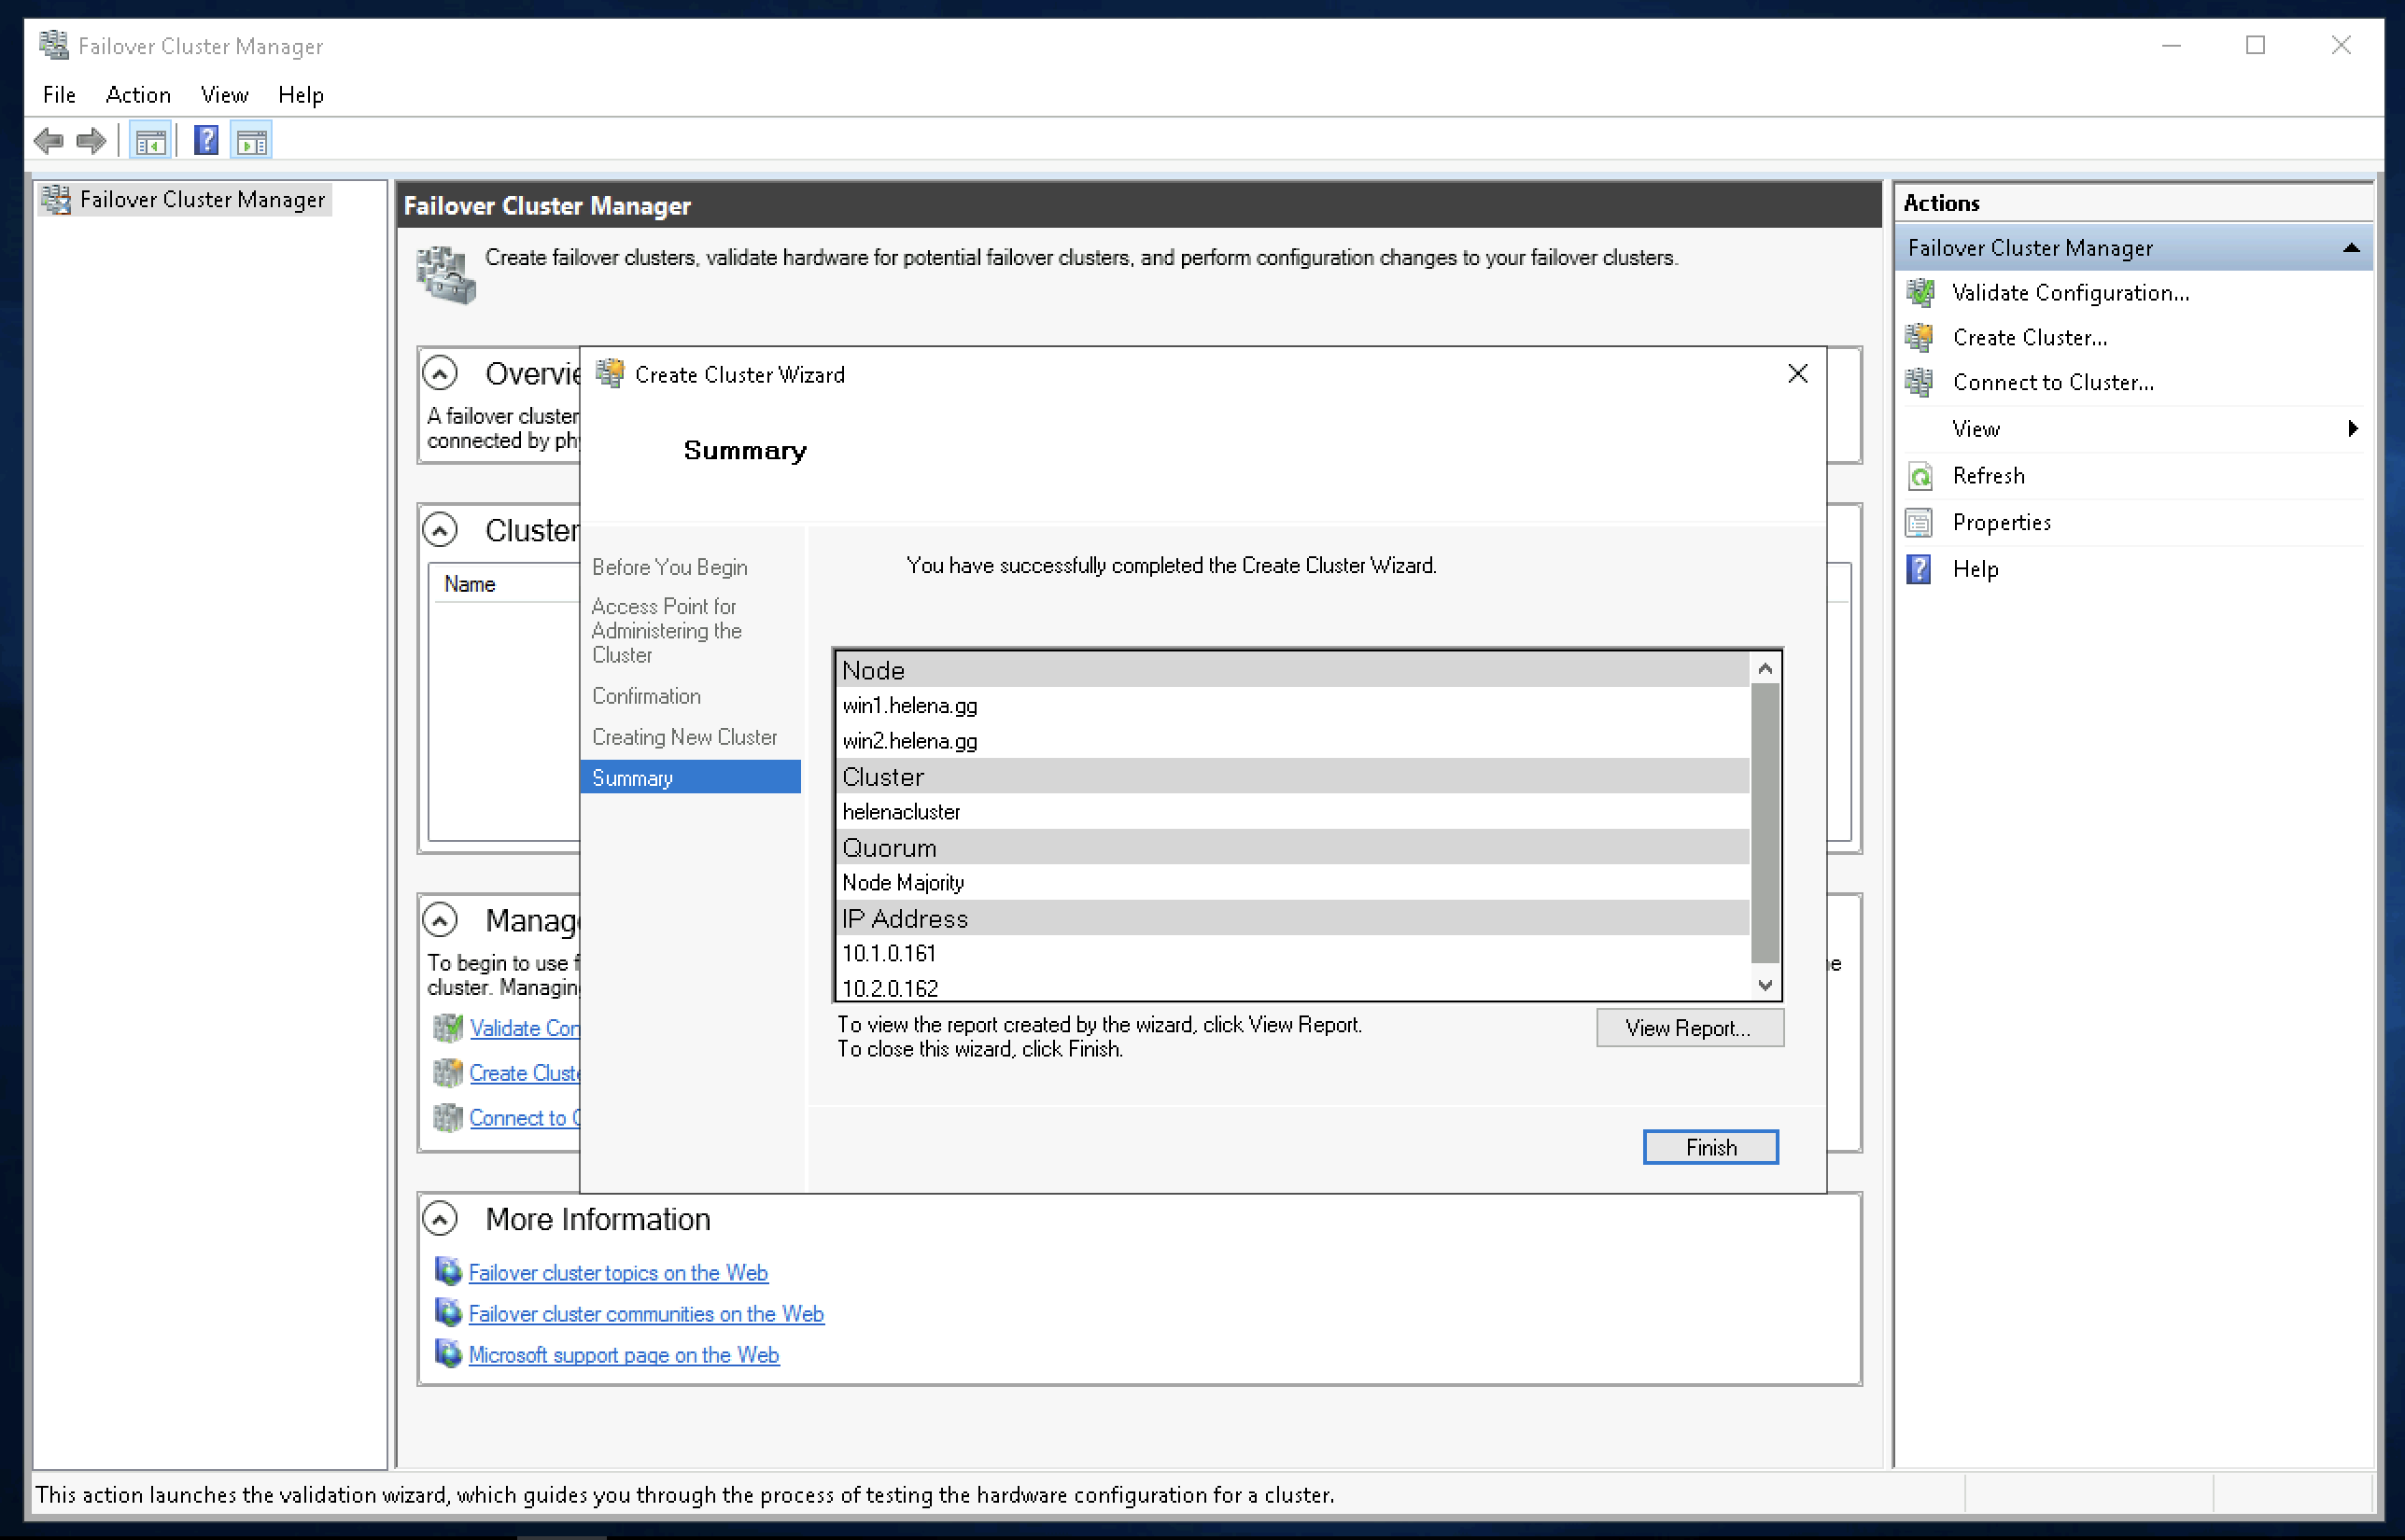
Review the summary and choose finish
Now the failover cluster is up, and the active node is on Win1
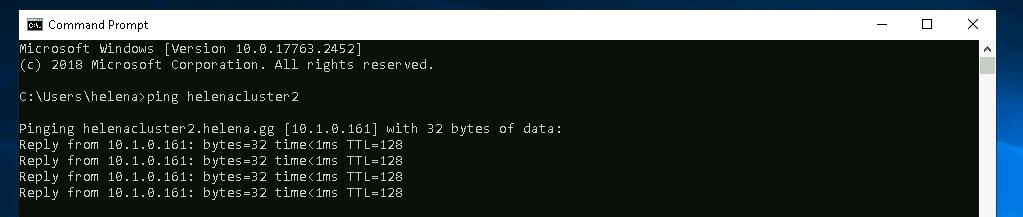
And if we ping the helenacluster2, we should get a return IP Address of the currently active node
Configuring DFS Namespace
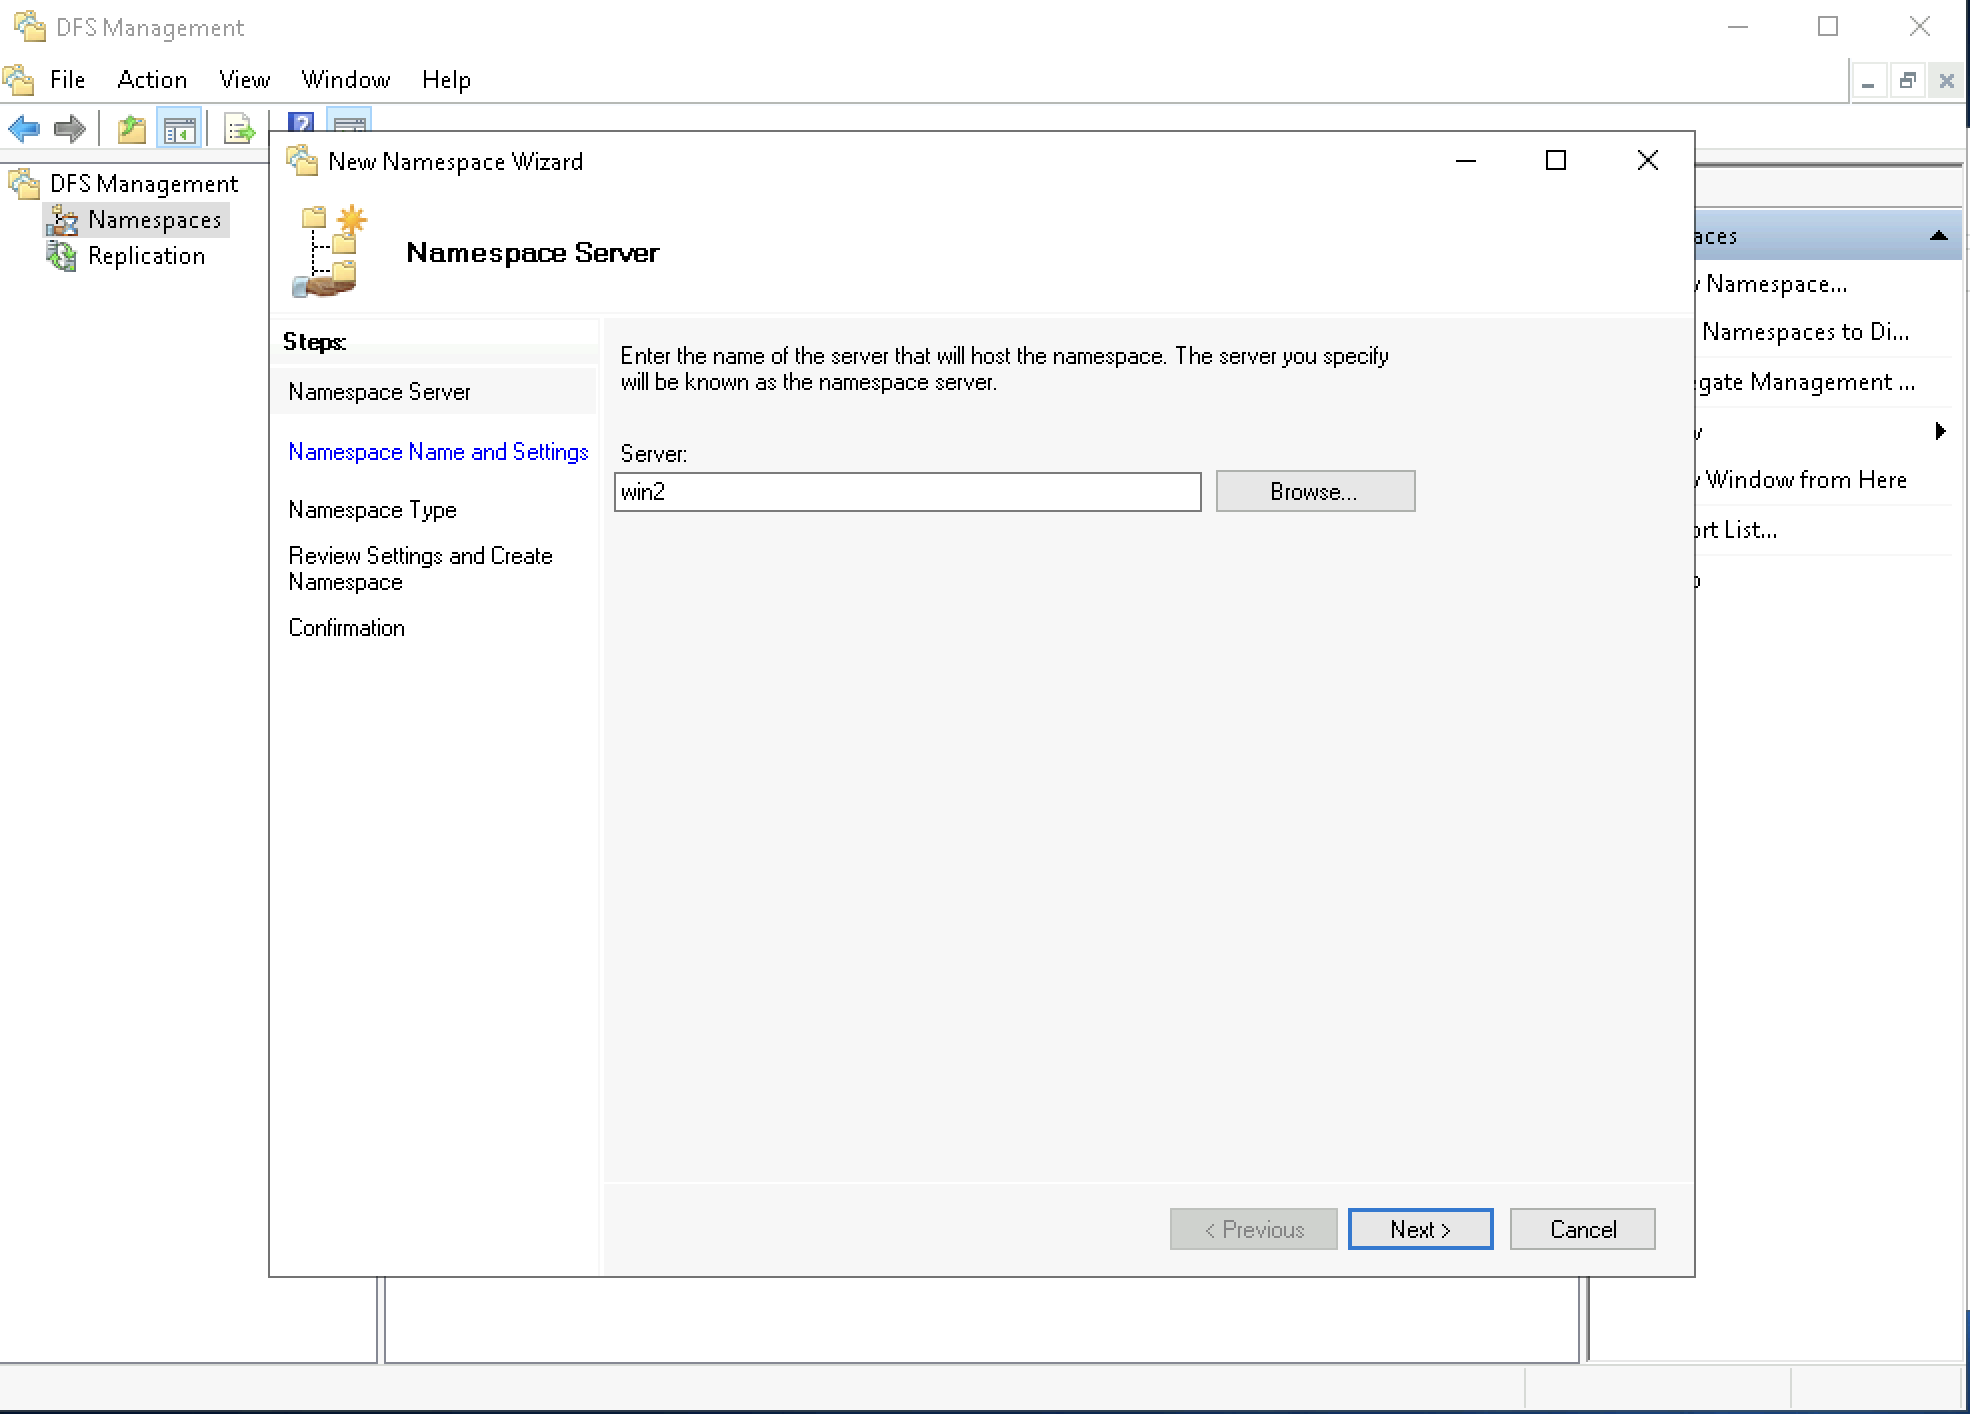
Open DFS Management, select create New Namespace, select the primary server on which the data will be initially synced from
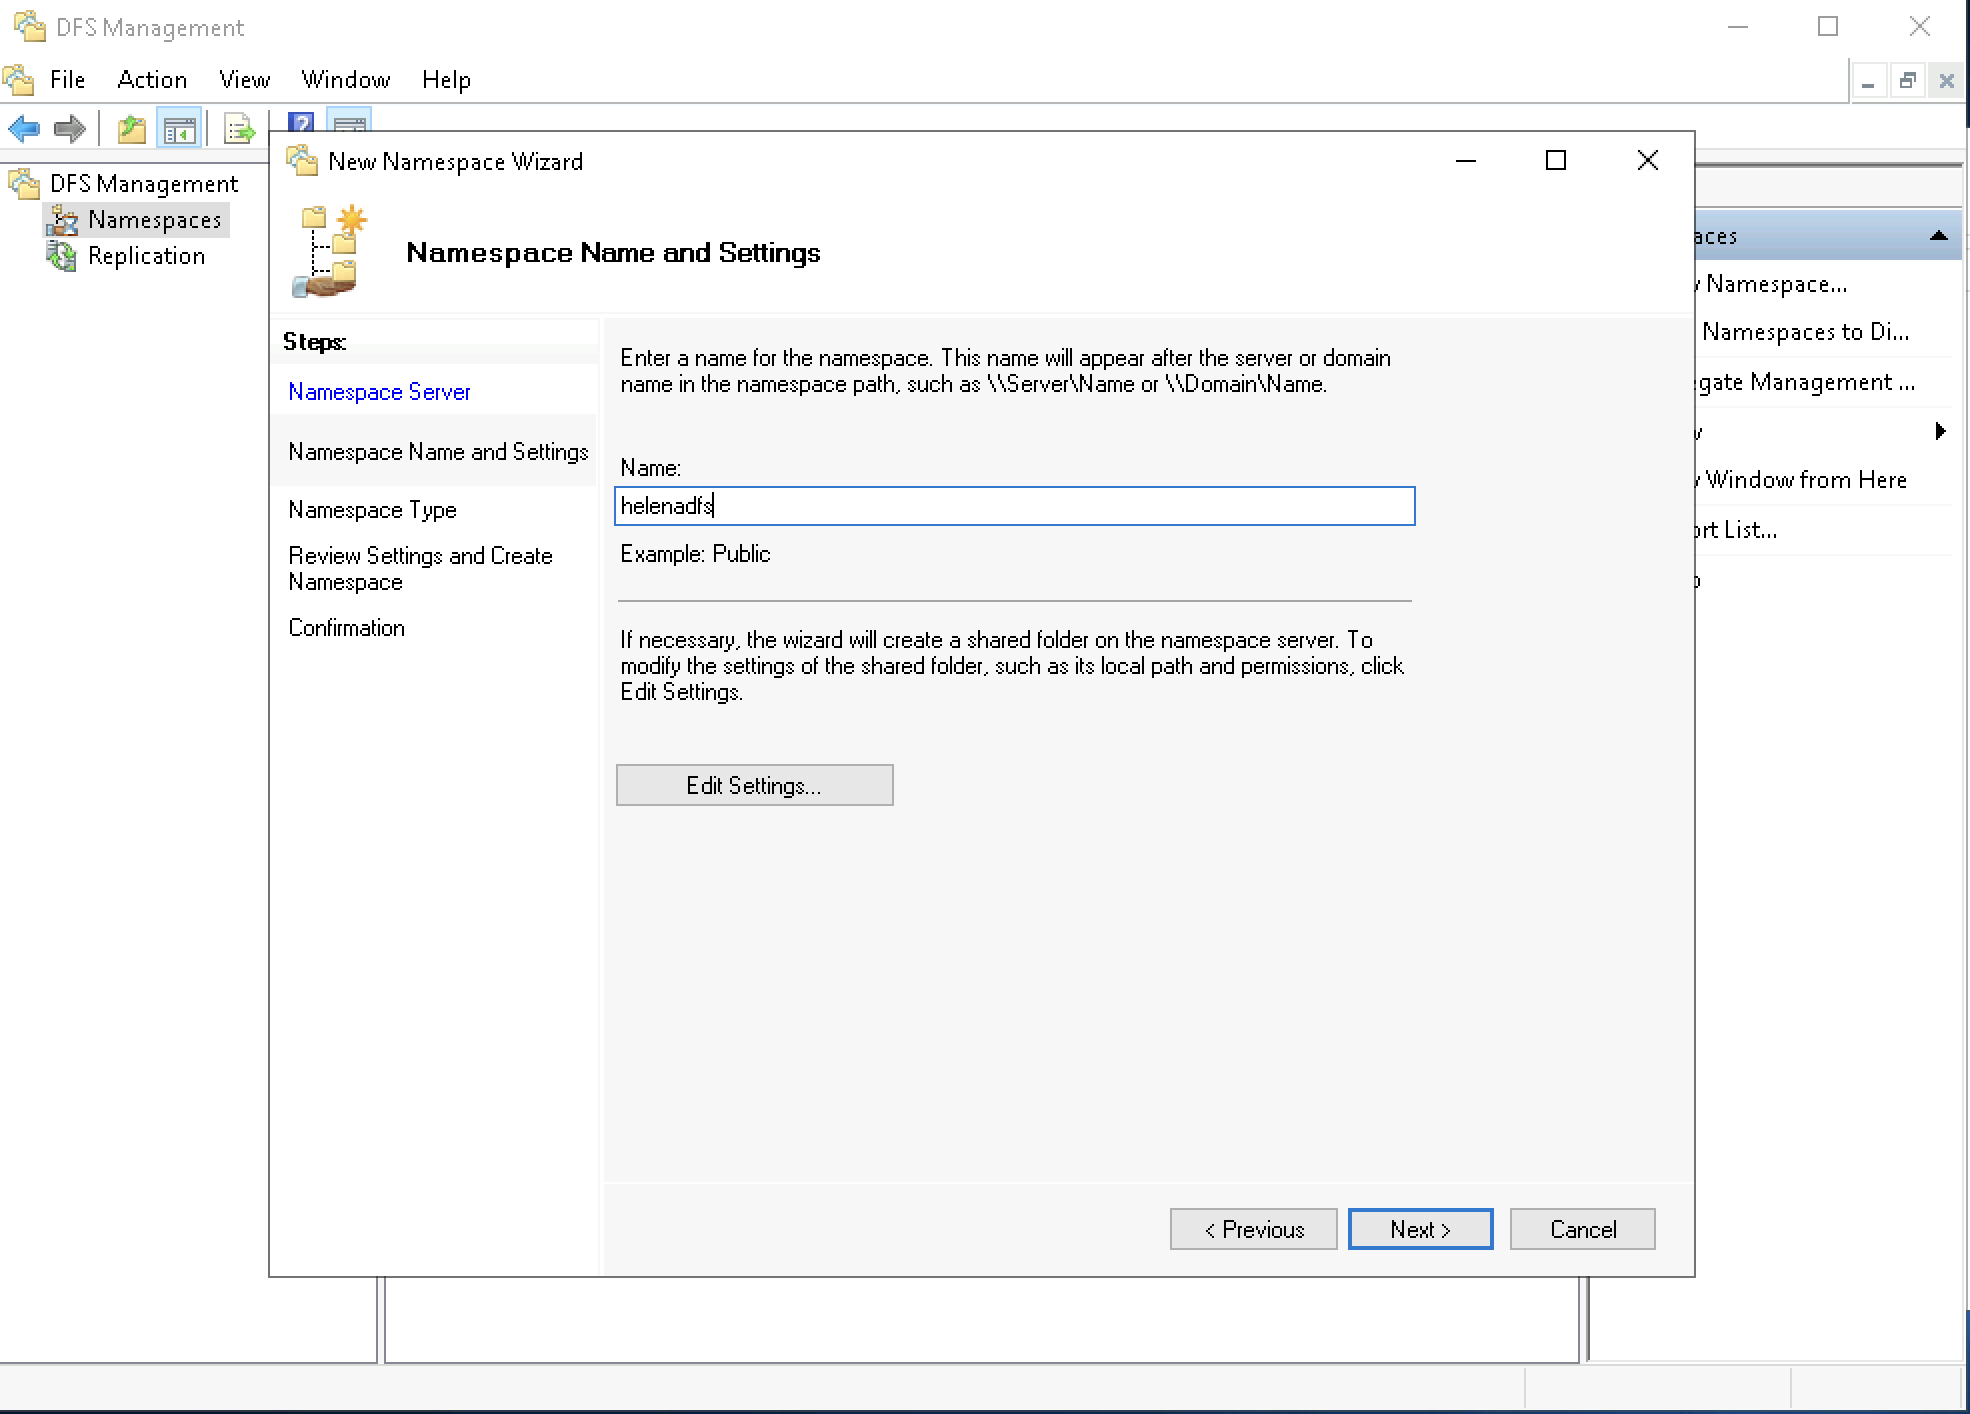
Give the namespace name
On Namespace Type, select Domain-based to enable DFS configuration on multiple servers in an AD Domain
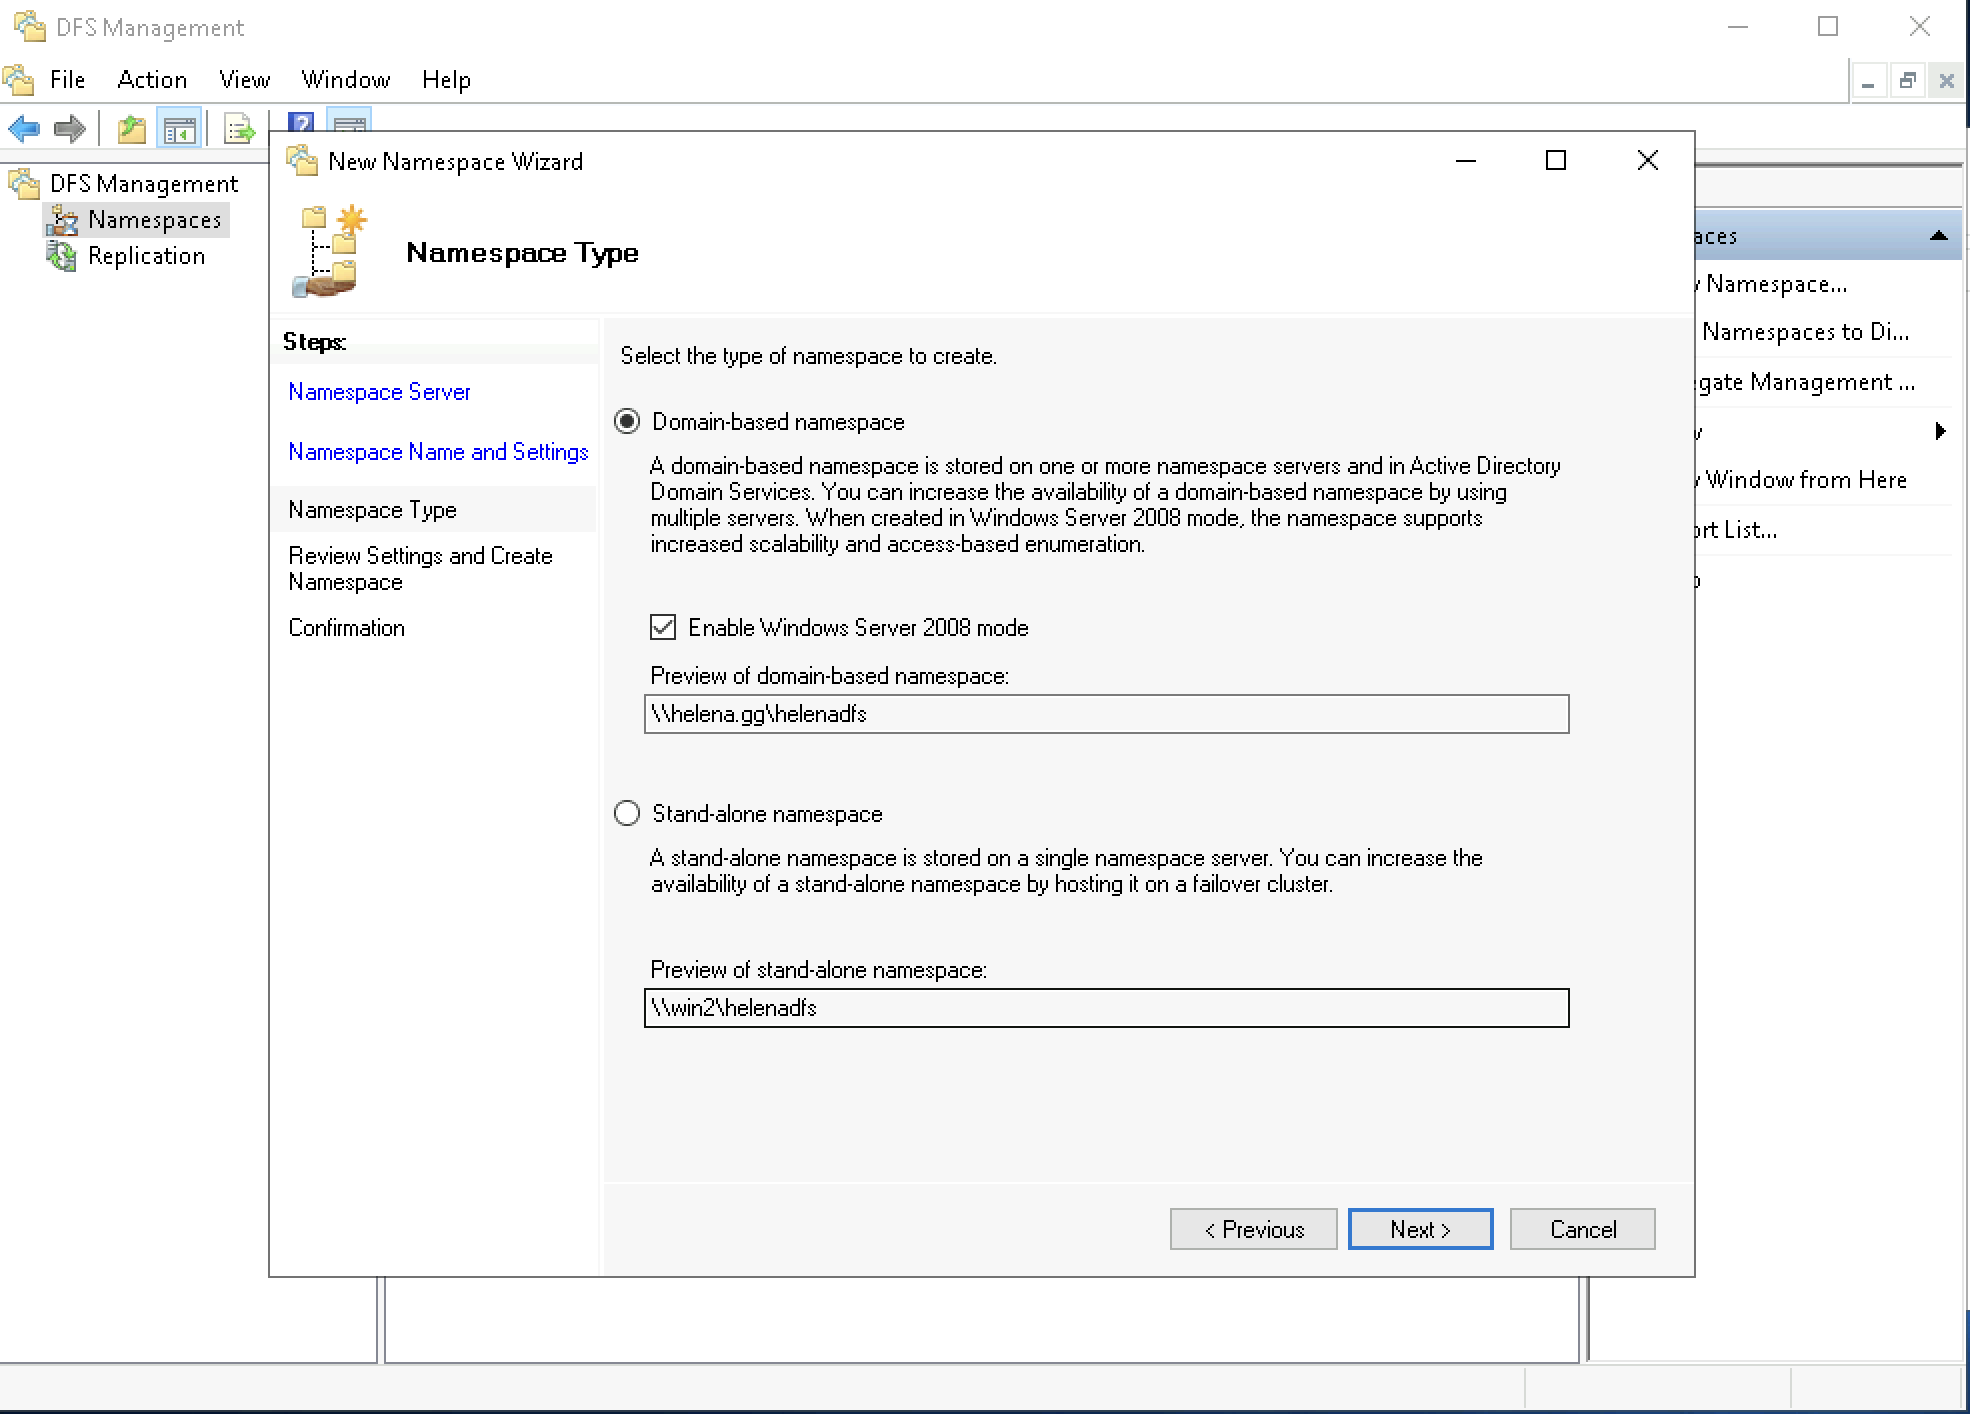
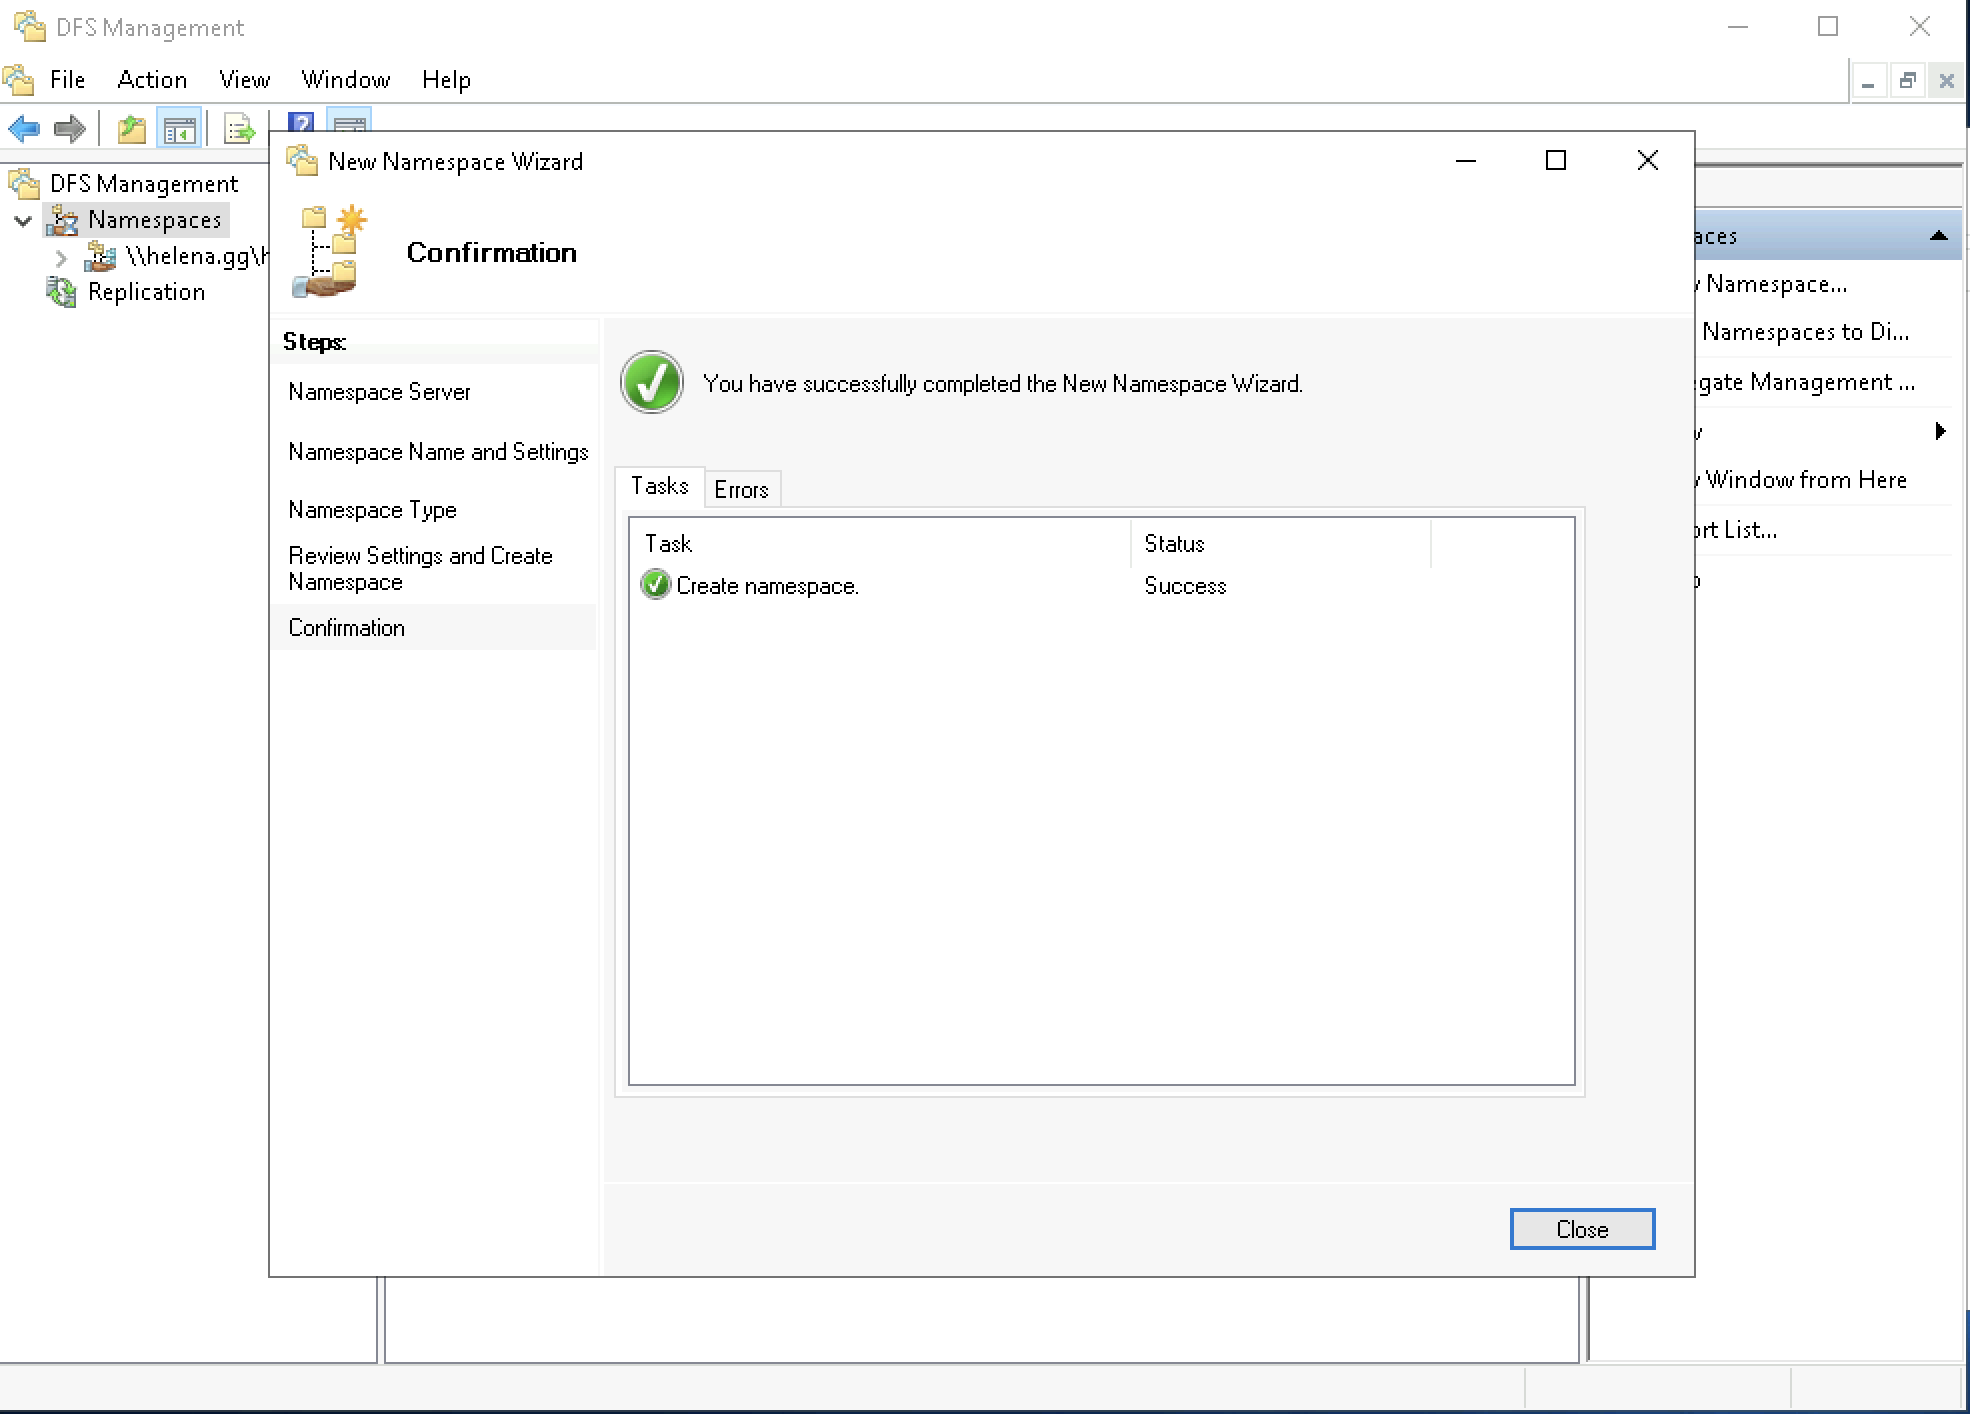
Hit next until it finishes
Configuring DFS Replication
On Replication, select Create new Replication Group and select Multipurpose

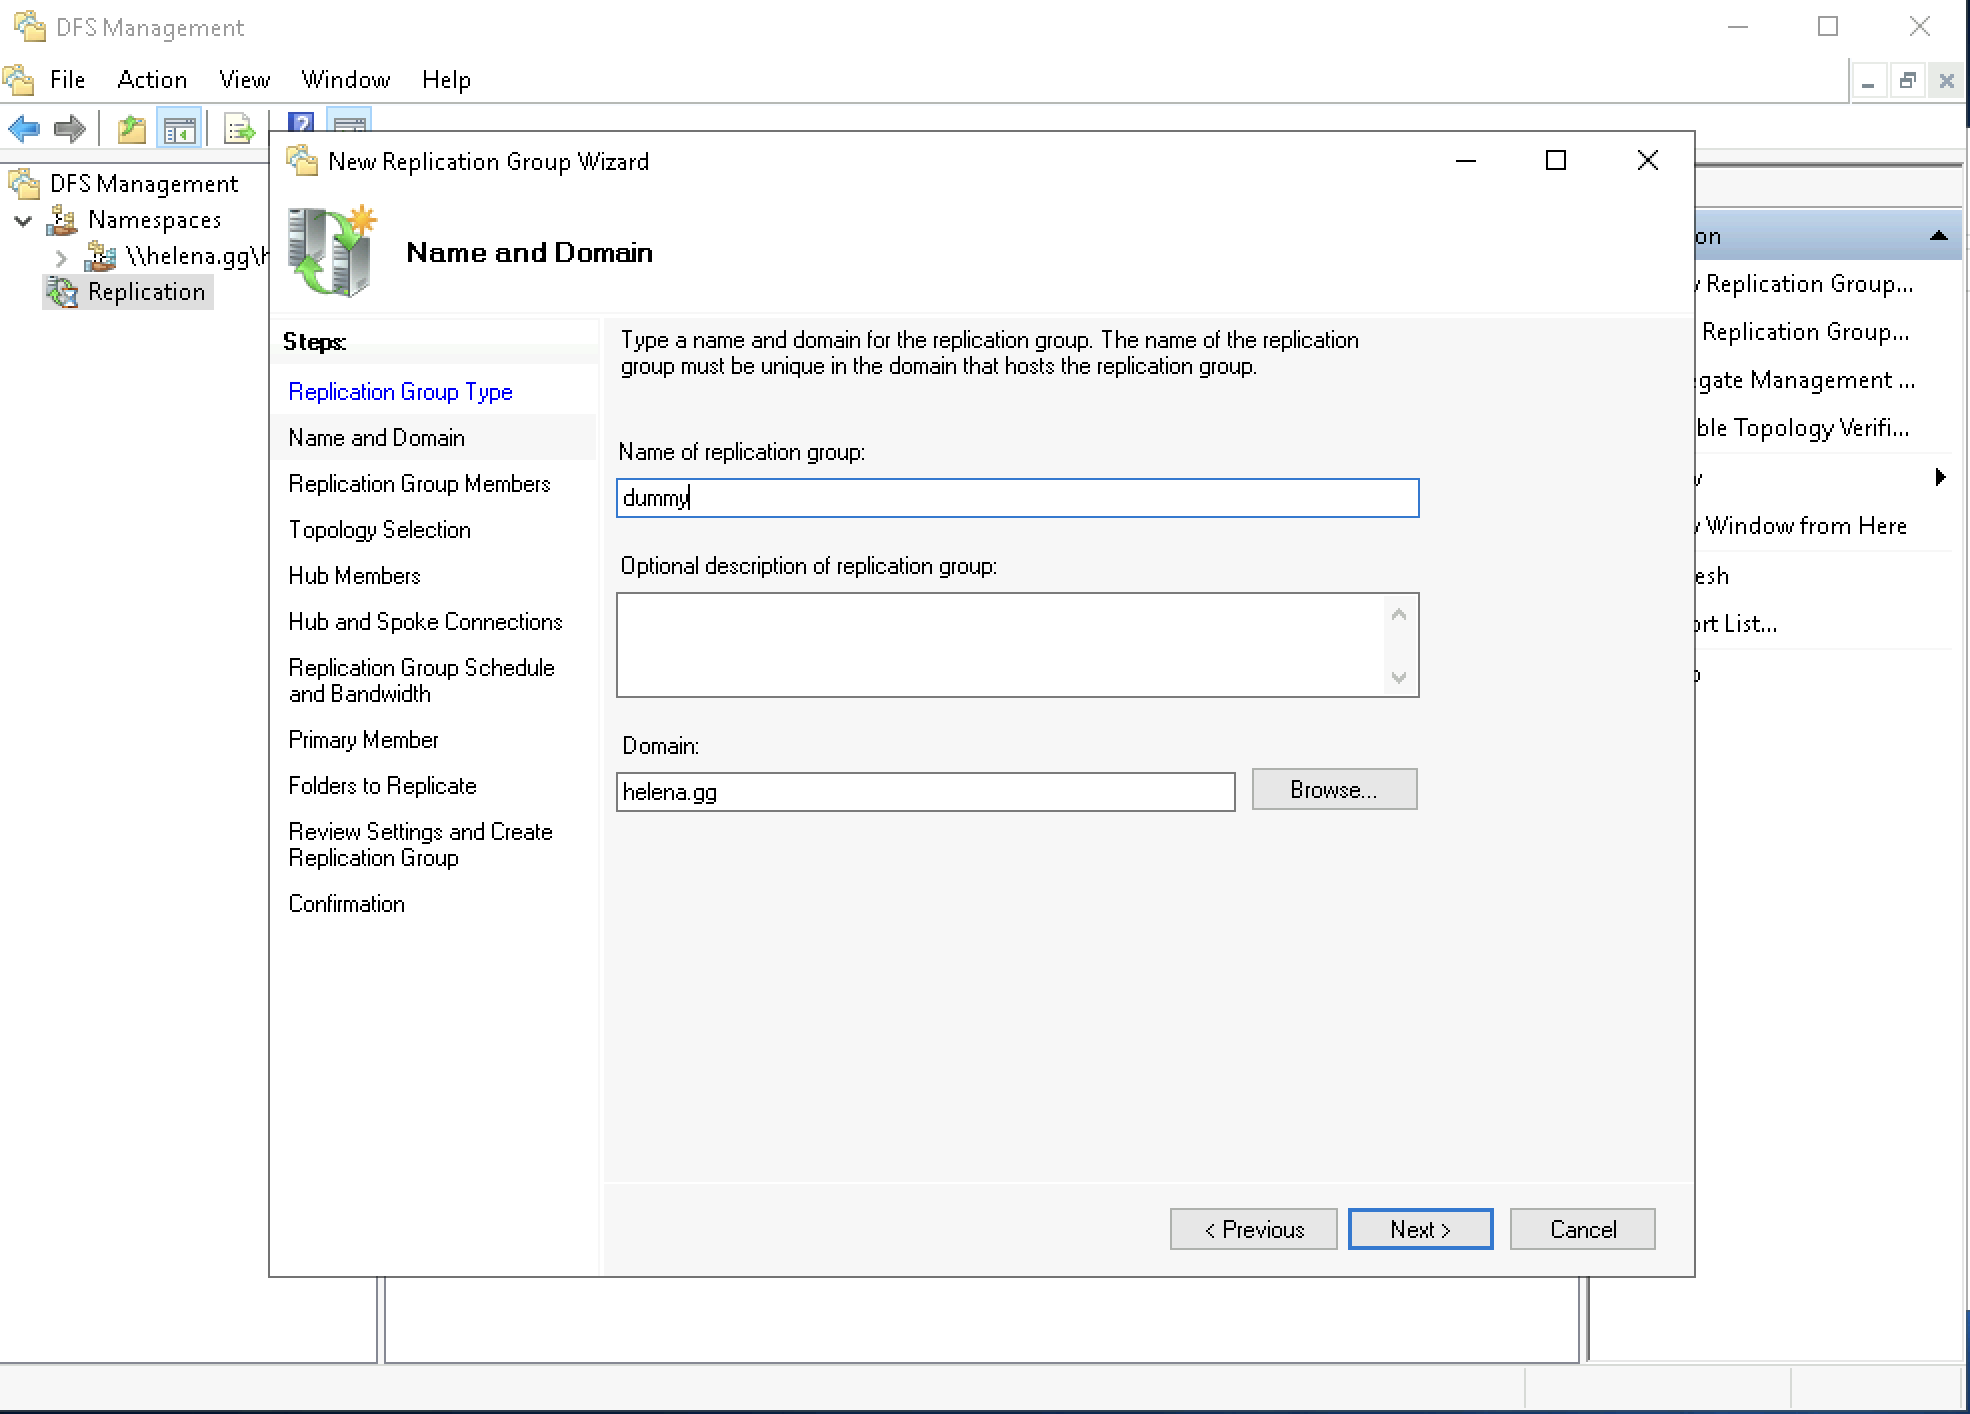
Give the replication group a name
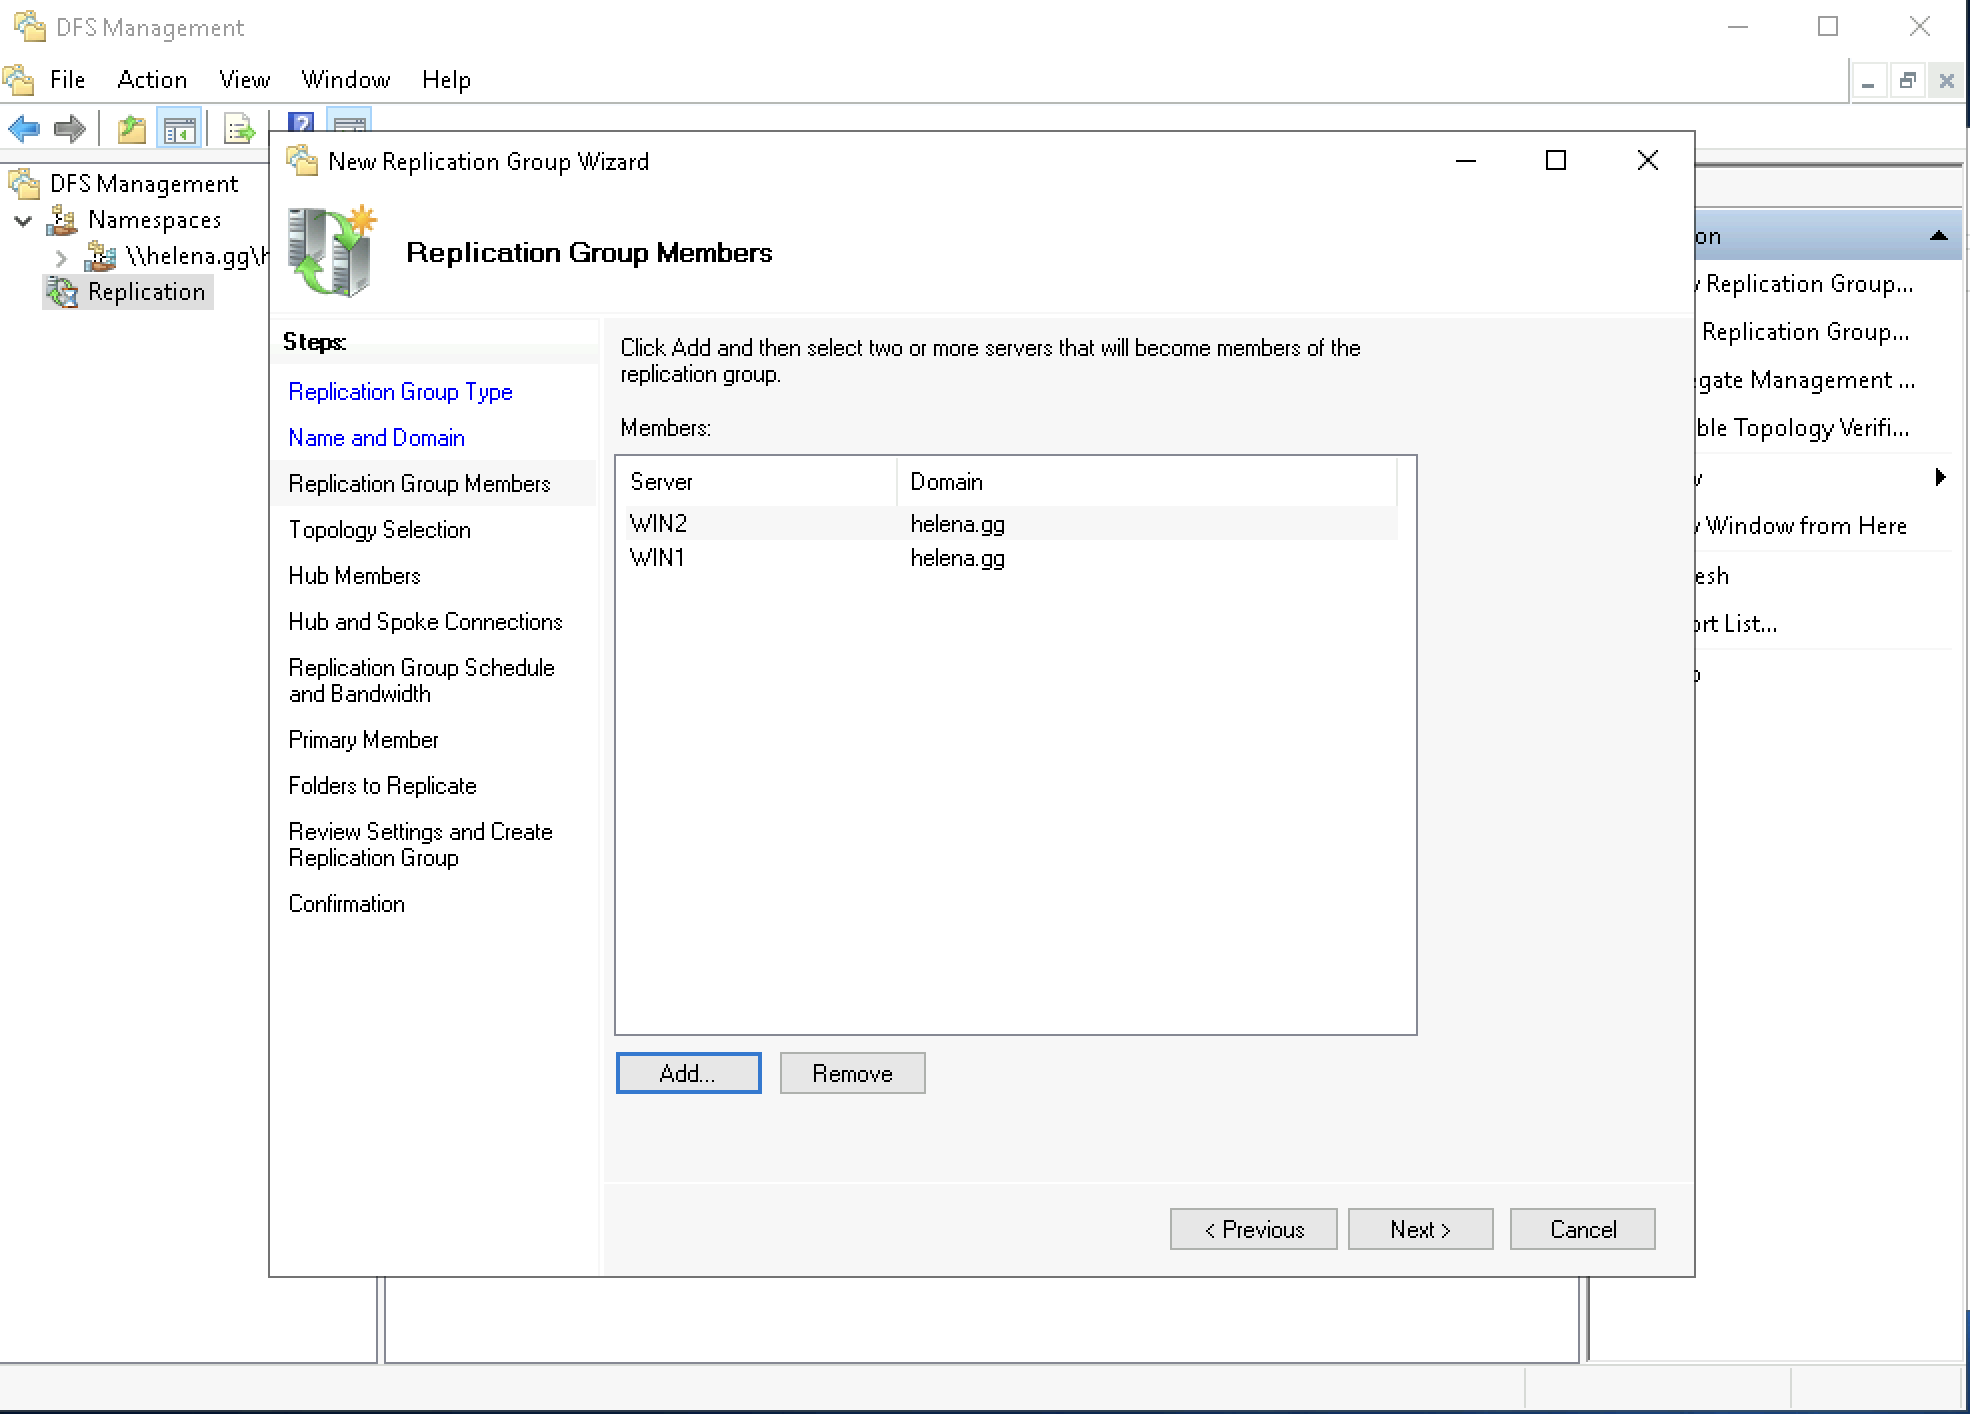
Next add all the servers involved in the replication
On topology, select Full Mesh

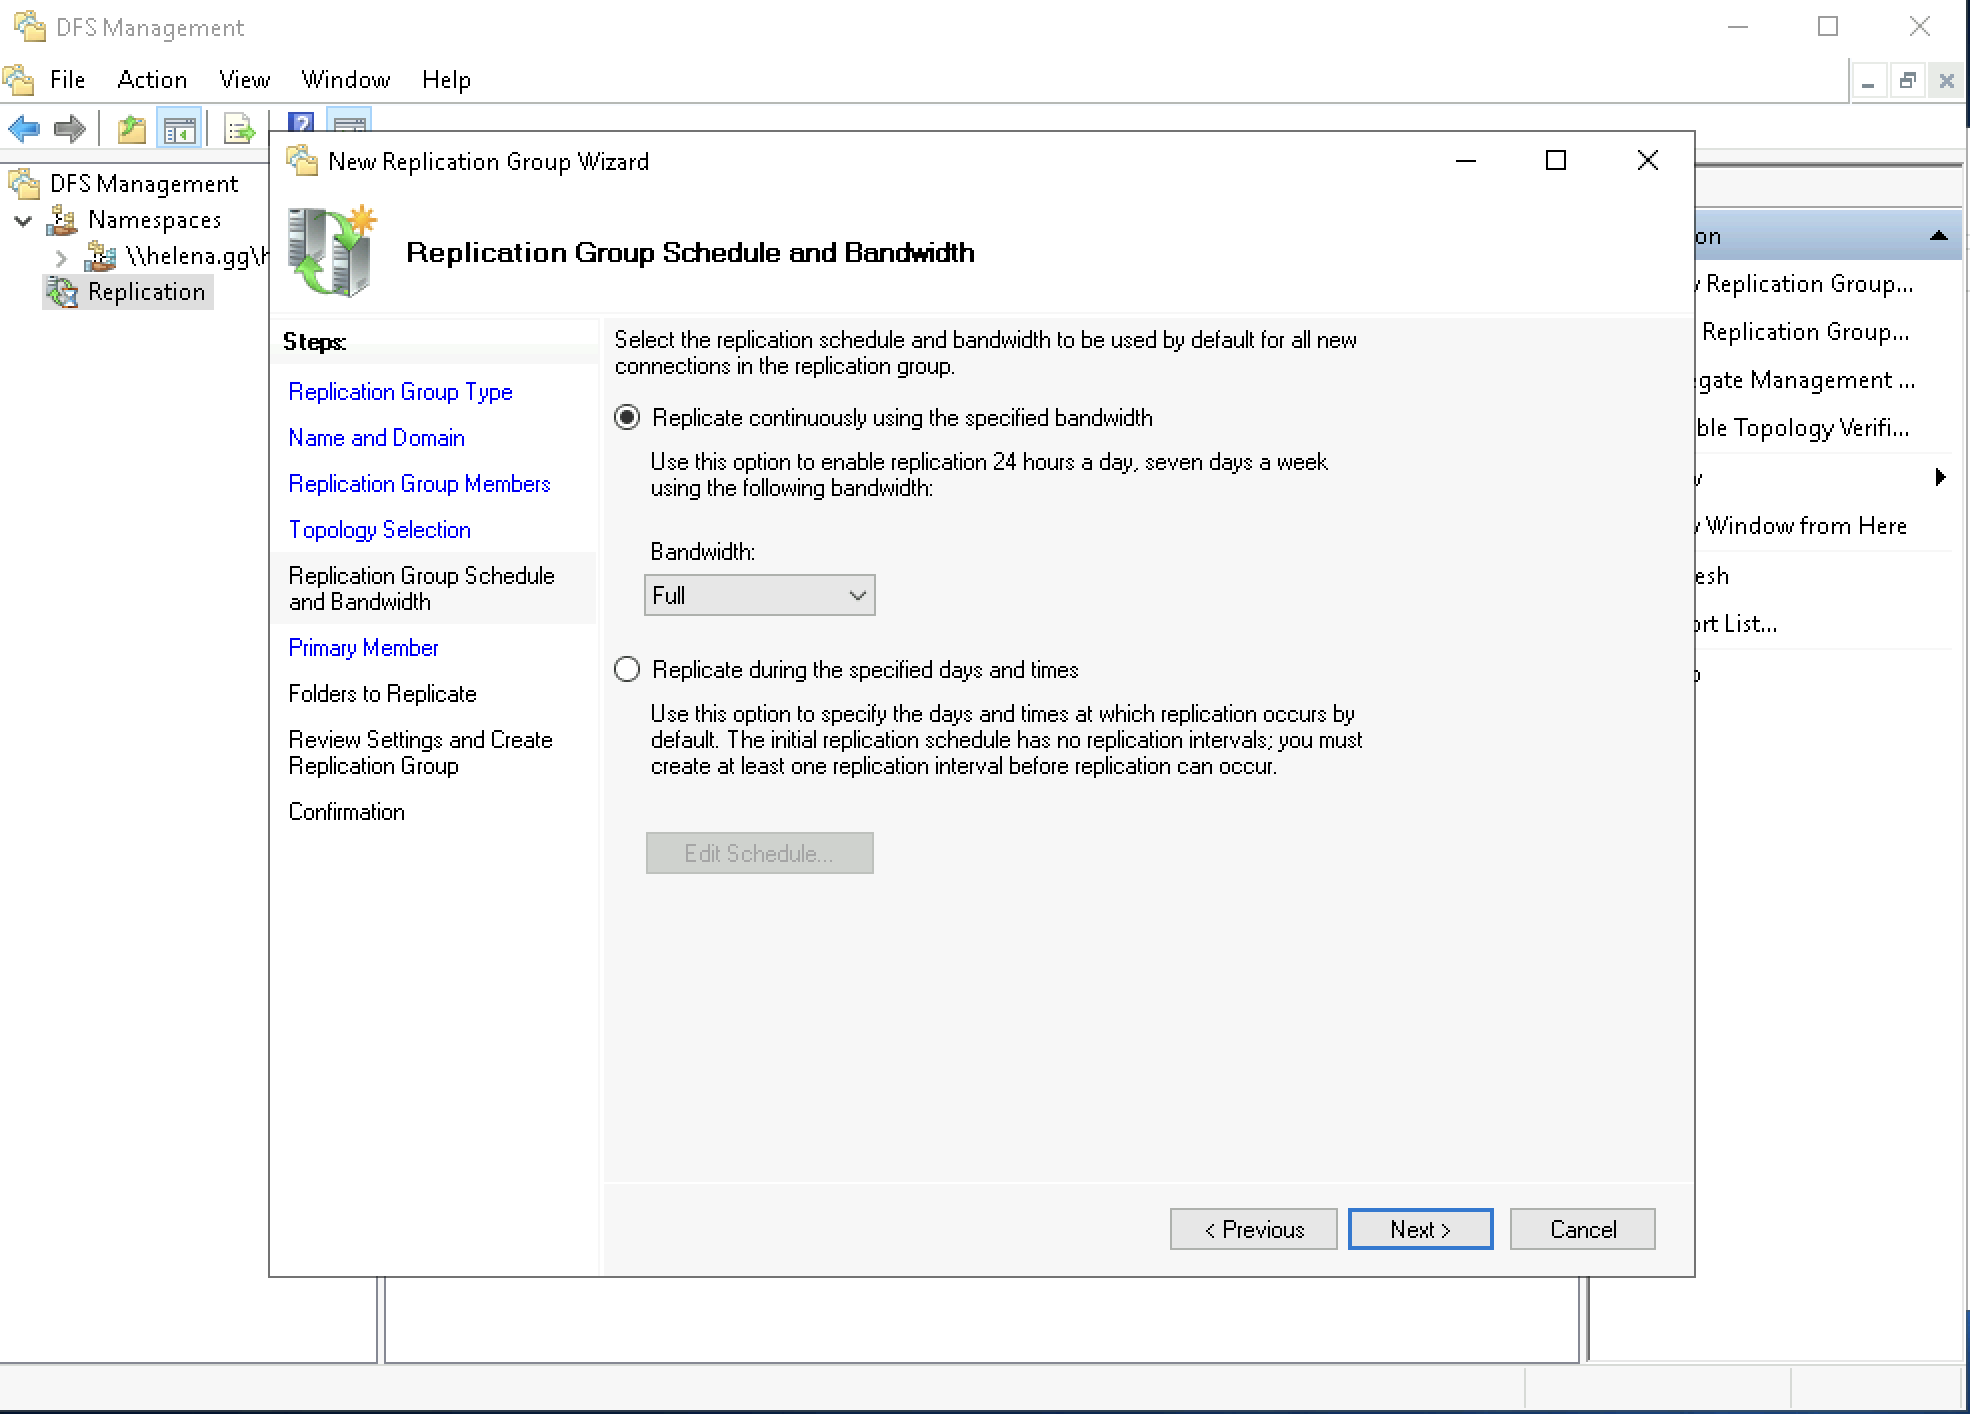
Then configure the scheduling and bandwidth usage for the replication
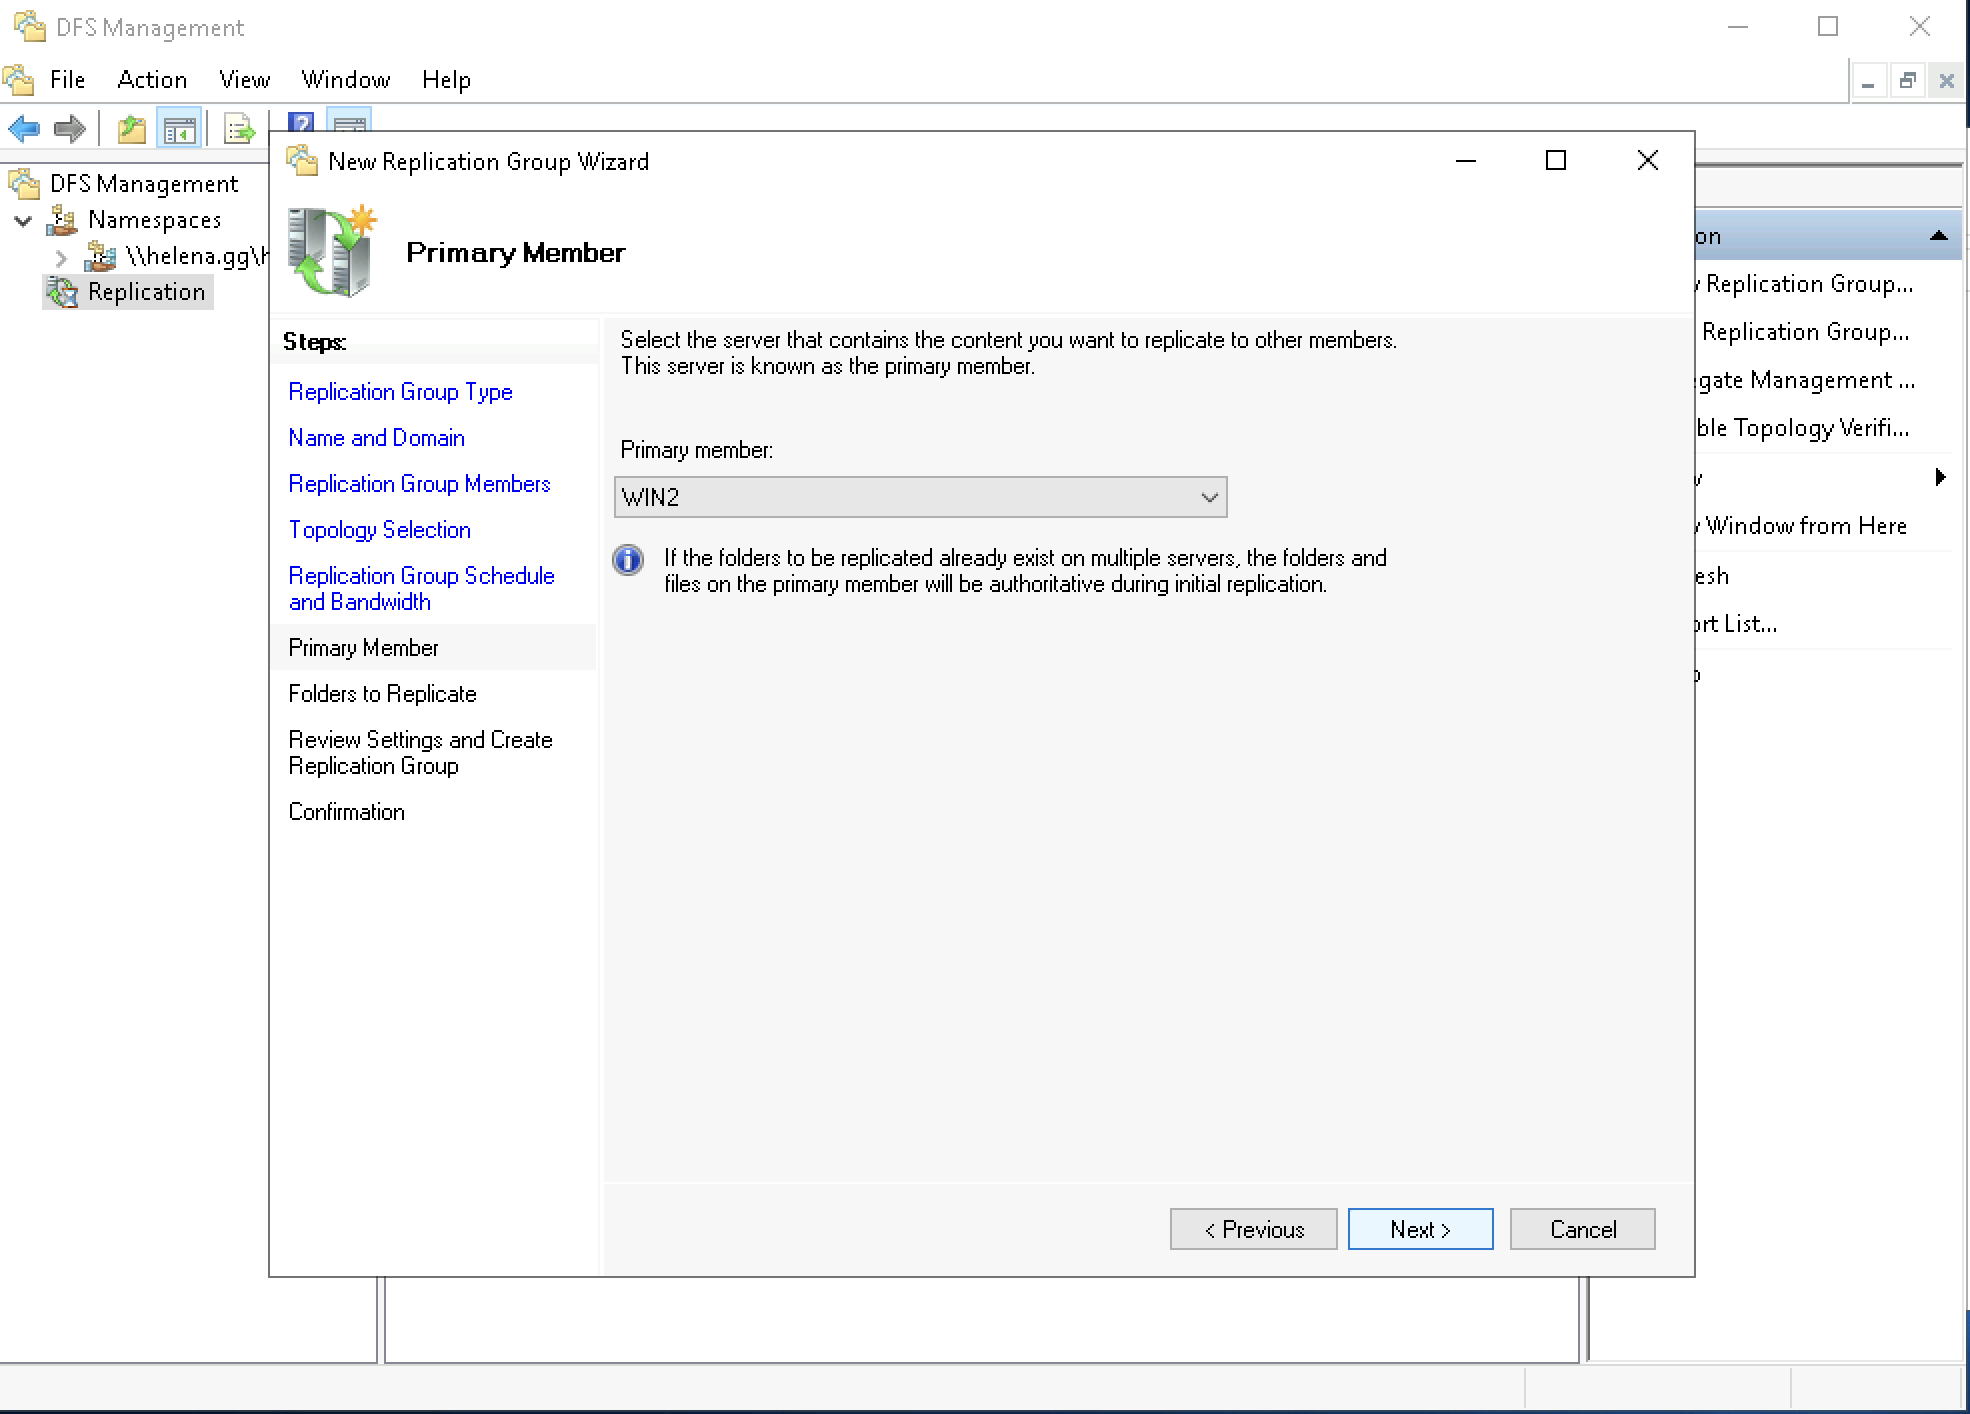
Select the primary member where the inital files will be synced from
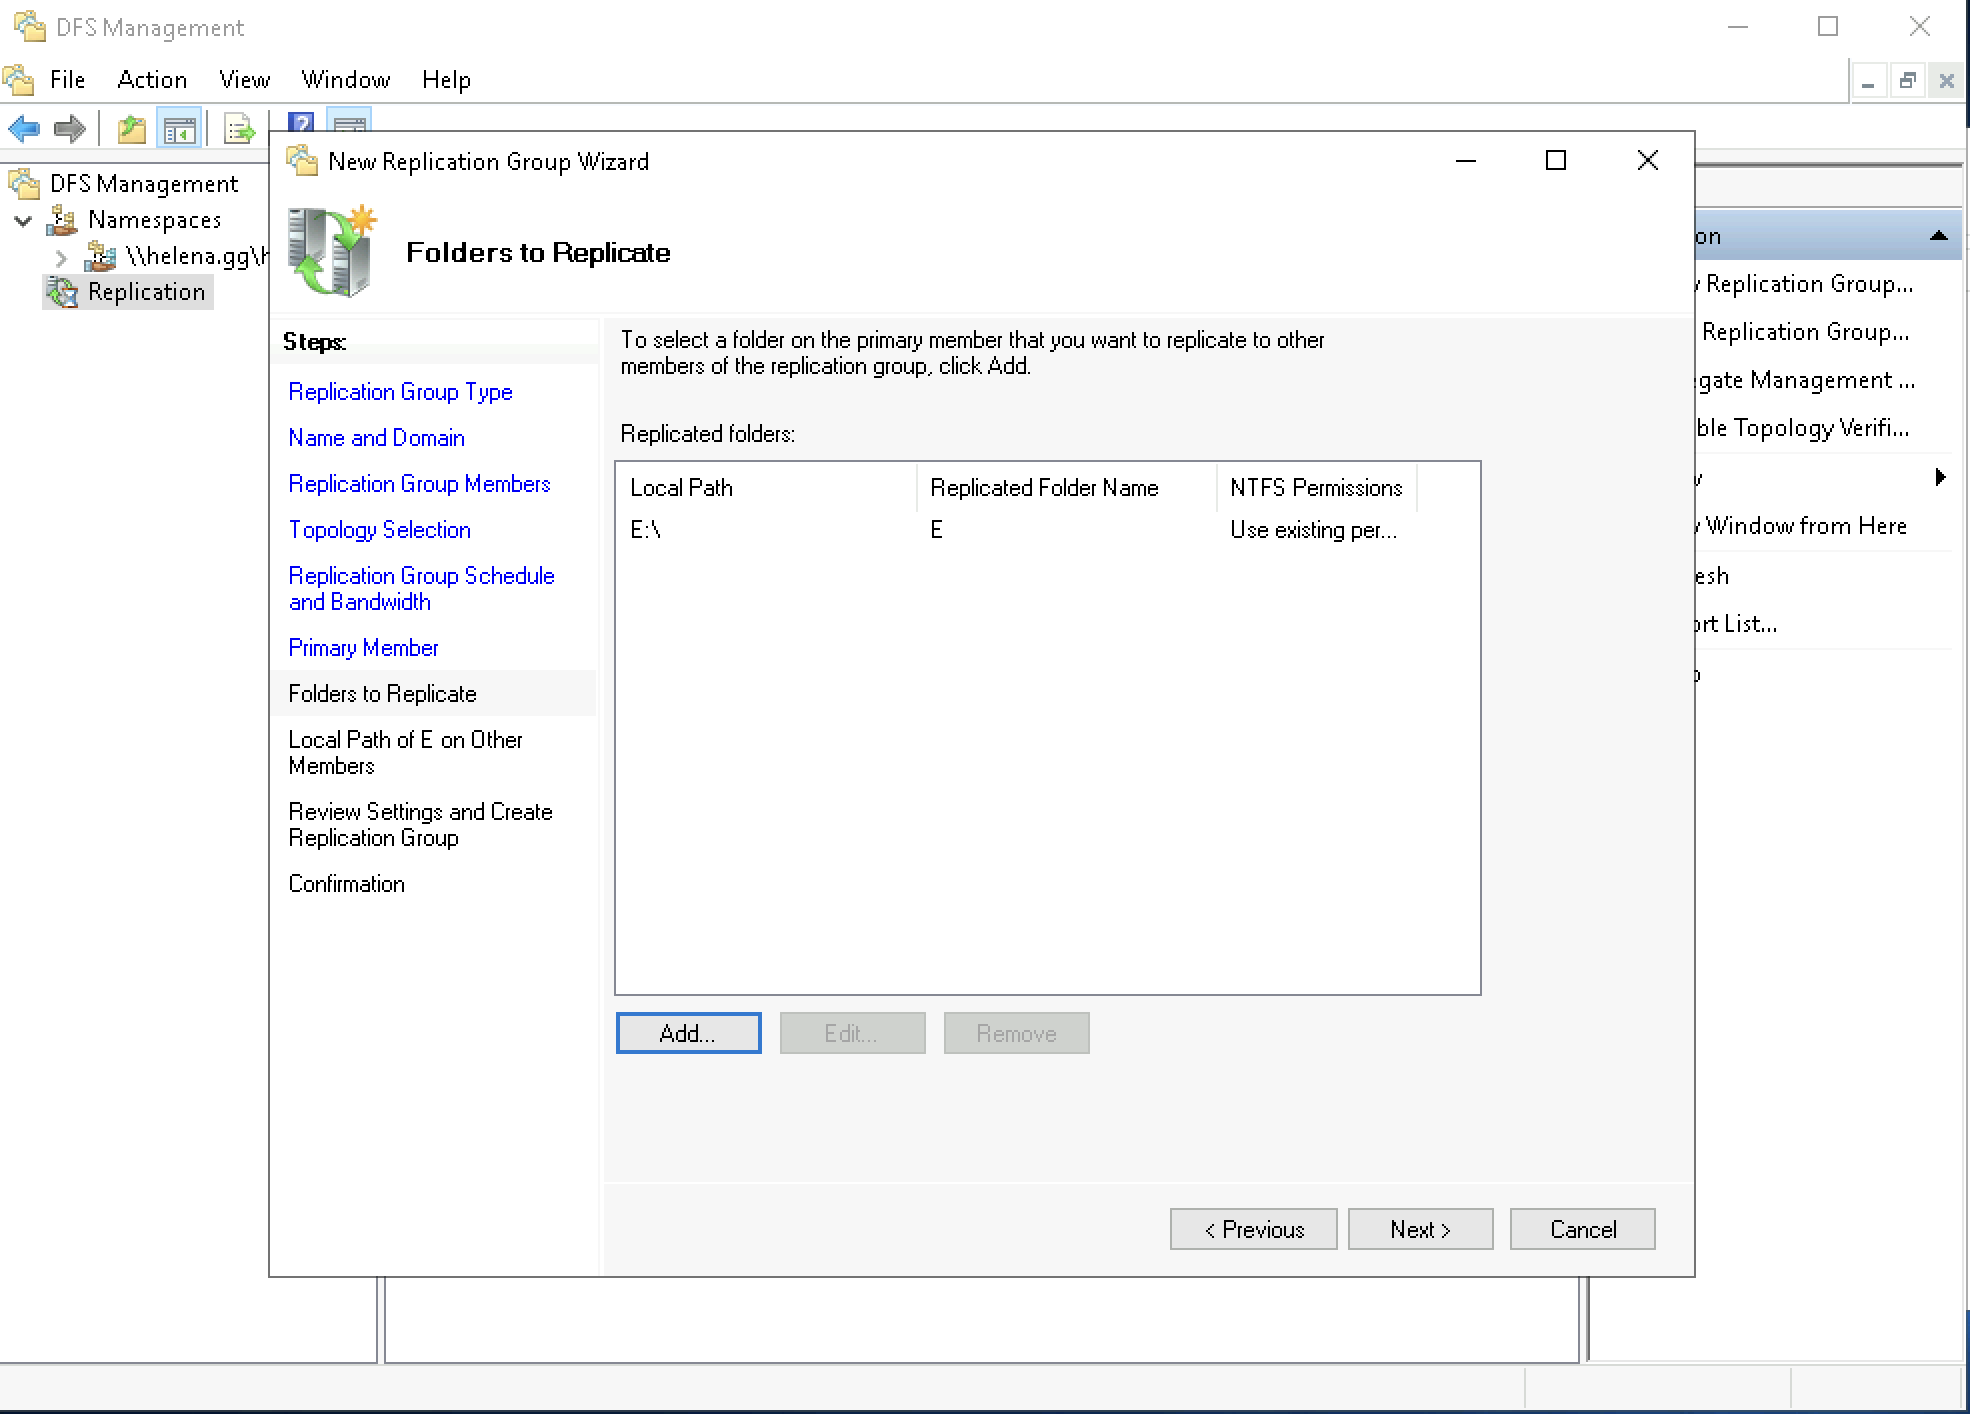
Select the path where replication takes place
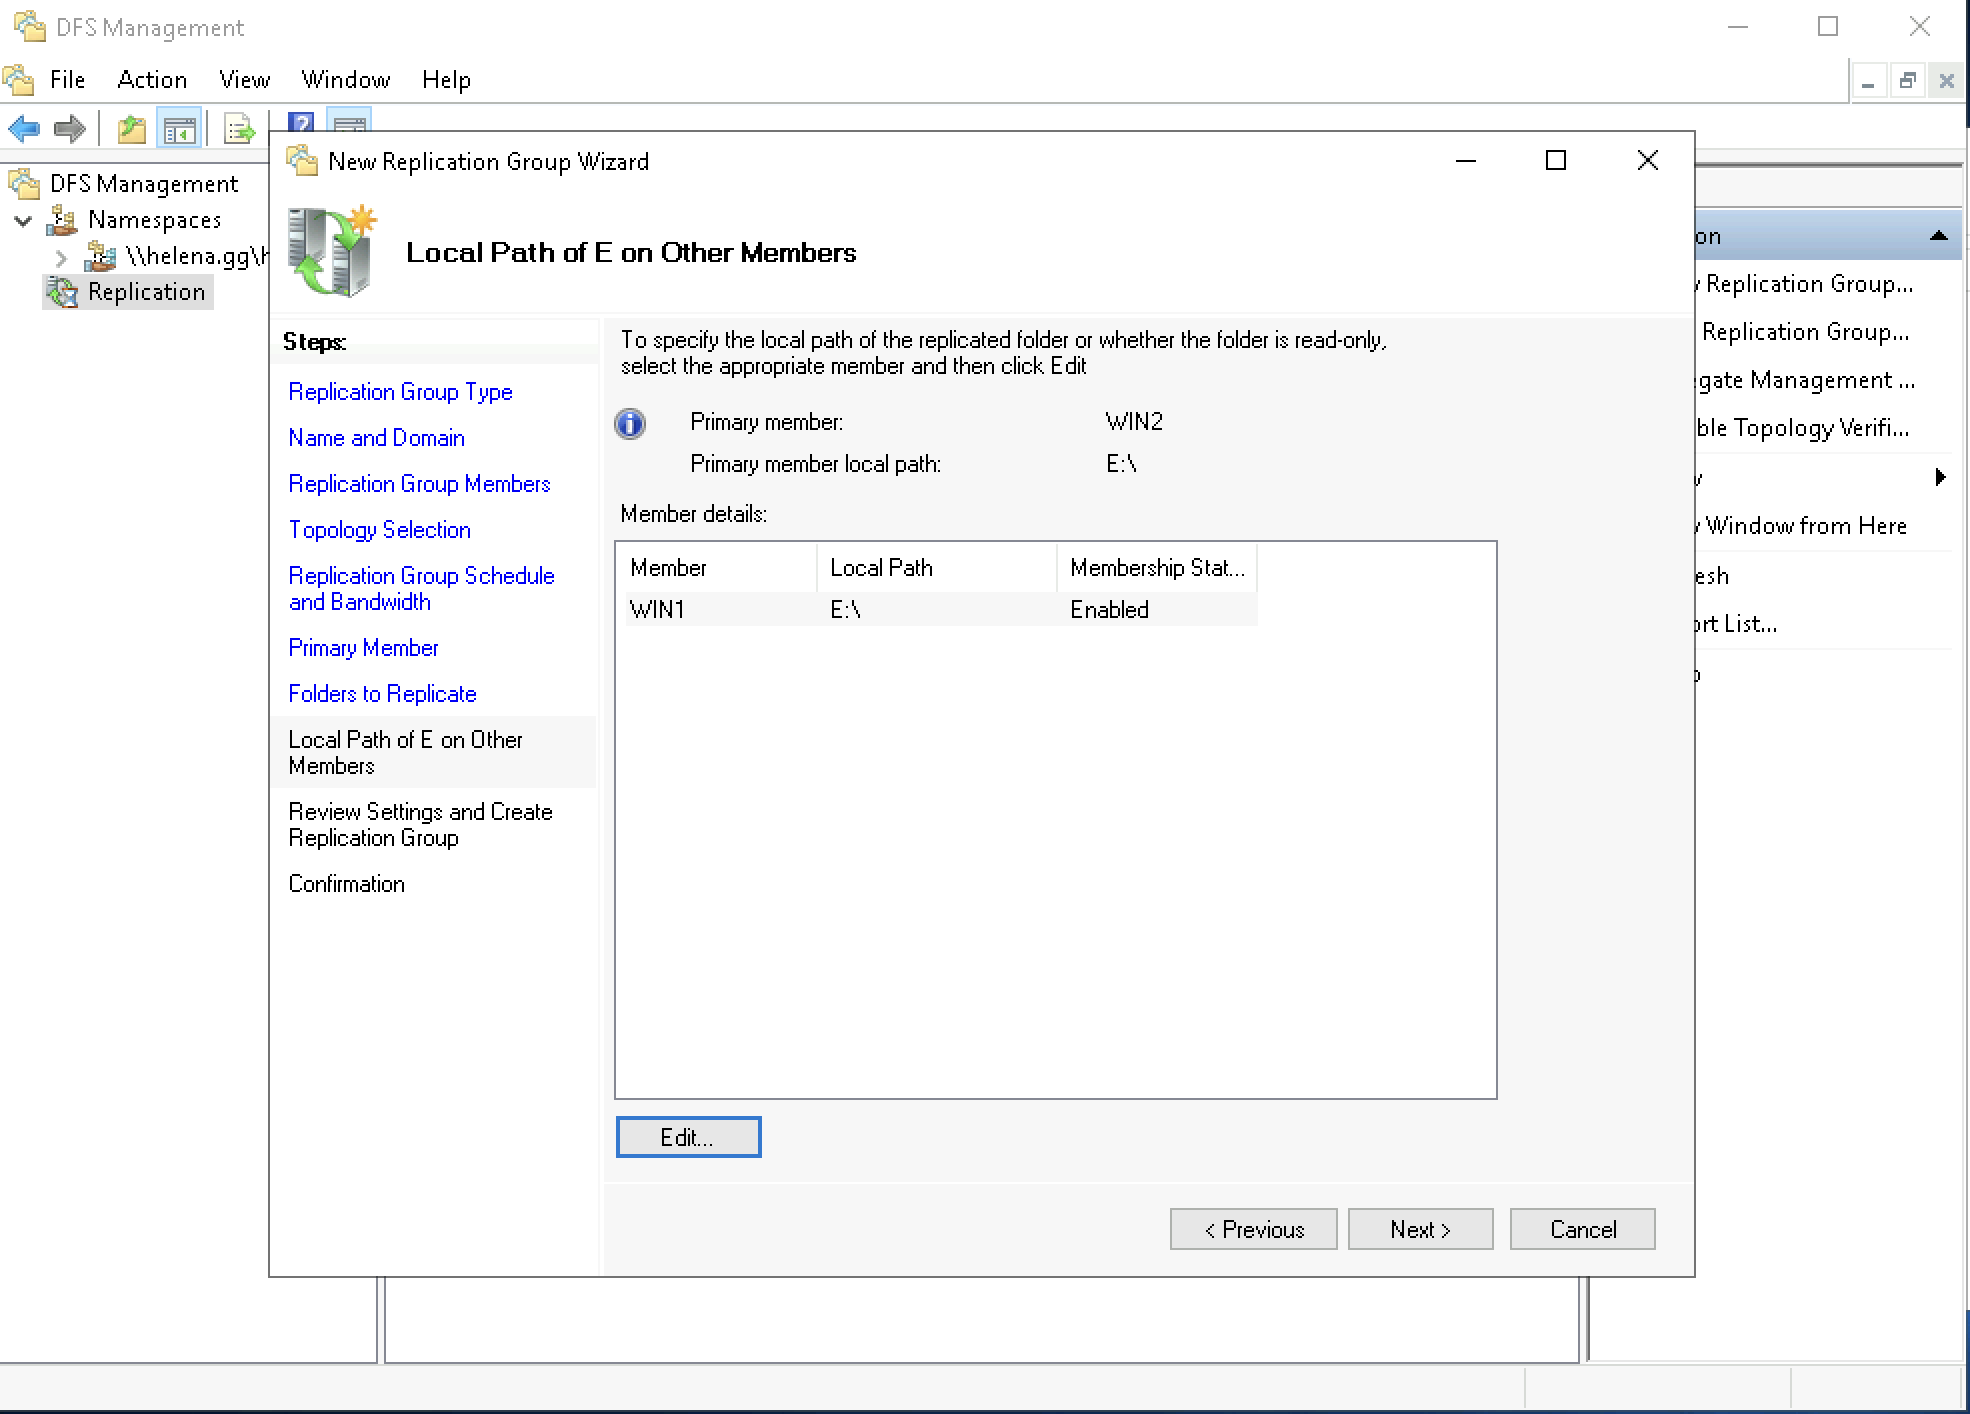
Next add the the other member to join the replication and select the path
Review and hit create
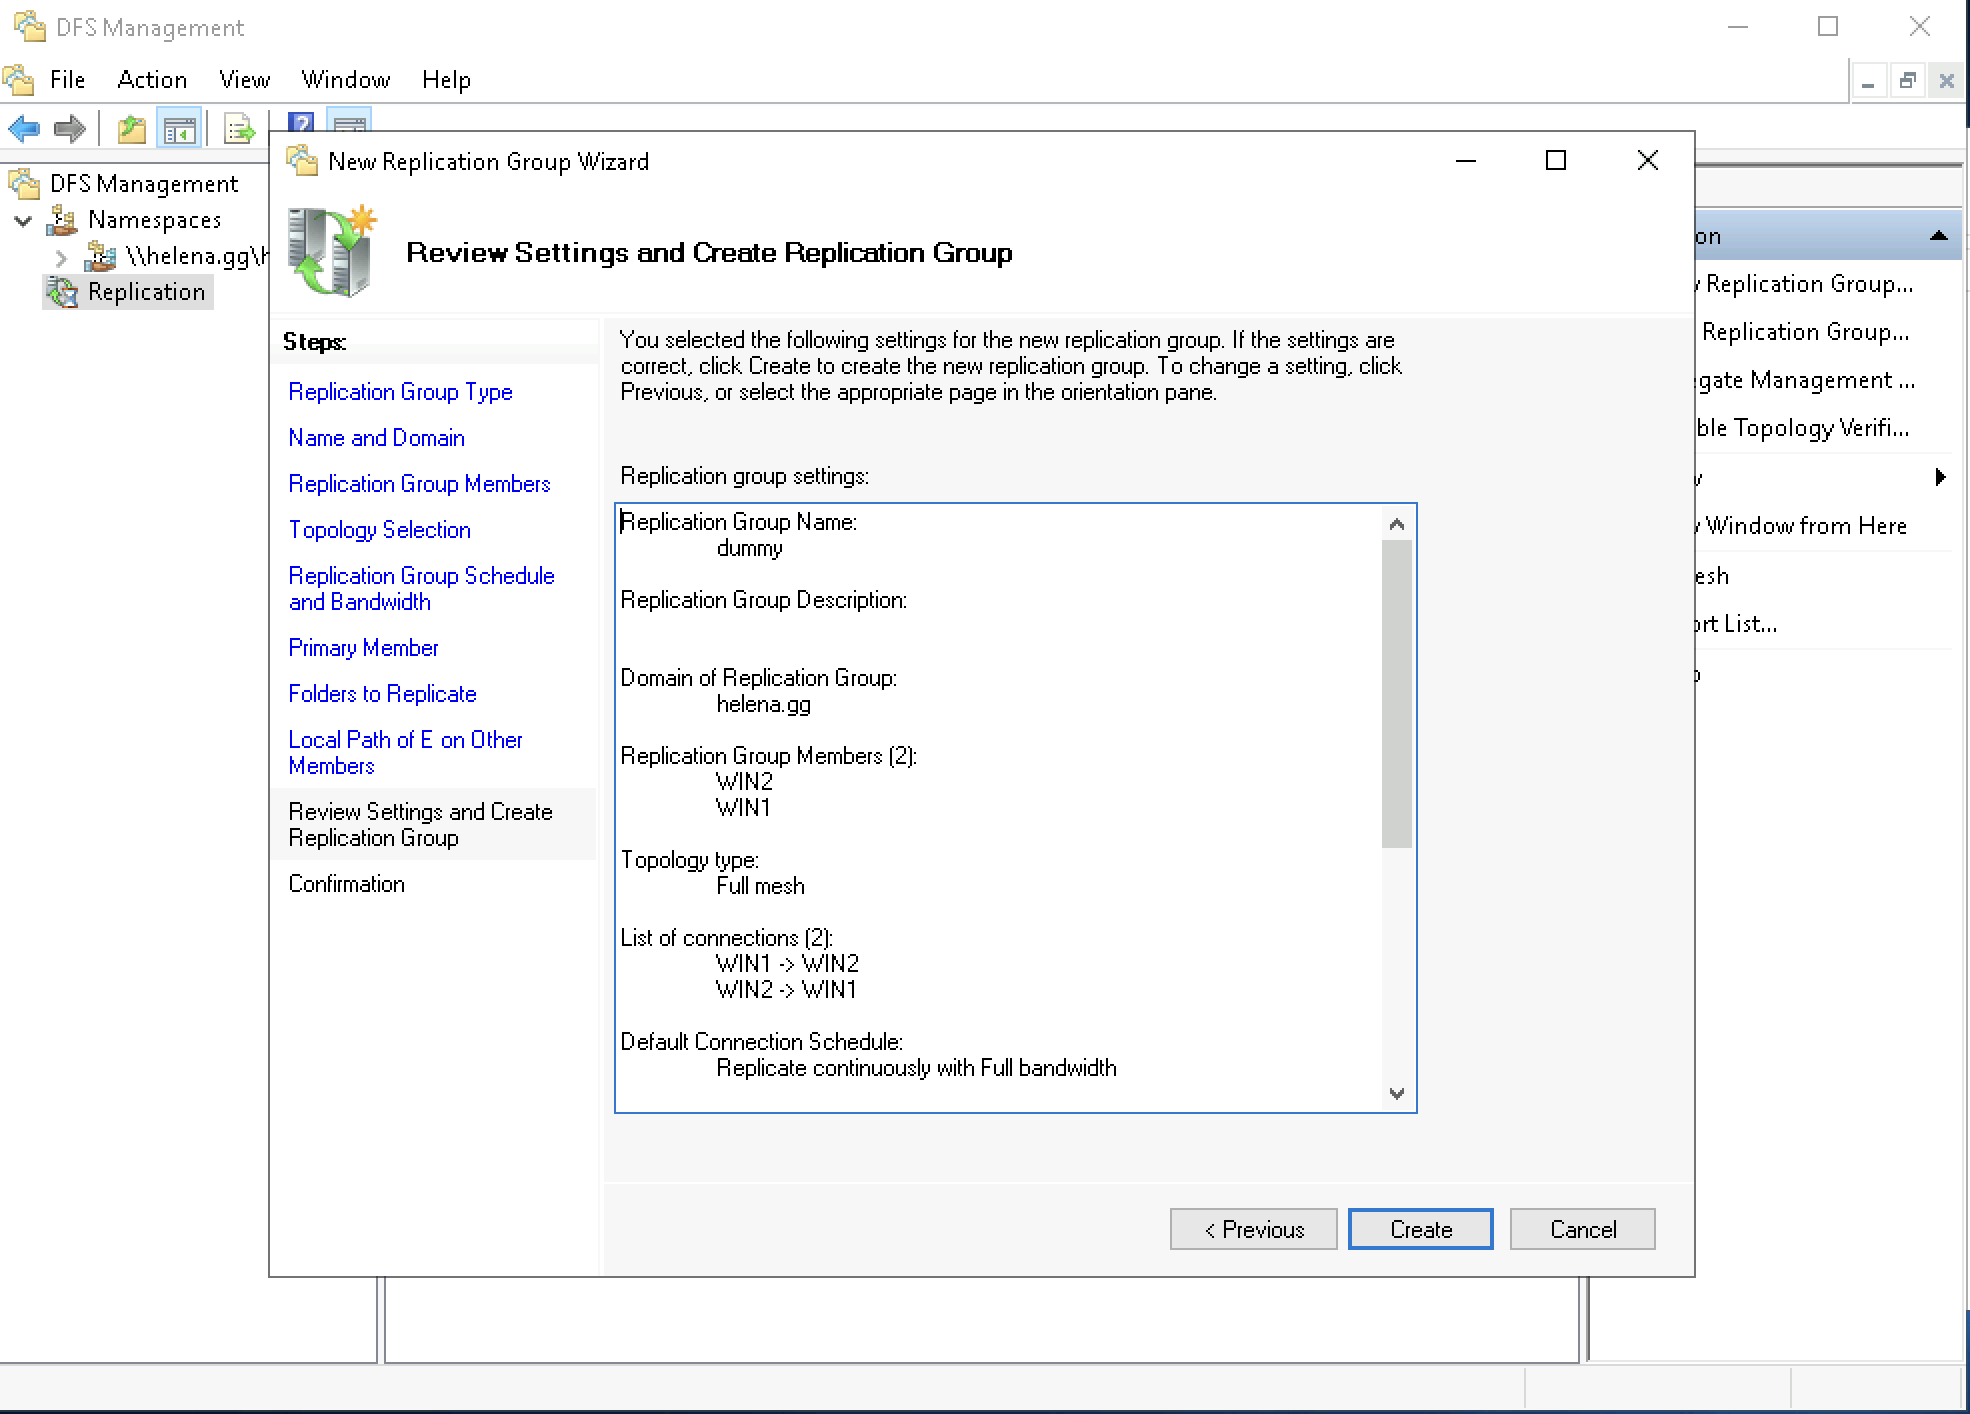
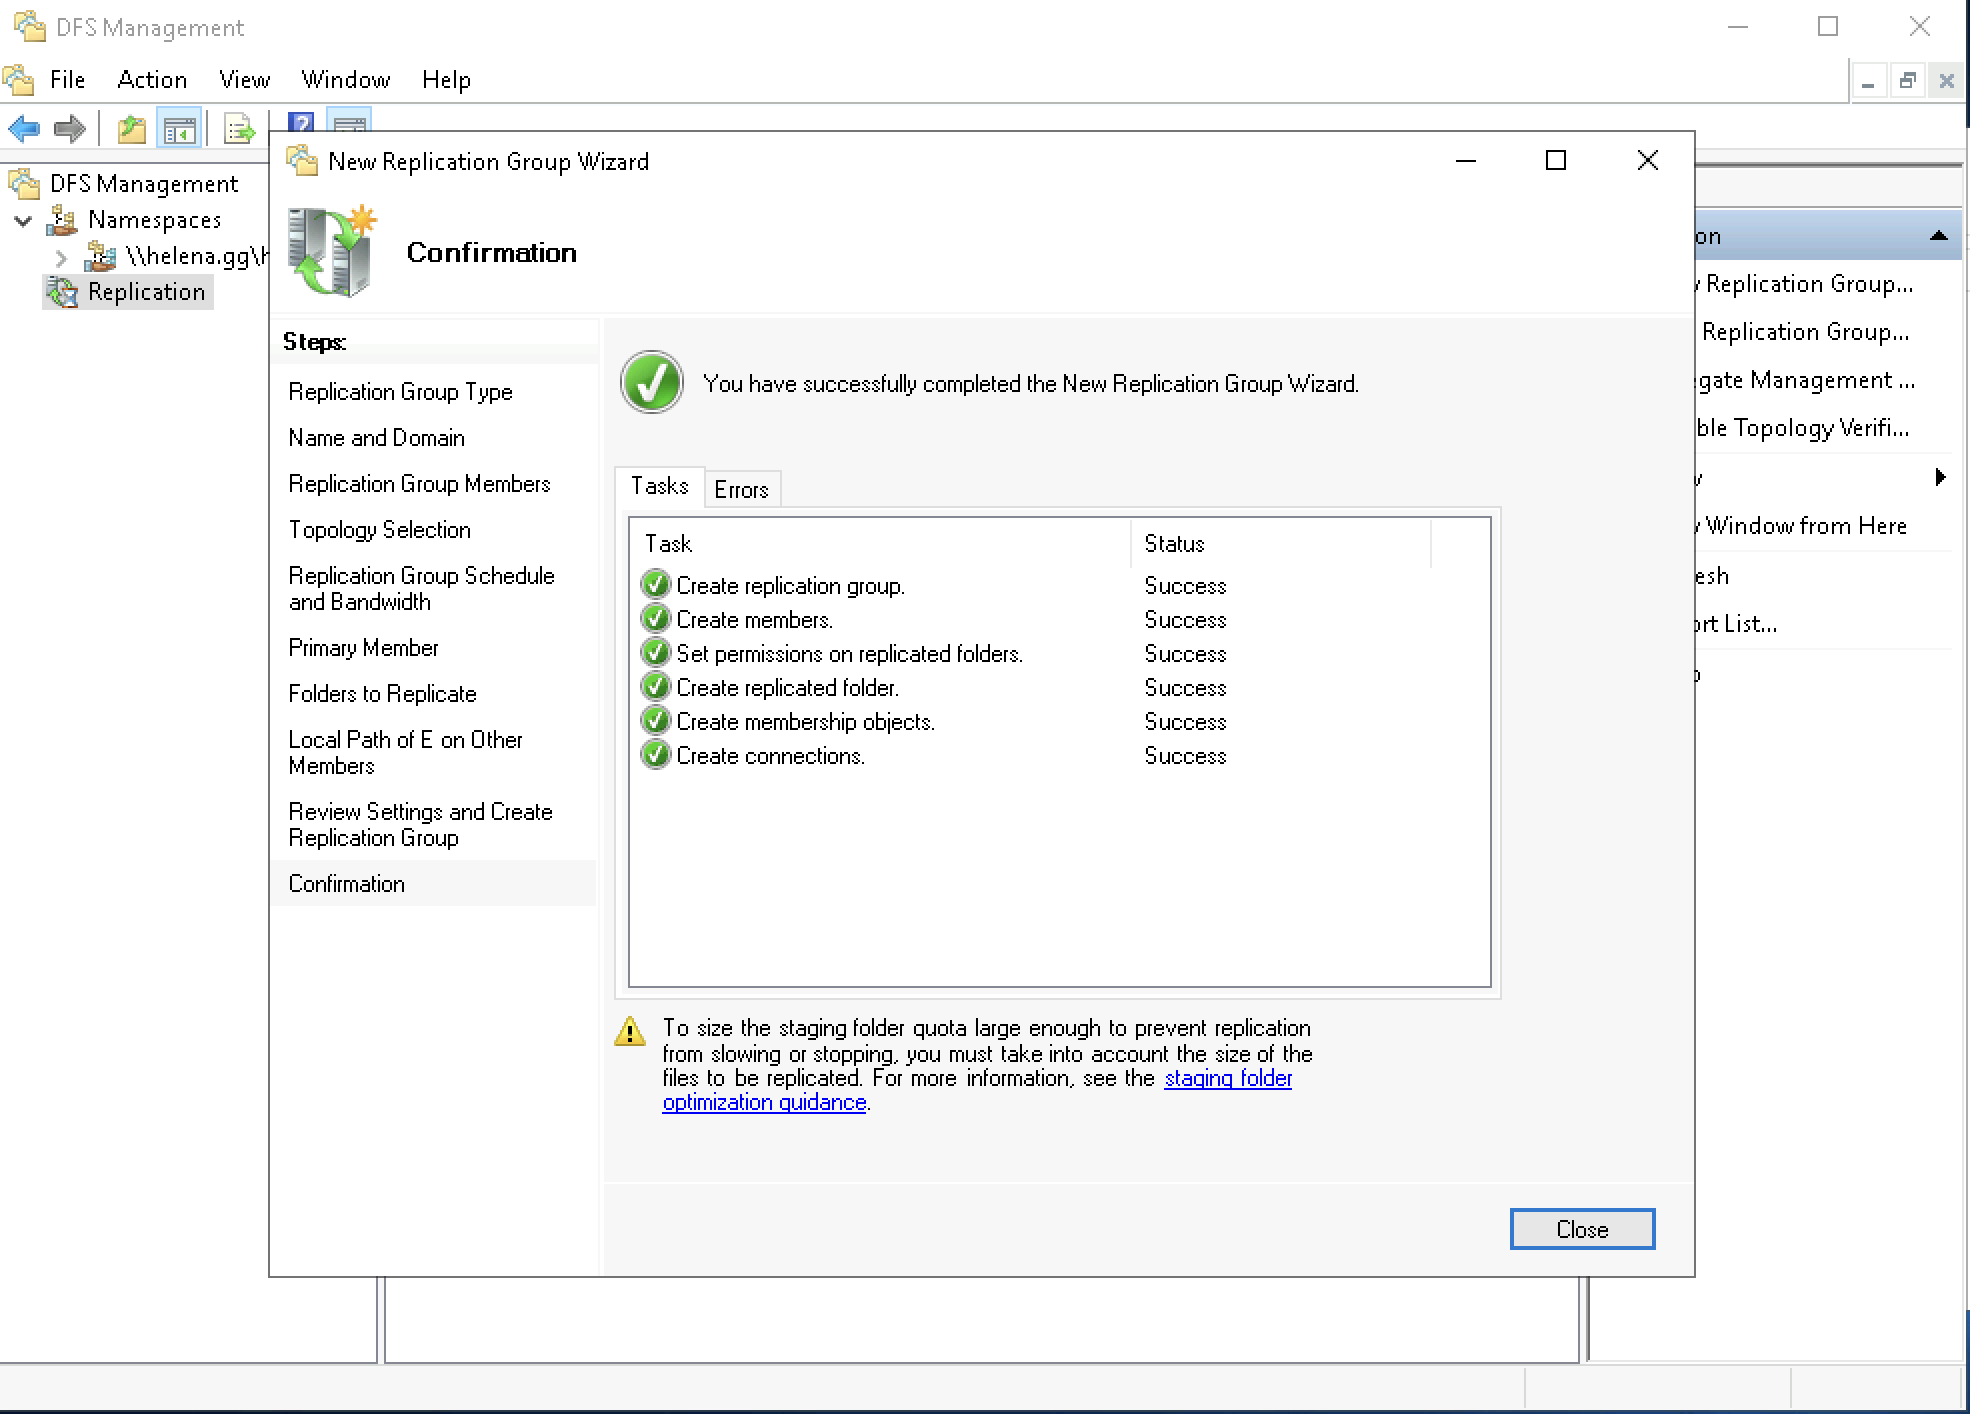
After a minute it should finish with success
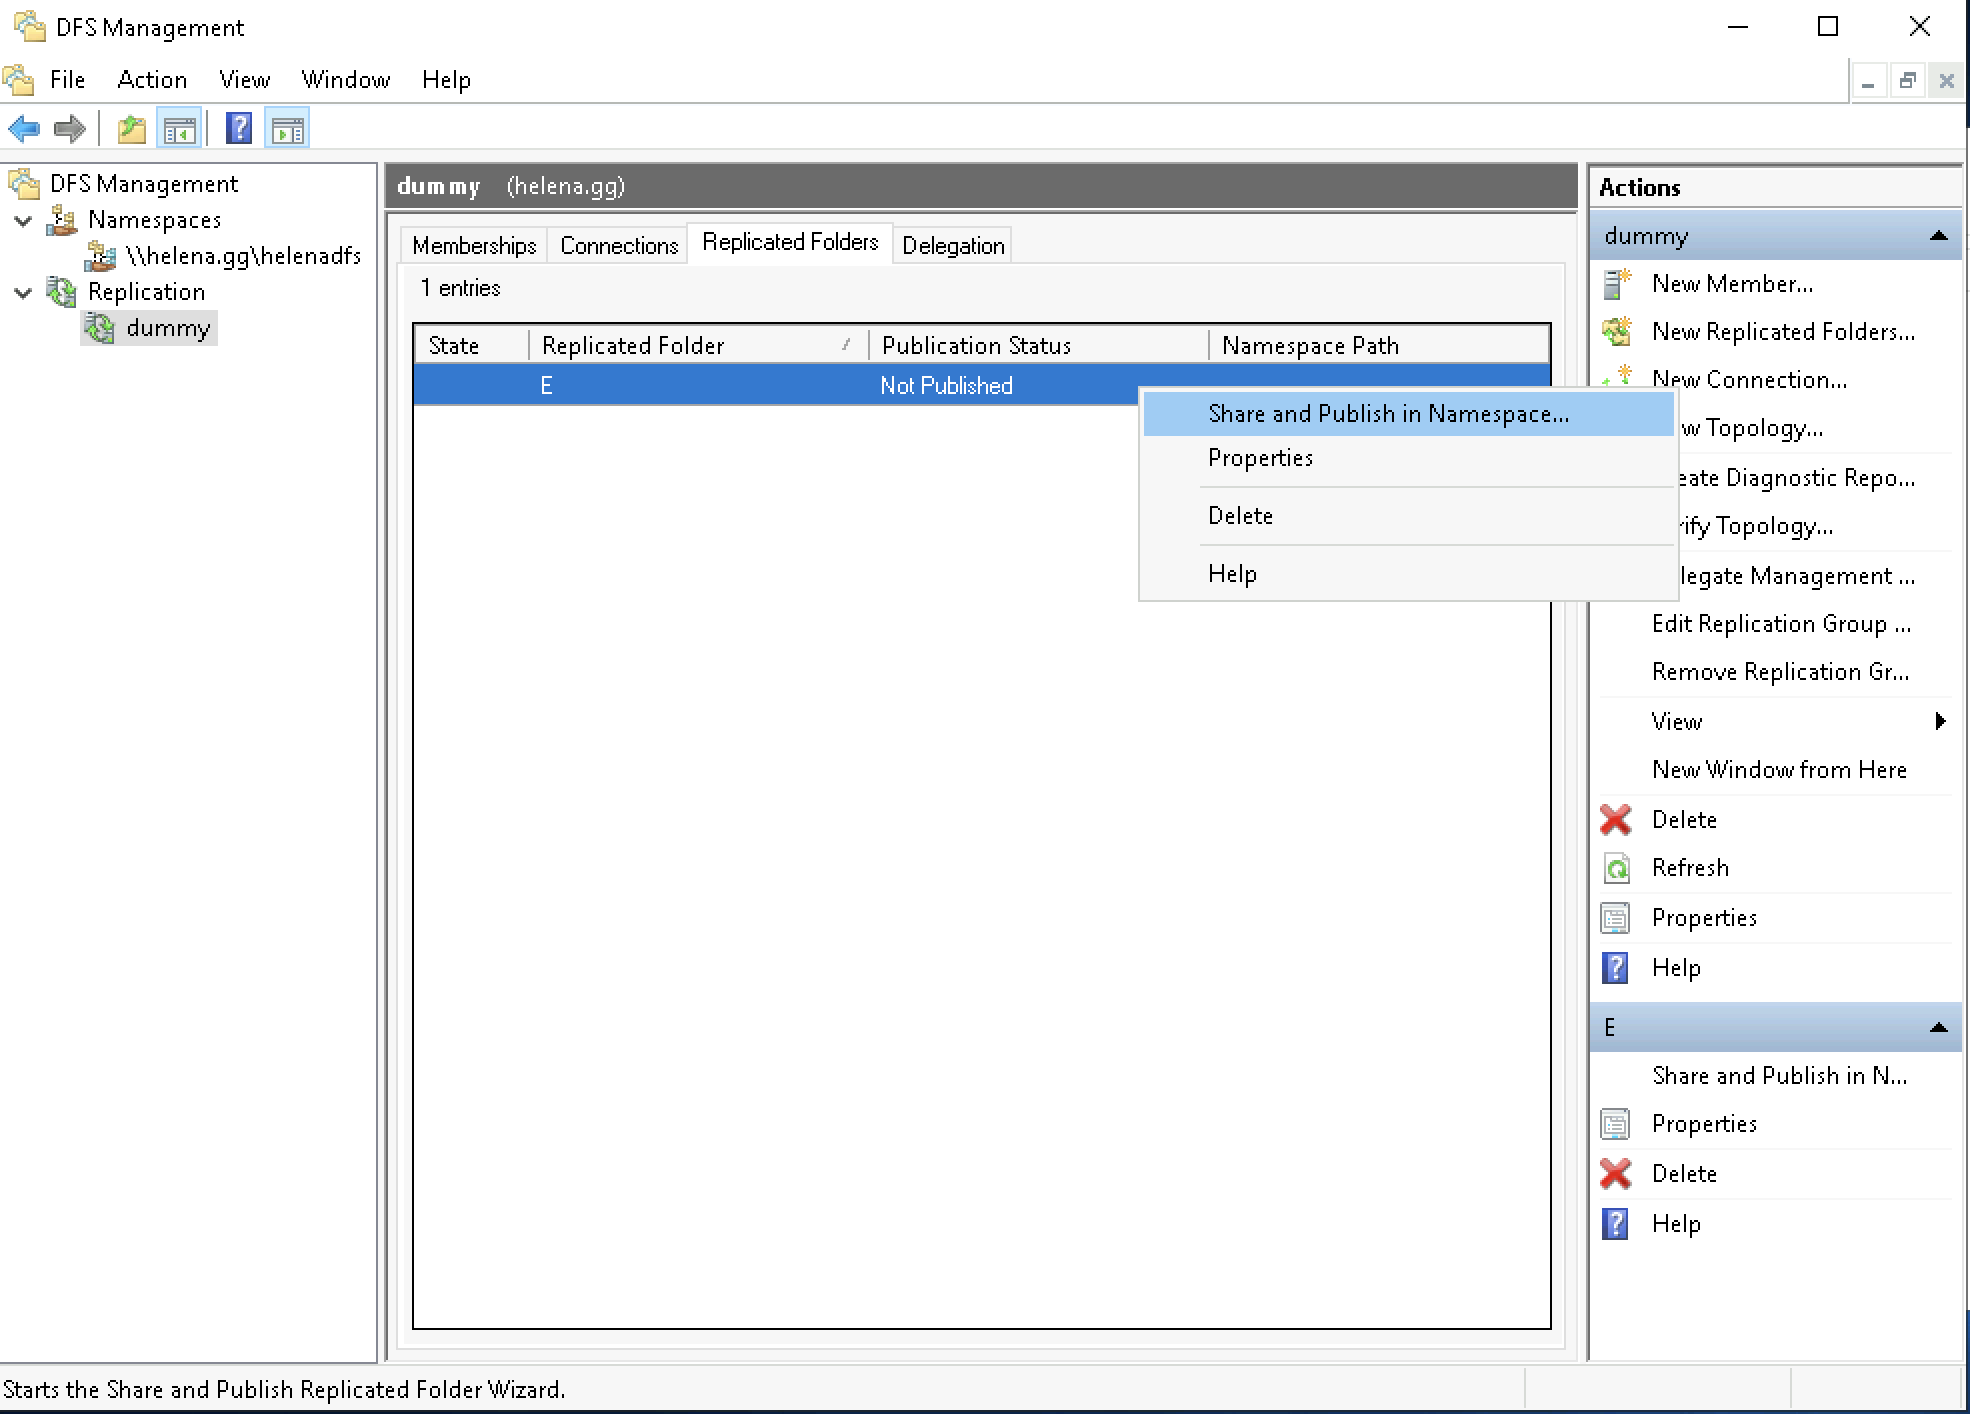
Now on the created replication group, open the Replicated Folders tab and select Share and Publish Namespace
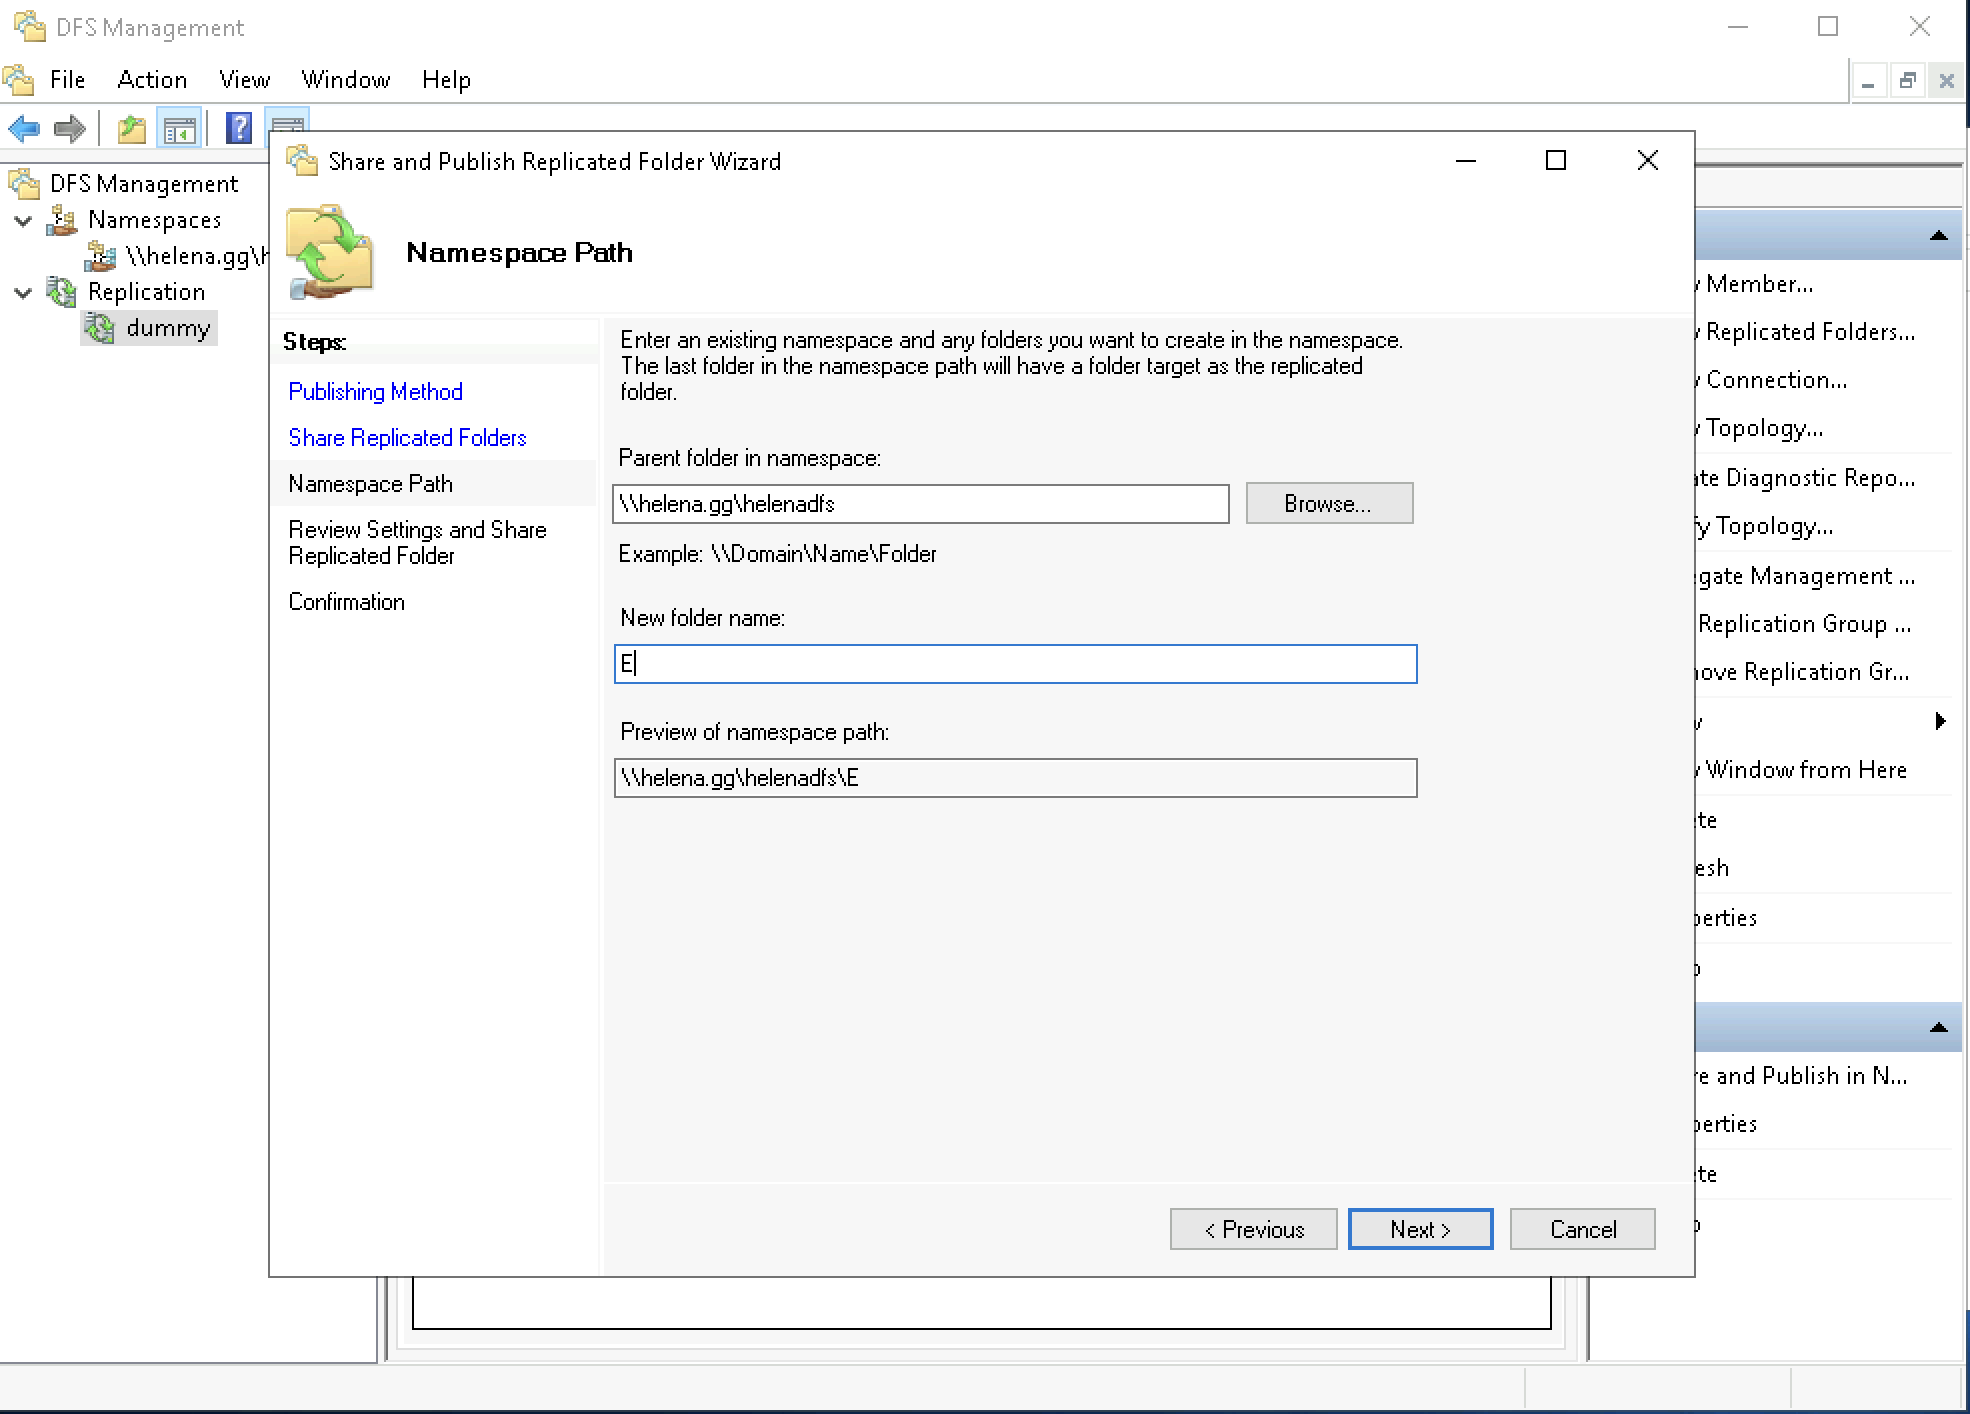
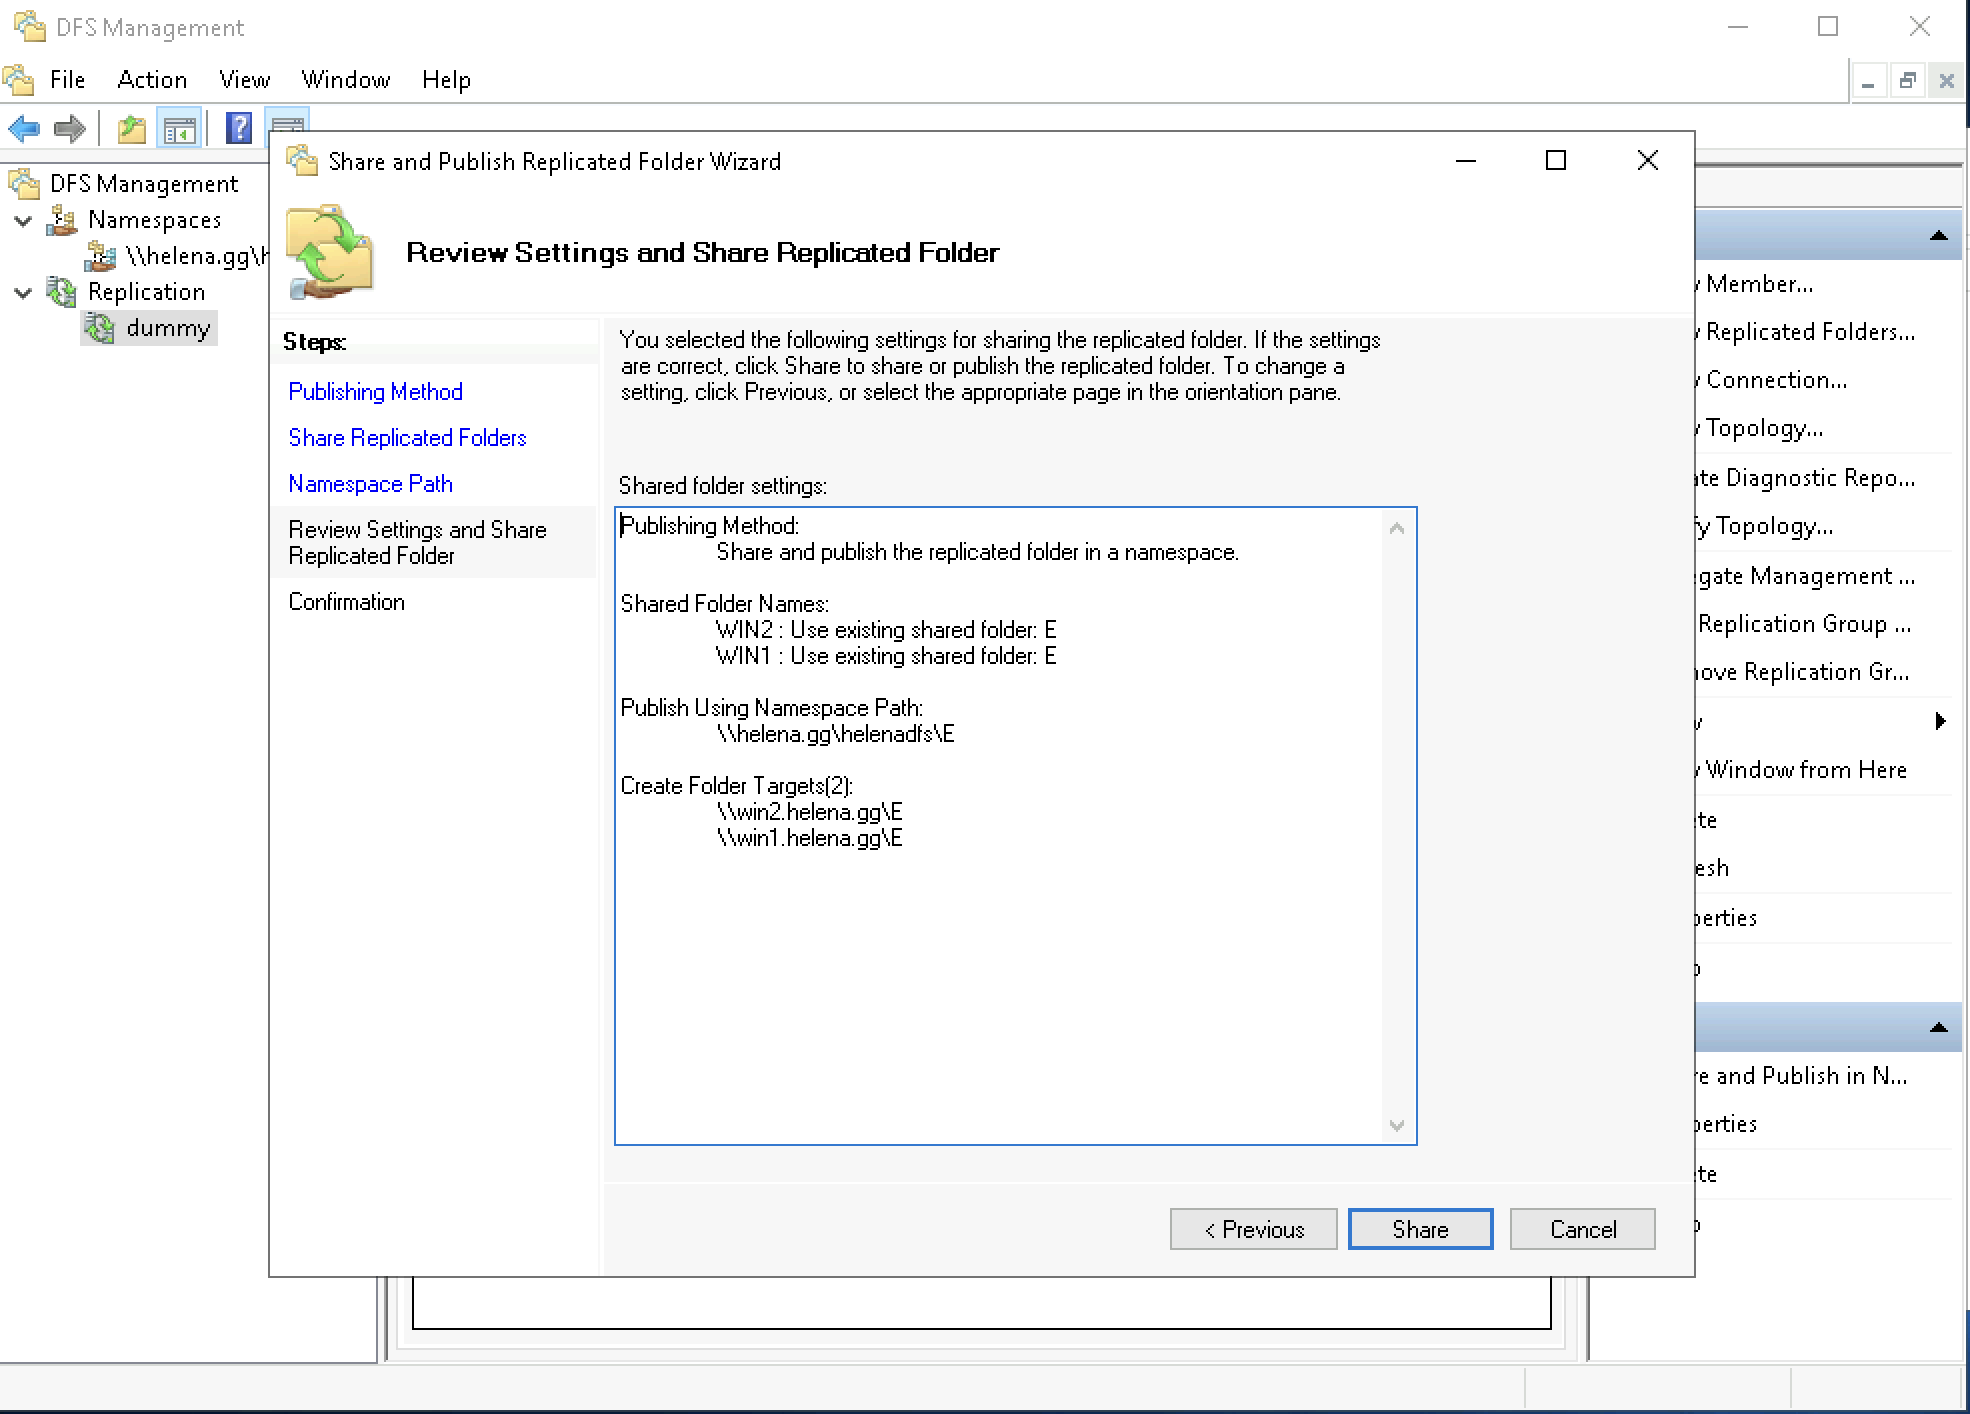
Give it the namespace path on which this replicated folder will be accessed from
Review and hit Share
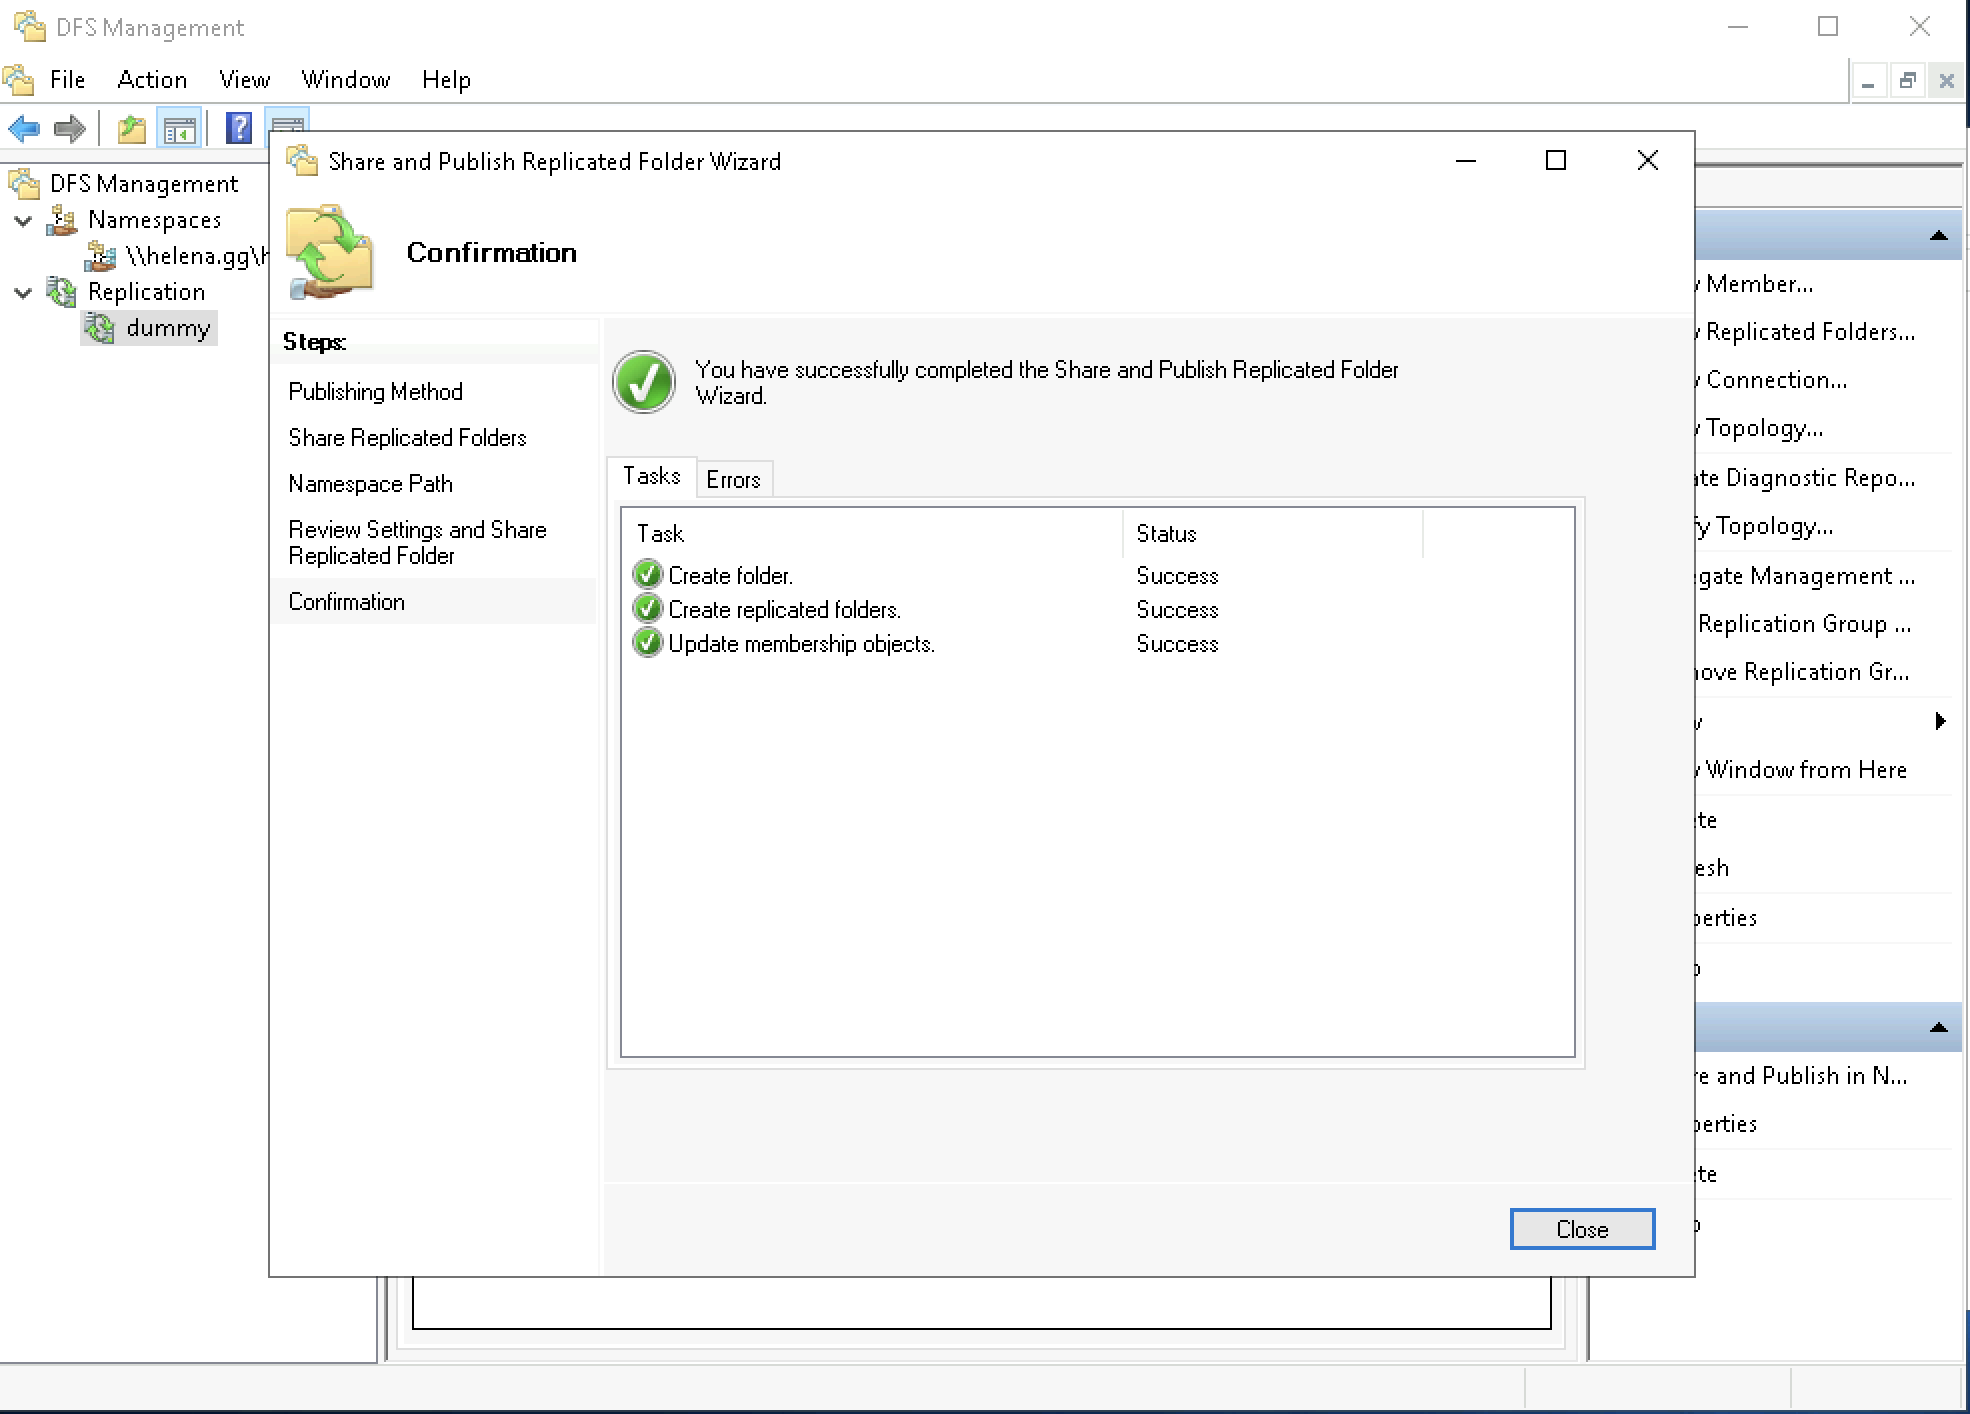
Then it should finish with a success
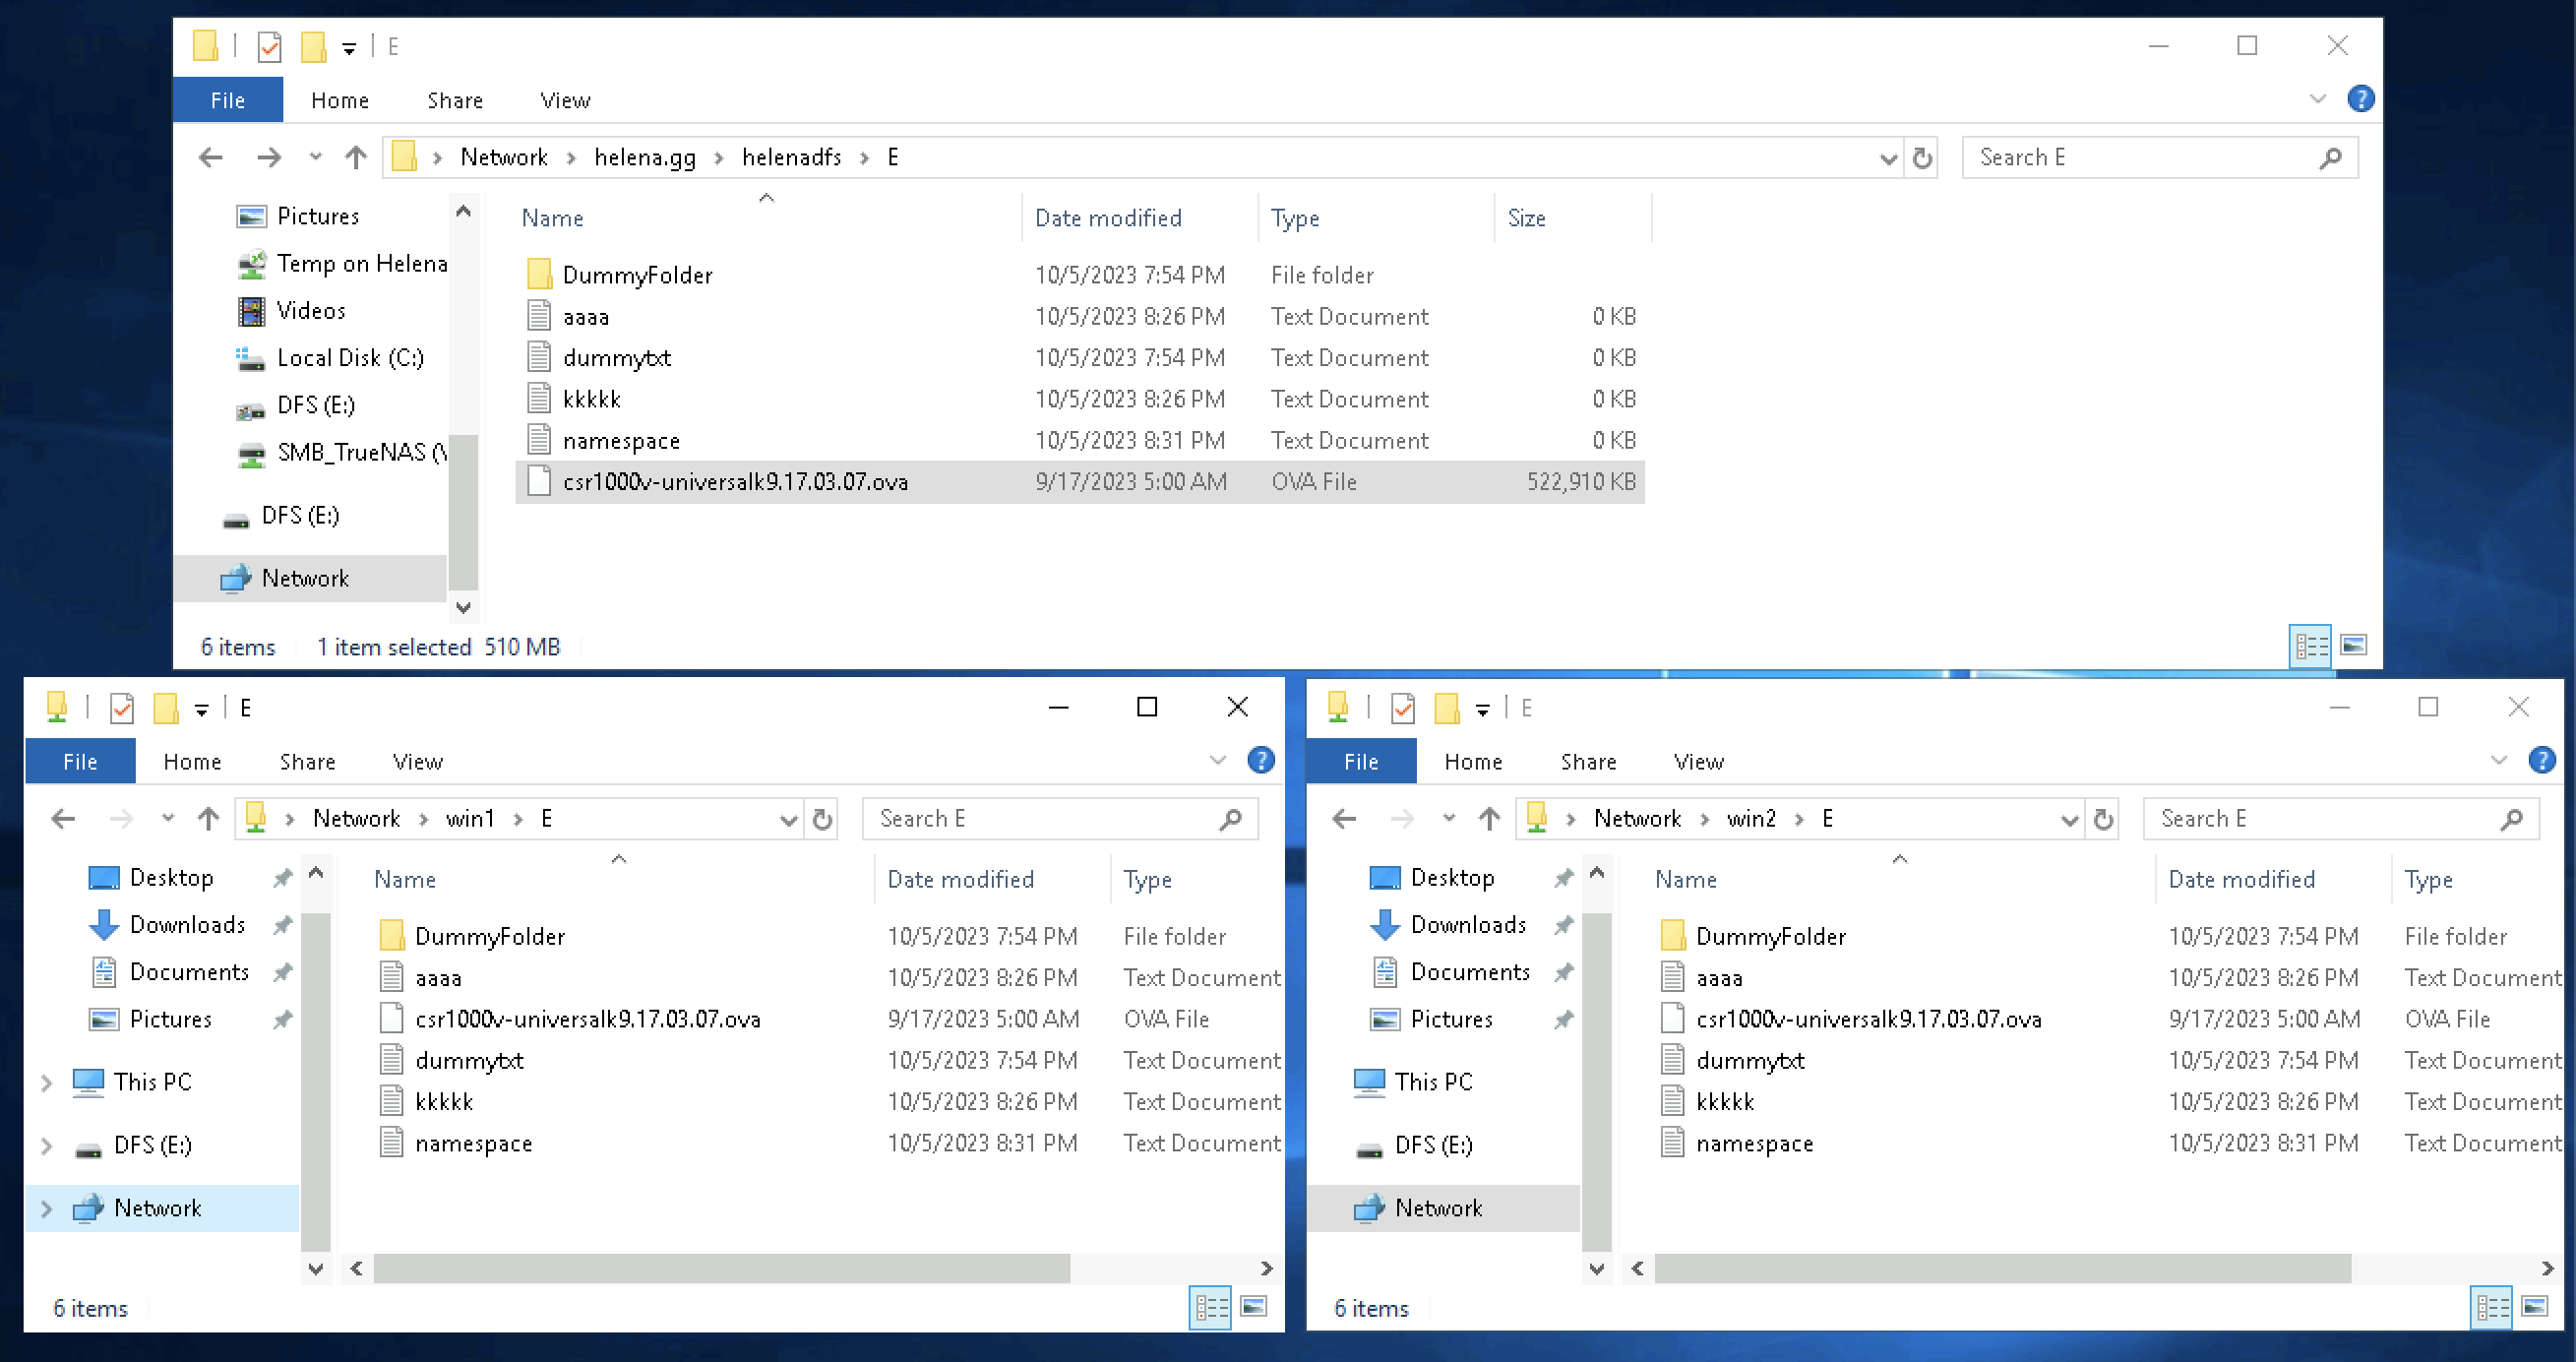
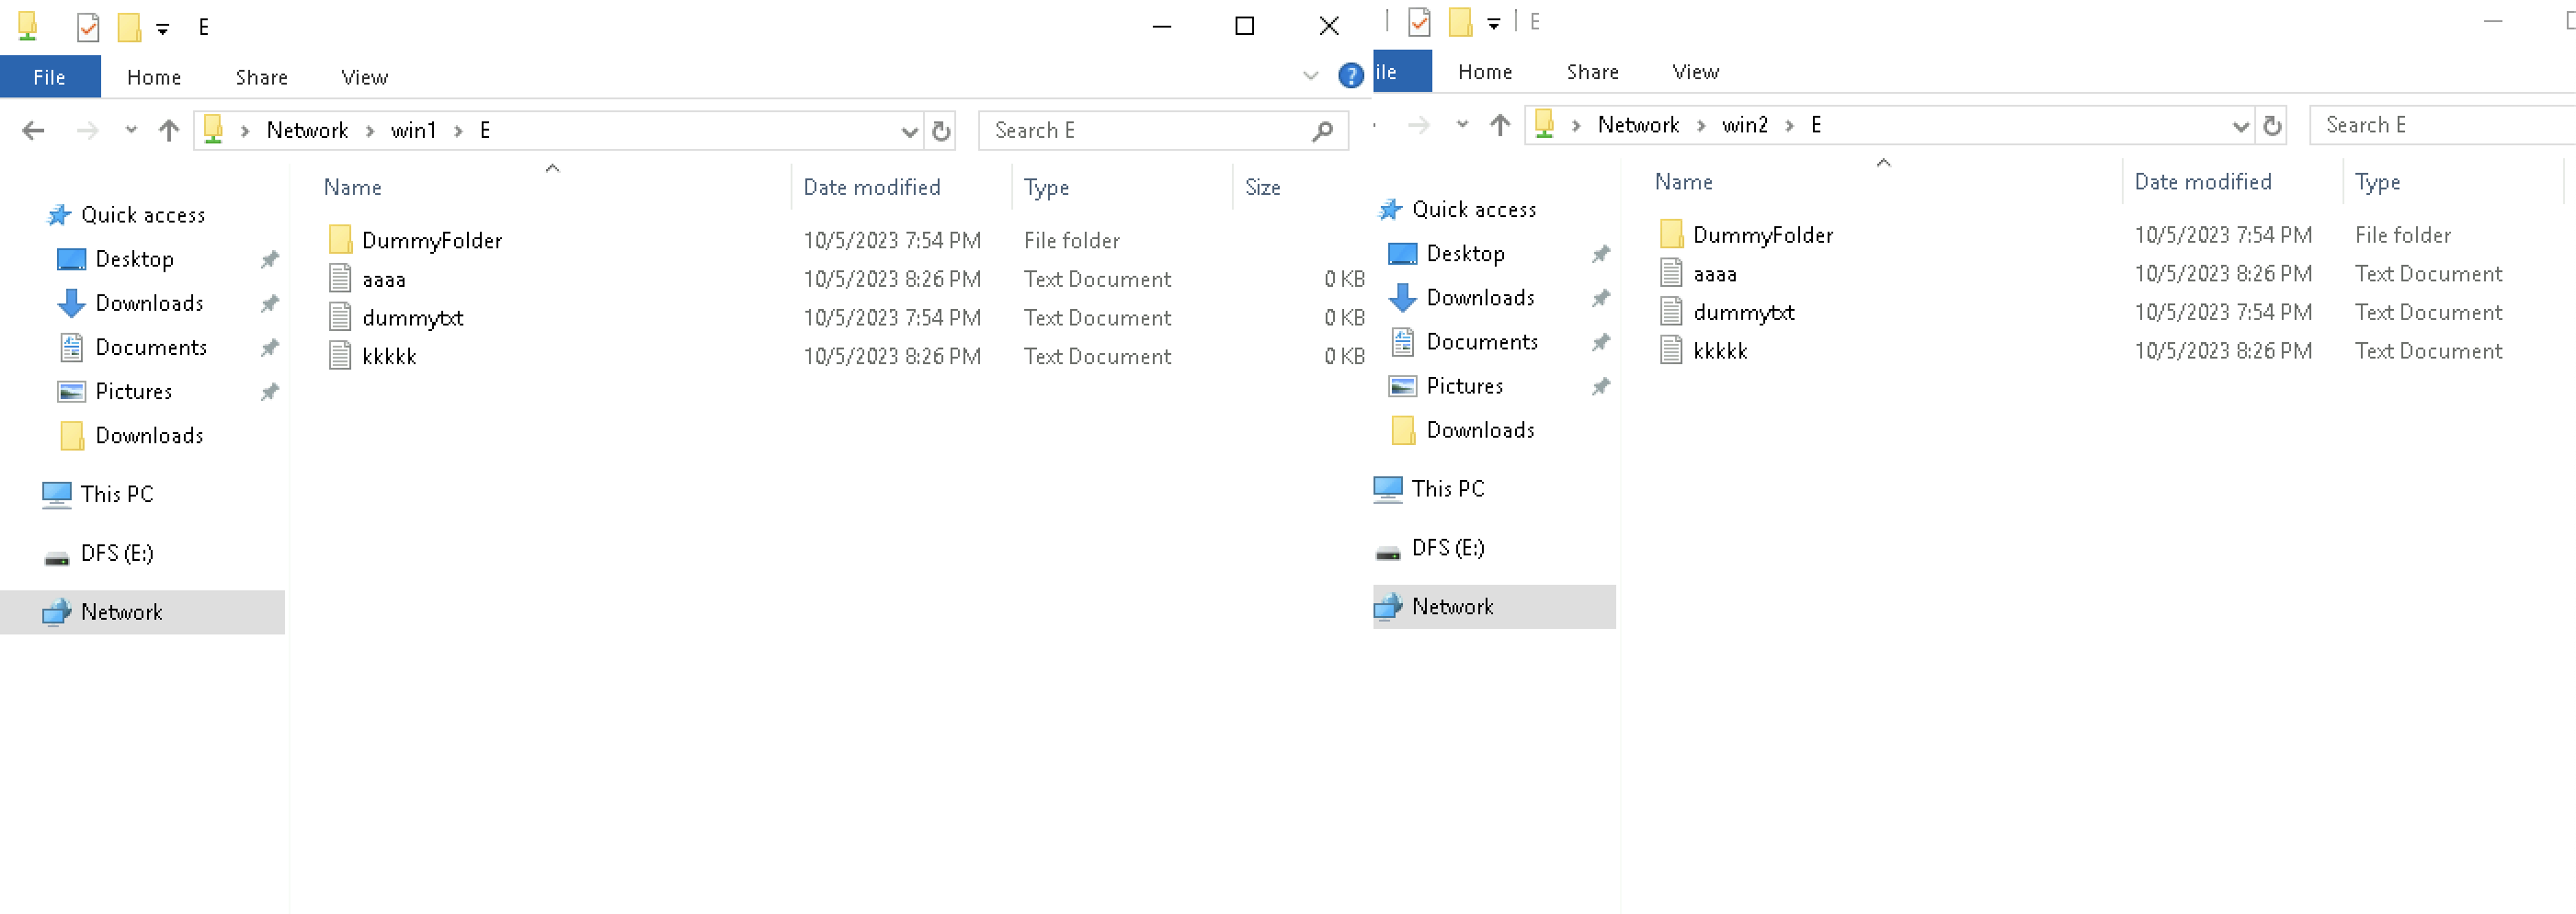
Now if we open both path on Win1 and Win2, all the contents inisde the set folder will be replicated
And those folders can also be accessed using the namespace which will automatically select the active server based on the availability, but for now the automatic selection is not working yet because the namespace currently only has one server
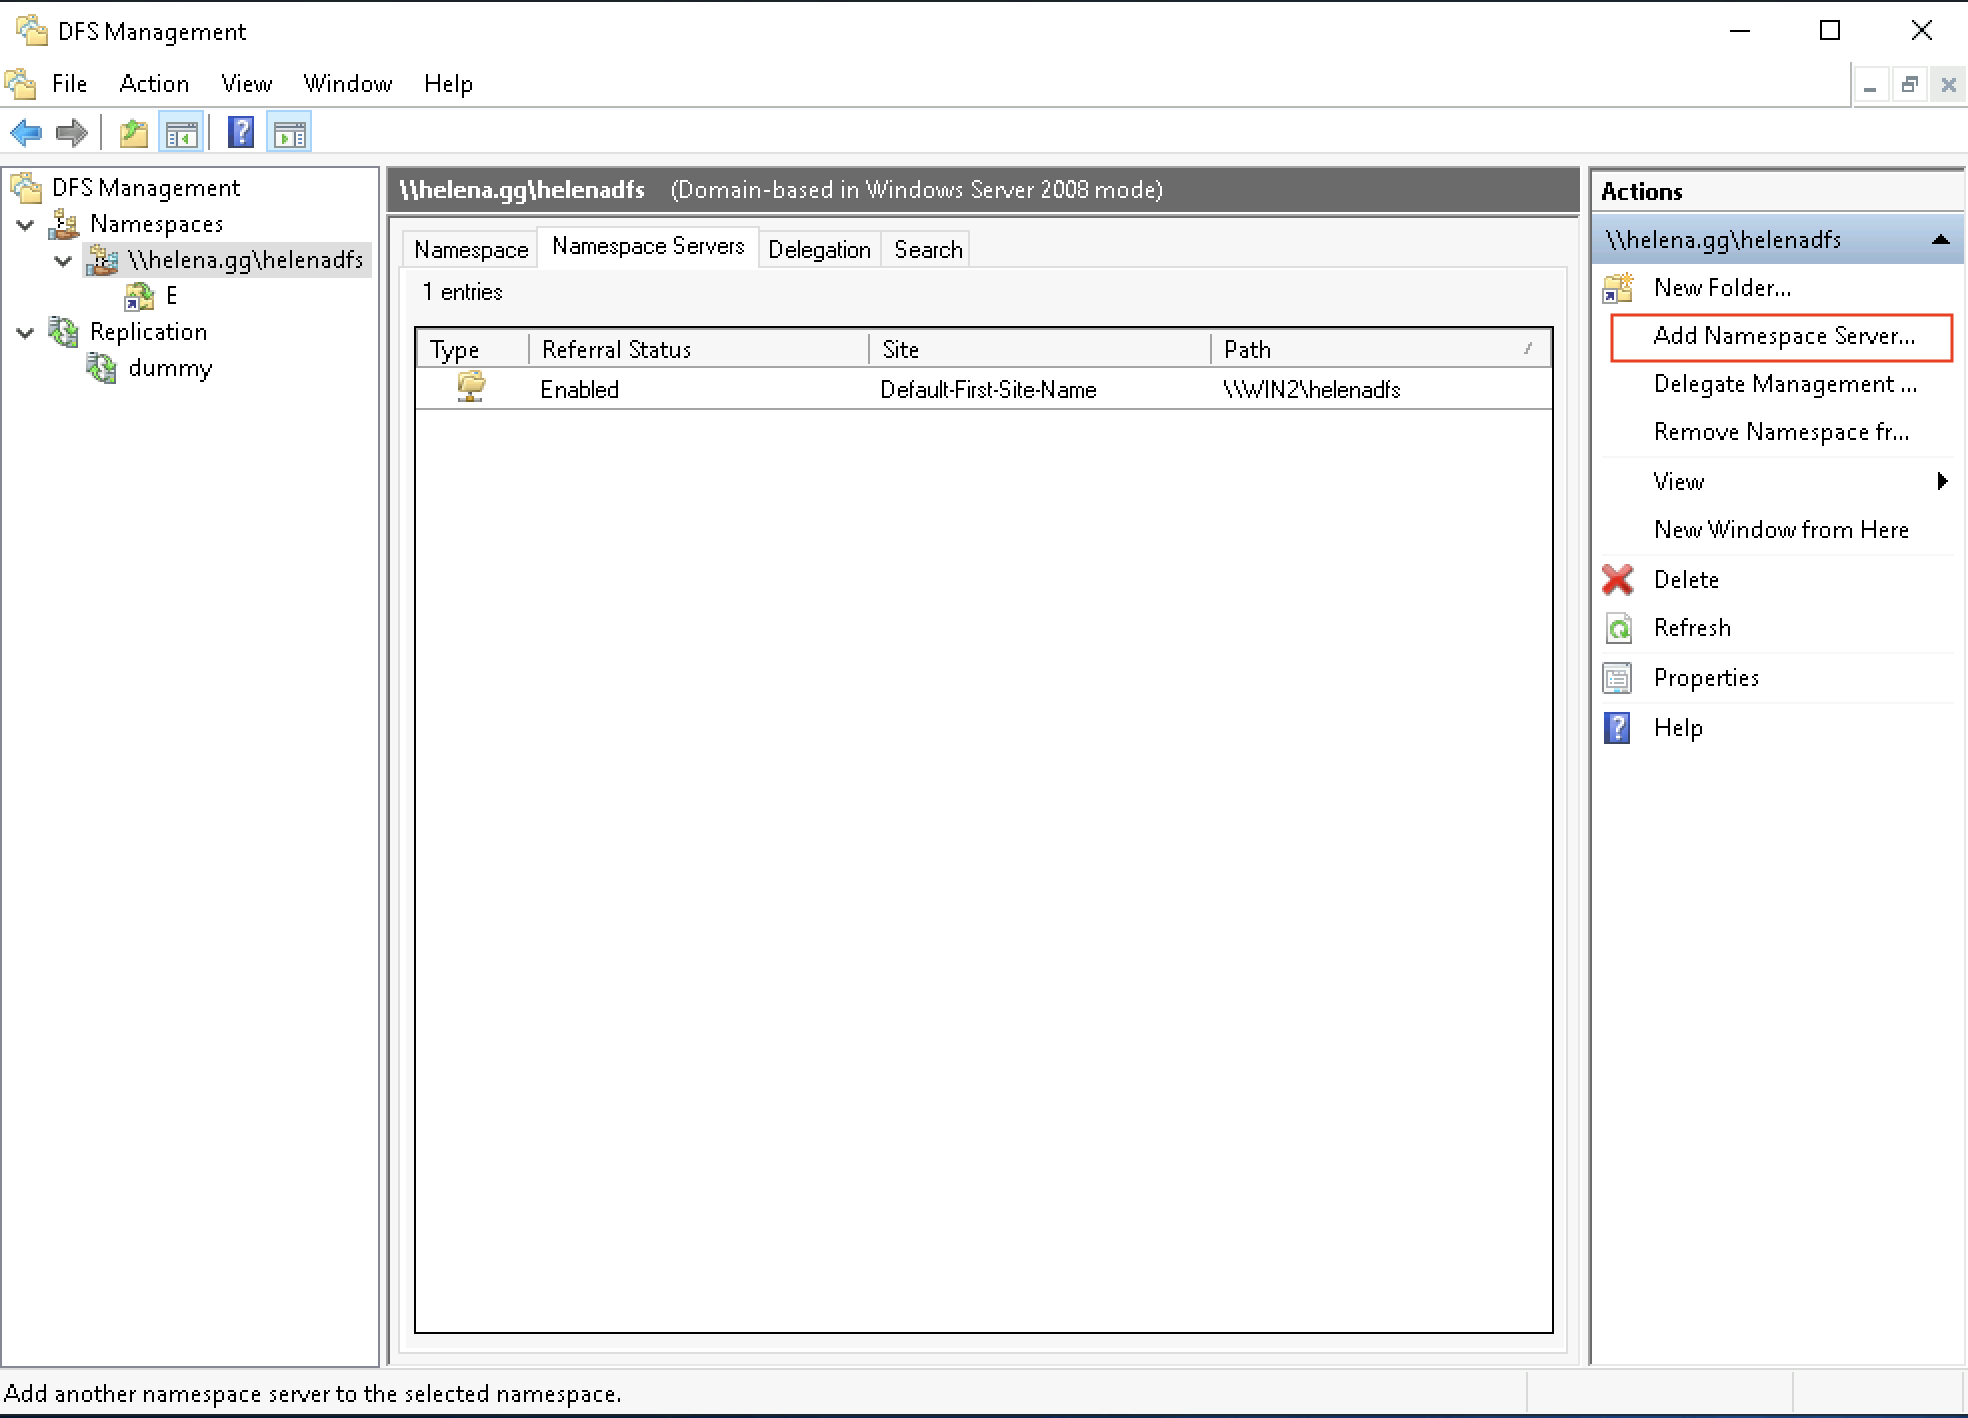
To add another server as the namespace destination, on the namespace select the Namespace Servers tab, add Namespace server
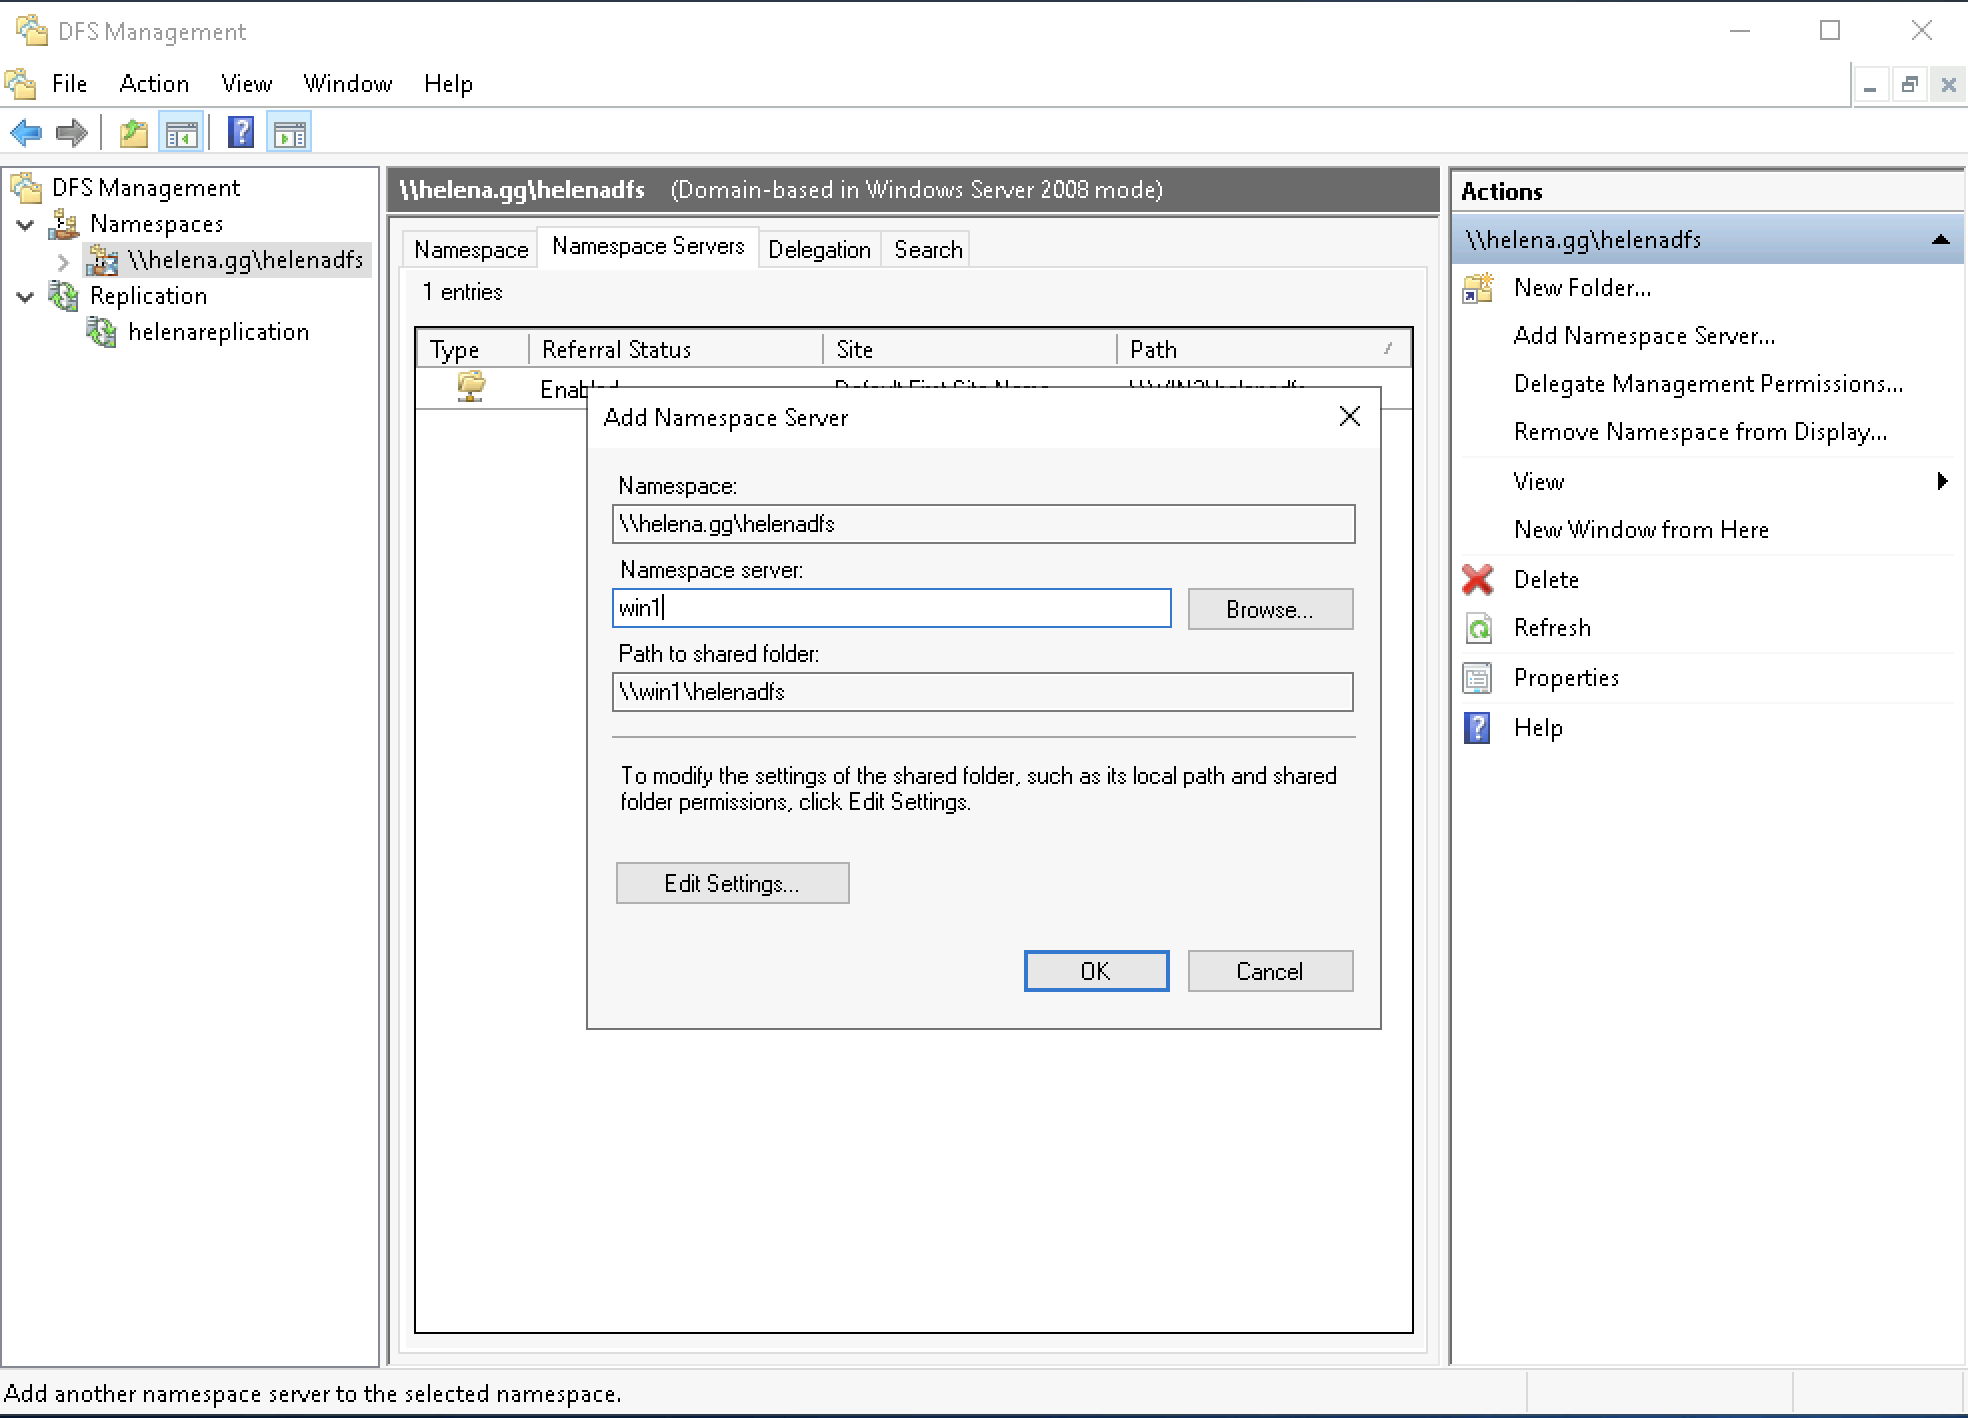
Add the Win1 and its folder path
And now we have 2 servers
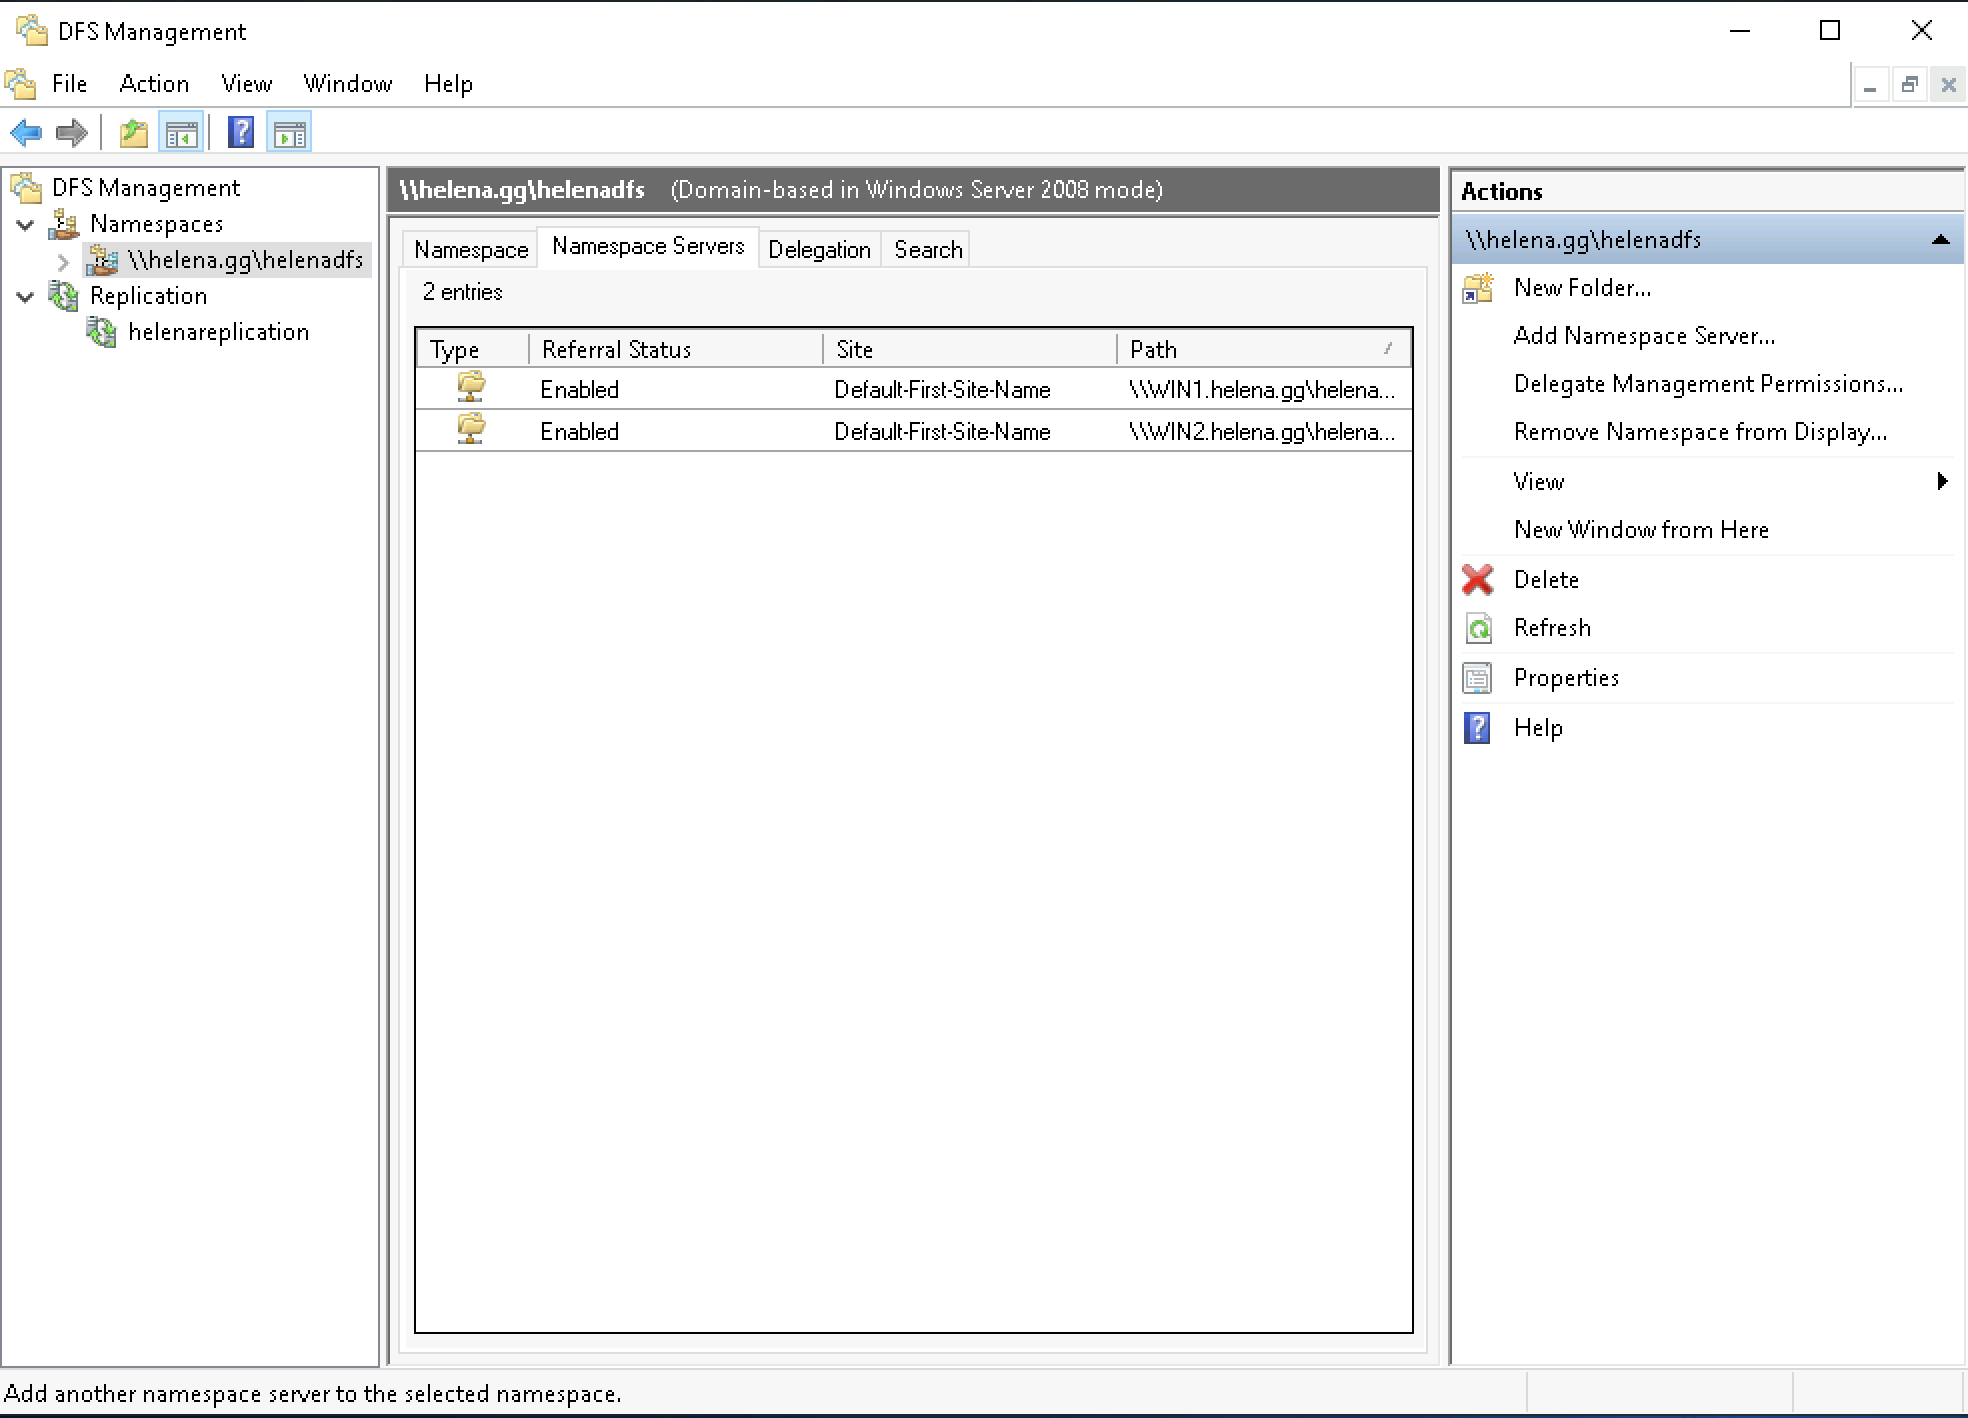
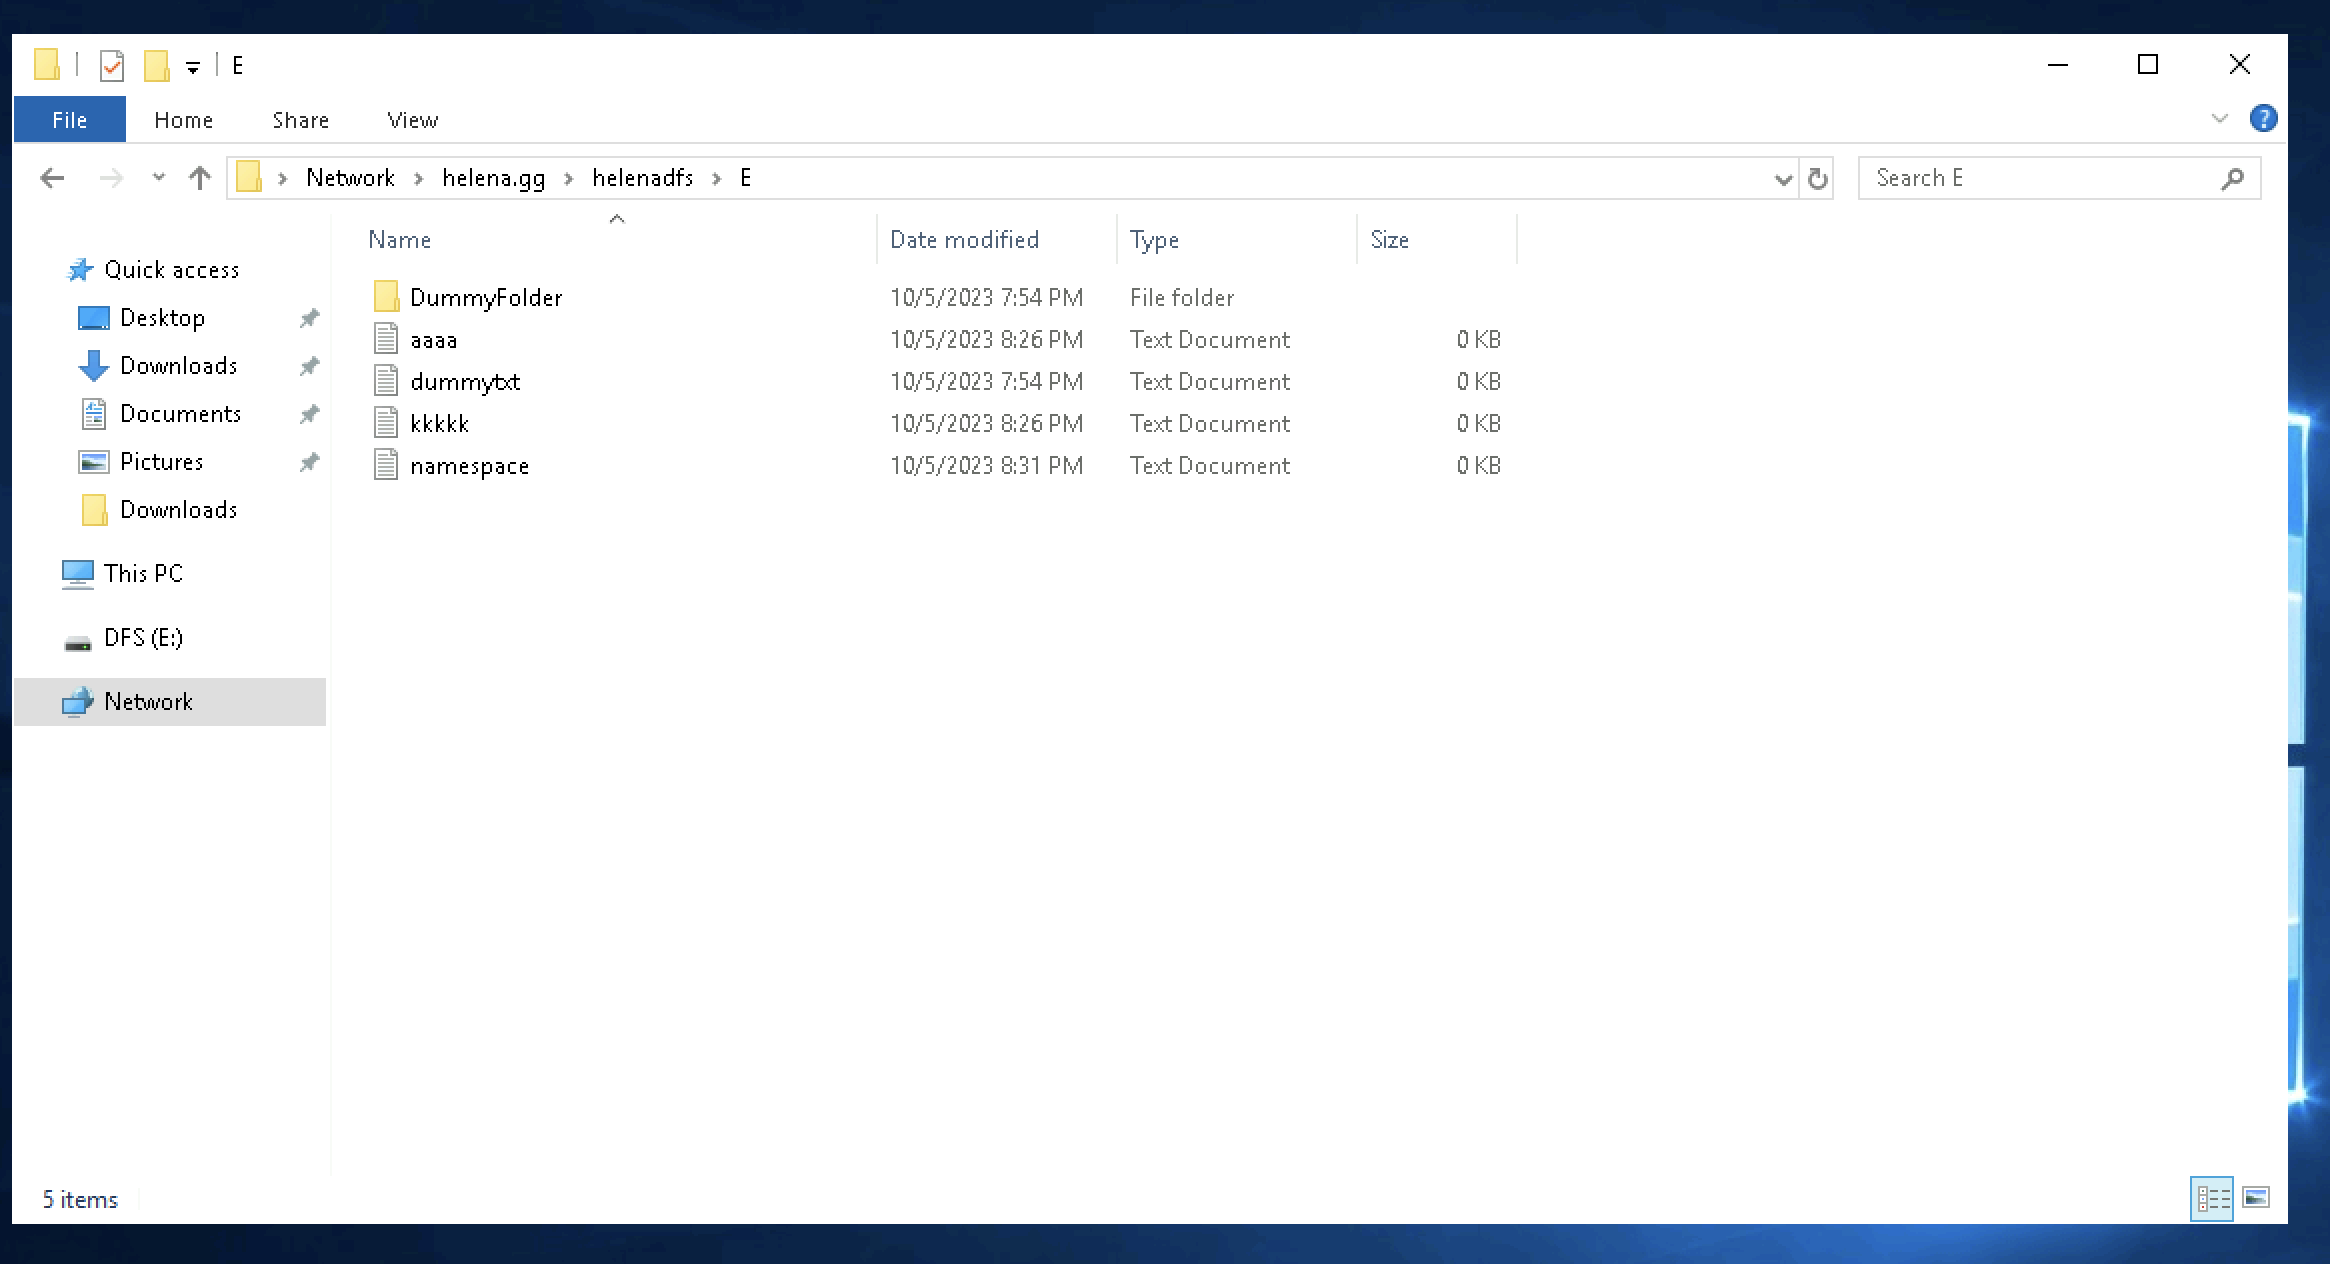
Finally the namespace is now accessible pointing to folder path on Win1 or Win2