Deploy and Configure Cisco IM & Presence (IM&P) and DNS SRV
What is Cisco Unified IM & Presence?
Cisco Unified Presence (CUP), now called Cisco IM&P, is a communication tool that shows real-time availability of colleagues (presence awareness) and enables instant messaging within organizations. It integrates with other Cisco tools and allows users to see who’s online, busy, or away, facilitating better communication decisions.
Preparing the Installation
First, download the OVA and ISO installer for IM&P from Cisco Software Download


Then convert the non bootable ISO to become bootable, which we already covered when Deploying CUCM
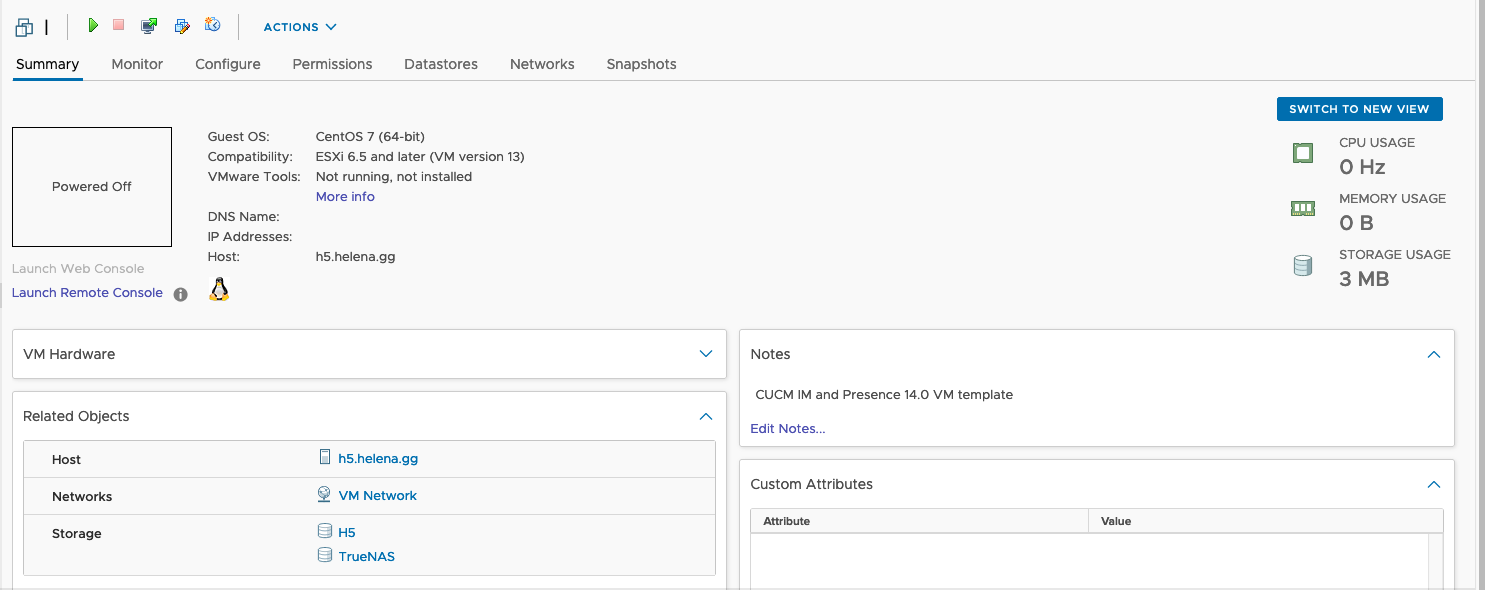
After that, just deploy the OVA like usual
And also create DNS Record for the IMP on the DNS Server

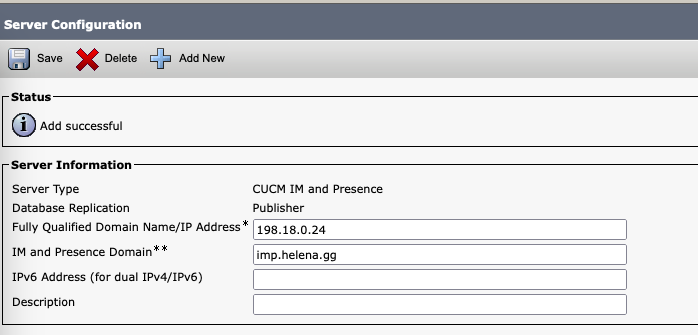
Lastly, go to CUCM » System » Server » Add New » Choose IM & Presence, and add the new IMP Server
Running the Installation
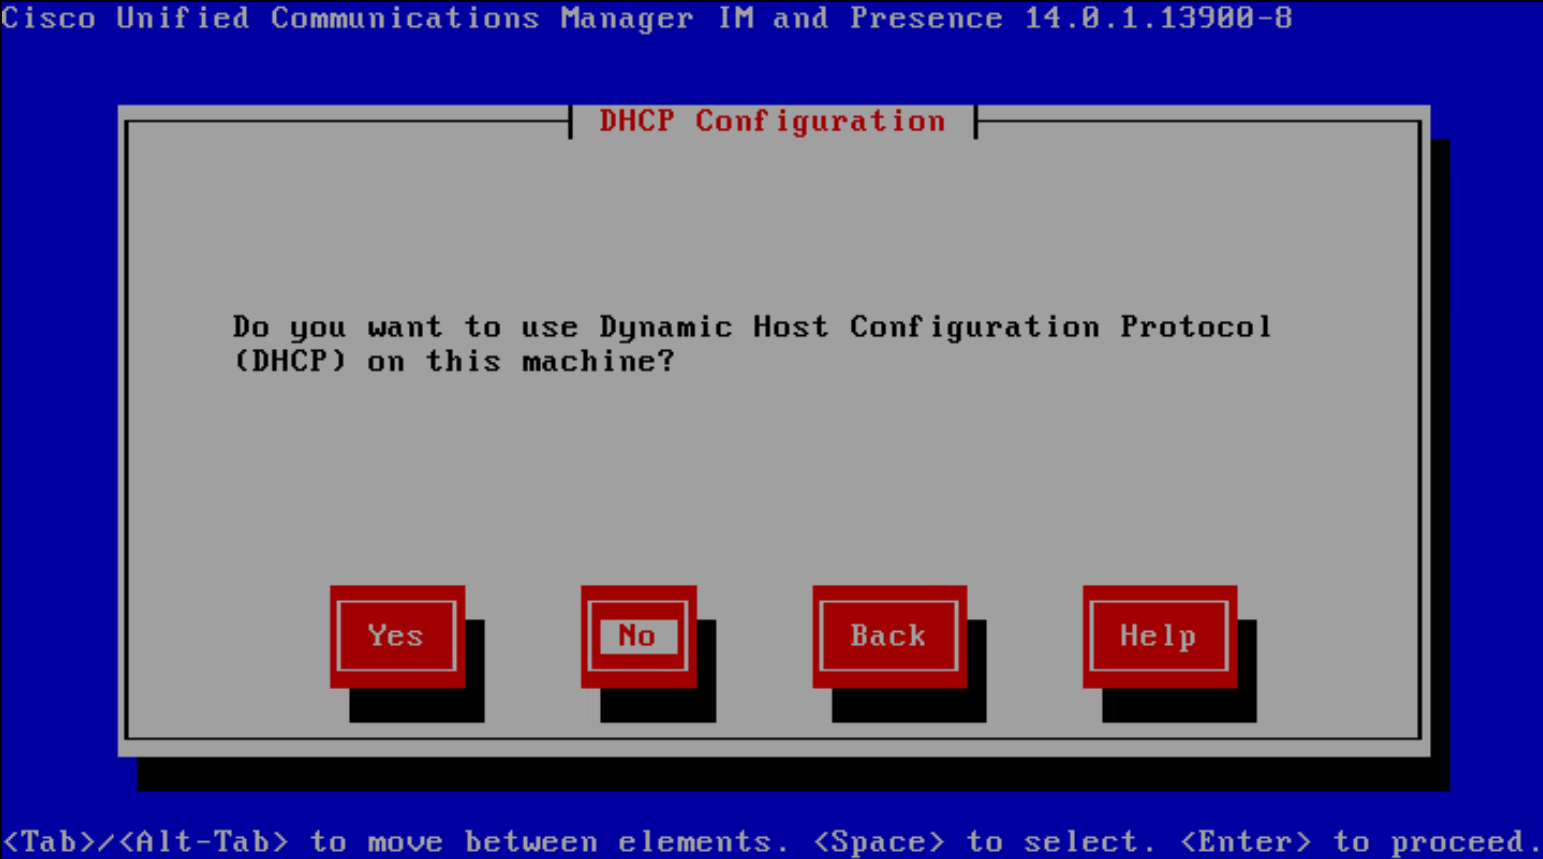
Power On the IM&P, then access it through console. Breeze through the wizards as most of it we just need to click next.
On DHCP Configuration, choose not to use DHCP.
Give it network configuration

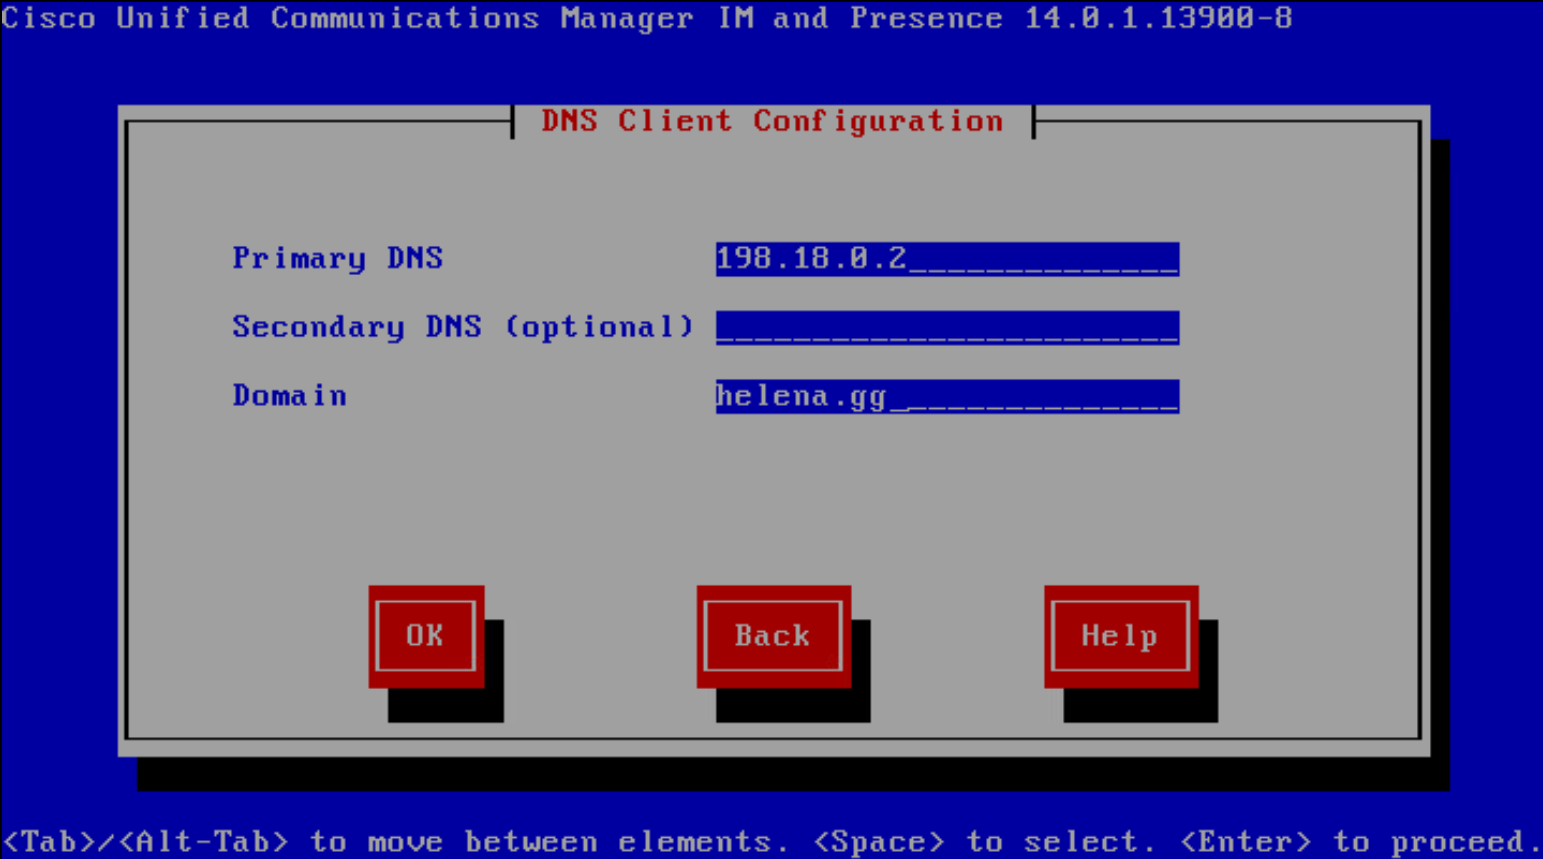
Next enable DNS Client, and input the DNS Server and the Search Domain
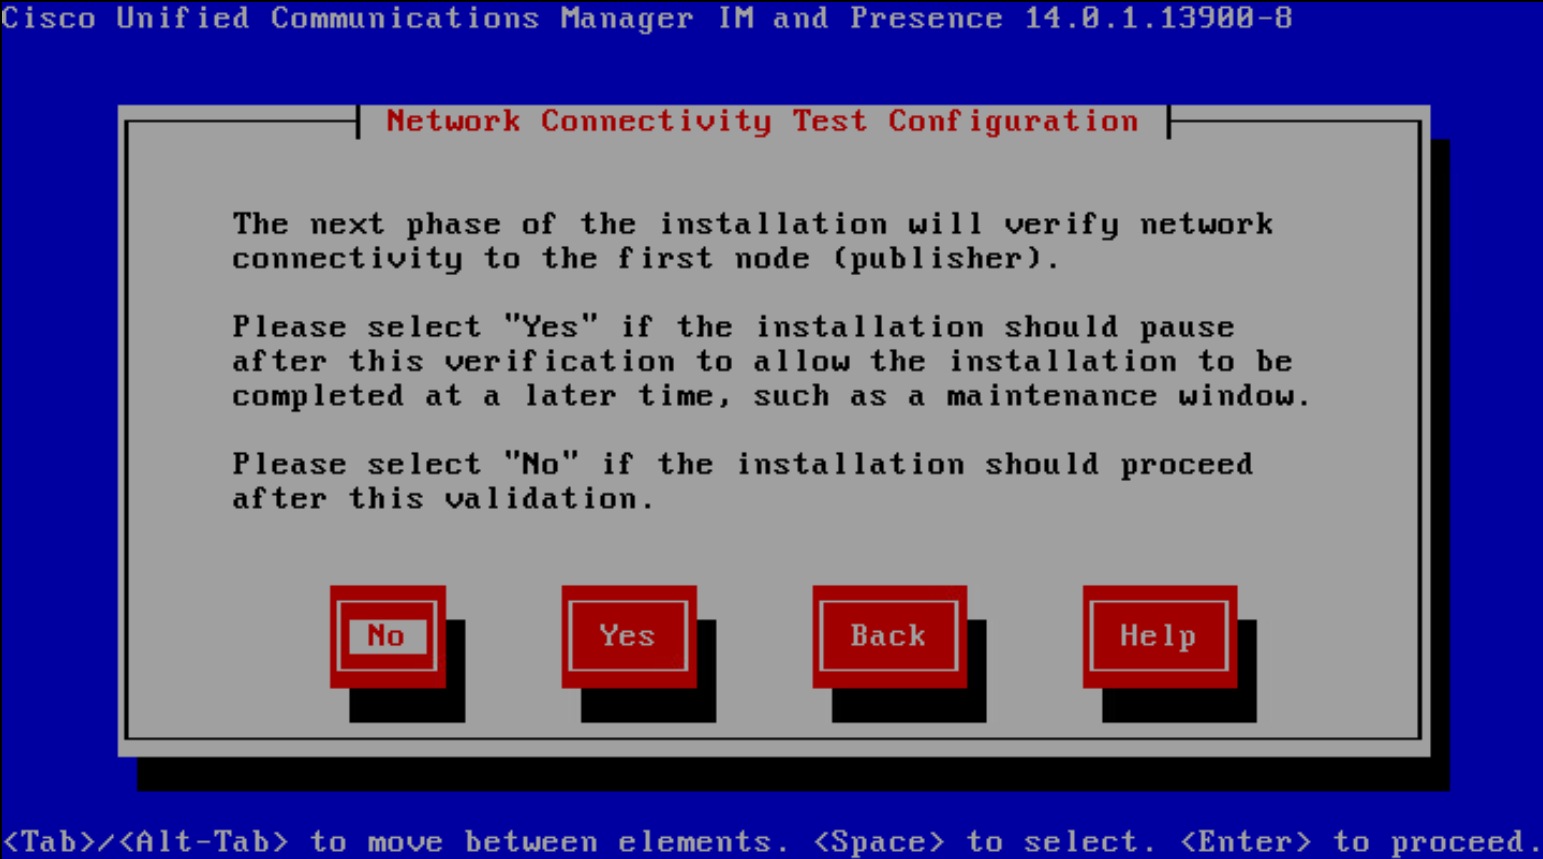
Then select No so the installation should proceed after the network tests complete
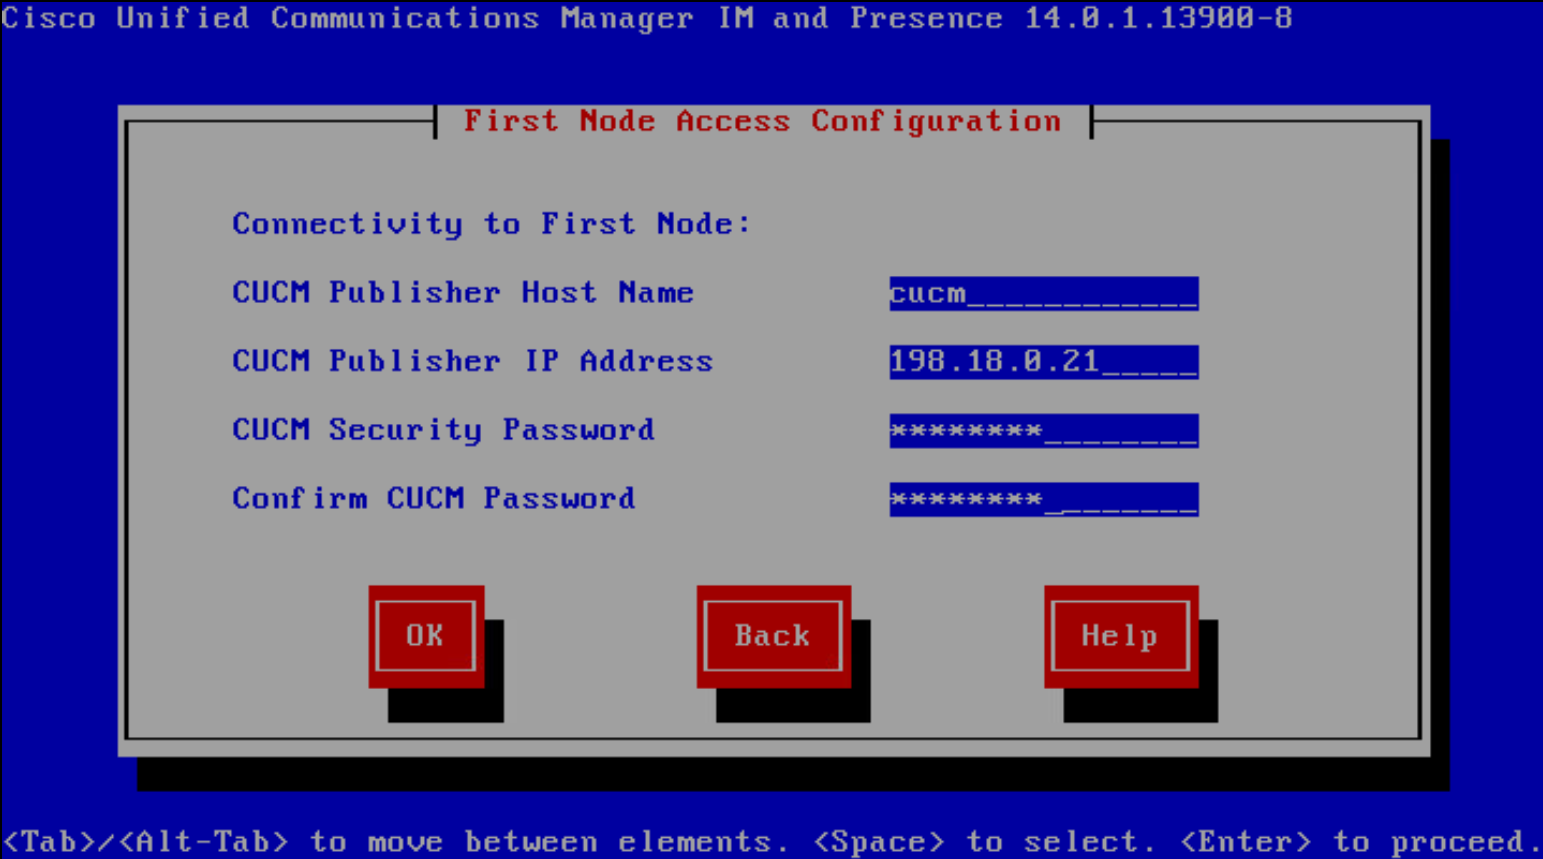
Then add the details about the CUCM
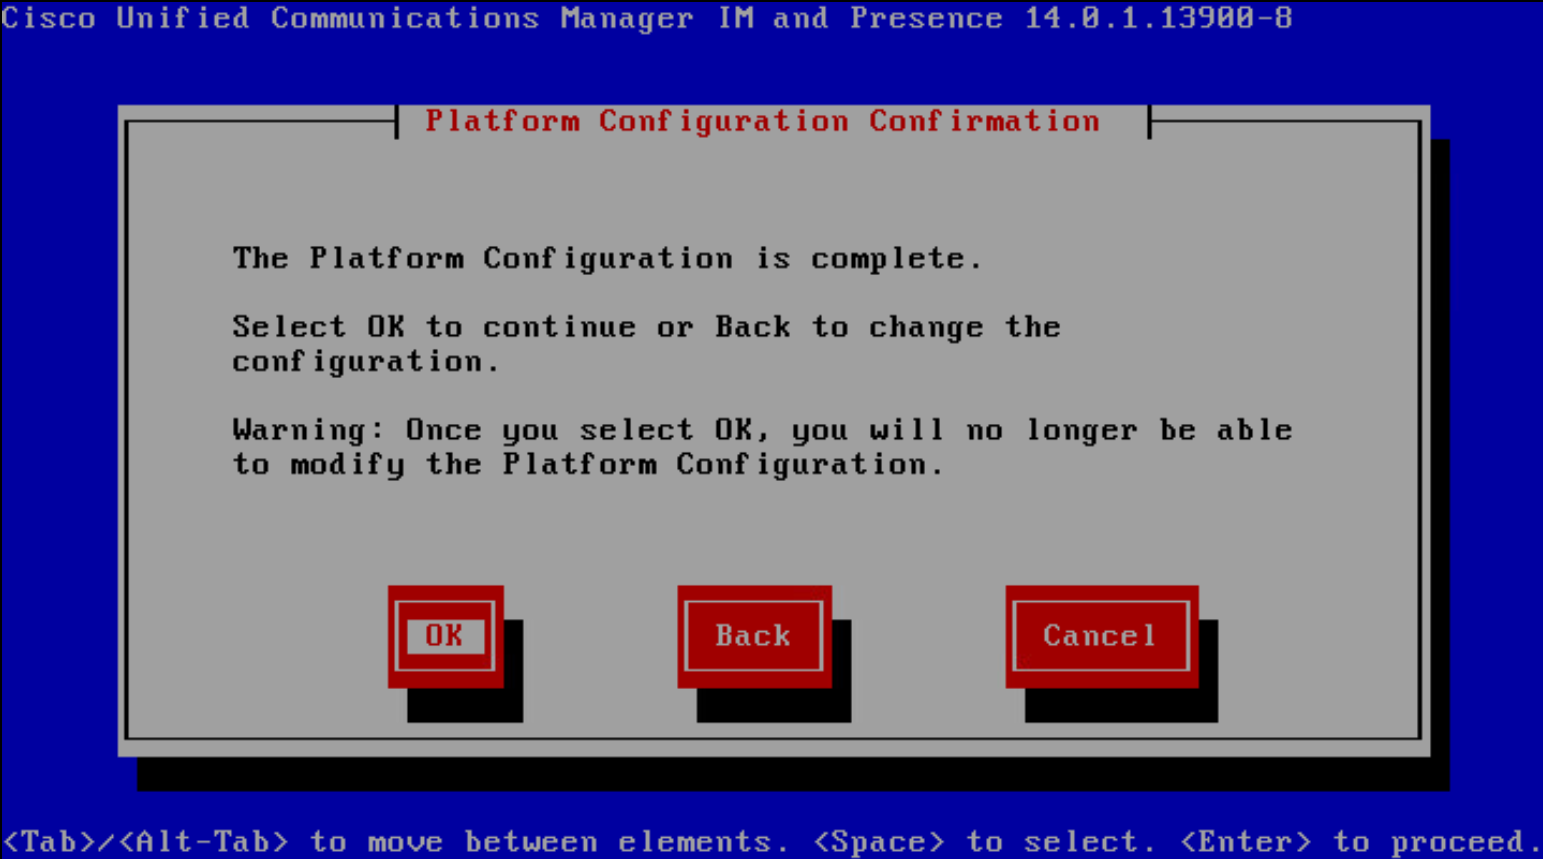
And when configuration completes, click Ok and let the installation begins
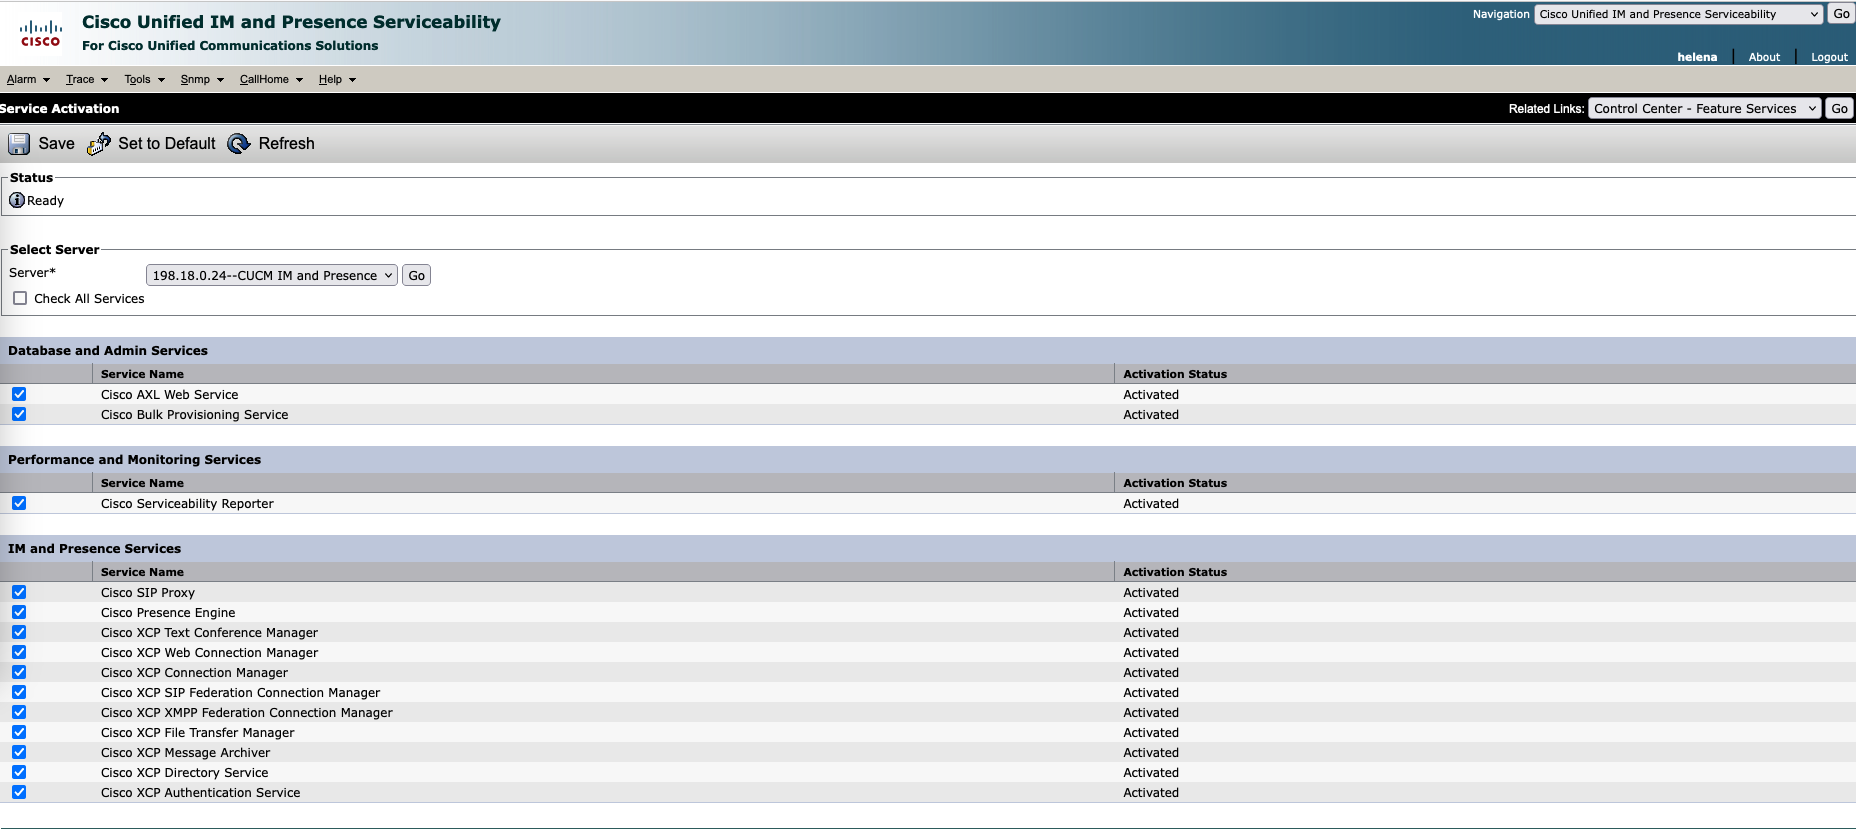
After some time, the IMP web UI should be up, open it and go to Cisco Unified IM and Presence Serviceabilty » Tools » Service Activation, check the services and hit save.
Configuring IM&P on CUCM
Go to User Management » User Settings » UC Service » Add new, Select the type of “CTI”
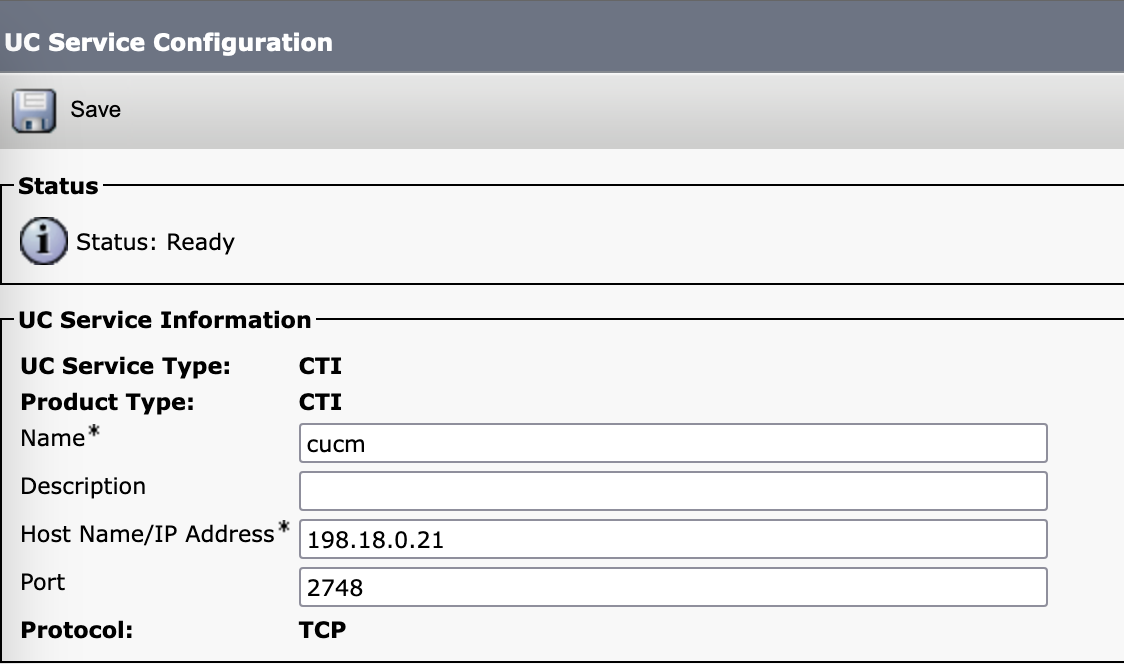
Save, then add another one with the type of “IM and Presence”

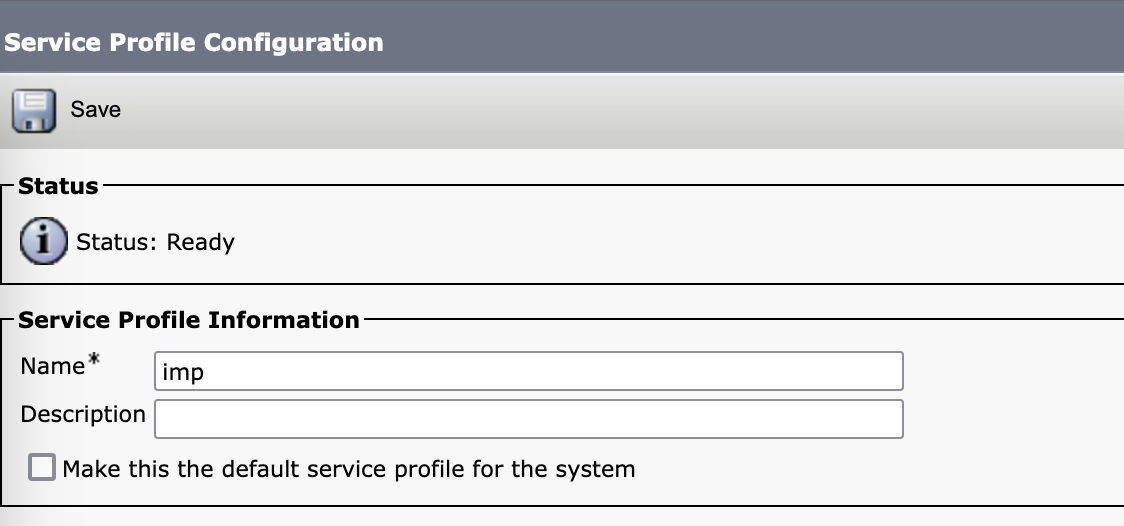
Now bundle those 2 UC Services in a Service Profile, go to User Management » User Settings » Service Profile » Add new
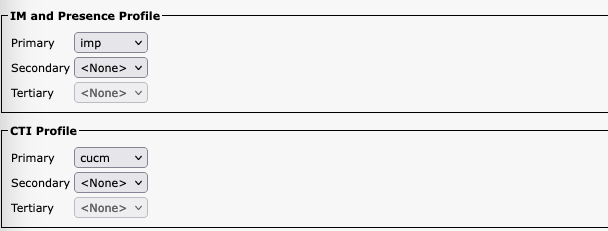
Next bind the Service Profile to the End User, go to User Management » End Users, select the user, then assign the Service Profile

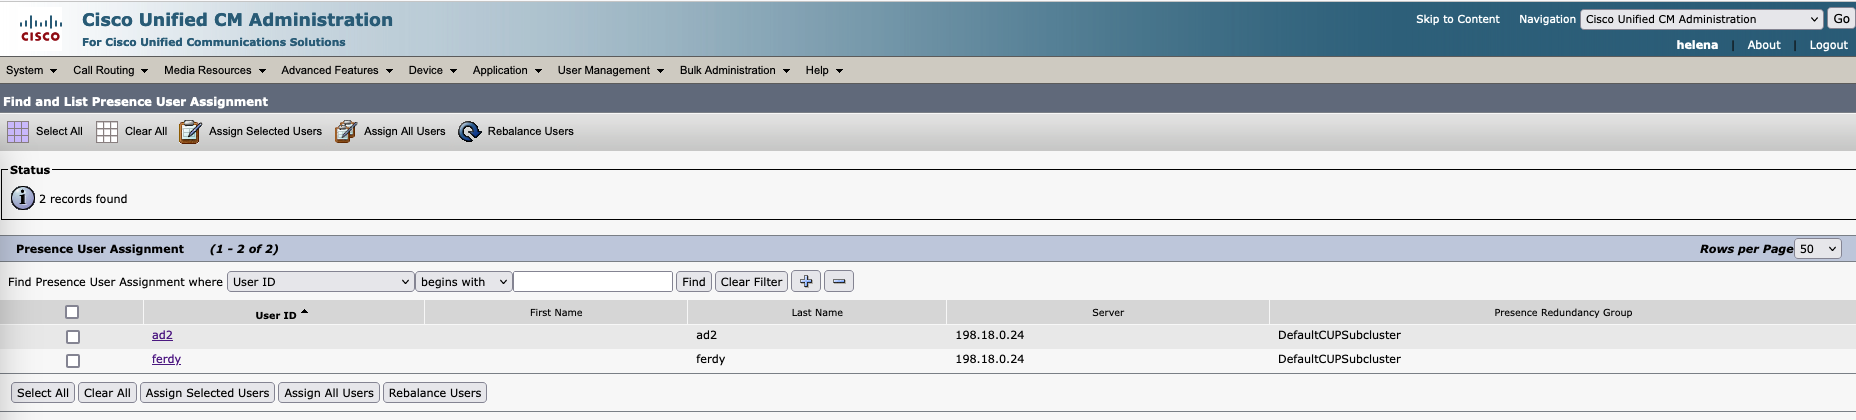
The assigned users will show up on CUCM » User Management » Assign Presence Users
Or we can also view it on IMP » System » Presence Topology

Logging in to Jabber
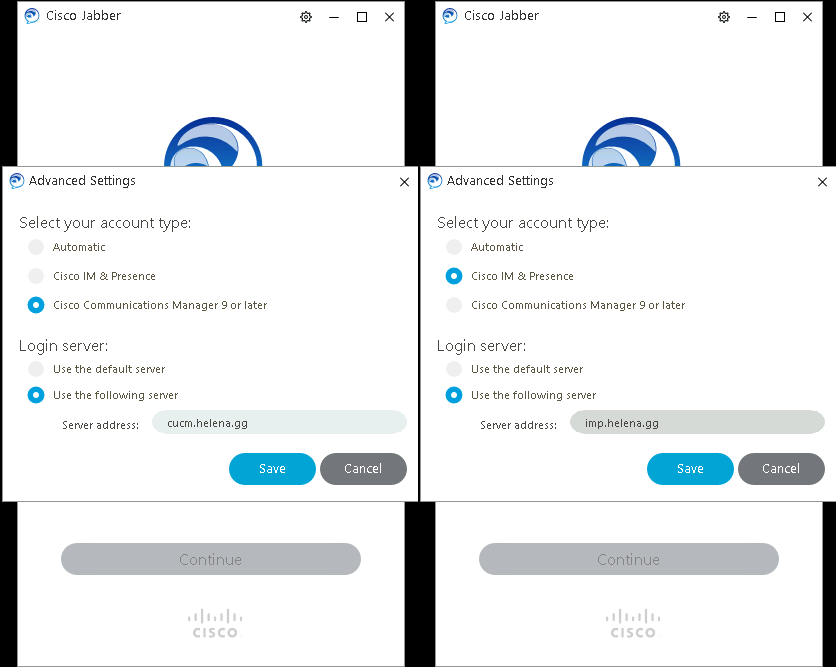
Now we can try logging in with the server configuration pointed to either CUCM or IMP
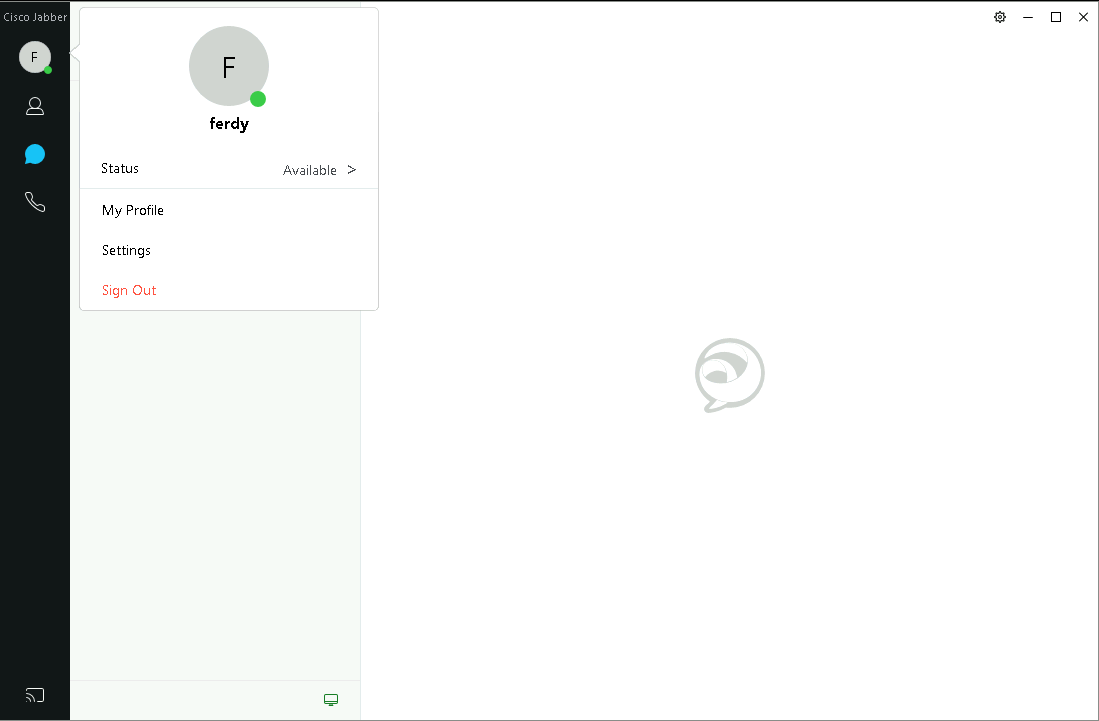
And now we have presence and instant chat functionality
Configuring DNS SRV
DNS SRV (Domain Name System Service Record) is a type of DNS record used to specify the host and port of services within a domain. DNS SRV records are used to facilitate the discovery of the CUCM and IM&P servers.
Without SRV, we have to manually input the address of the CUCM or IM&P servers, but with it this process will be automated.
Go to the DNS Manager » Add Other new records » Service Location (SRV), create the first one for CUCM
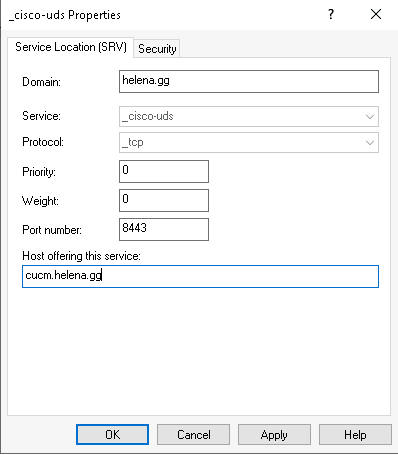
Cisco UDS (User Data Services) is a component and protocol used in CUCM deployments to provide a standardized way to access user-related data and services. UDS enables applications and devices within a CUCM environment to retrieve information about users, their profiles, capabilities, and features.
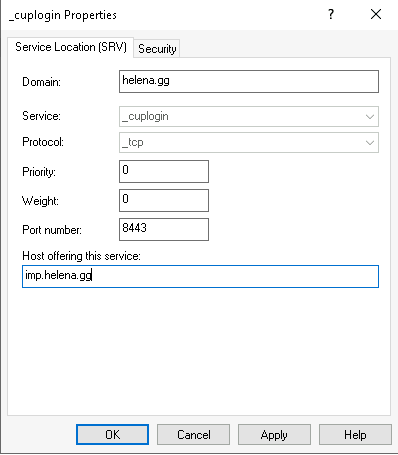
And another one for IMP
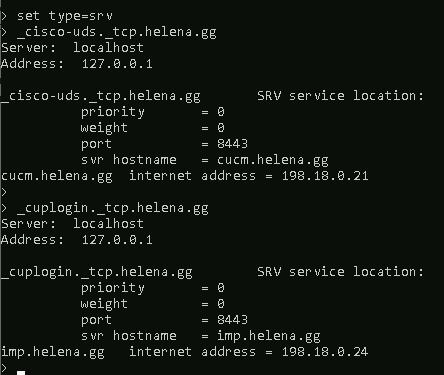
Run nslookup to validate the SRV are working and pointing to the FQDN of CUCM and IMP on port 8443
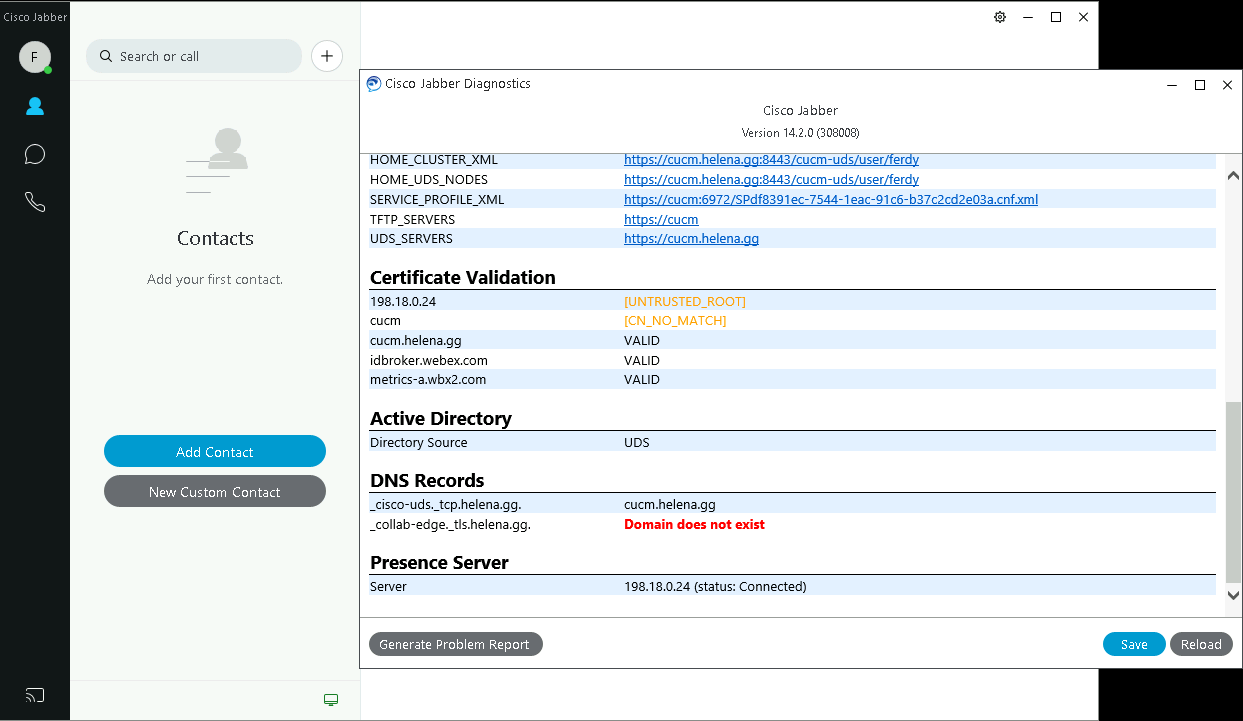
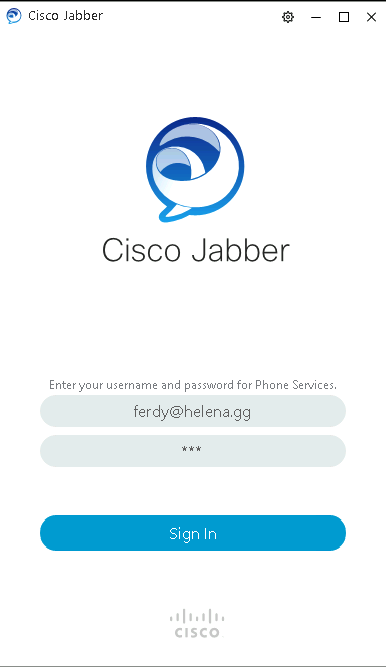
And now we’re able to login straight away without configuring server addresses
Pressing CTRL + Shift + D will open the diagnostics page, where we can see the jabber is able to discover both the UDS and Presence server through the SRV Records