NICE Engage
NICE Engage is a comprehensive recording and analytics platform designed for unified communications. It supports various communication channels, including voice, video, and text. NICE Engage provides features such as compliance recording, quality management, and advanced analytics.
Preparing the Installation Environments
Here’s the overall topology for this installation
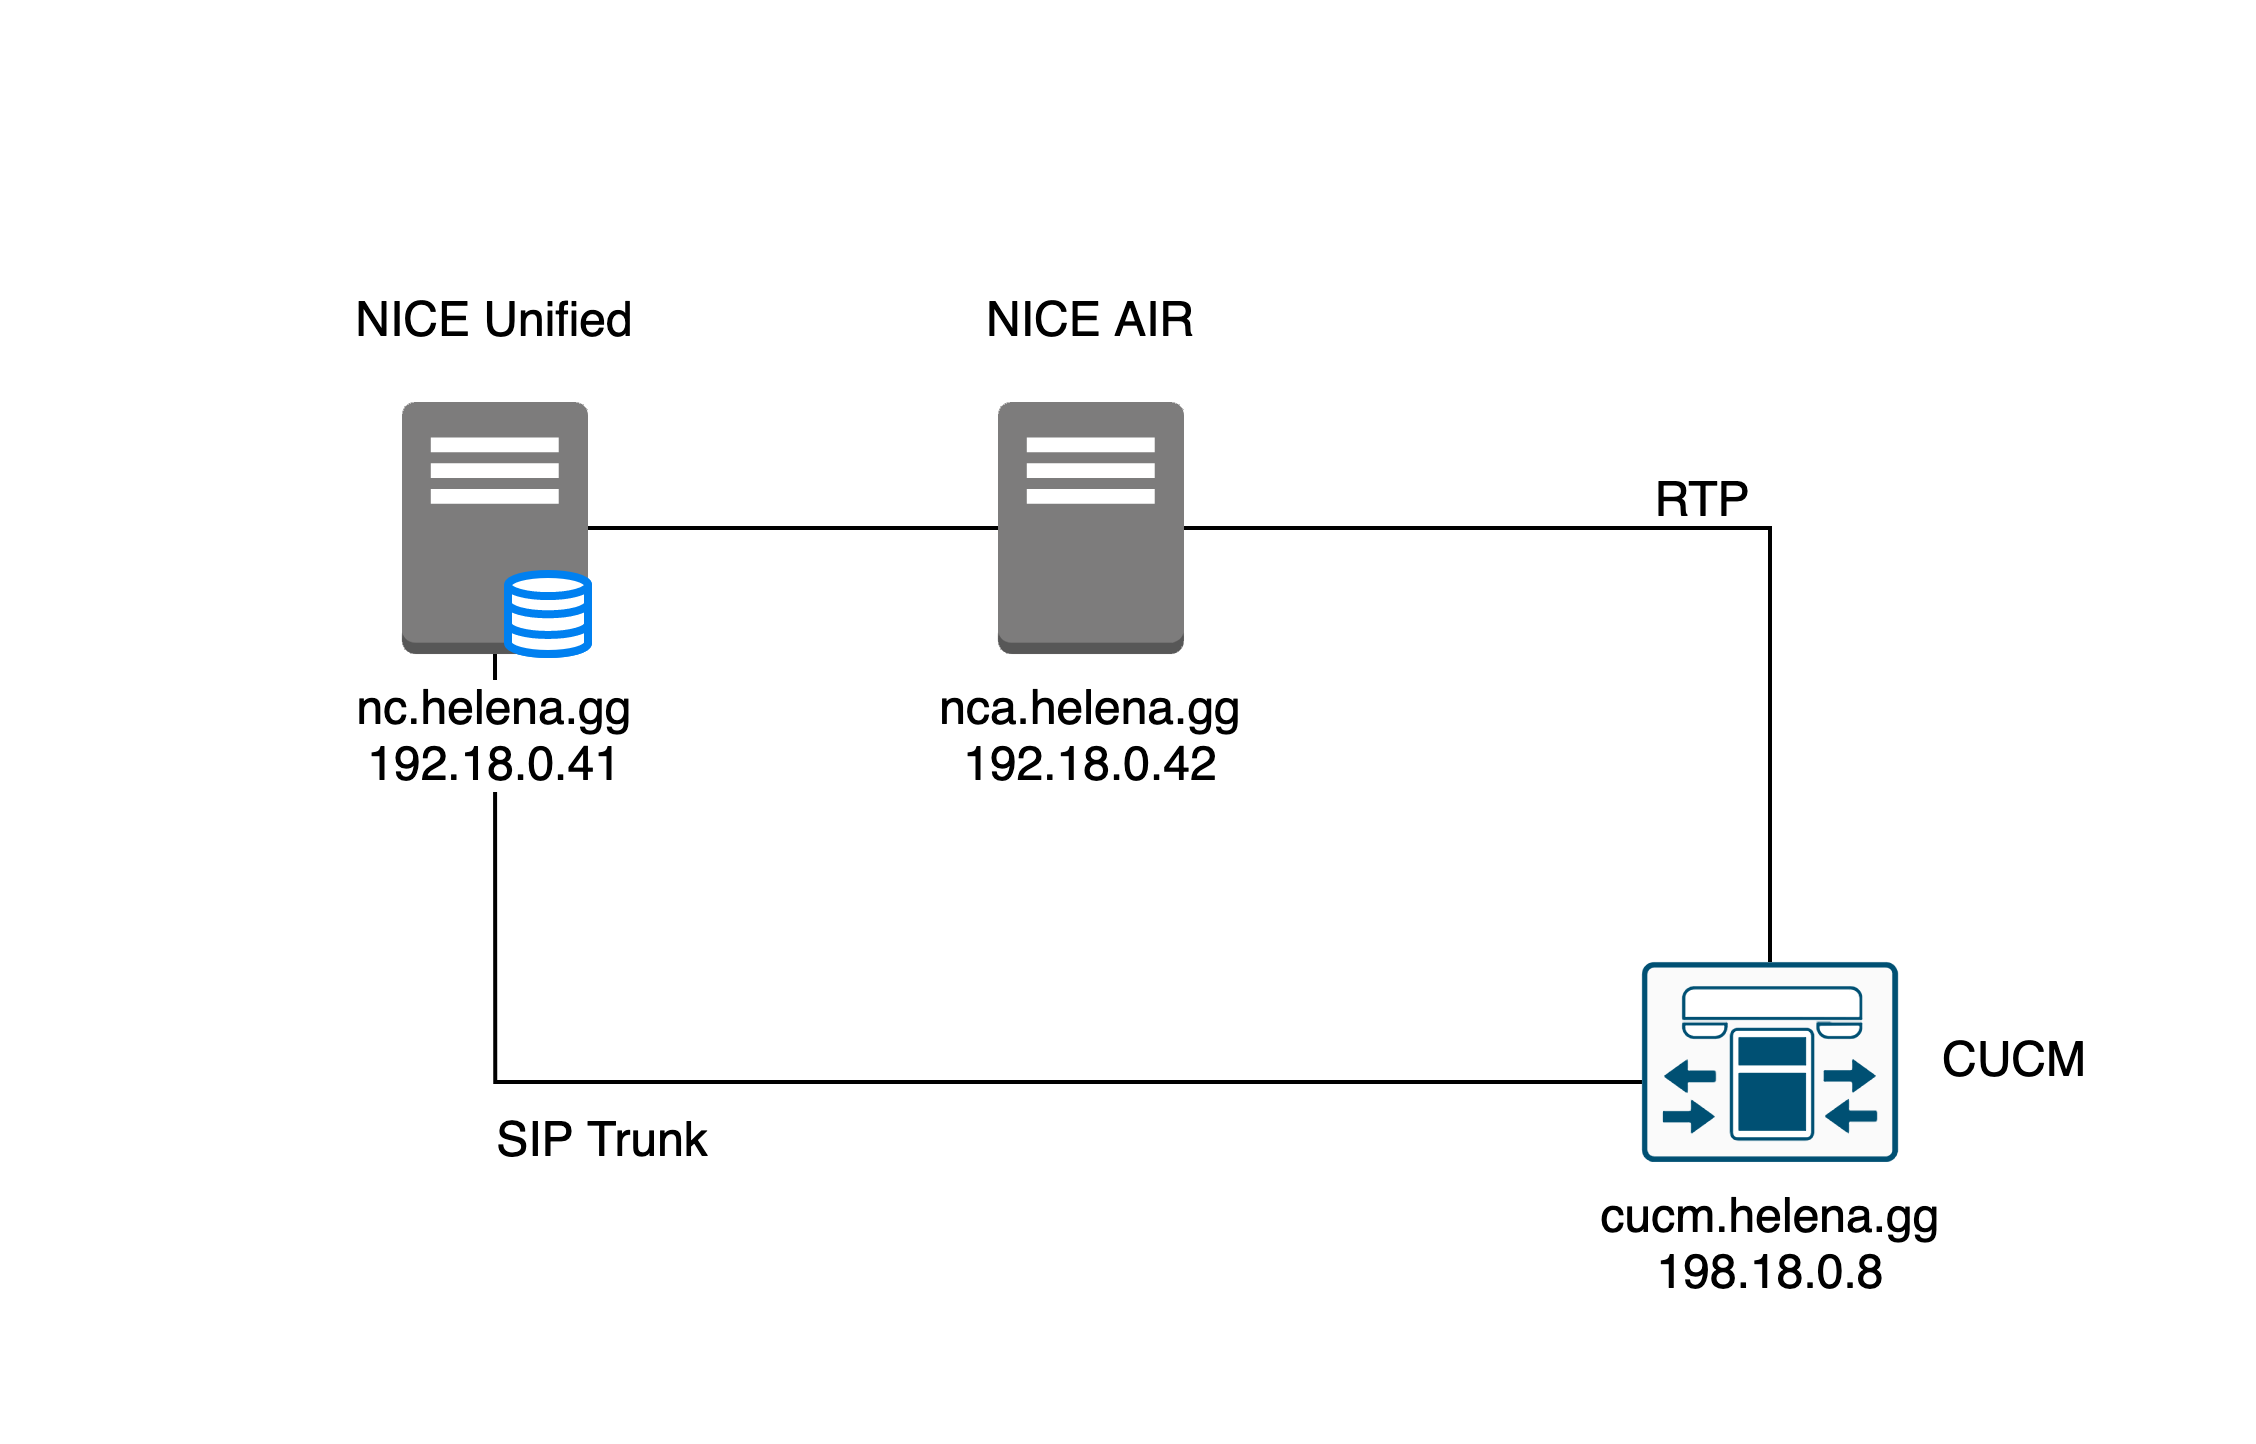
First we’re gonna do most of our works on the NICE Unified server “nc”.
Here the SQL Server 2019 has been installed

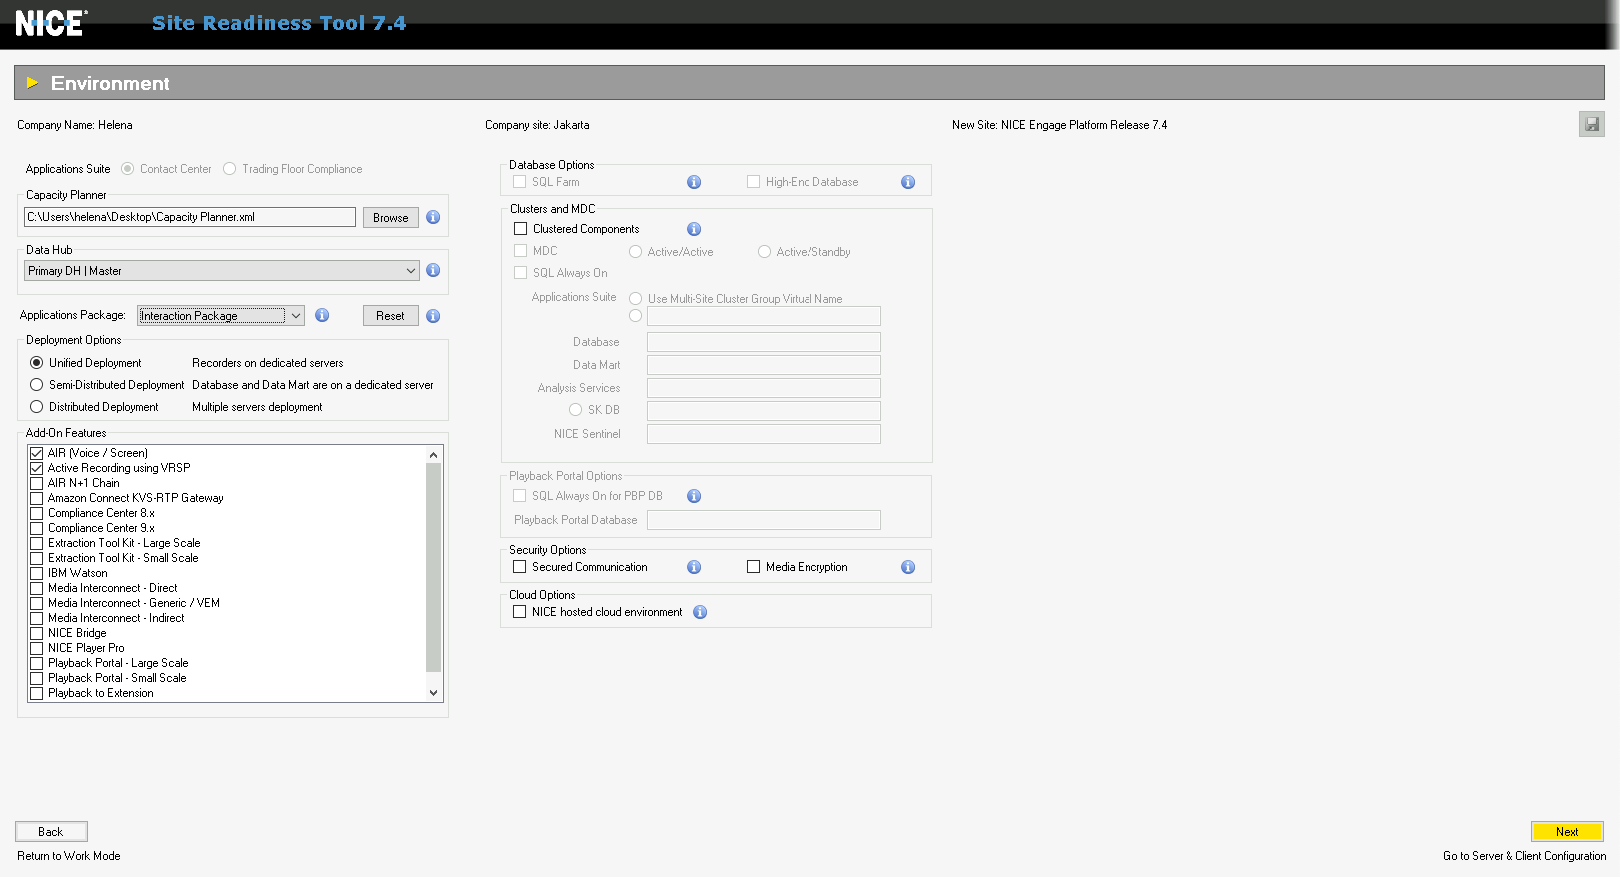
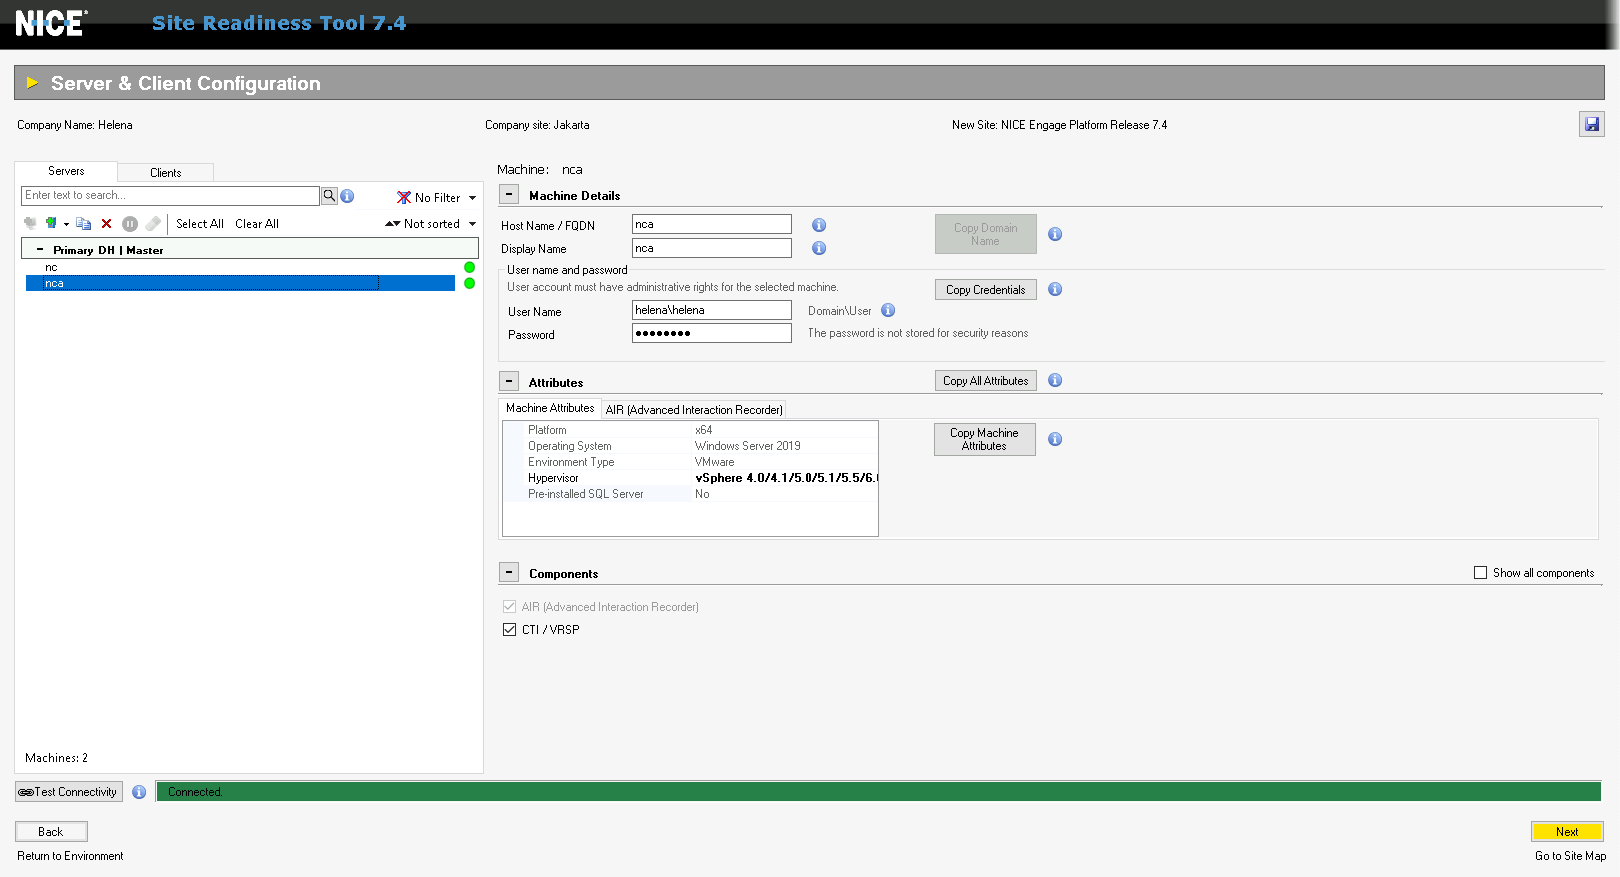
Running the SRT (Site Readiness Tool)
Run the SRT on NICE Unified, fill in the necessary data

Next select the Capacity_Planner.xml and select Single Data Hub installation.
For the Application Package, Select Ineraction Package with the Deployment Options of Unified Deployment
After that complete the Connectivity Tests on both servers
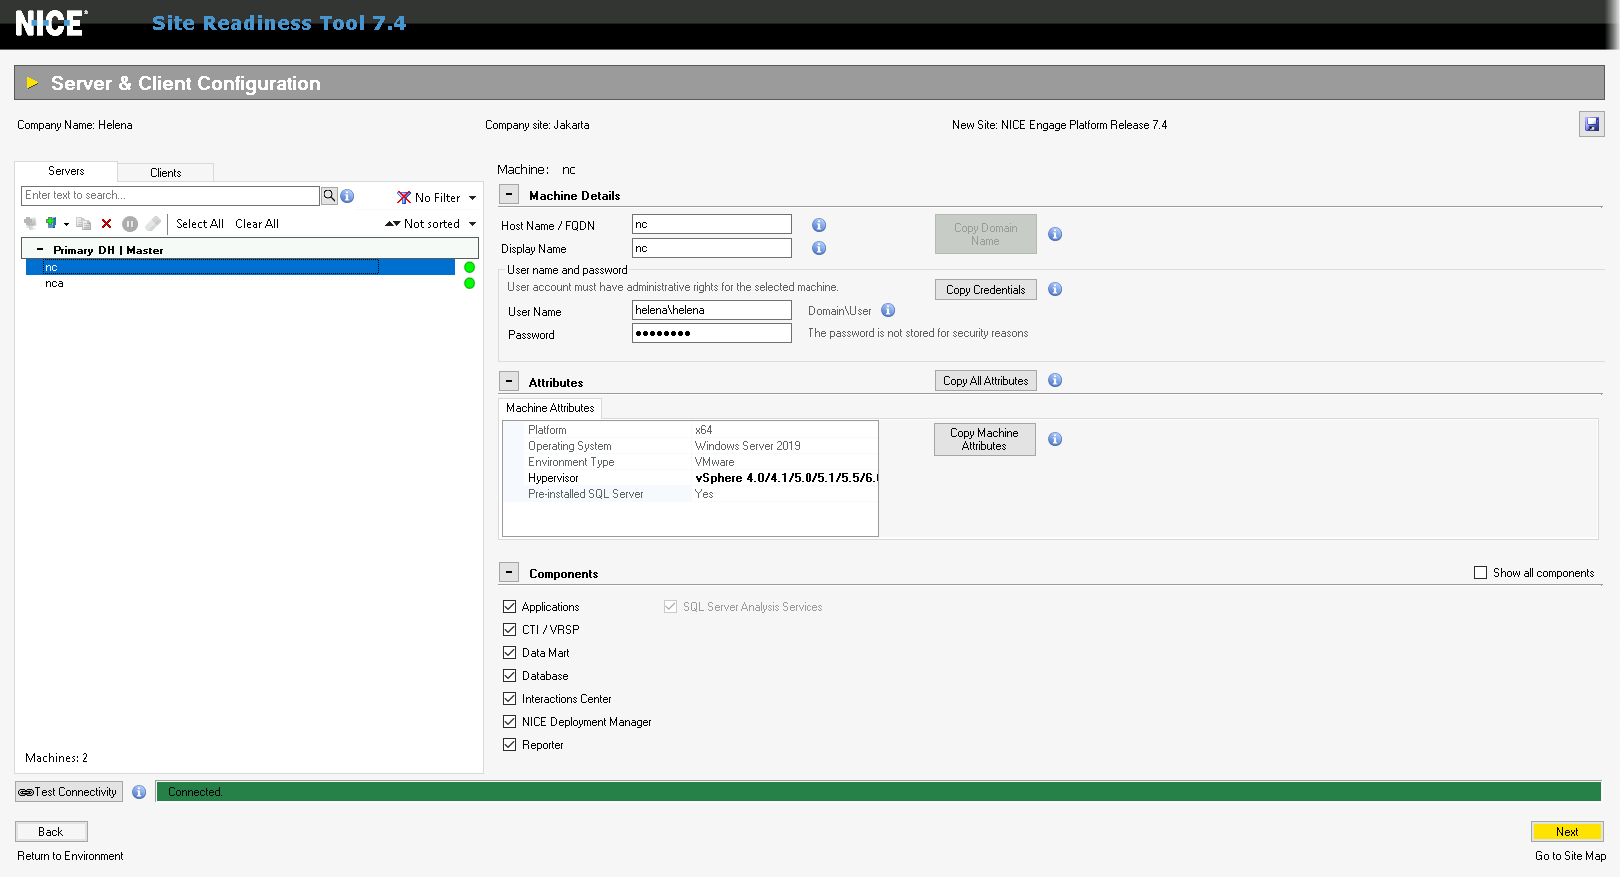
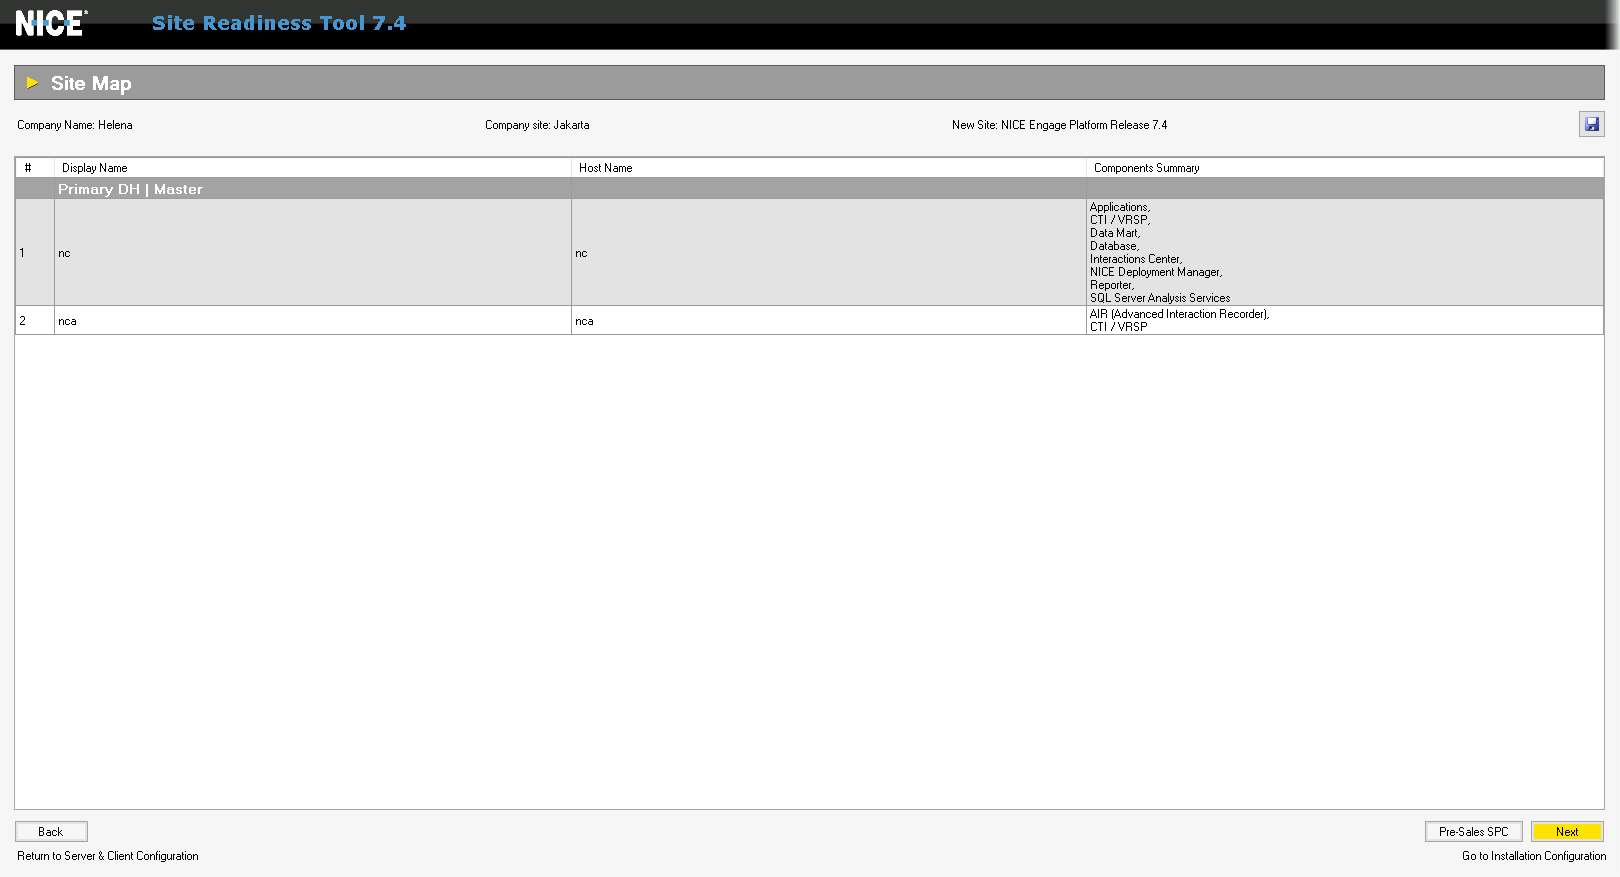
On the Site Map, we can see the summary of packacges being installed on both servers
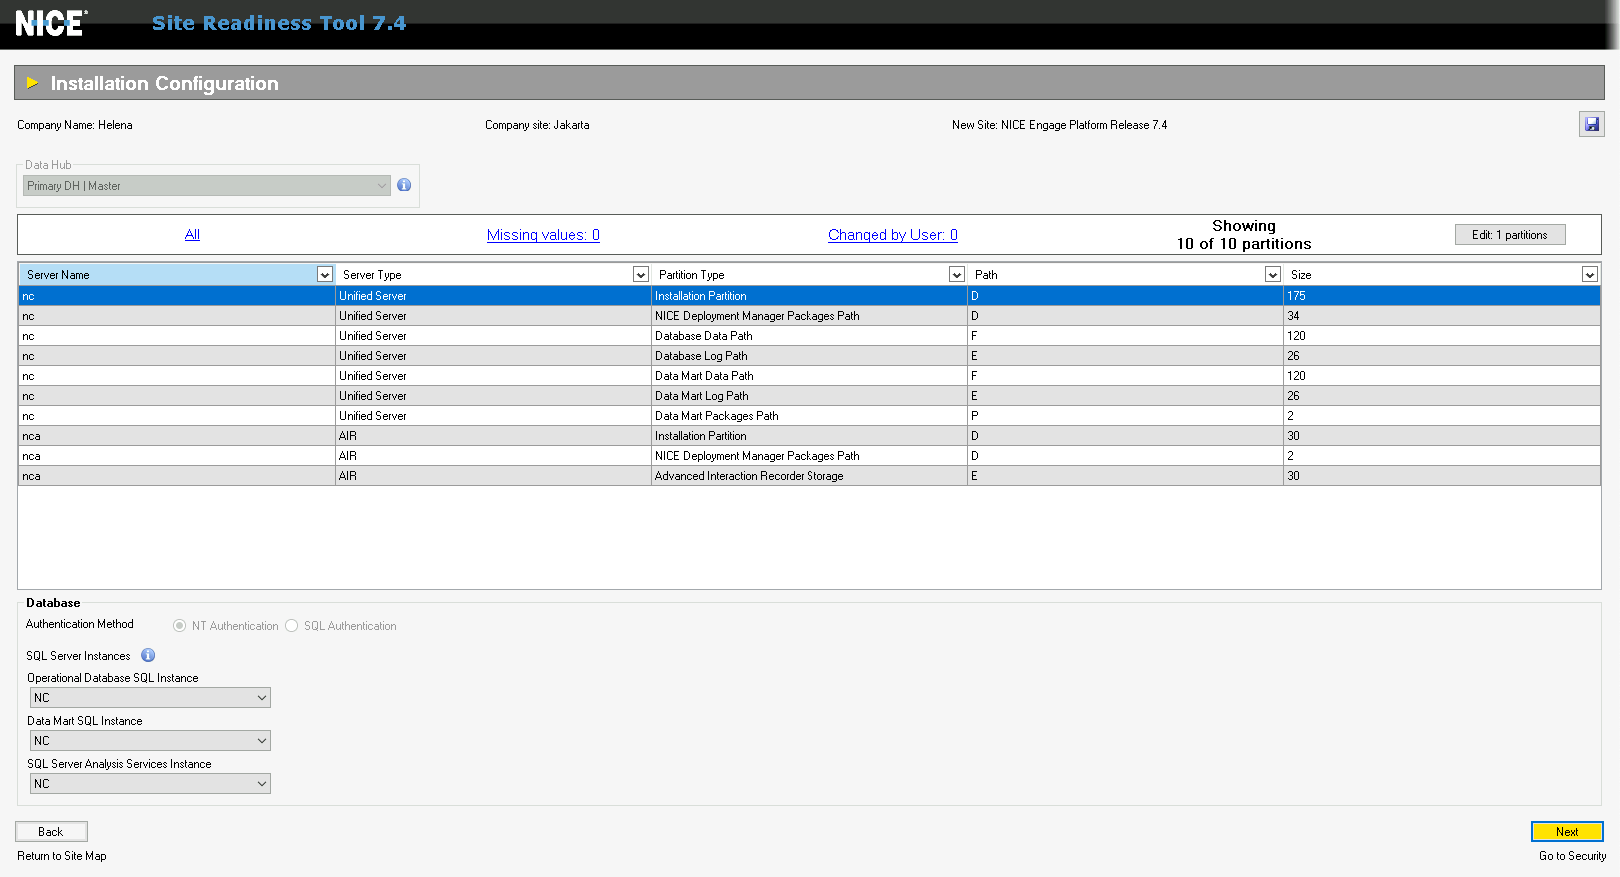
Next is for the Disk Allocations, make sure all servers have the required disks as shown here
Then enter the credentials for the installation

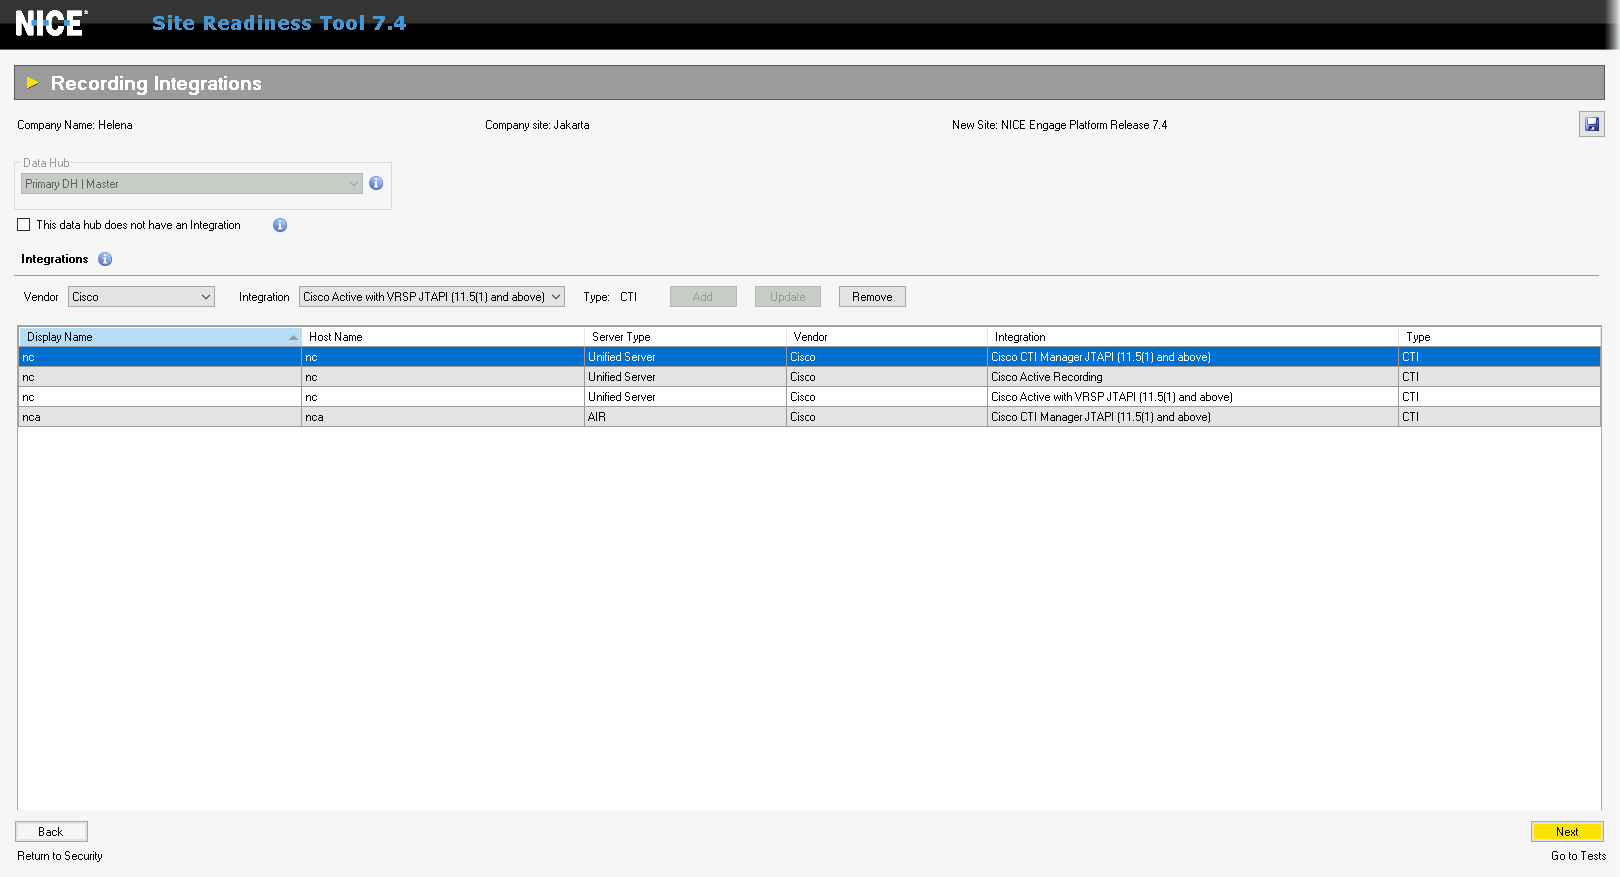
For recording integrations, we’ll intergrate it with Cisco CUCM only
Then run the SRT Tests, make sure everything is green or at least yellow
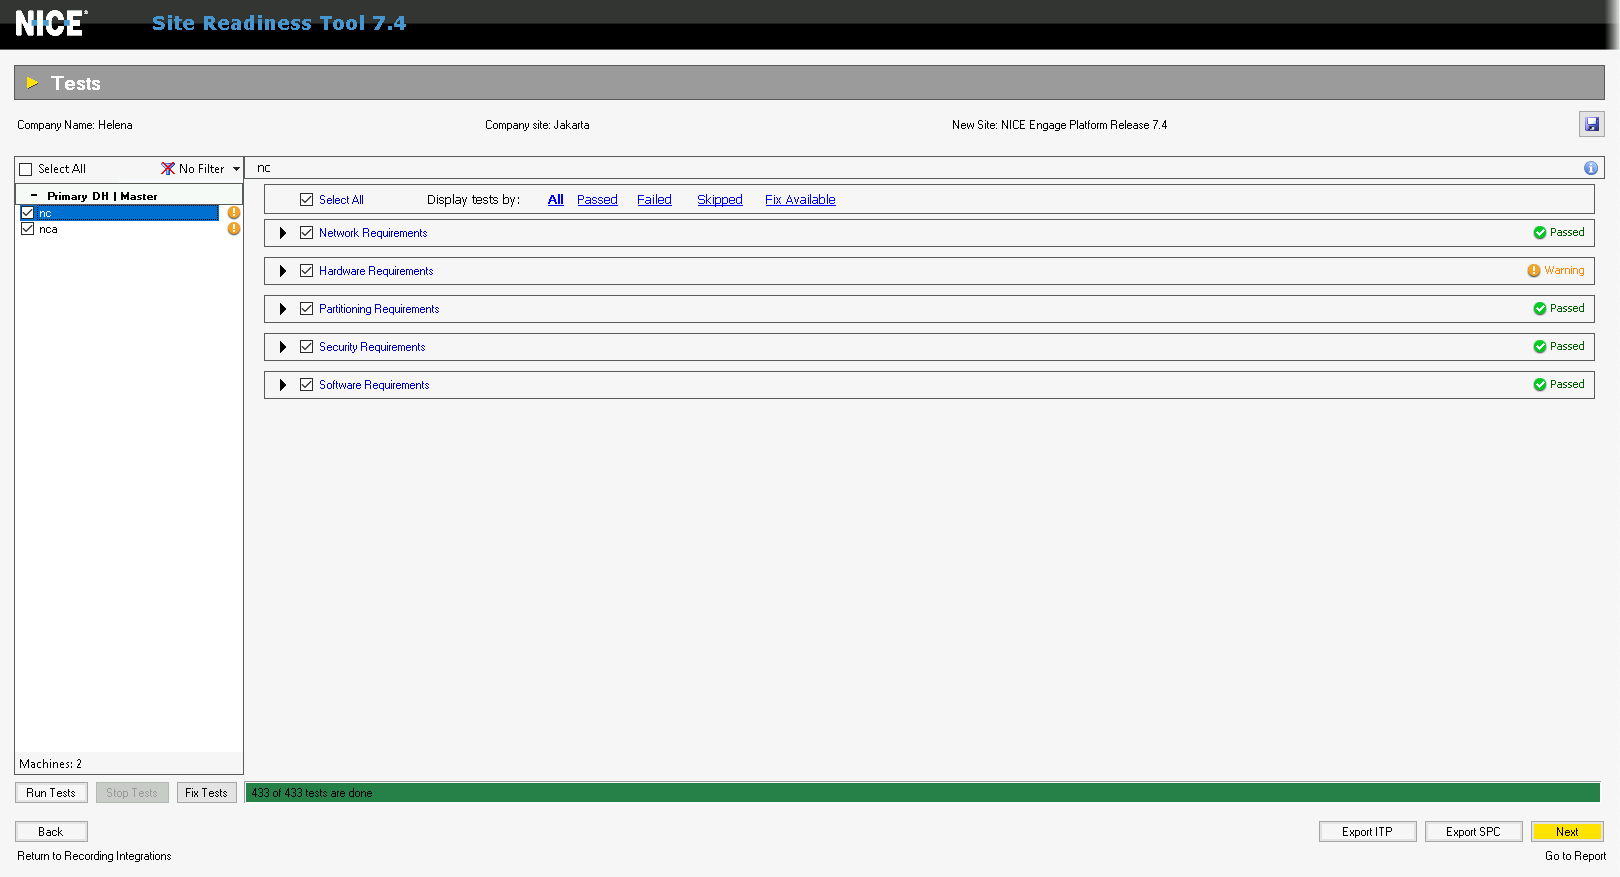
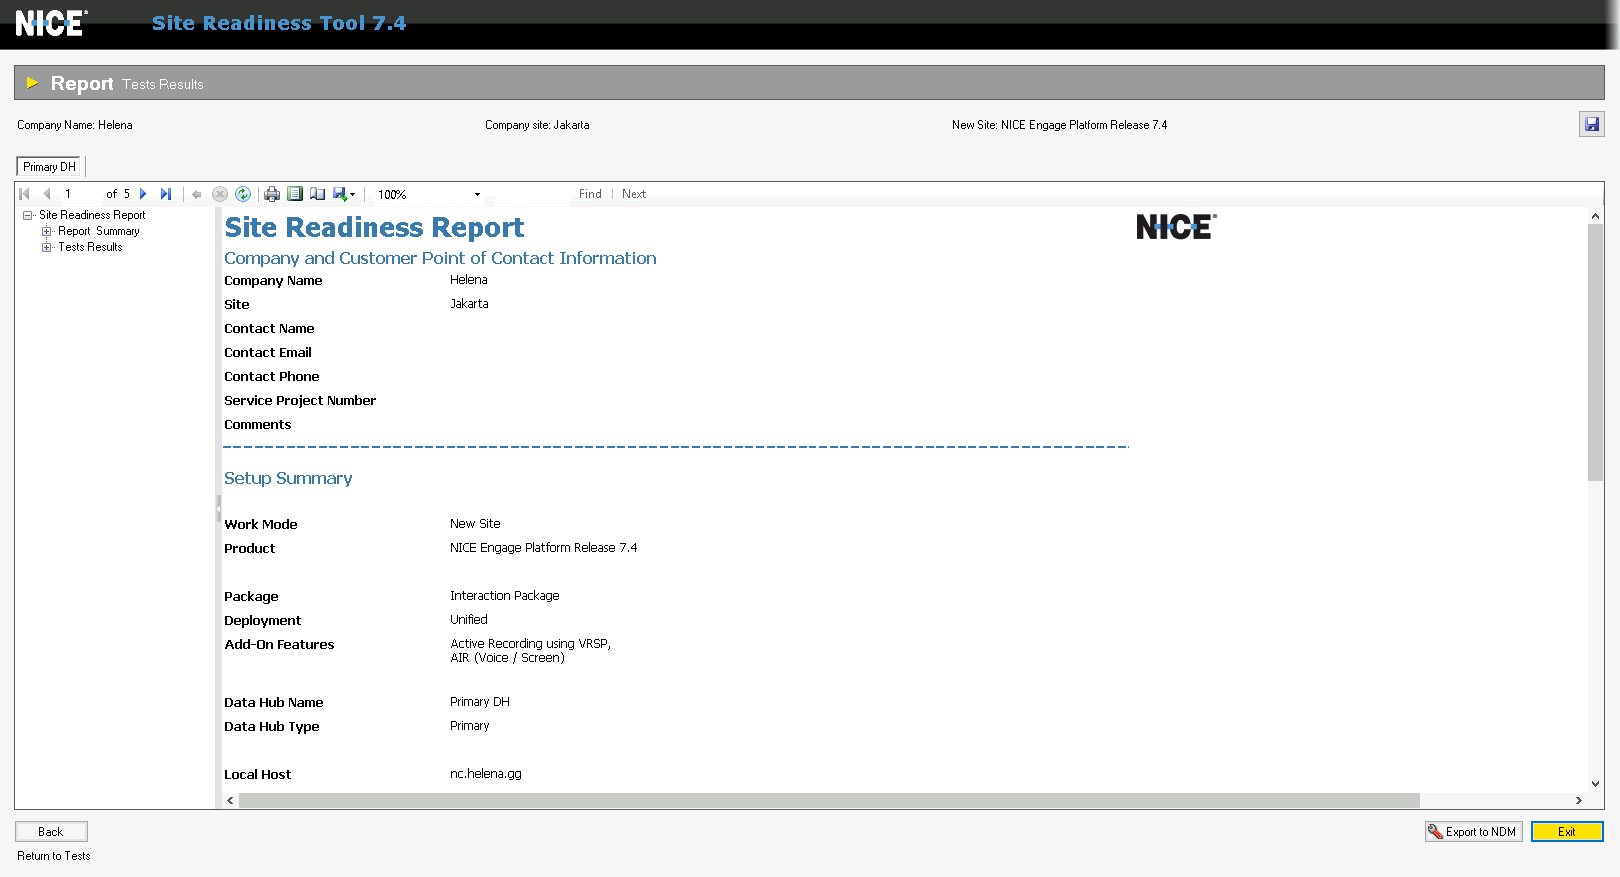
After all’s done, we’ll get the SRT Report. Export it for later use on NDM
Running NDM (NICE Deployment Manager)
First run the NiceTechCreator.bat to create all the neccessary directories for the installation
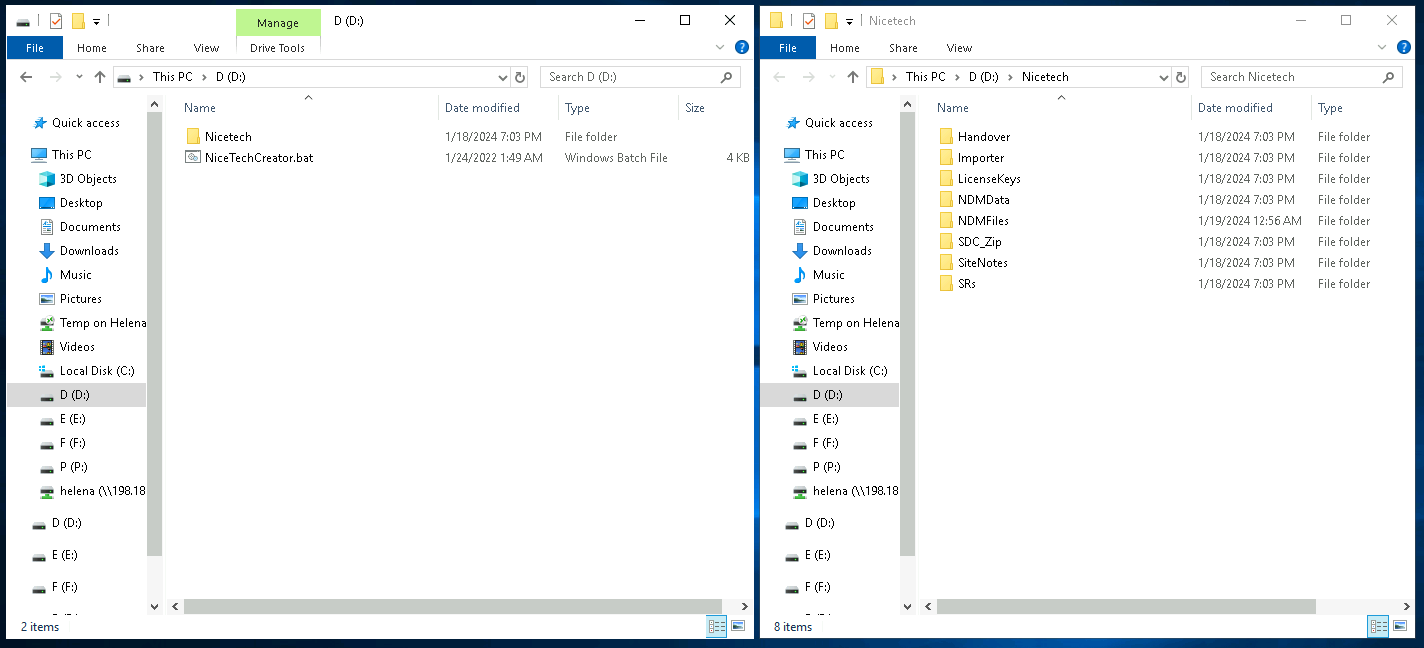
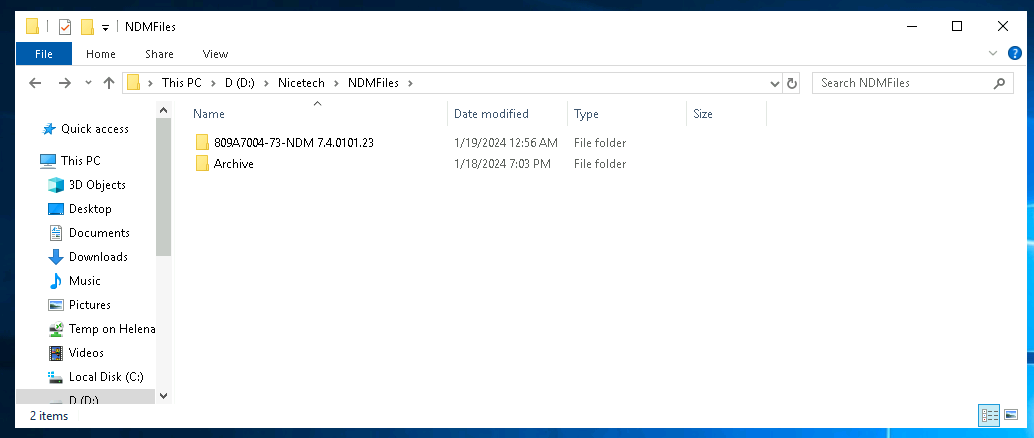
Put the NDM folder on “NDMFiles” directory
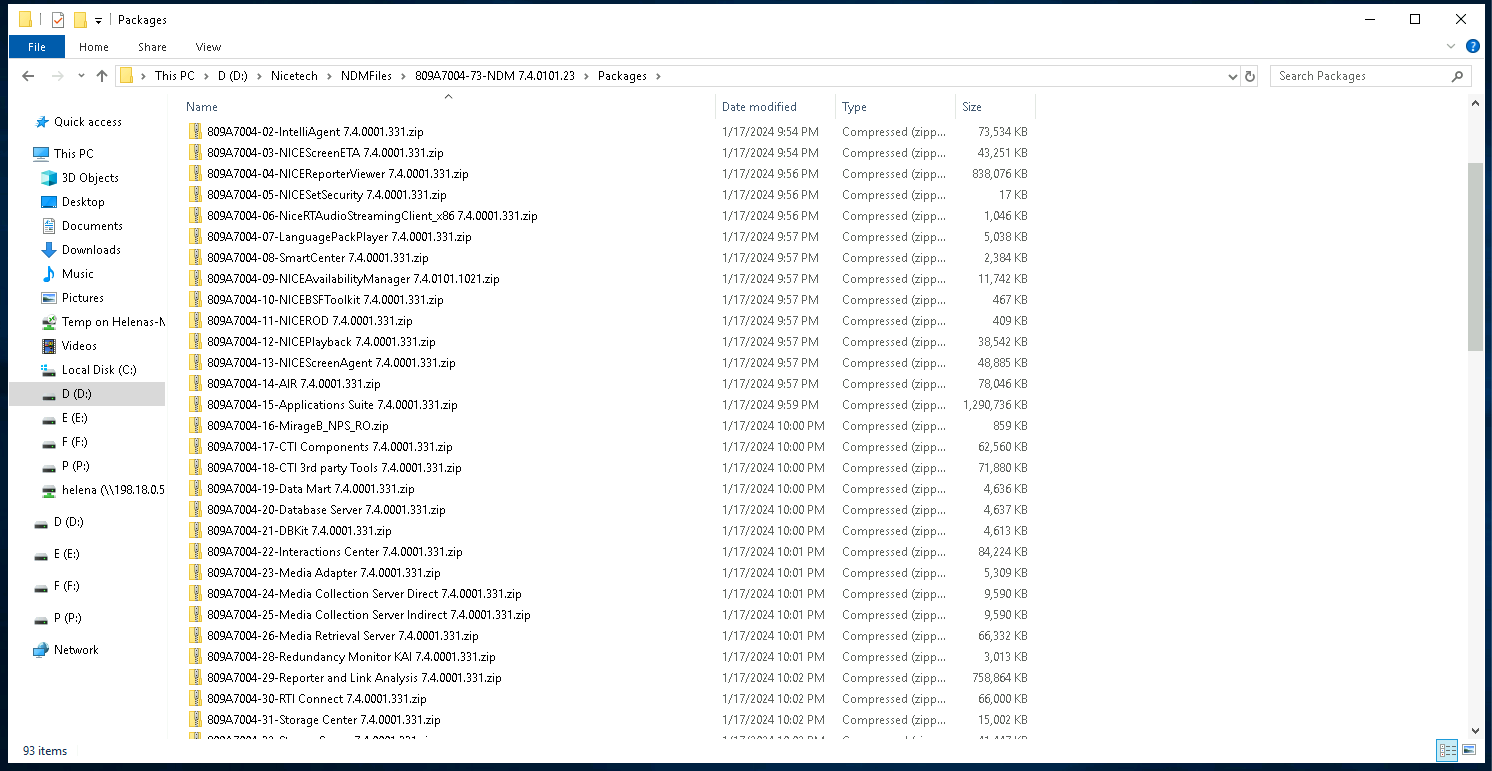
The inside the NDM folder, put all the packages needed on the “Packages” folder
Also put all the Service Packs on the “Service Packs” folder

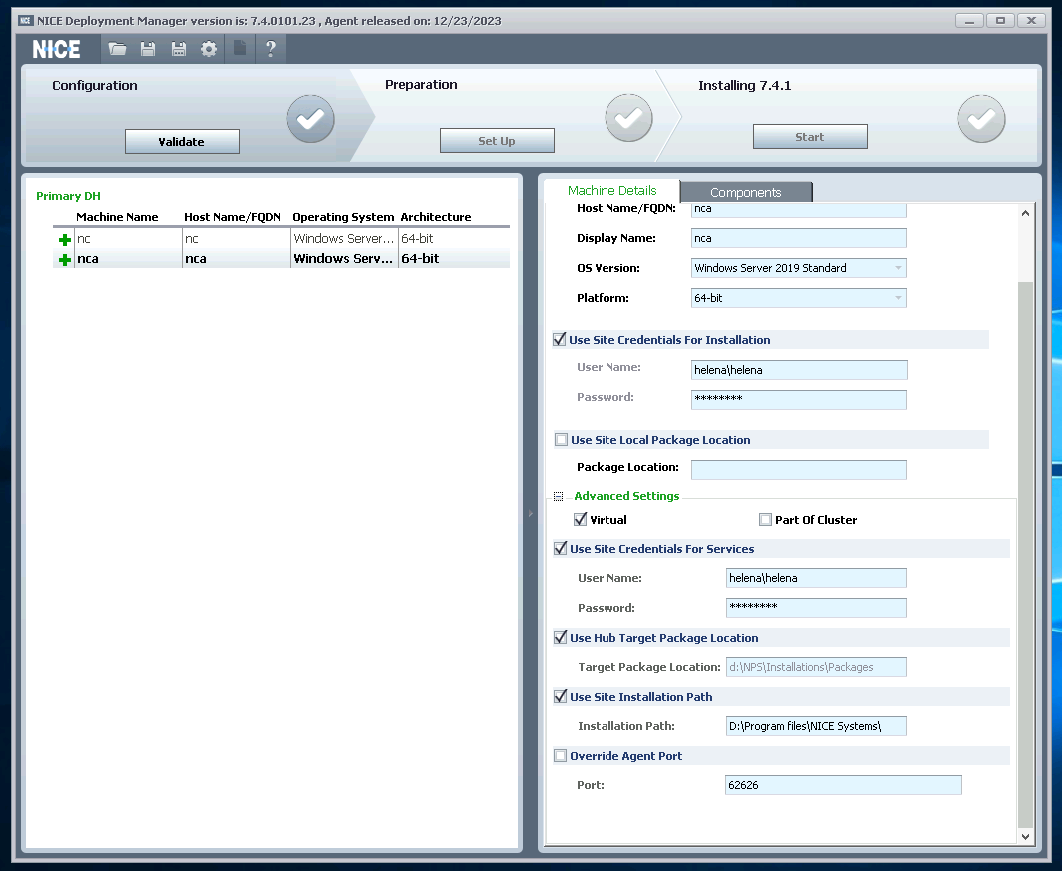
Launch the NDM and import the SRT file
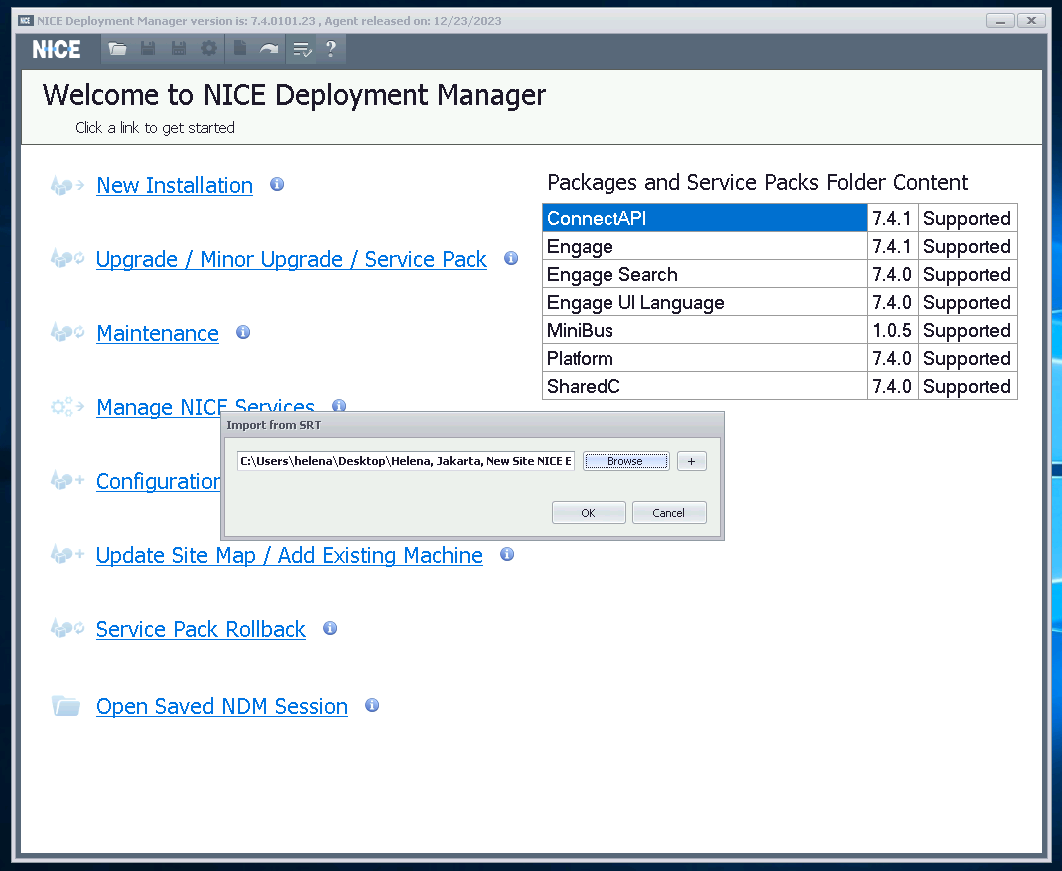
Fill in the necessary details
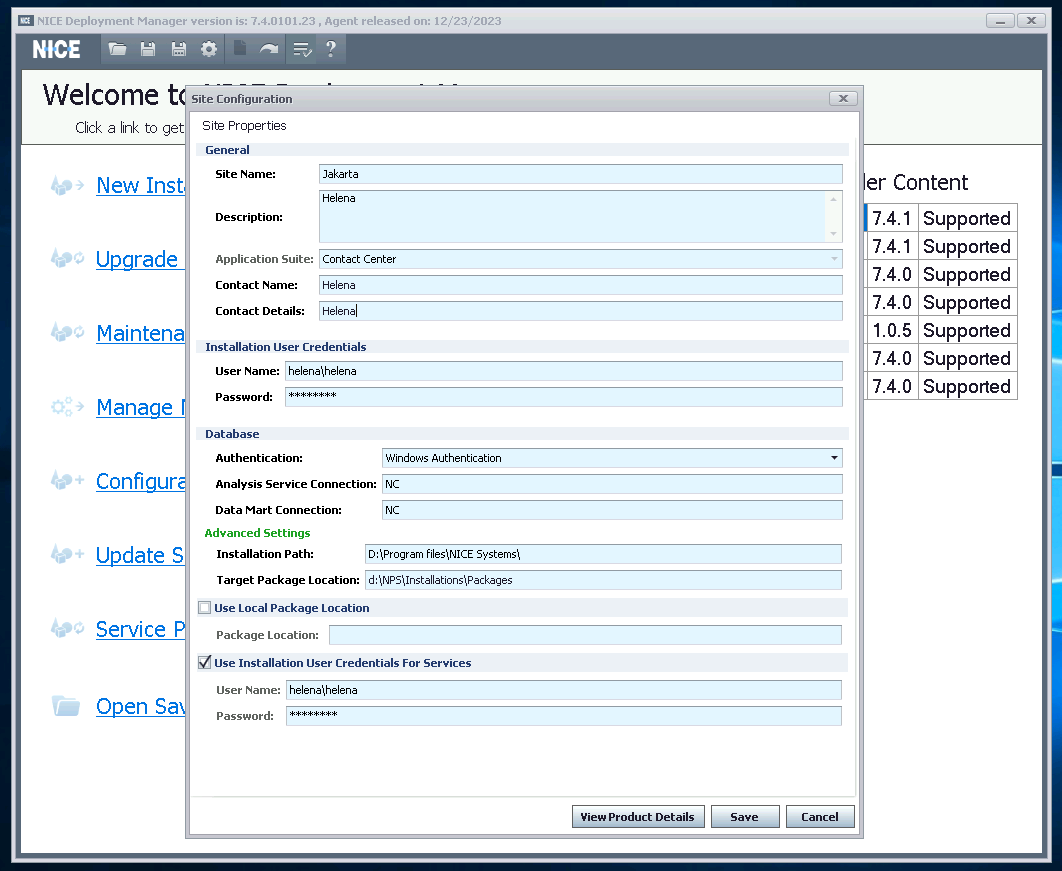
Double check everything, for this we just leave mostly as it is for both servers
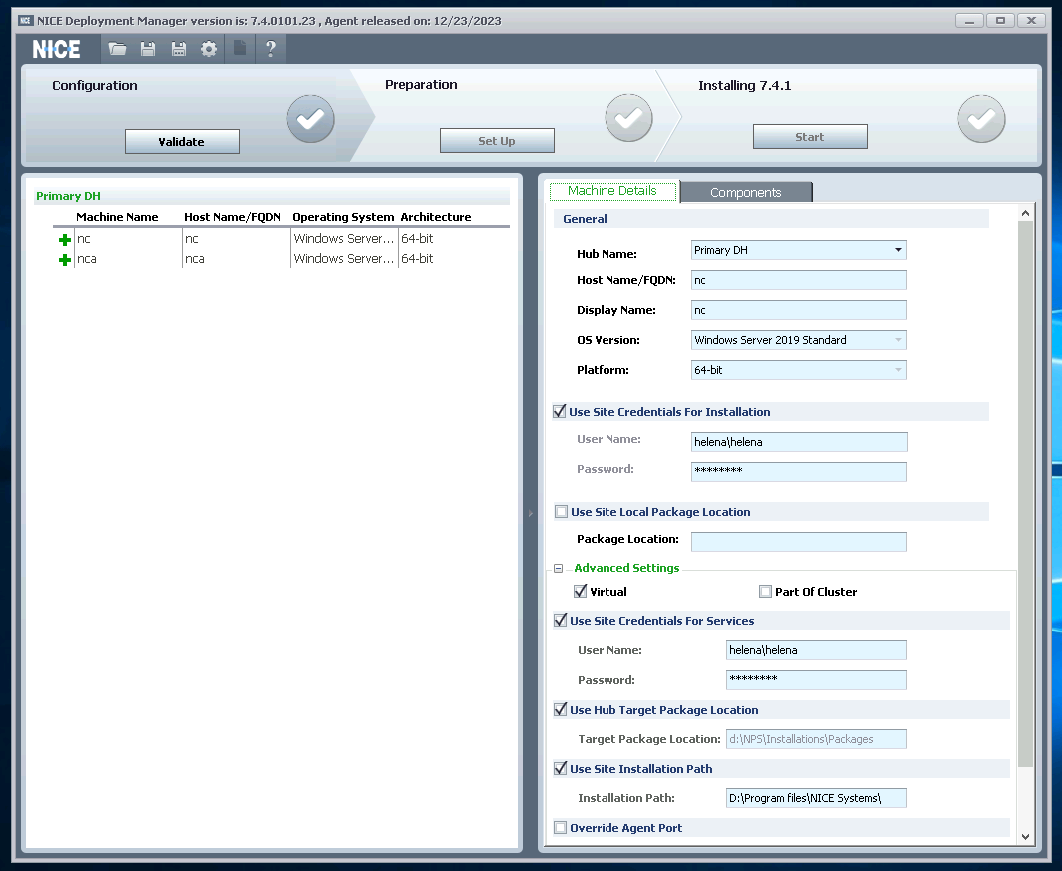
After that wait for the validation to finish, then select start
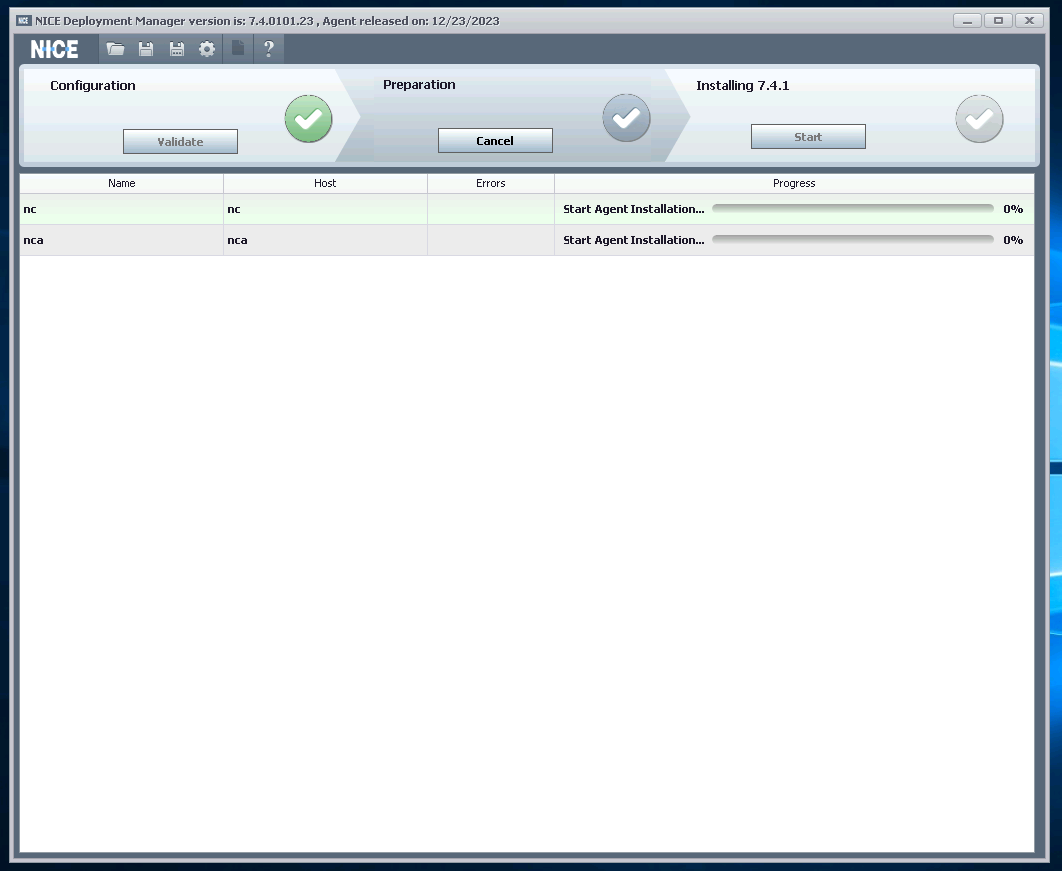
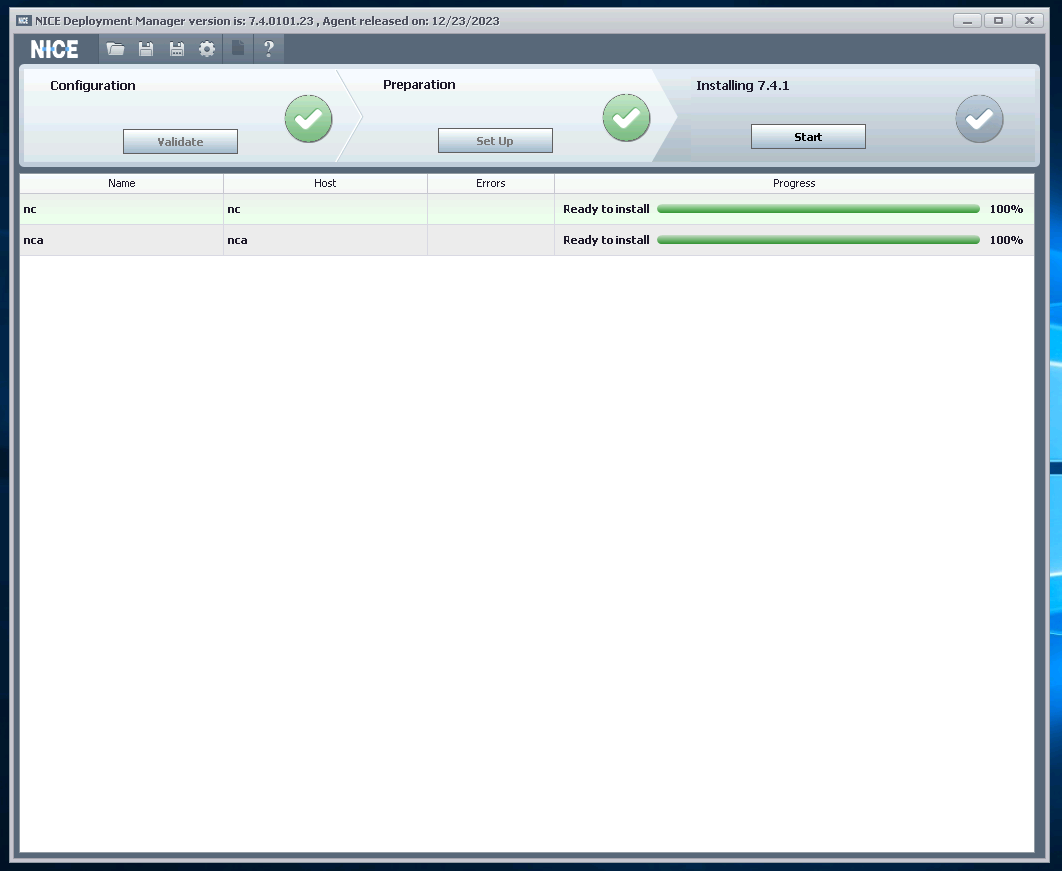
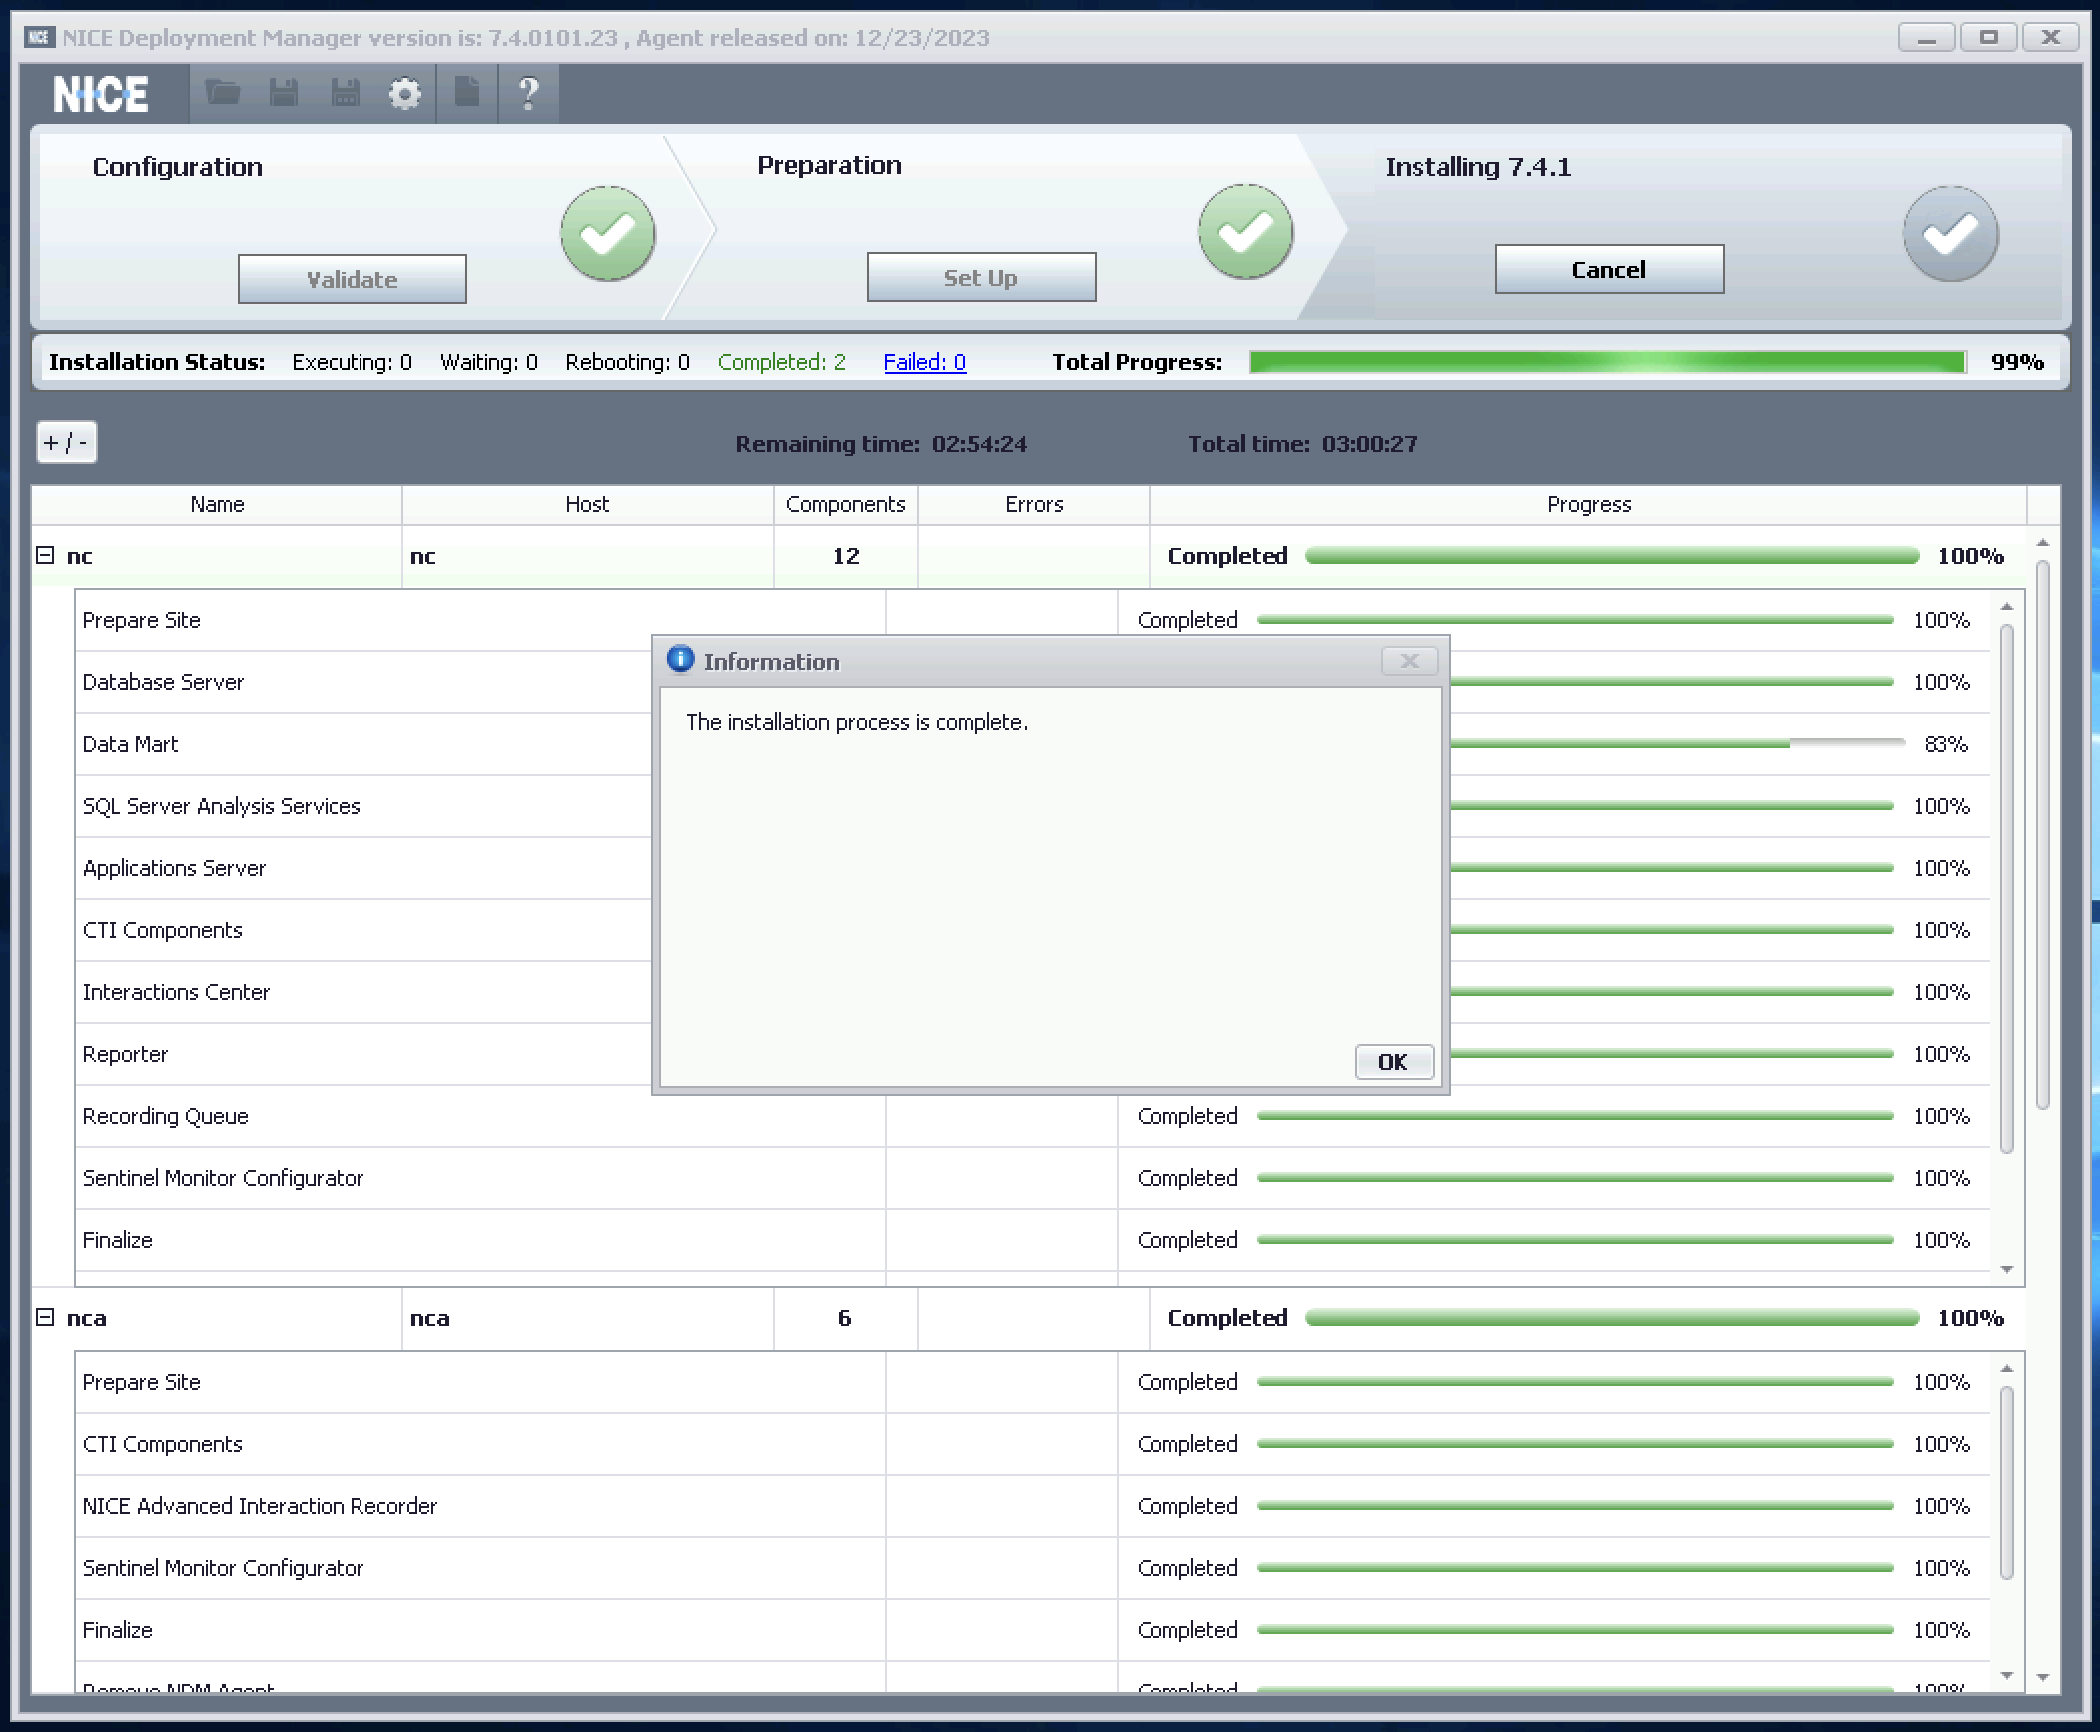
Then we just wait for the NDM to finish installing all the services and packages to both servers. This will take several hours
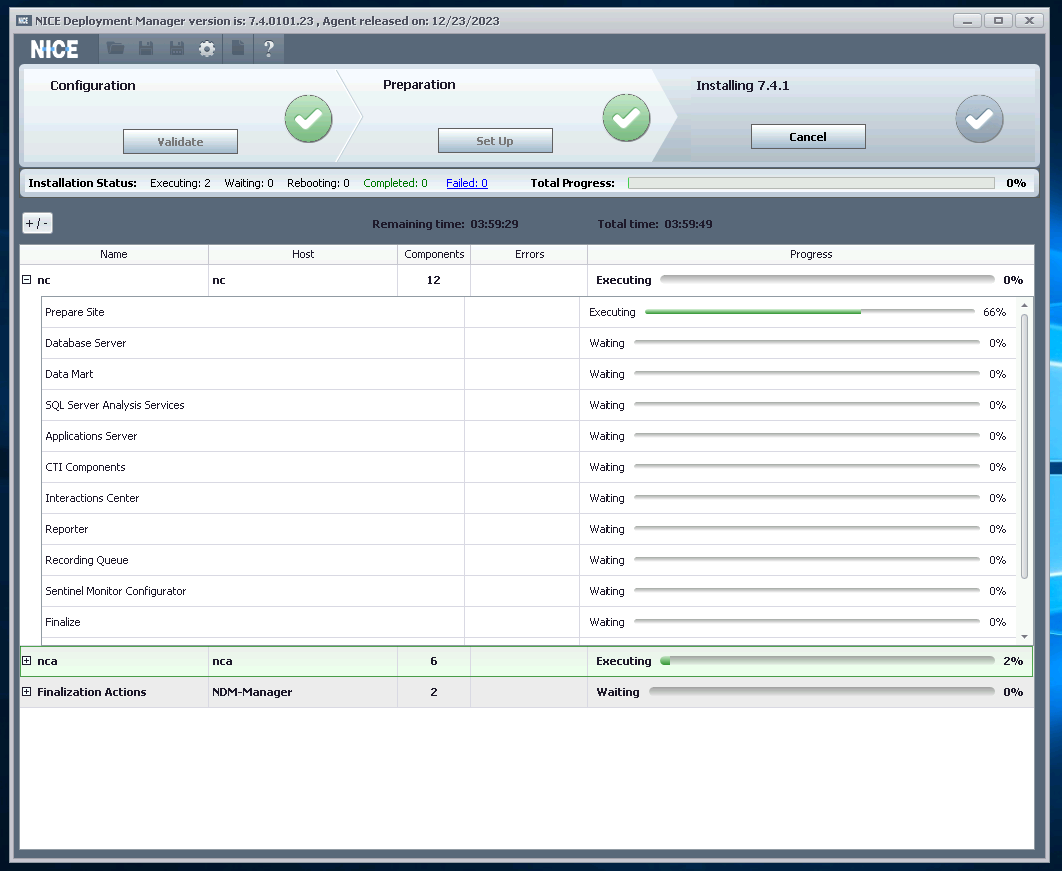
After couple hours, the installation finishes
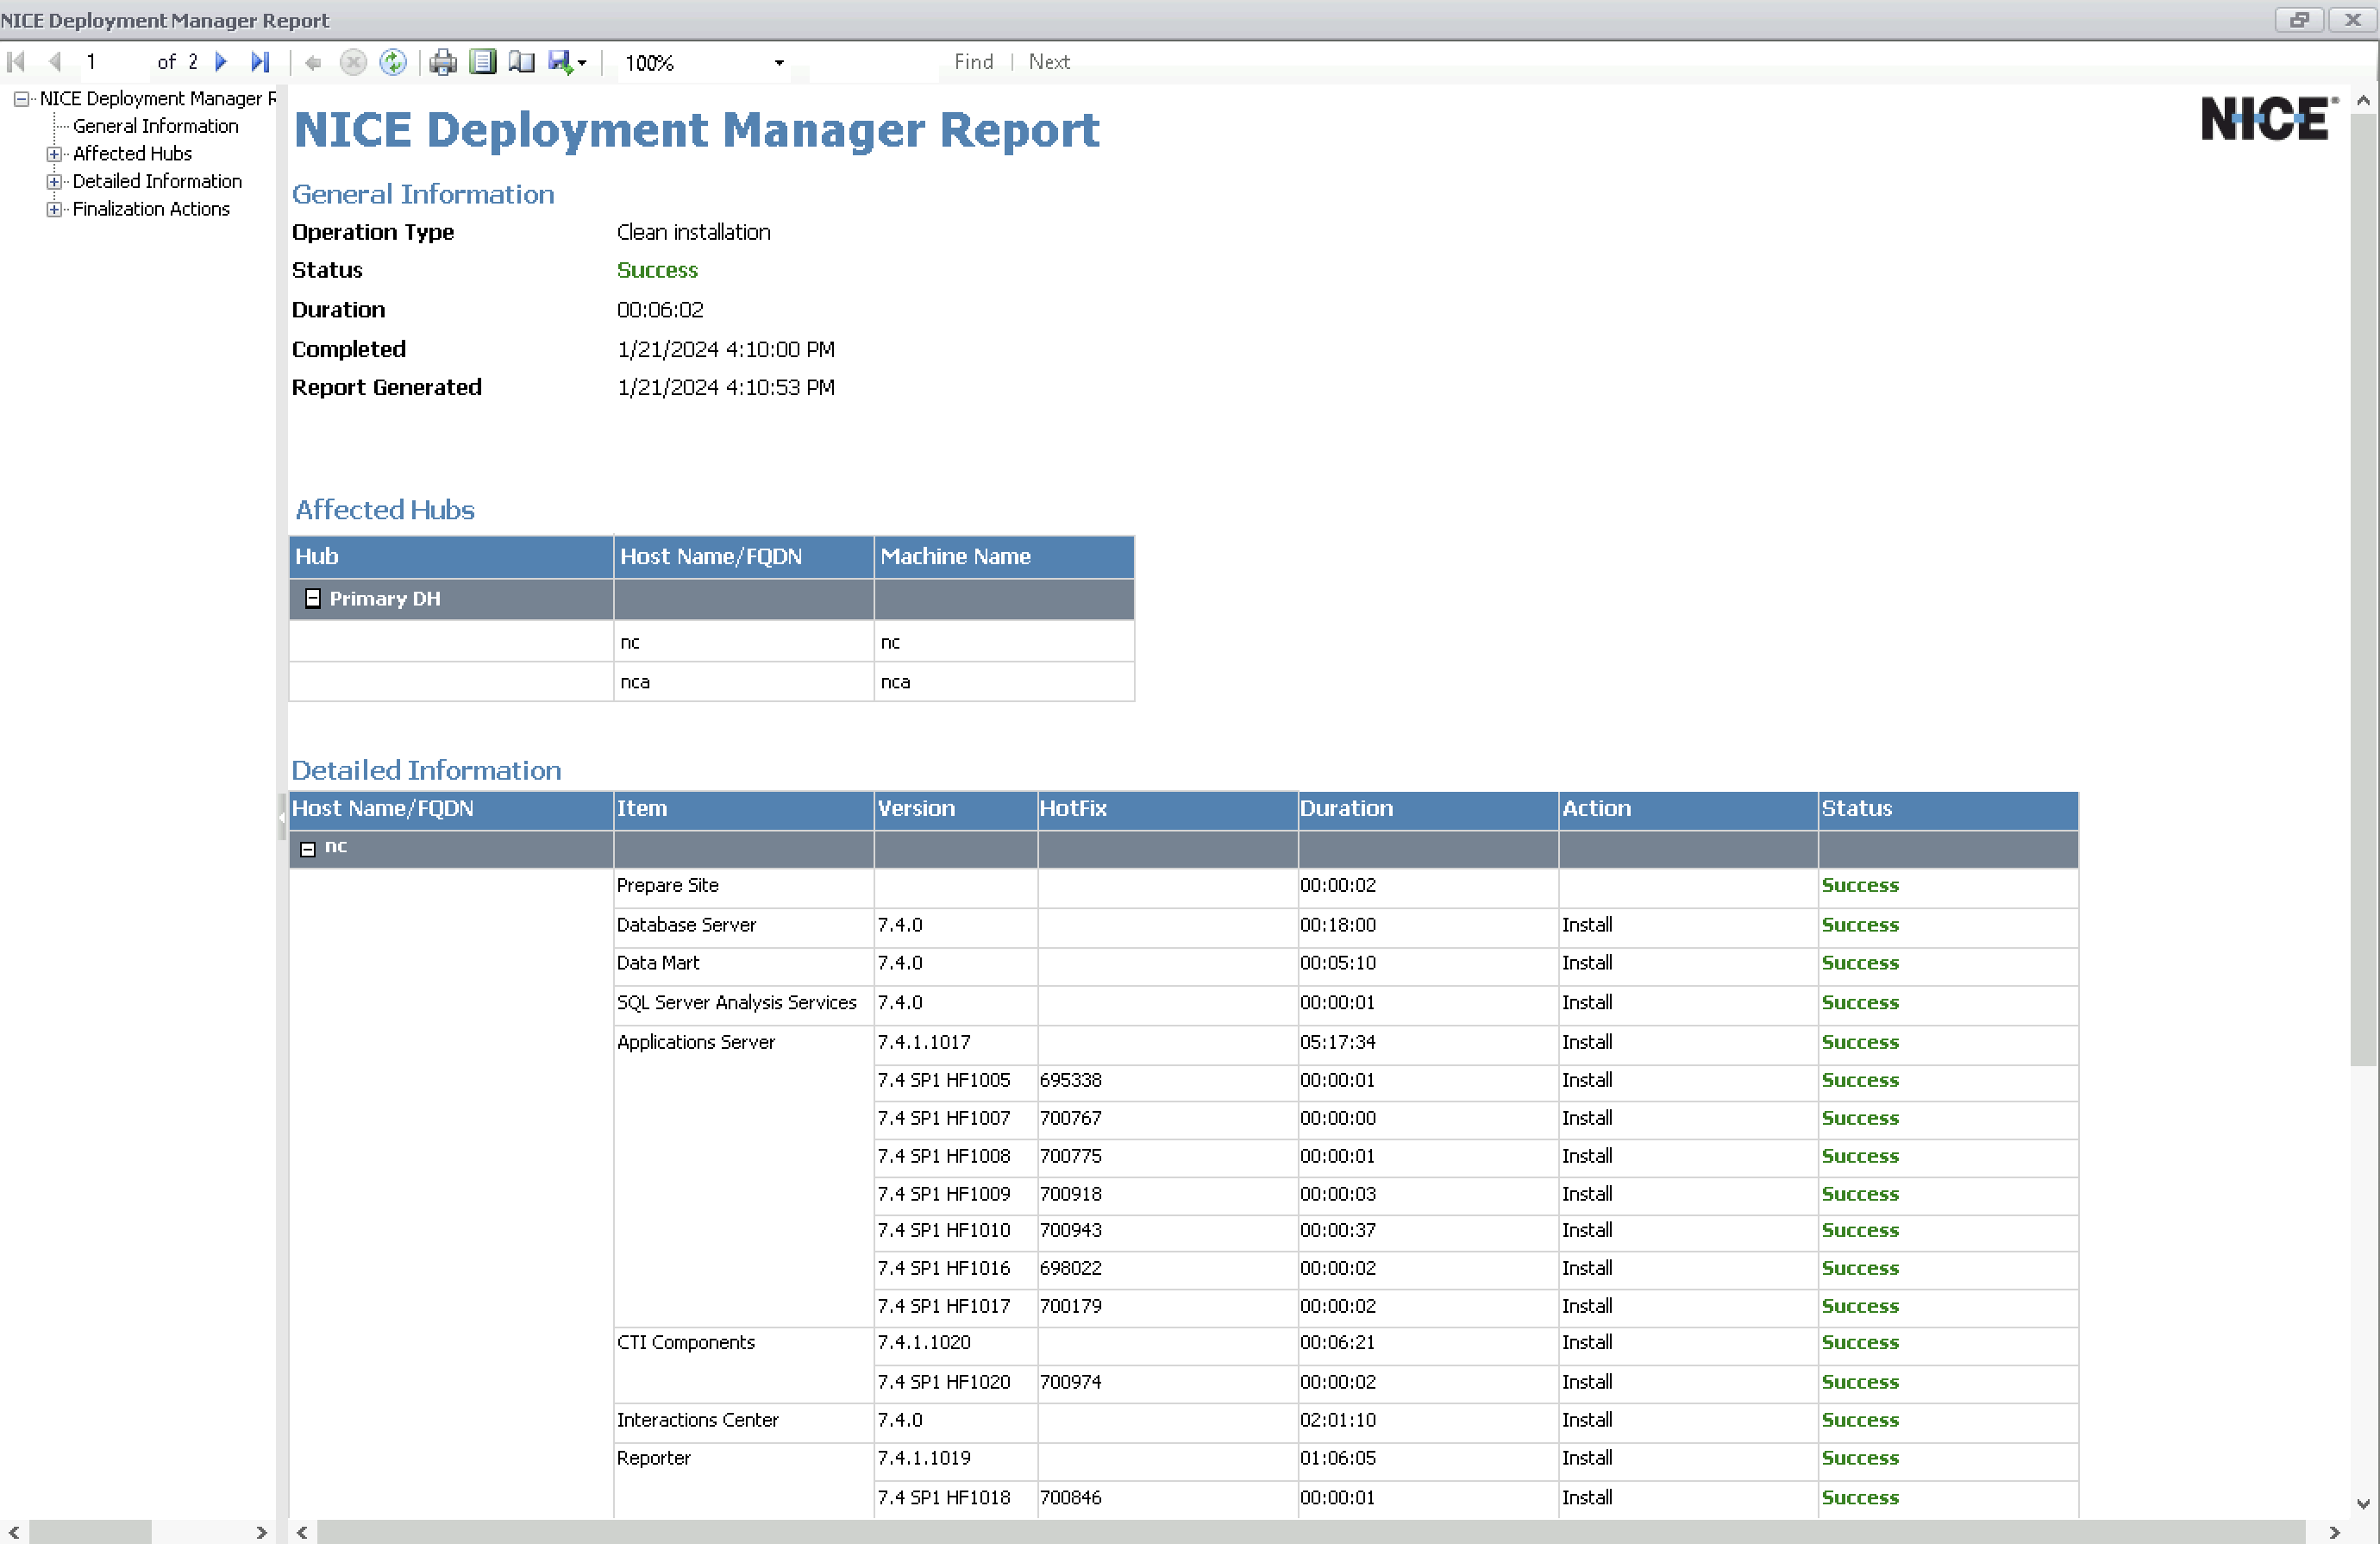
We also get a neat NDM Report for the details of the installation
Configuring NICE
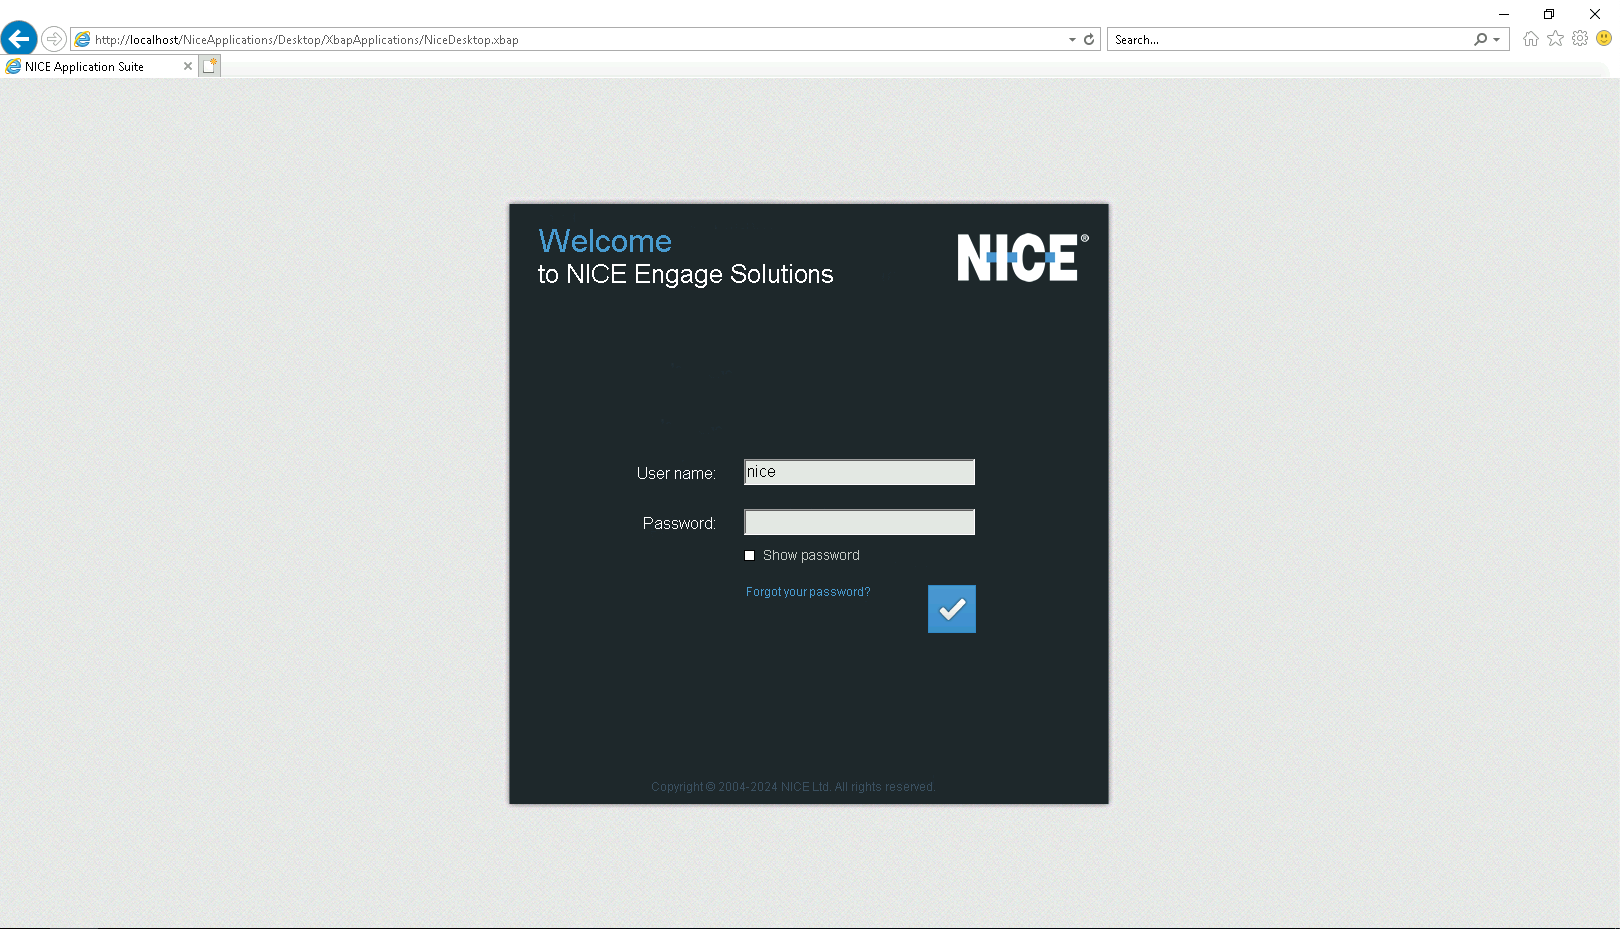
Now the NICE Portal should be accessible from the web browser pointing to the NICE Unified server. The default login is nice/nice
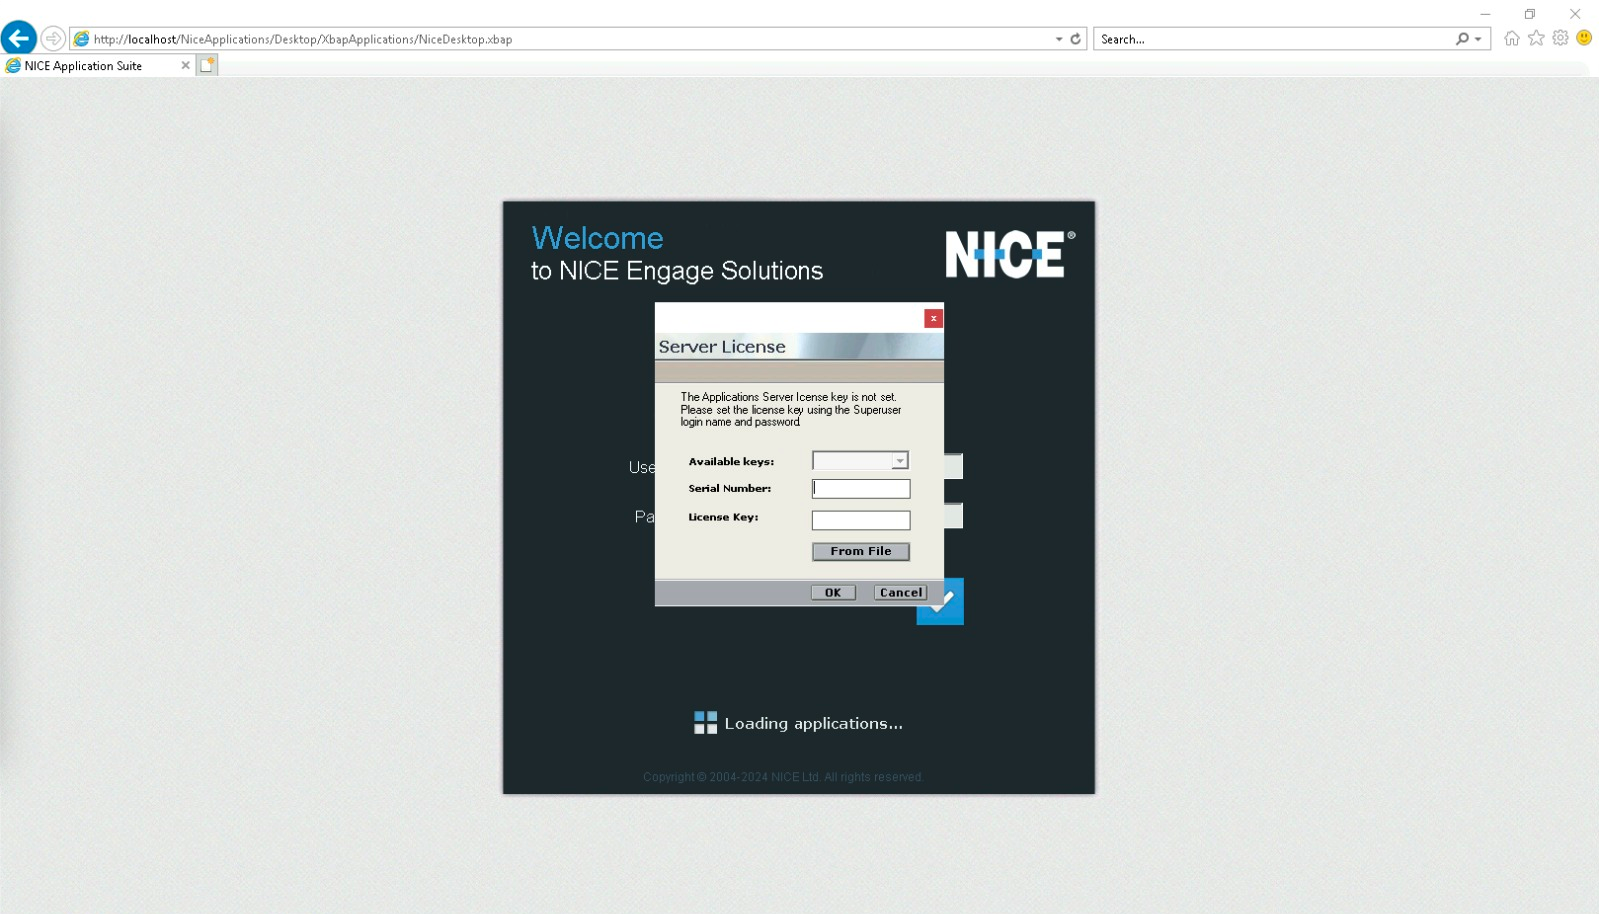
Next import the license
Then we’ll be taken to the NICE Adminitration page
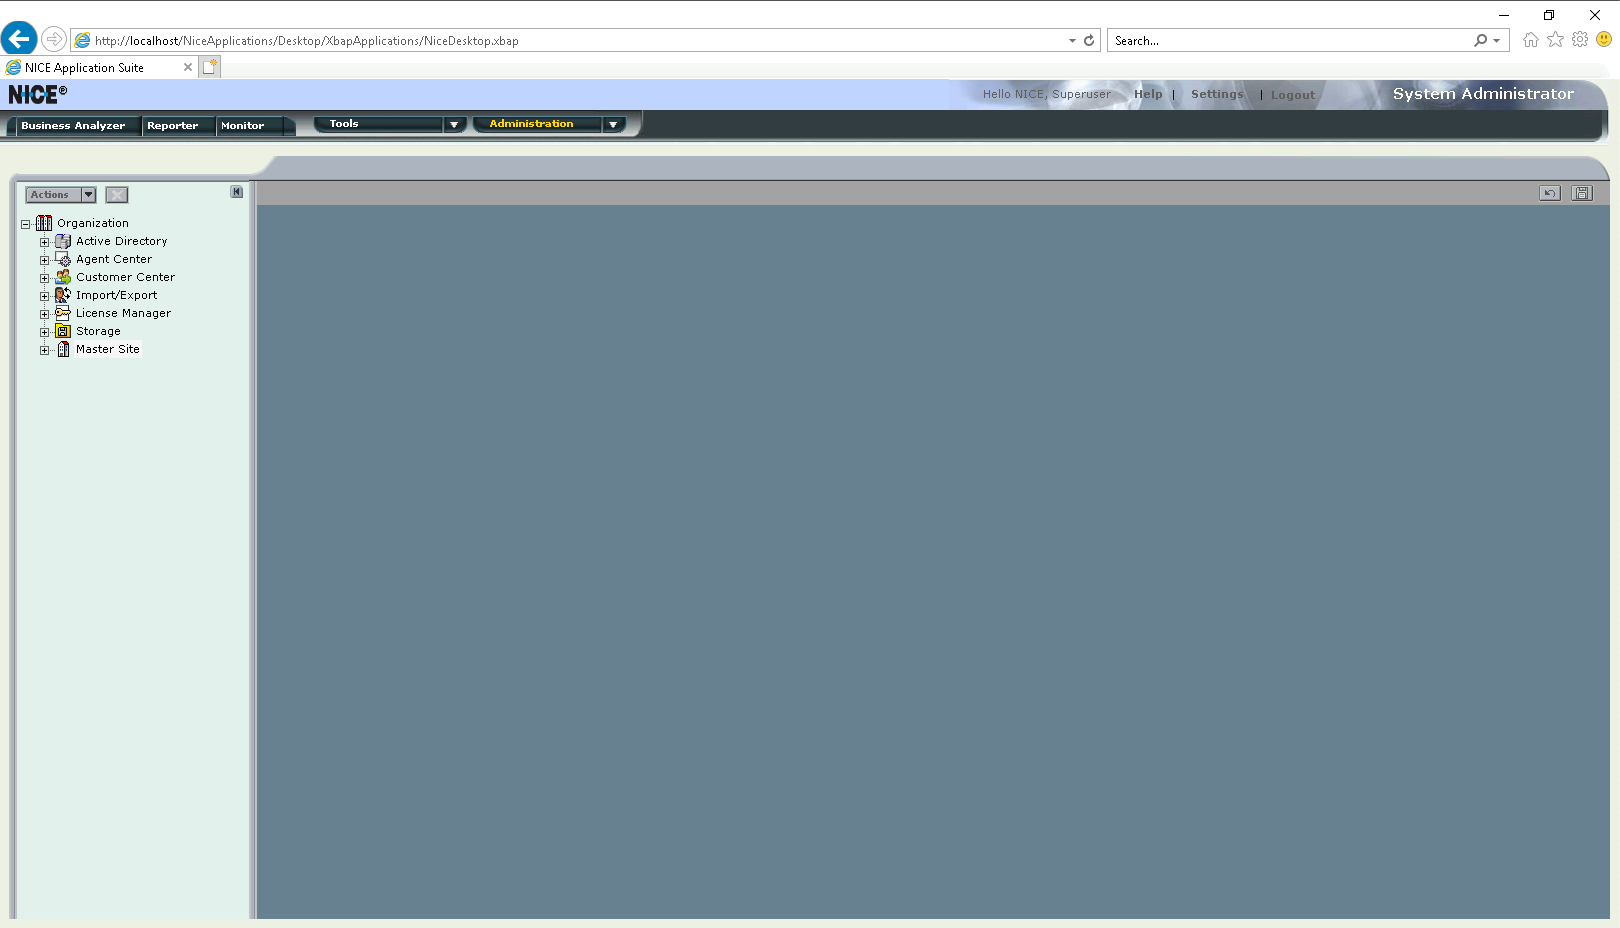
Application Server
First configure the Application Server with NICE Unfied’s hostname

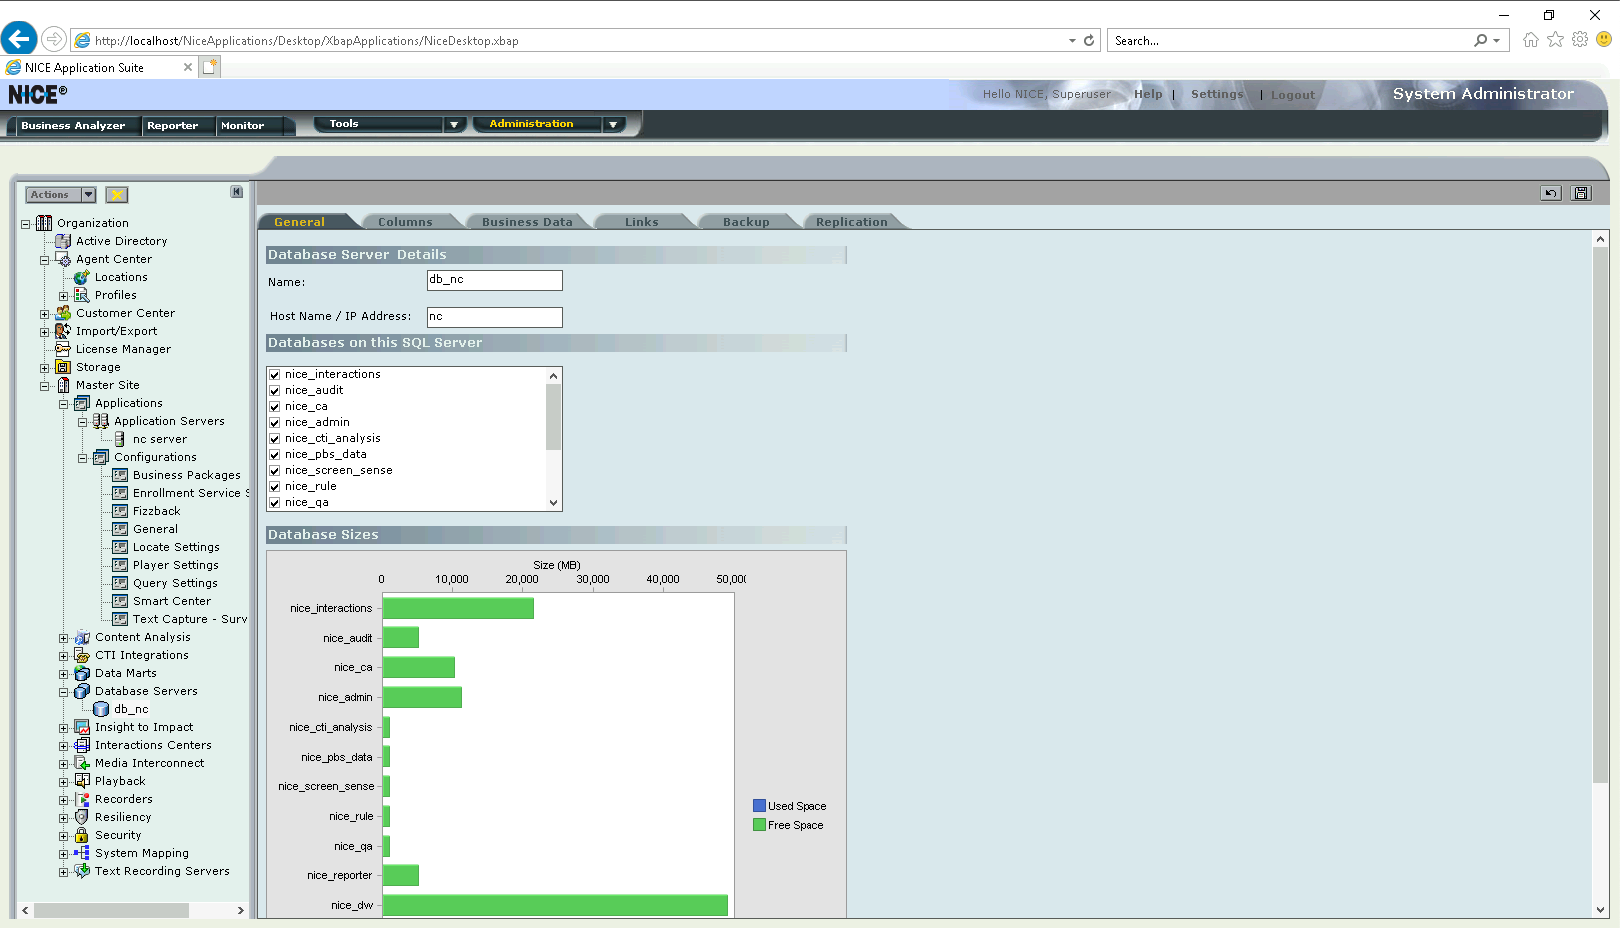
Database Server
Next configure the Database Server, give it a name and point it to the NICE Unified as well
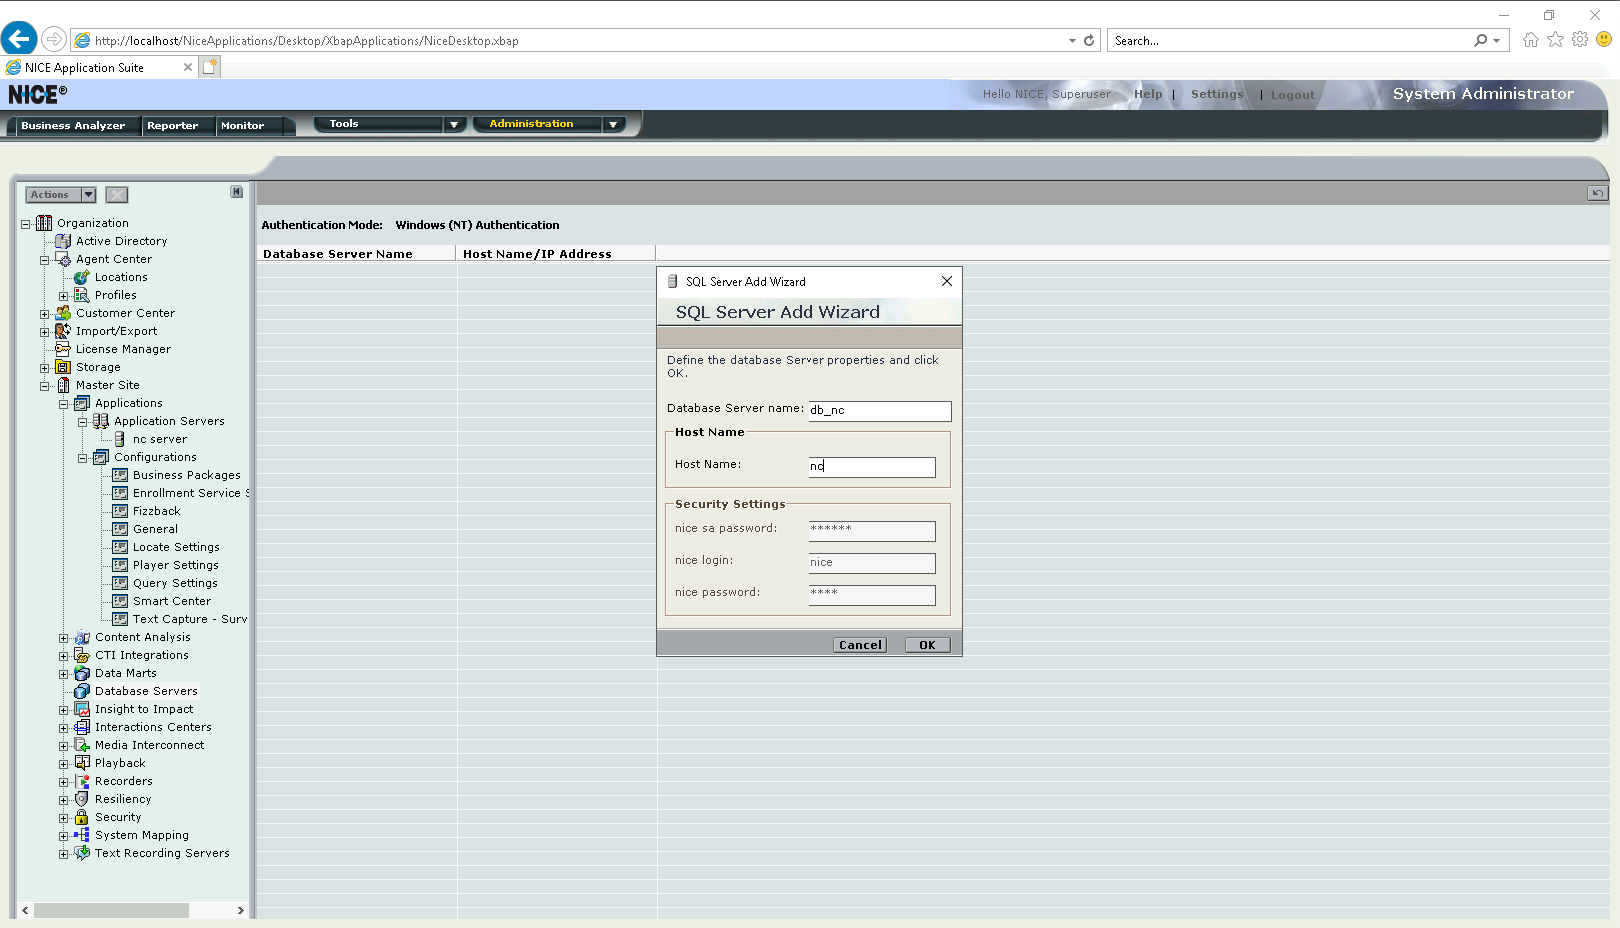
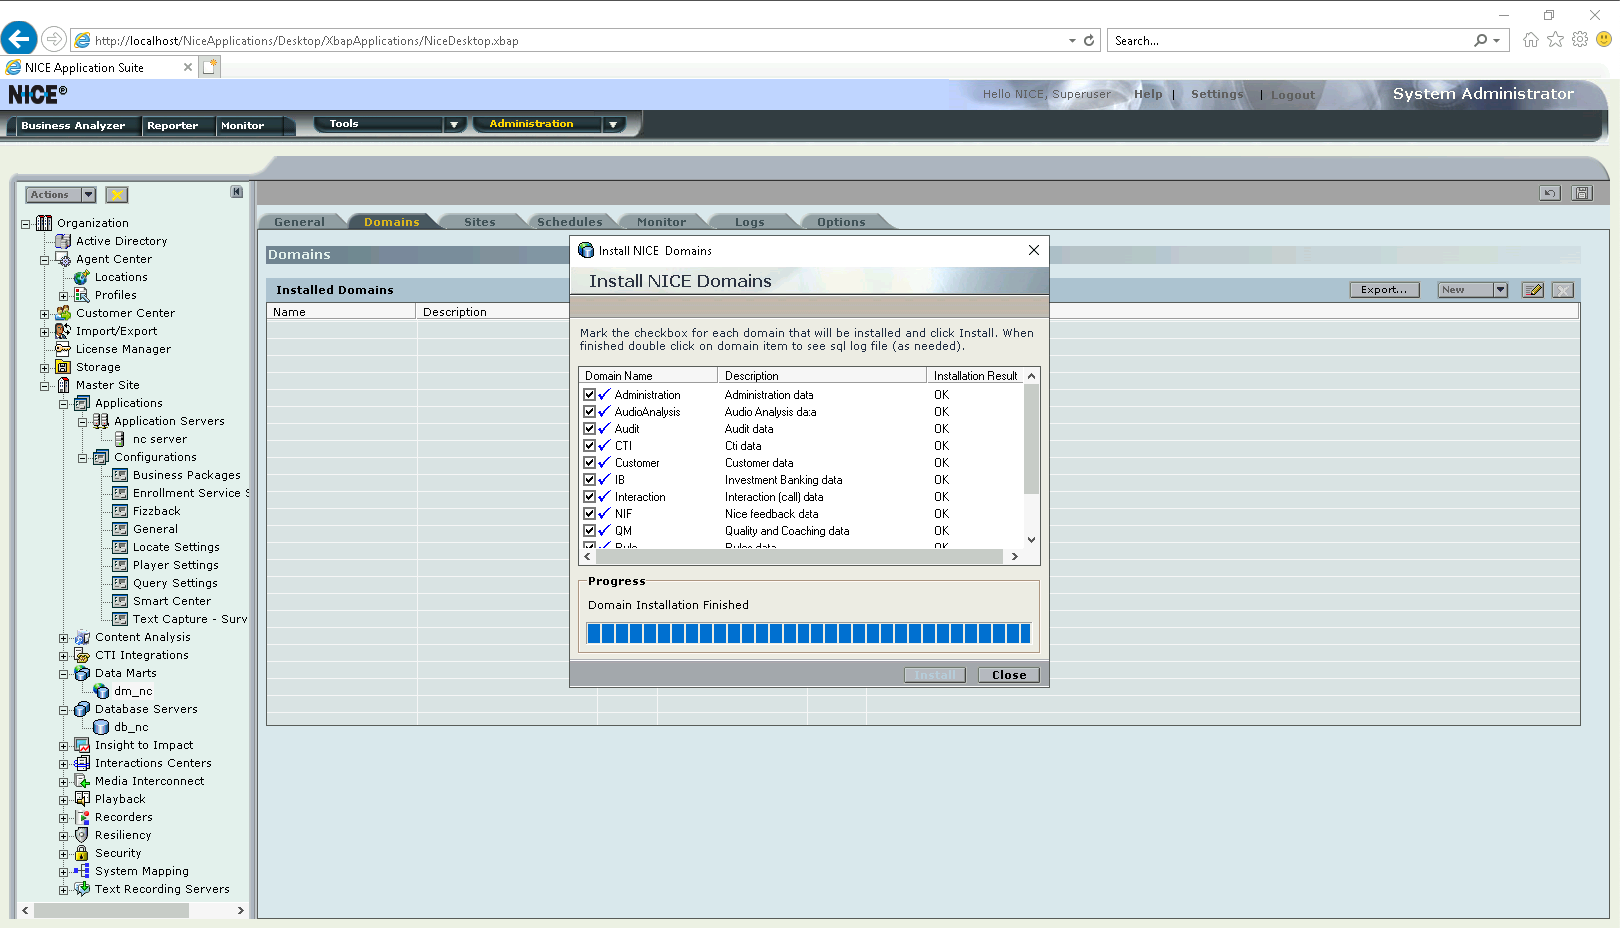
Give checkmark for every database shown here
Datamart
After that configure the Datamart, give it a name and point it to the database created just now
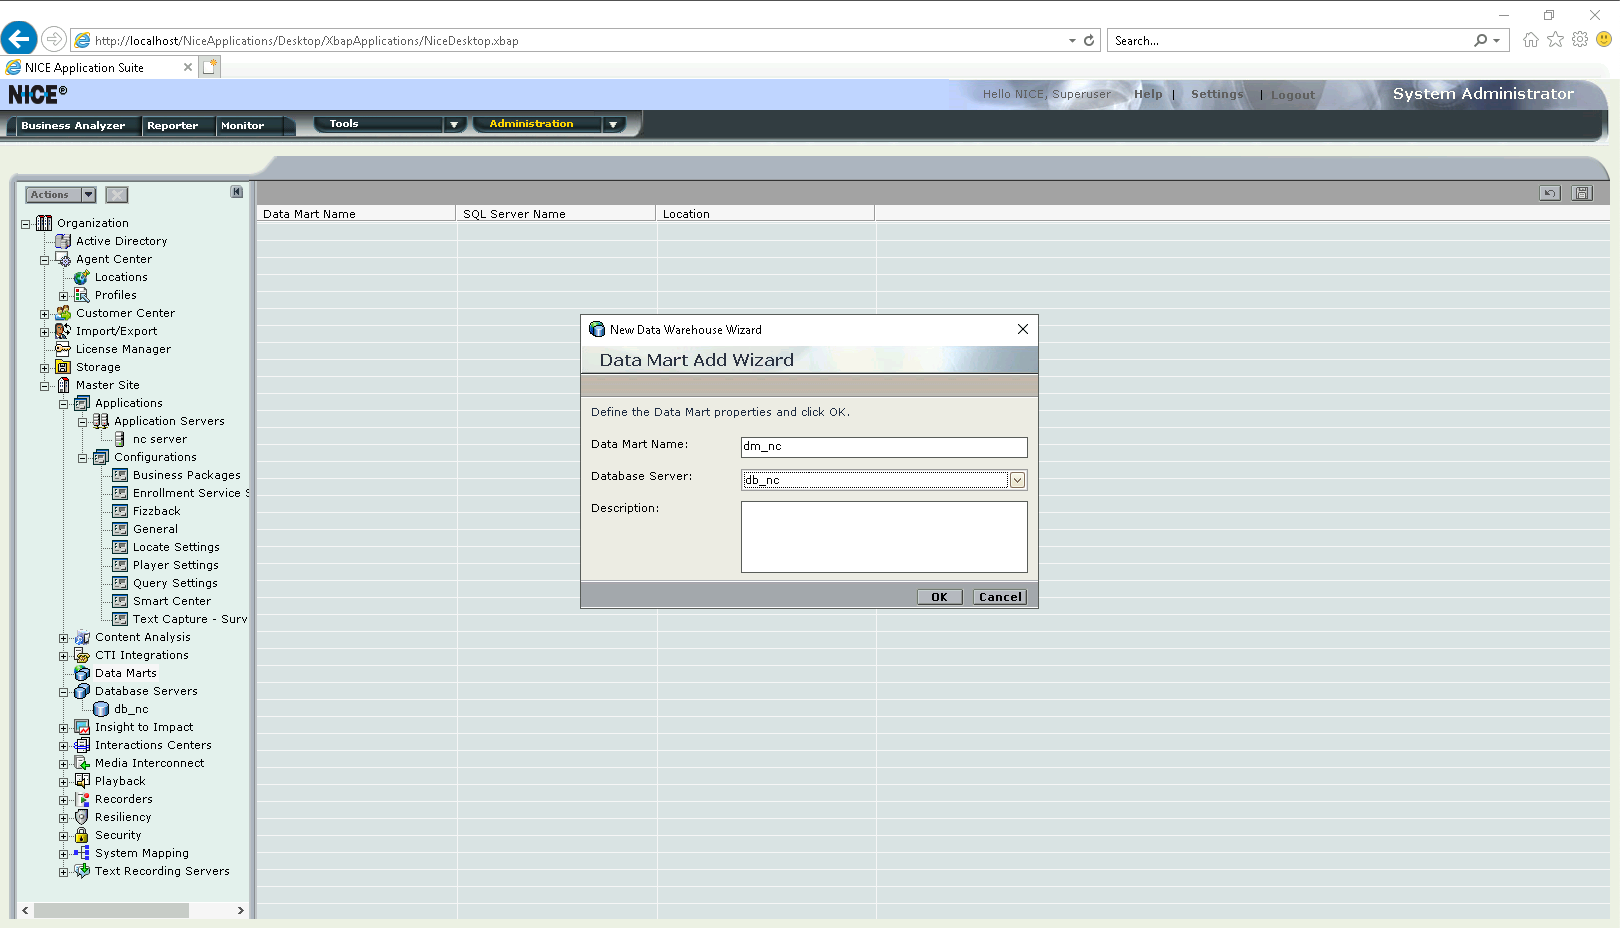
Mark all the checkboxes as well and hit install
Still on datamart, on Sites mark all the checkboxes

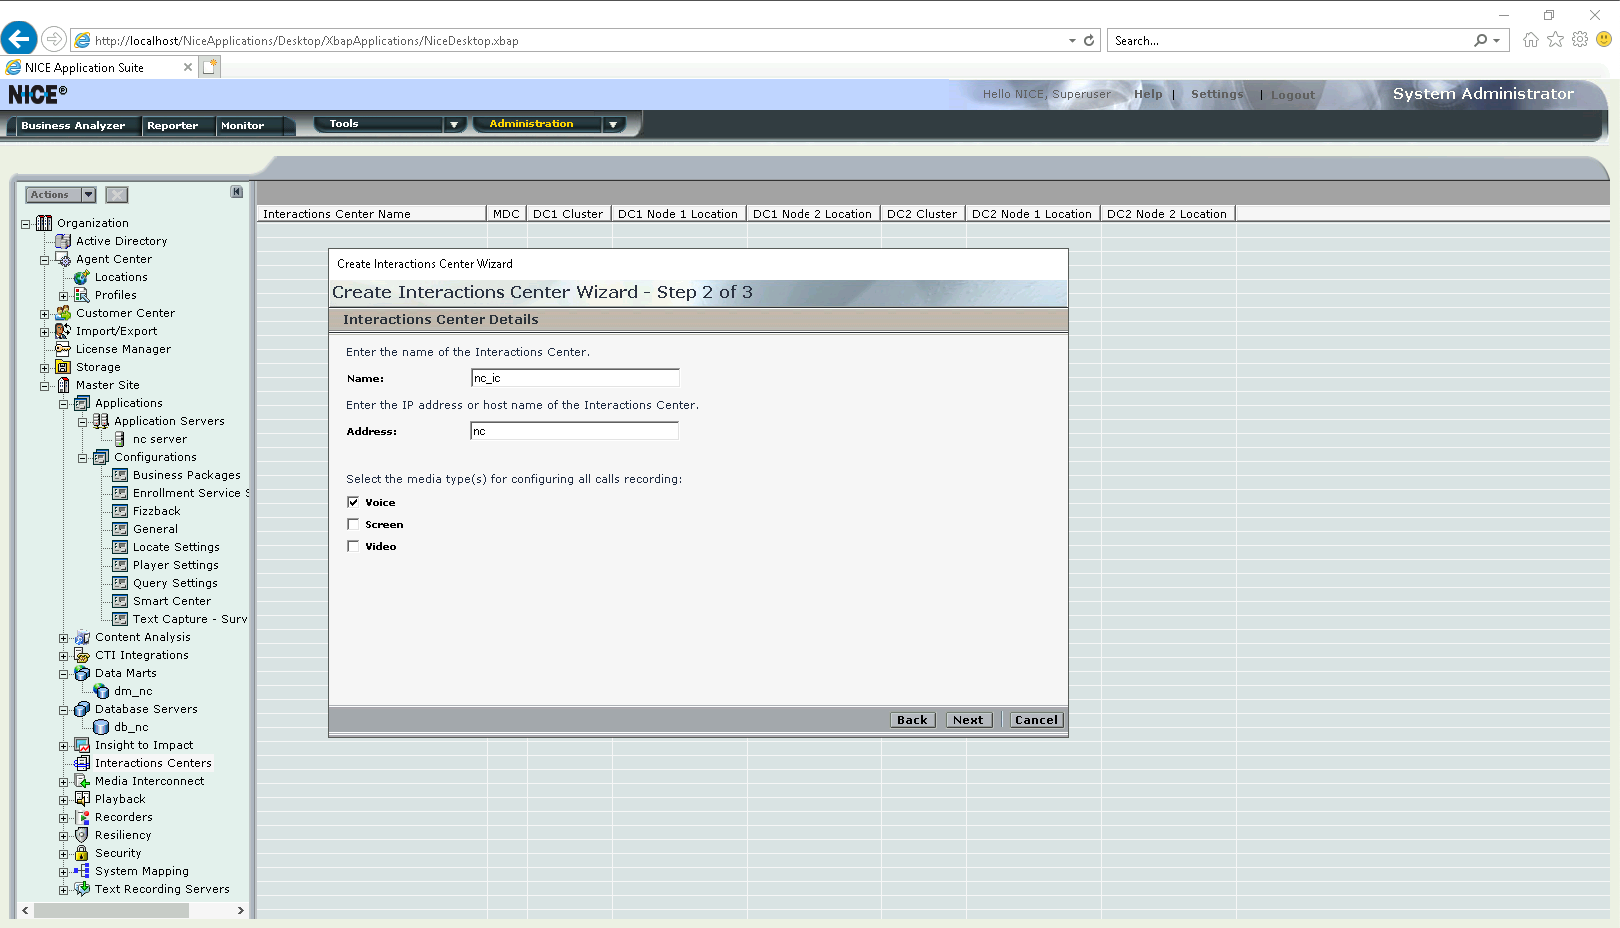
Interaction Center
Next on Interaction Center, give a name and point it to the NICE Unified server, and select Voice to be the recorded media type
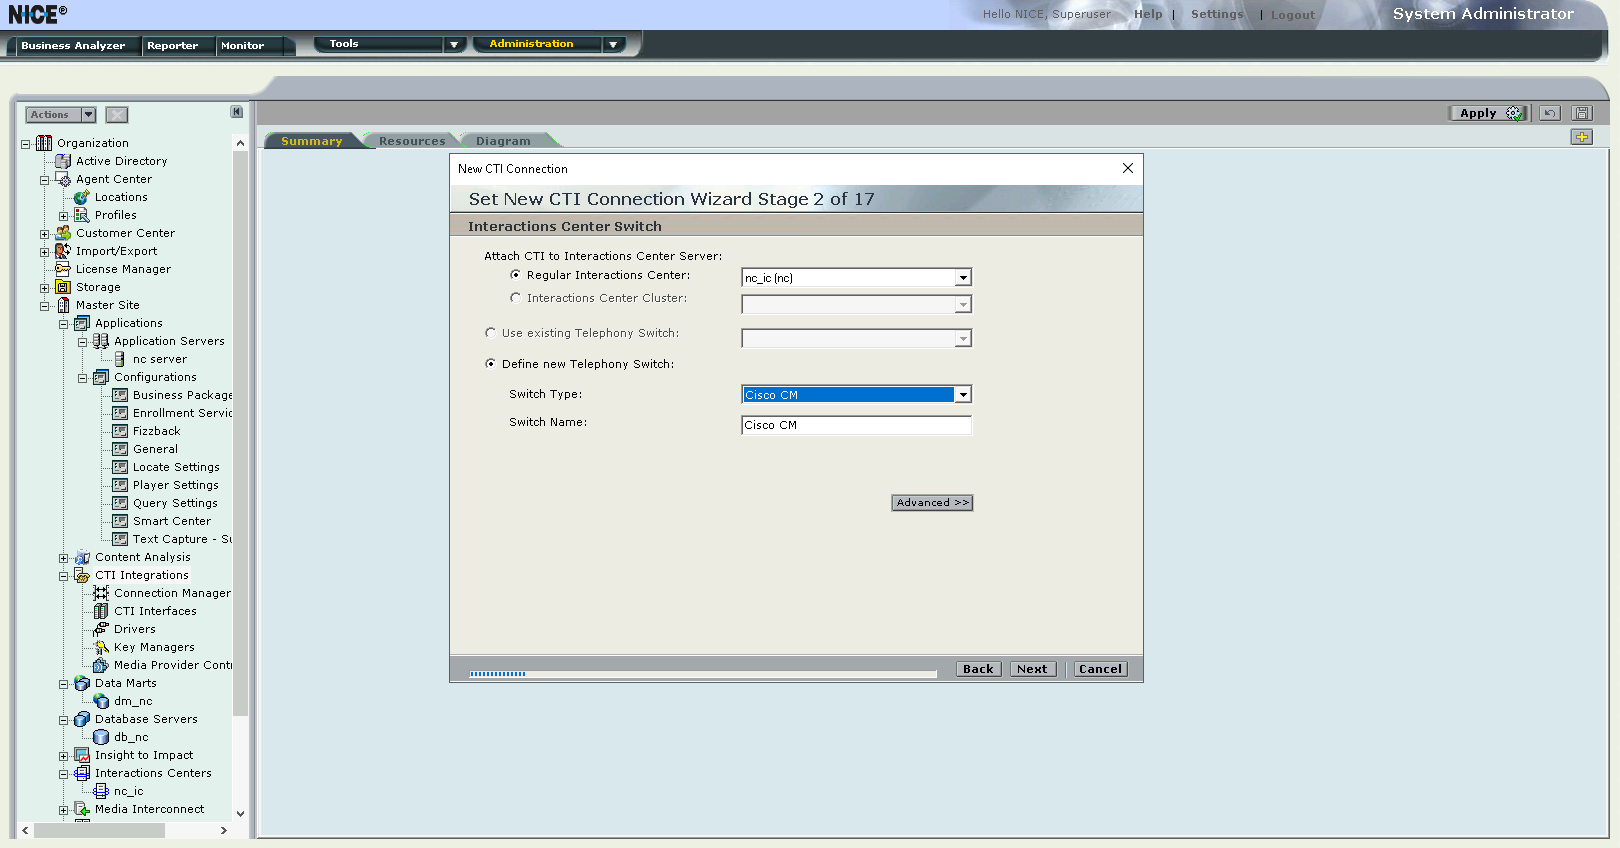
CTI Integrations
On CTI Integrations, create a new Regular IC and select the switch type to be Cisco CUCM
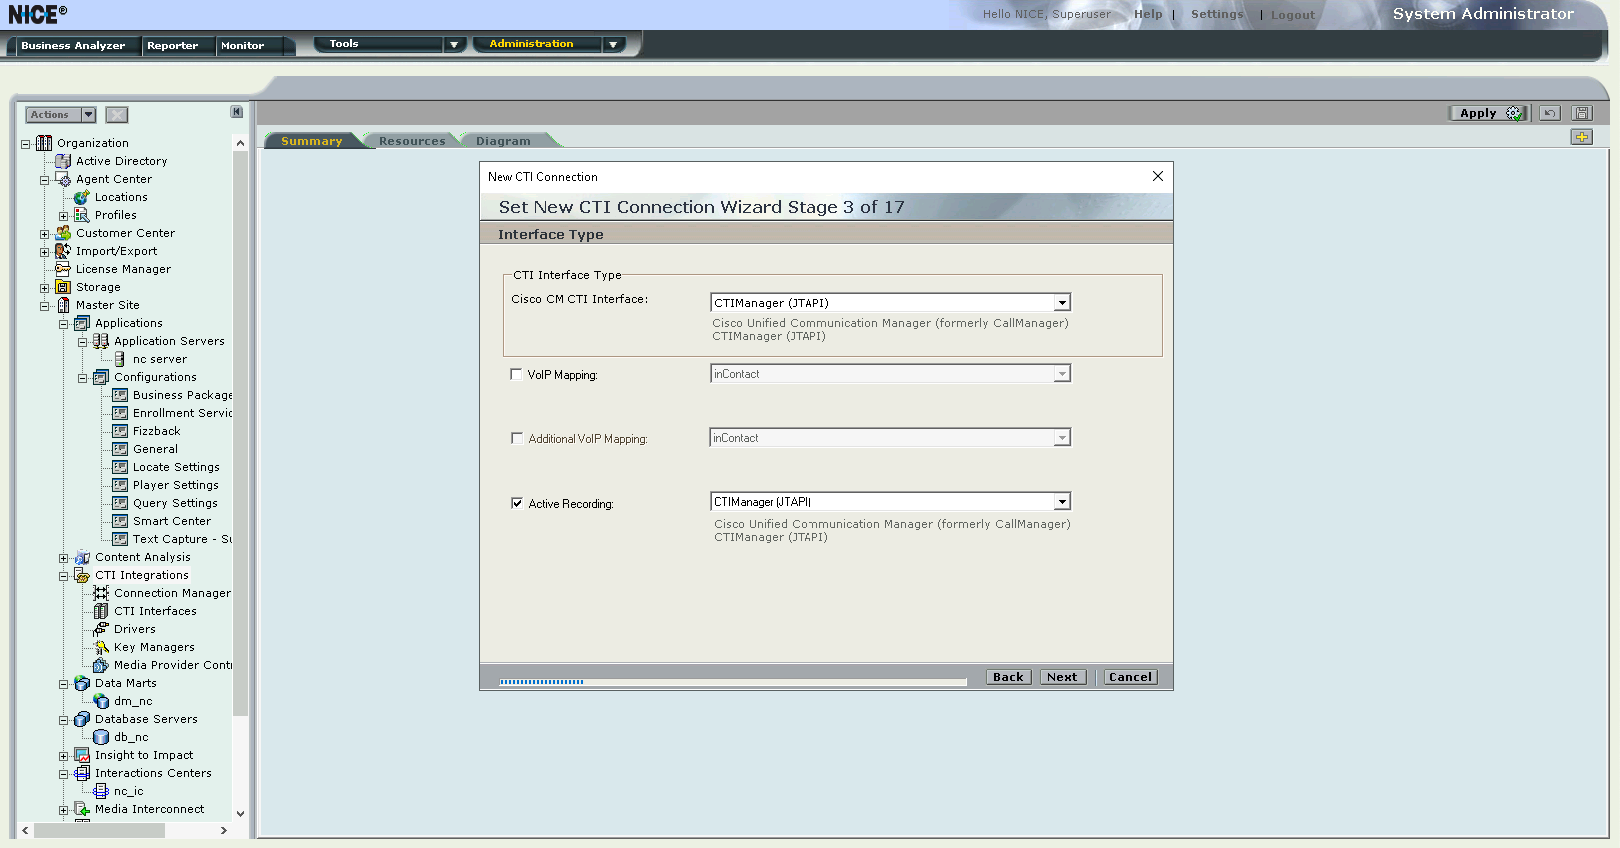
For the interface, select CTIManager JTAPI and give checkmark on Active Recording
Next configure the credentials for the CTI Connection pointing to the CUCM IP Address
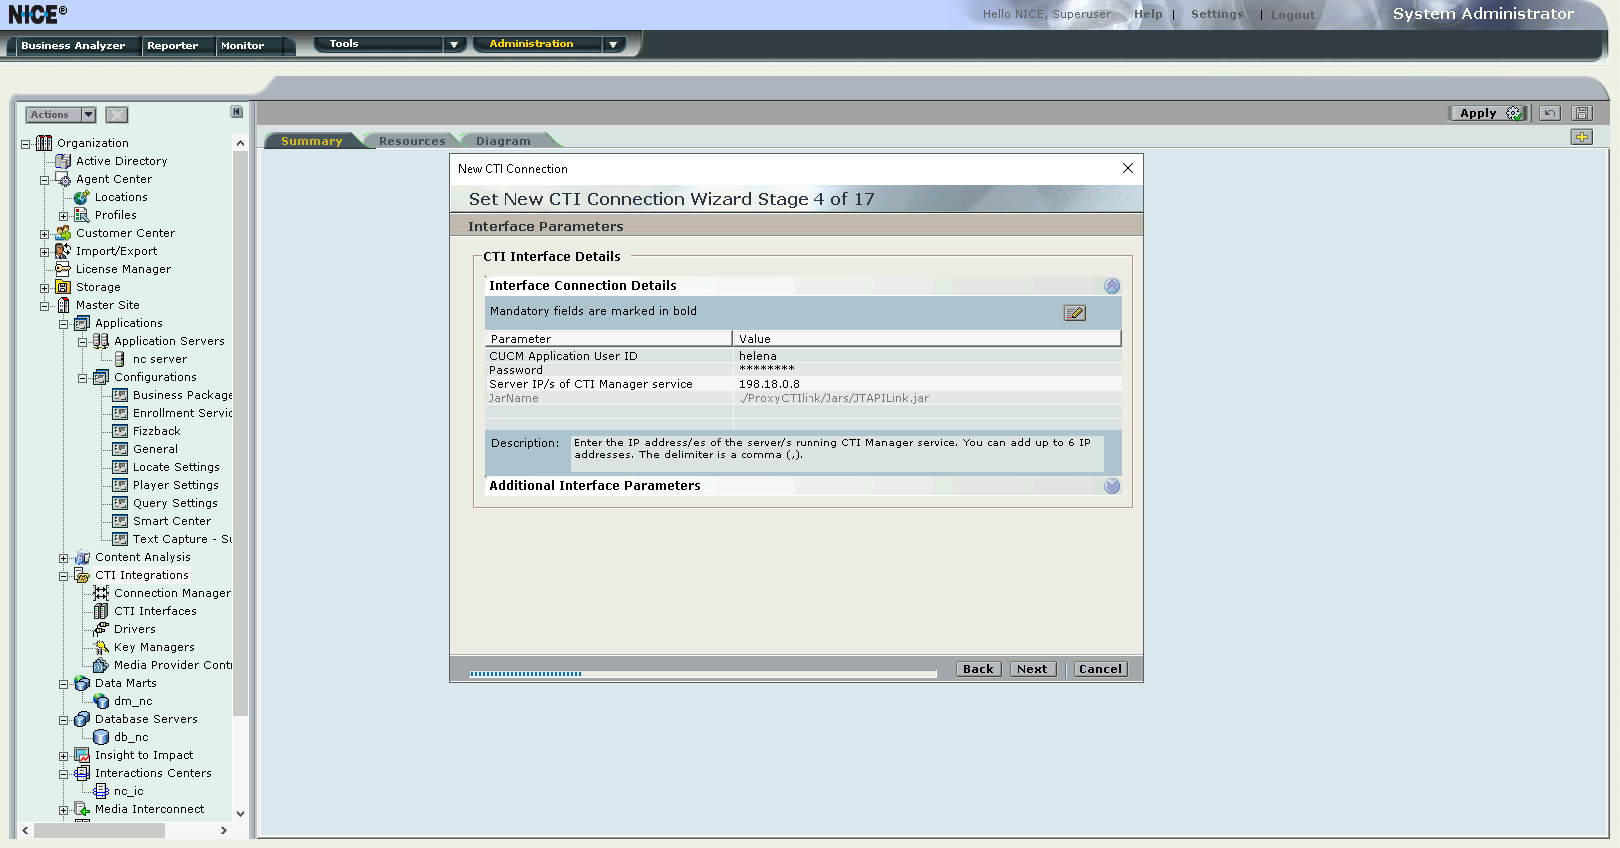
Select the default connection port
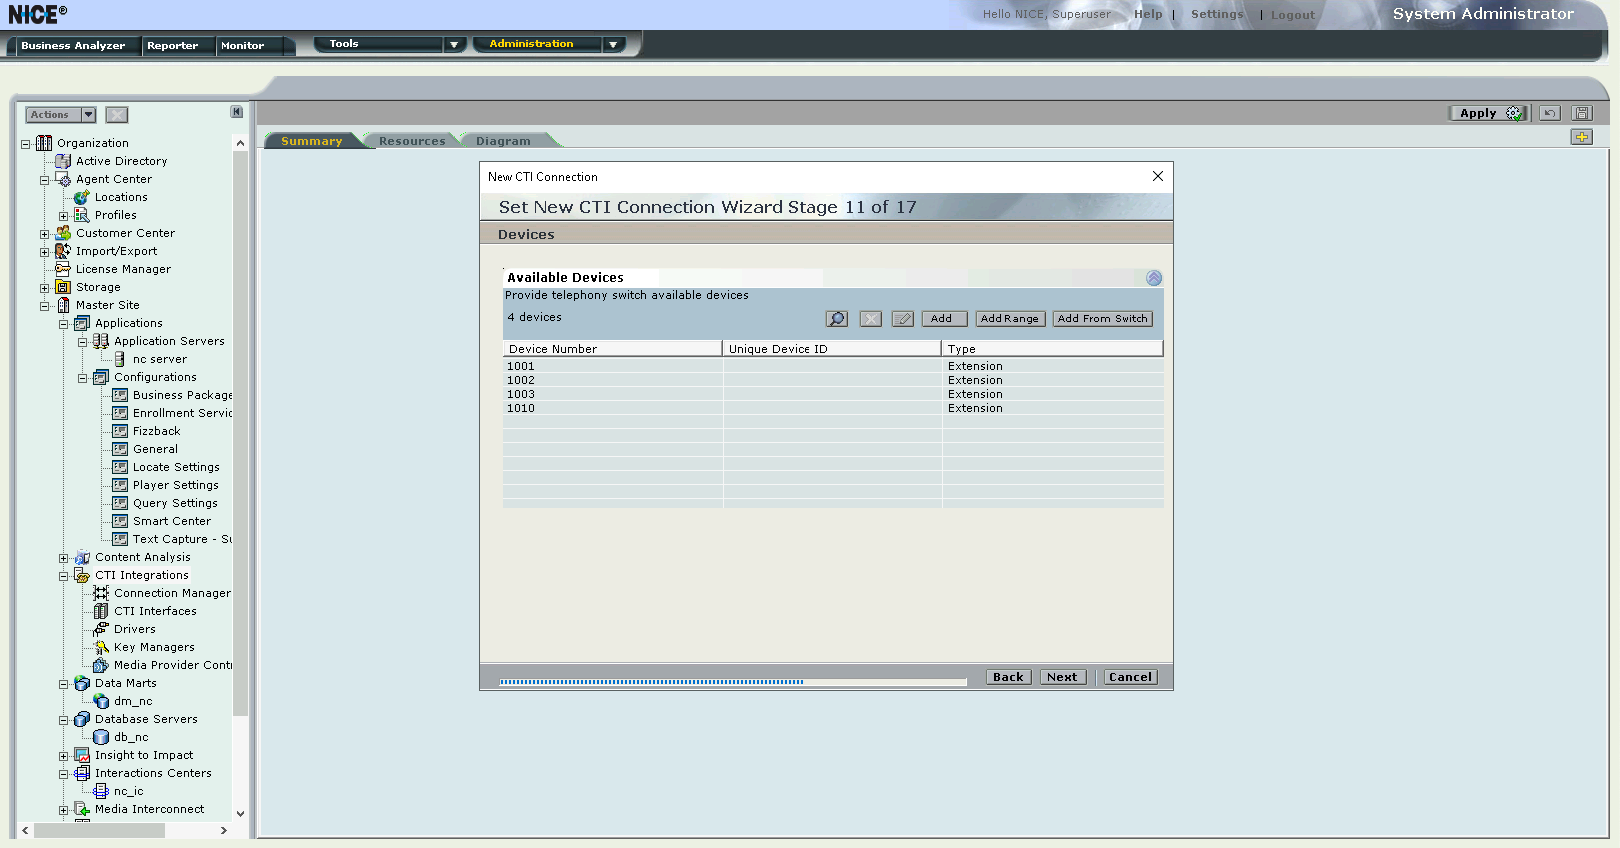
Next add the devices to be recorded
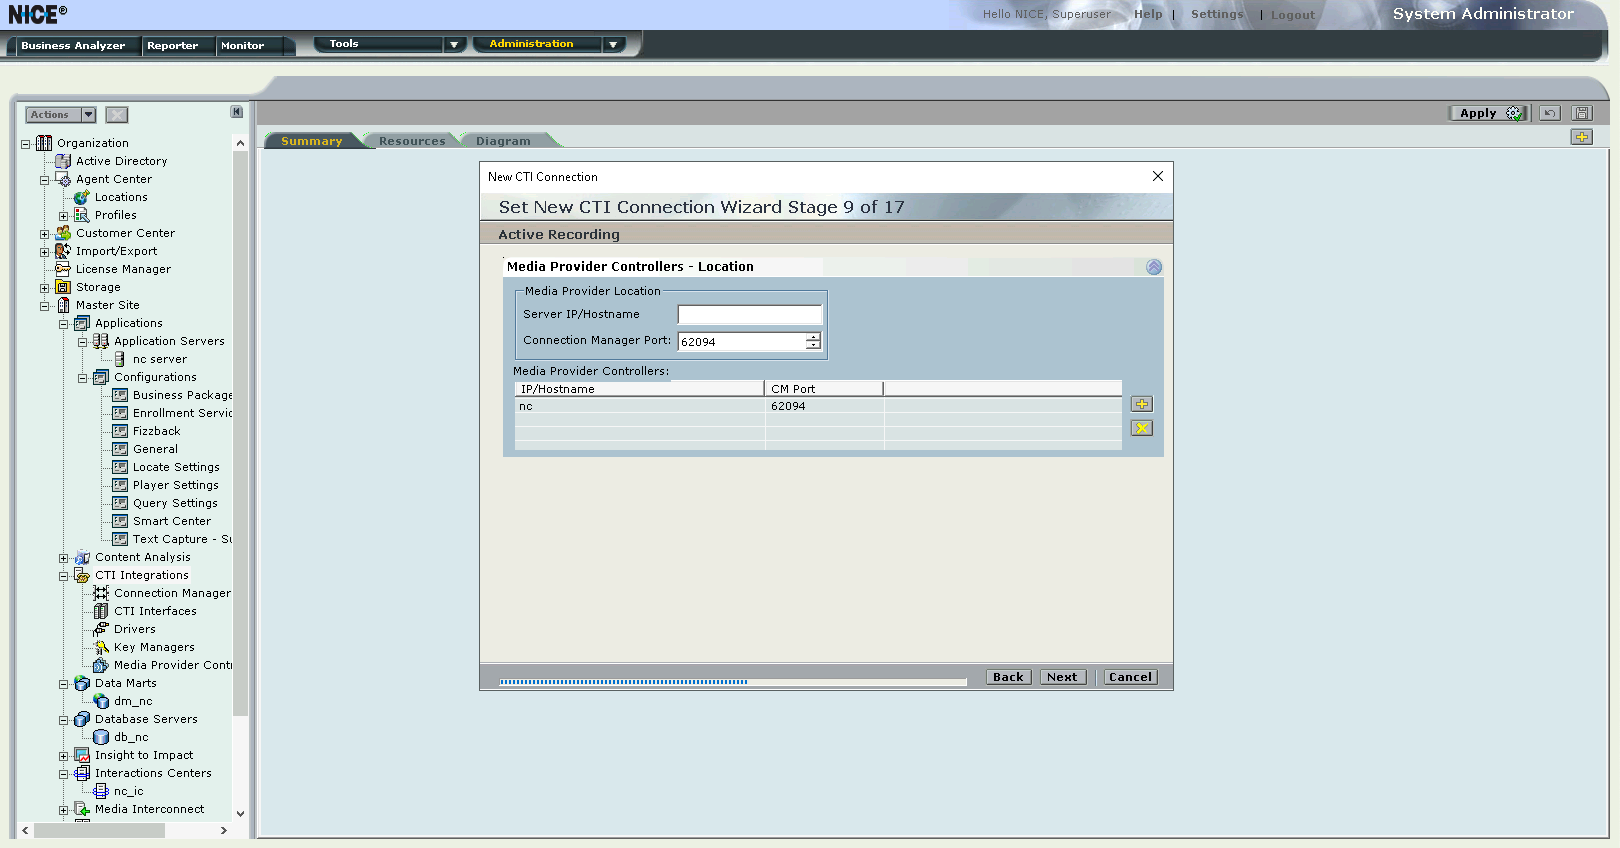
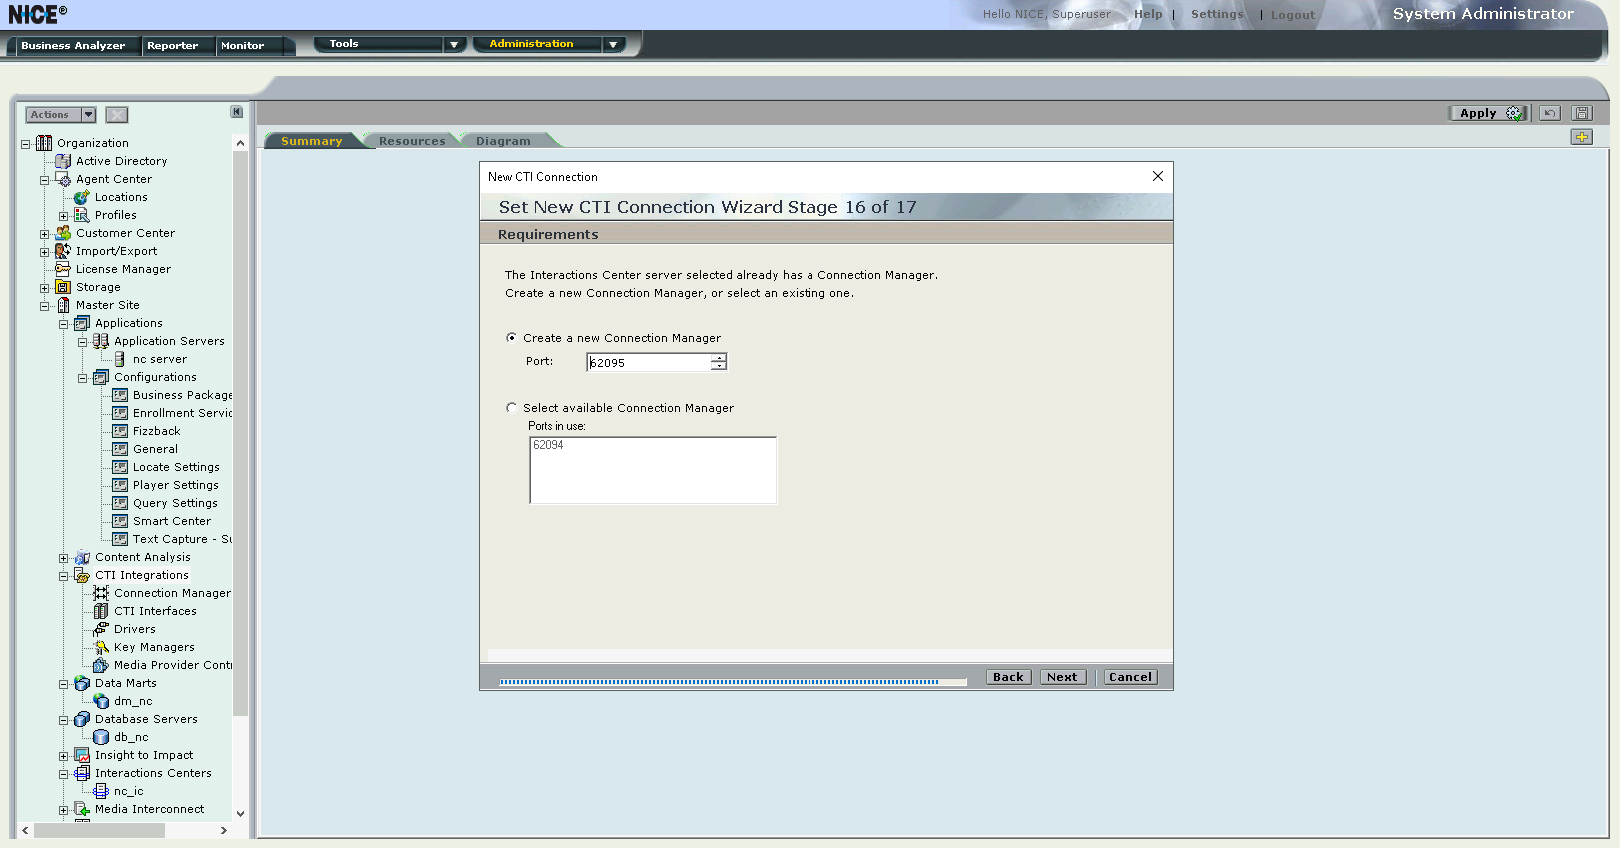
Then select the port for the connection manager, we can use the existing one or just create new one is fine as well
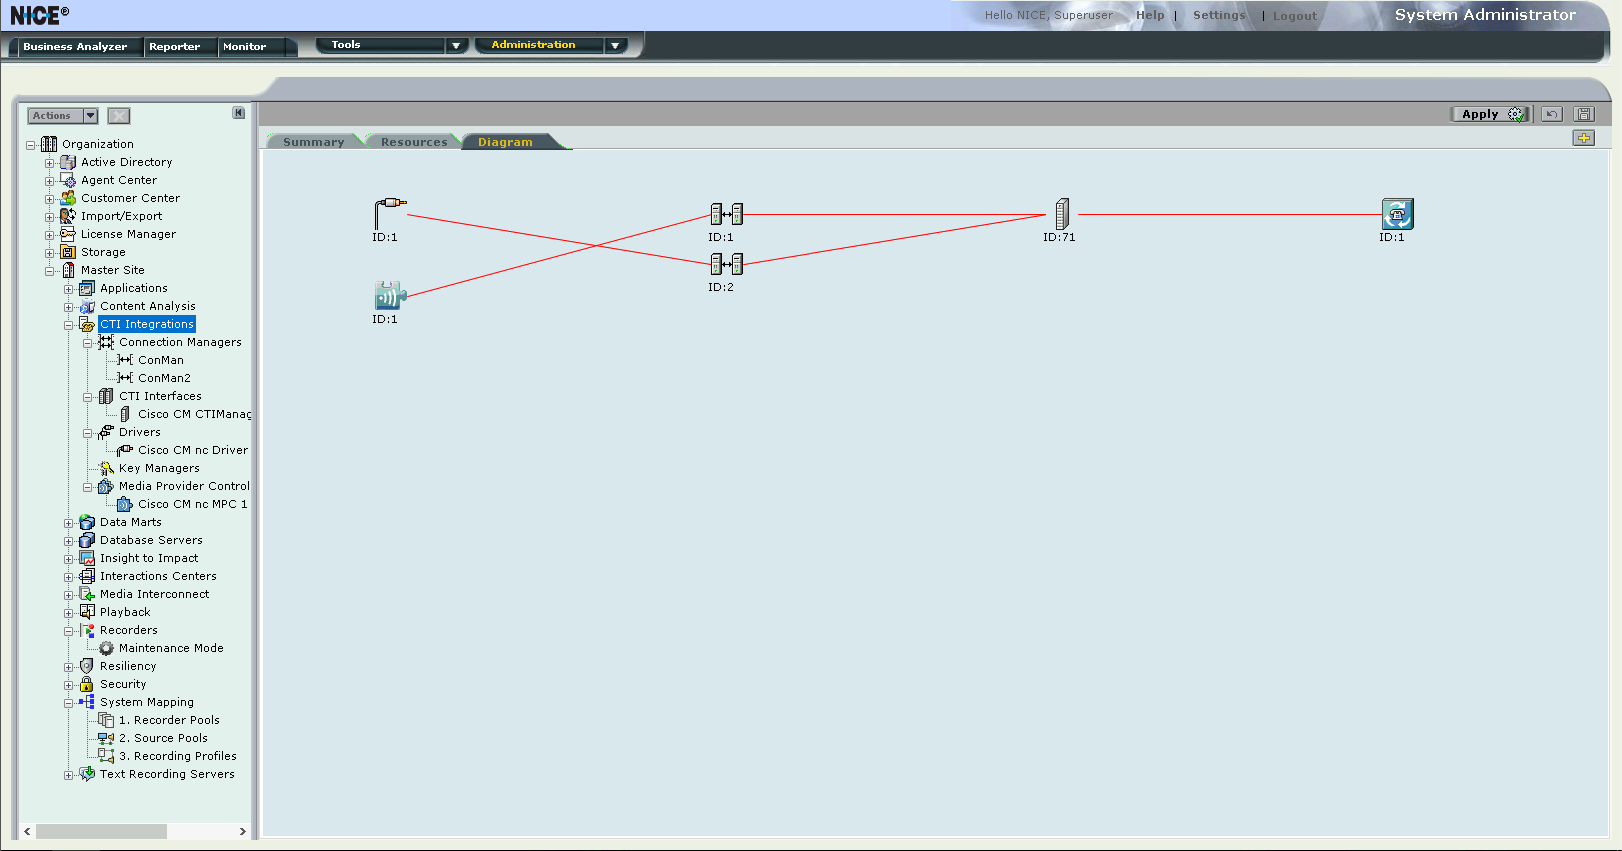
Here’s the diagram for the CTI Integration
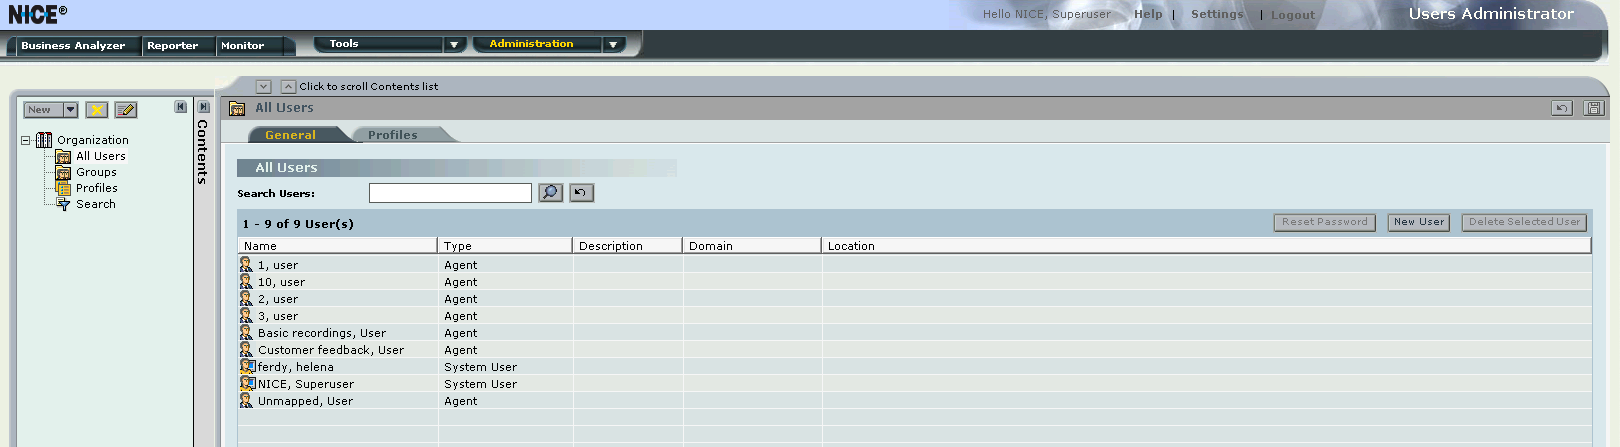
Users
Create users to be recorded and associate it with the extensions created earlier
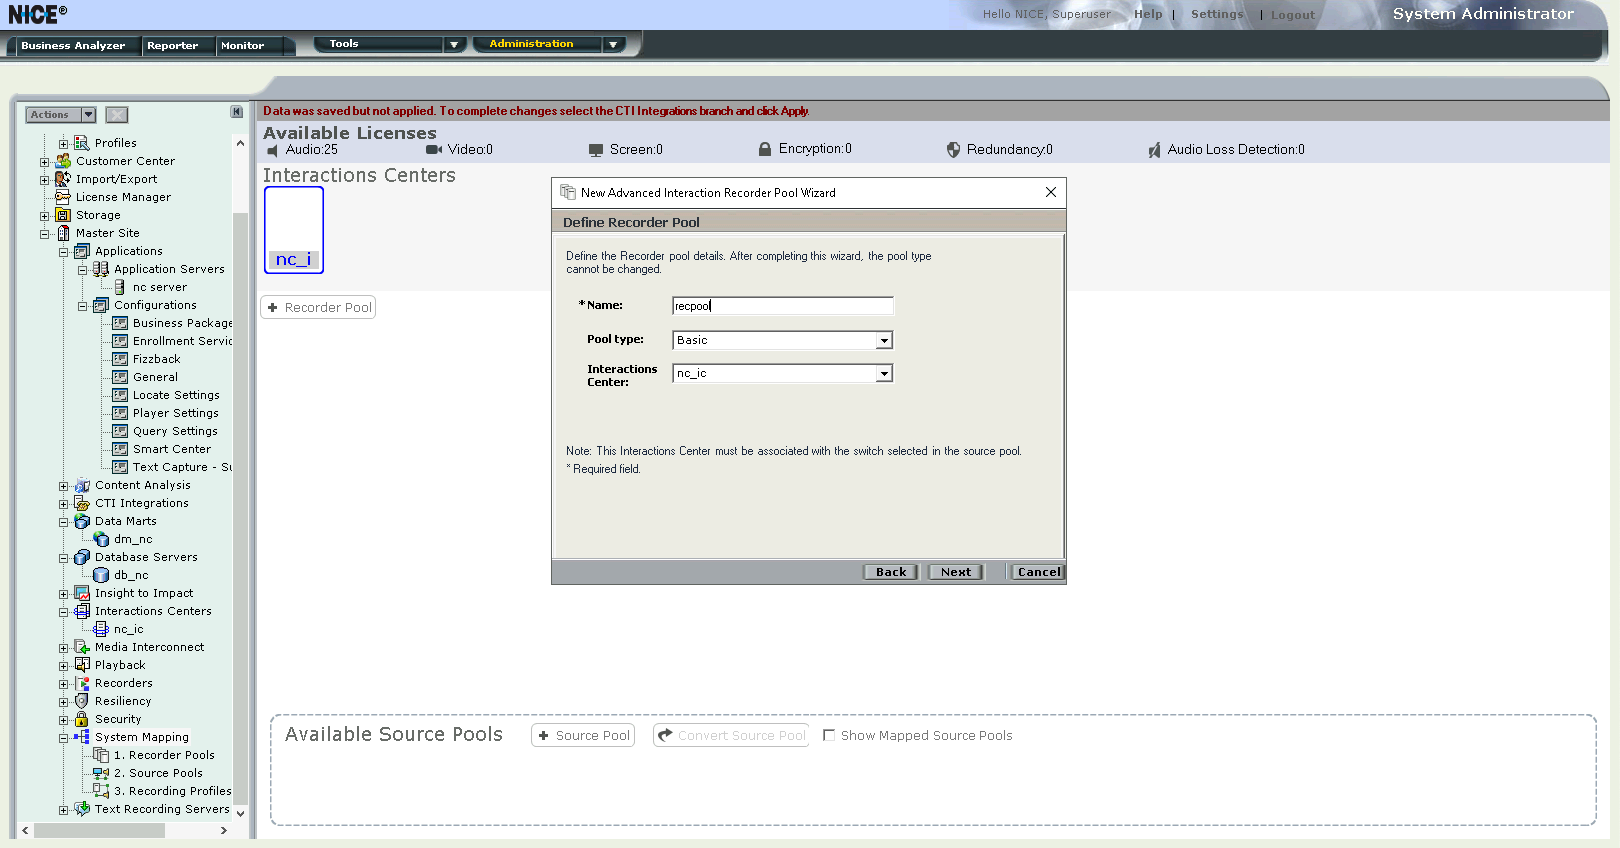
System Mapping
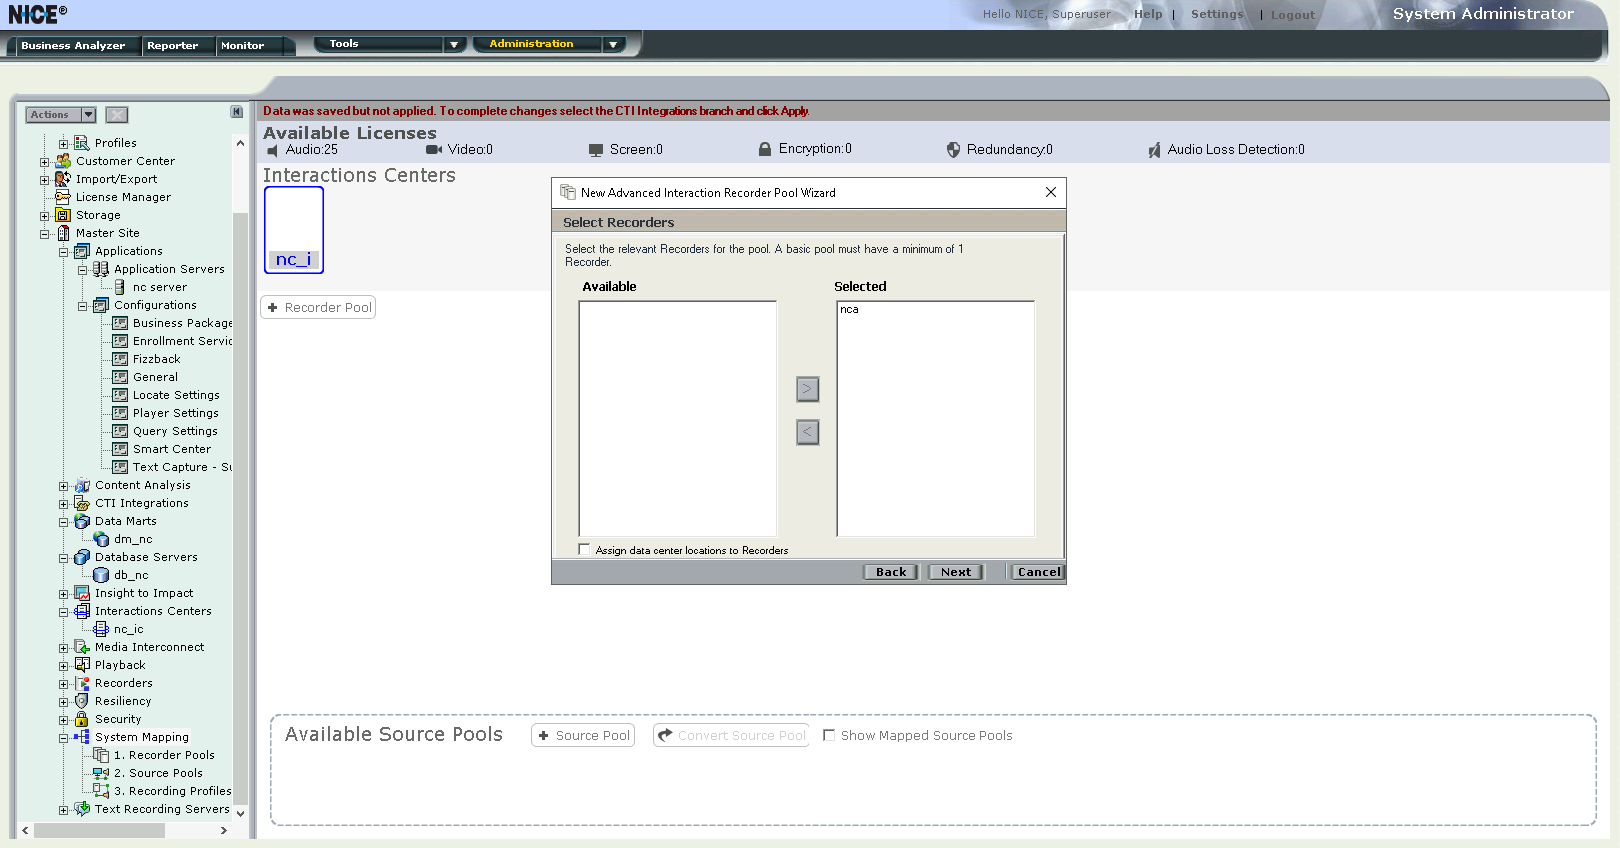
Create a new recorder pool
Select the NICE AIR server as the selected recorder
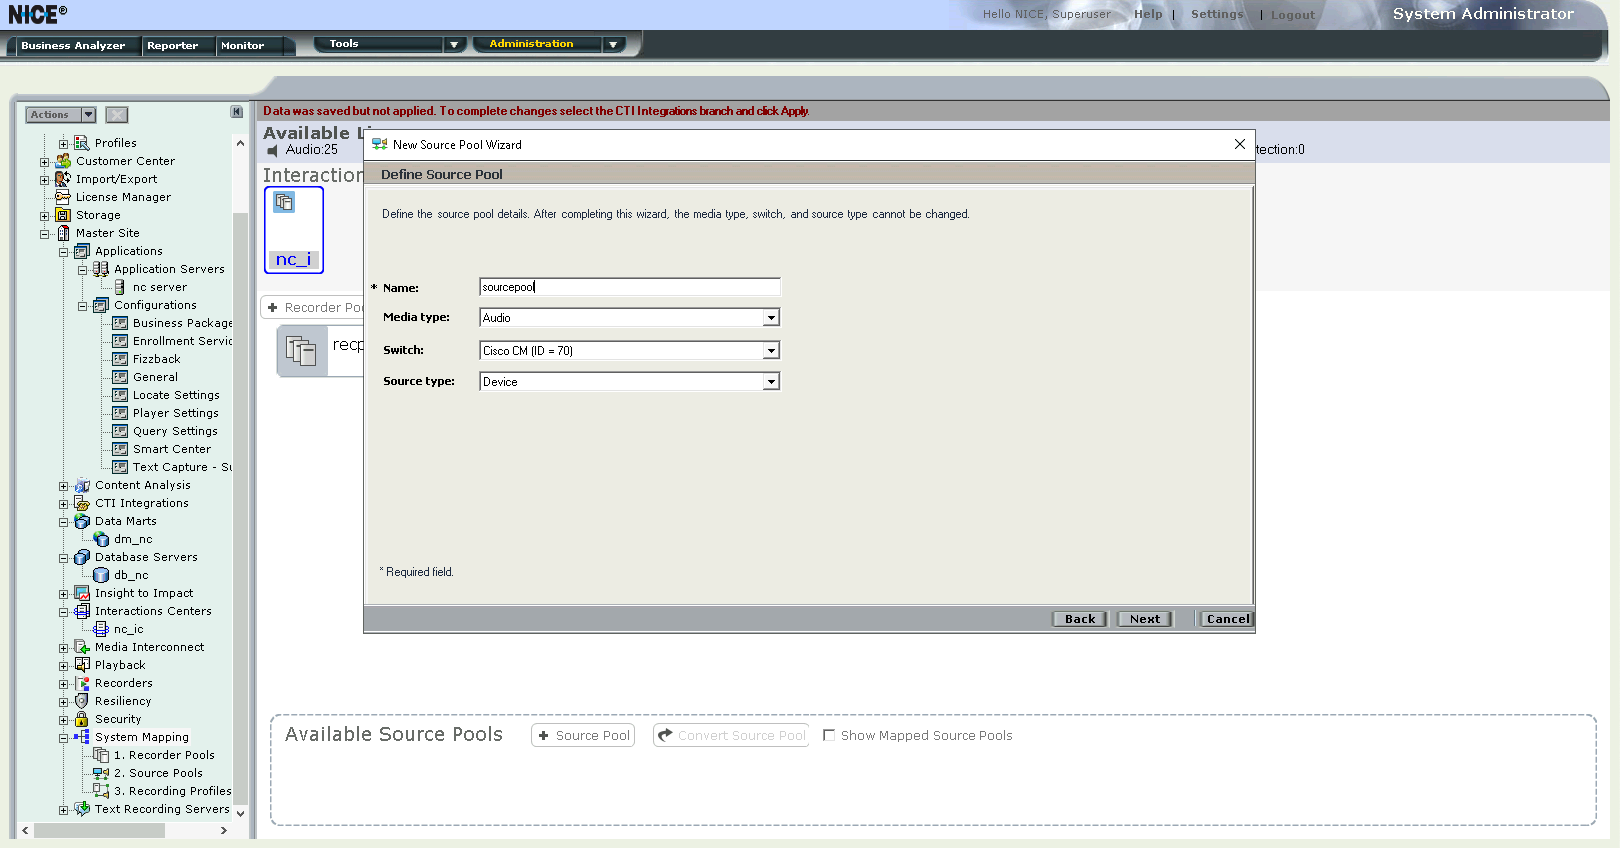
Next create a source pool with media type of Audio and the Switch of Cisco CM
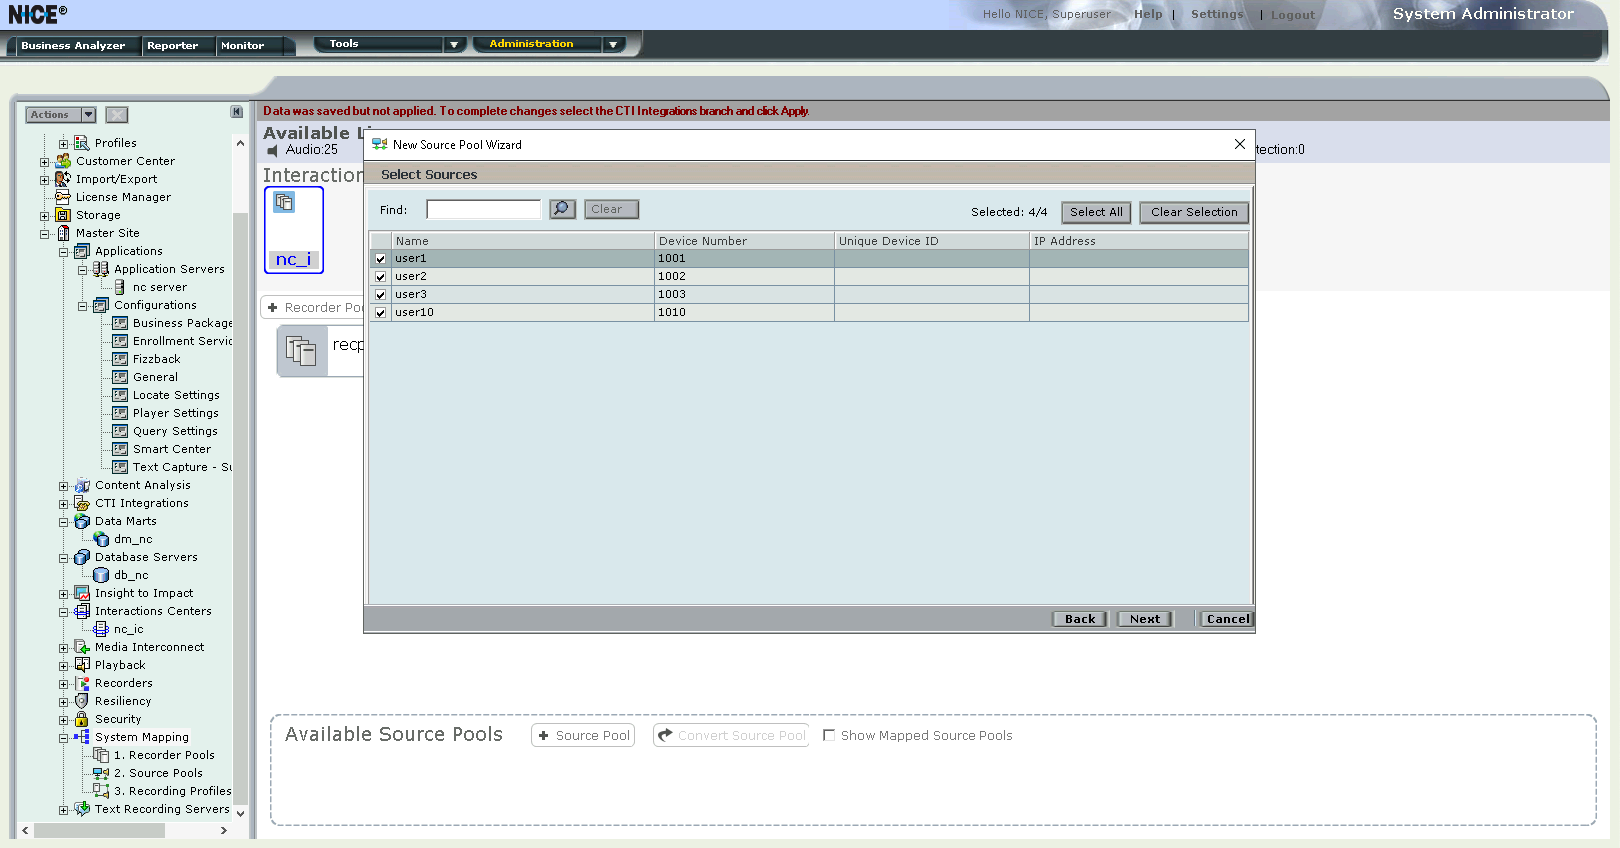
Select all the users to be recorded on this source pool
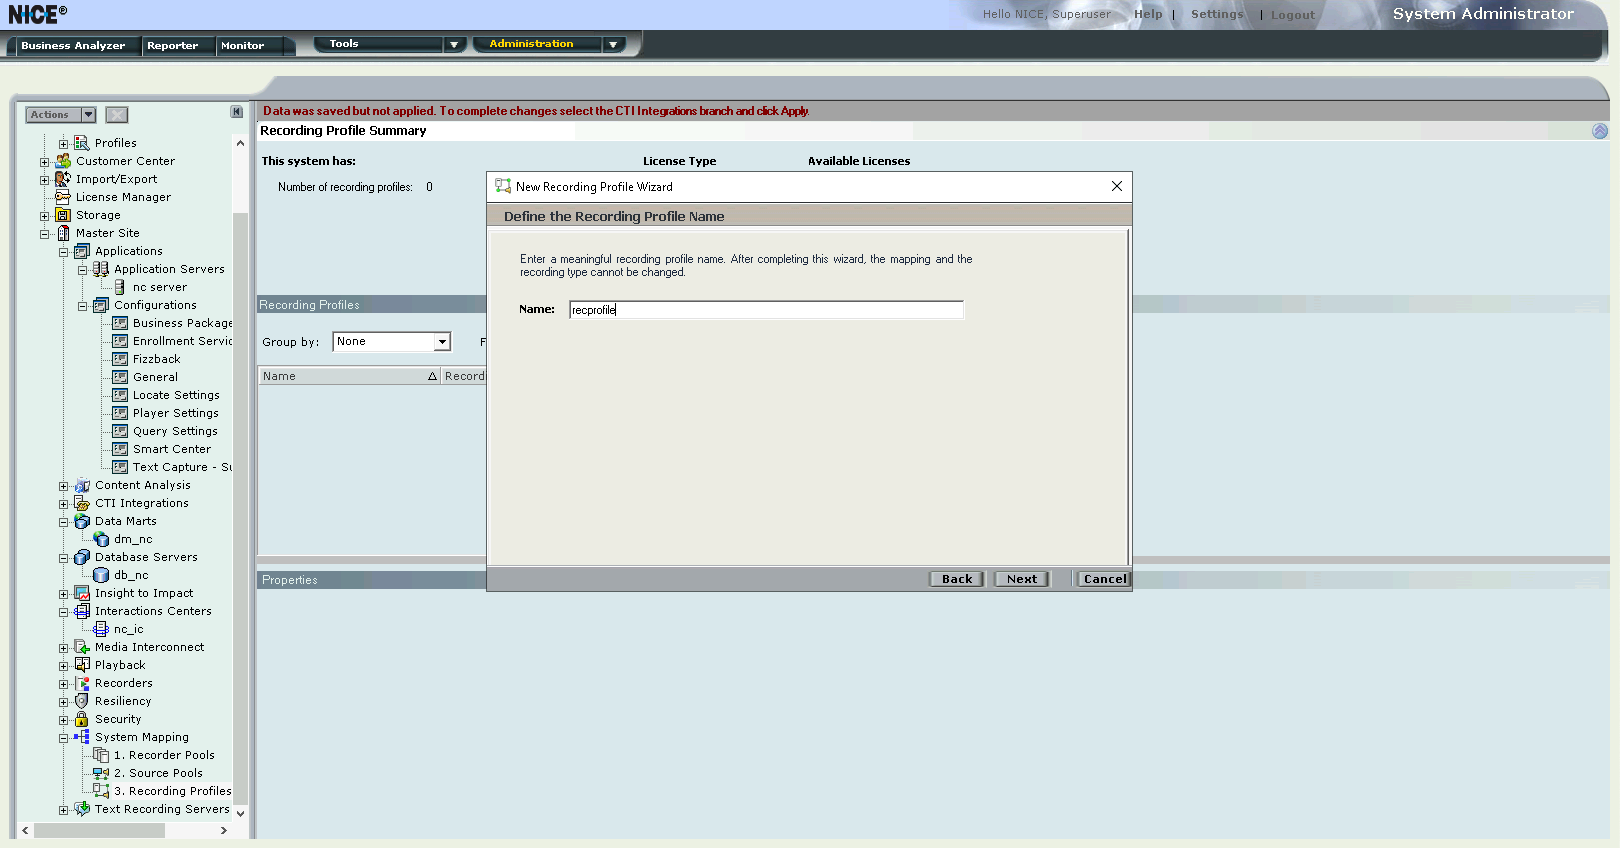
Then create a recording profile with the source pool and recorder pool created just now

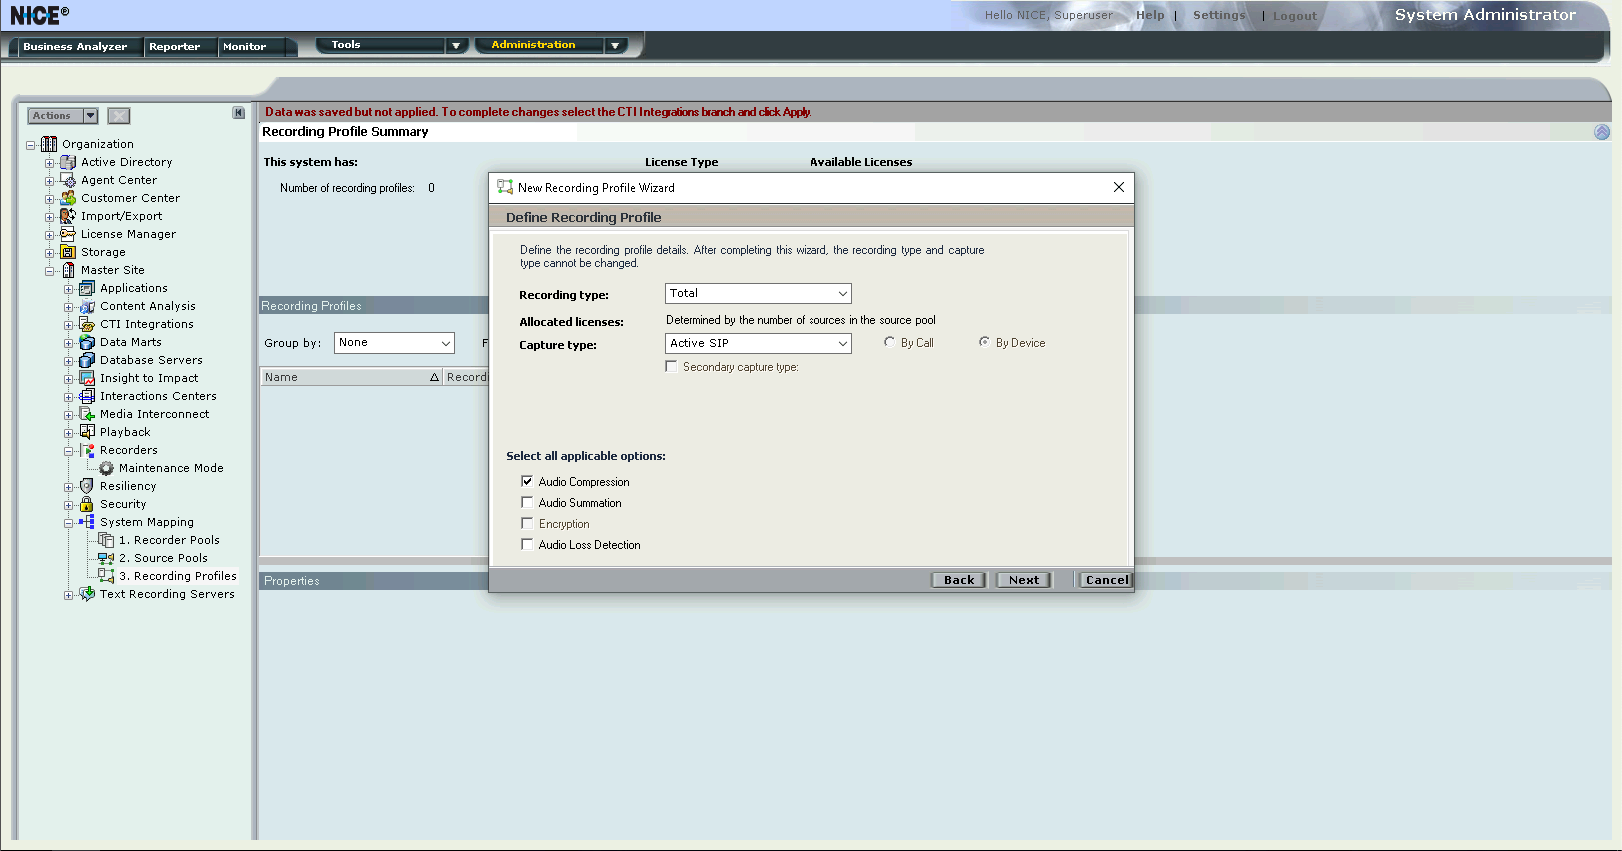
And lastly define the recording profile details
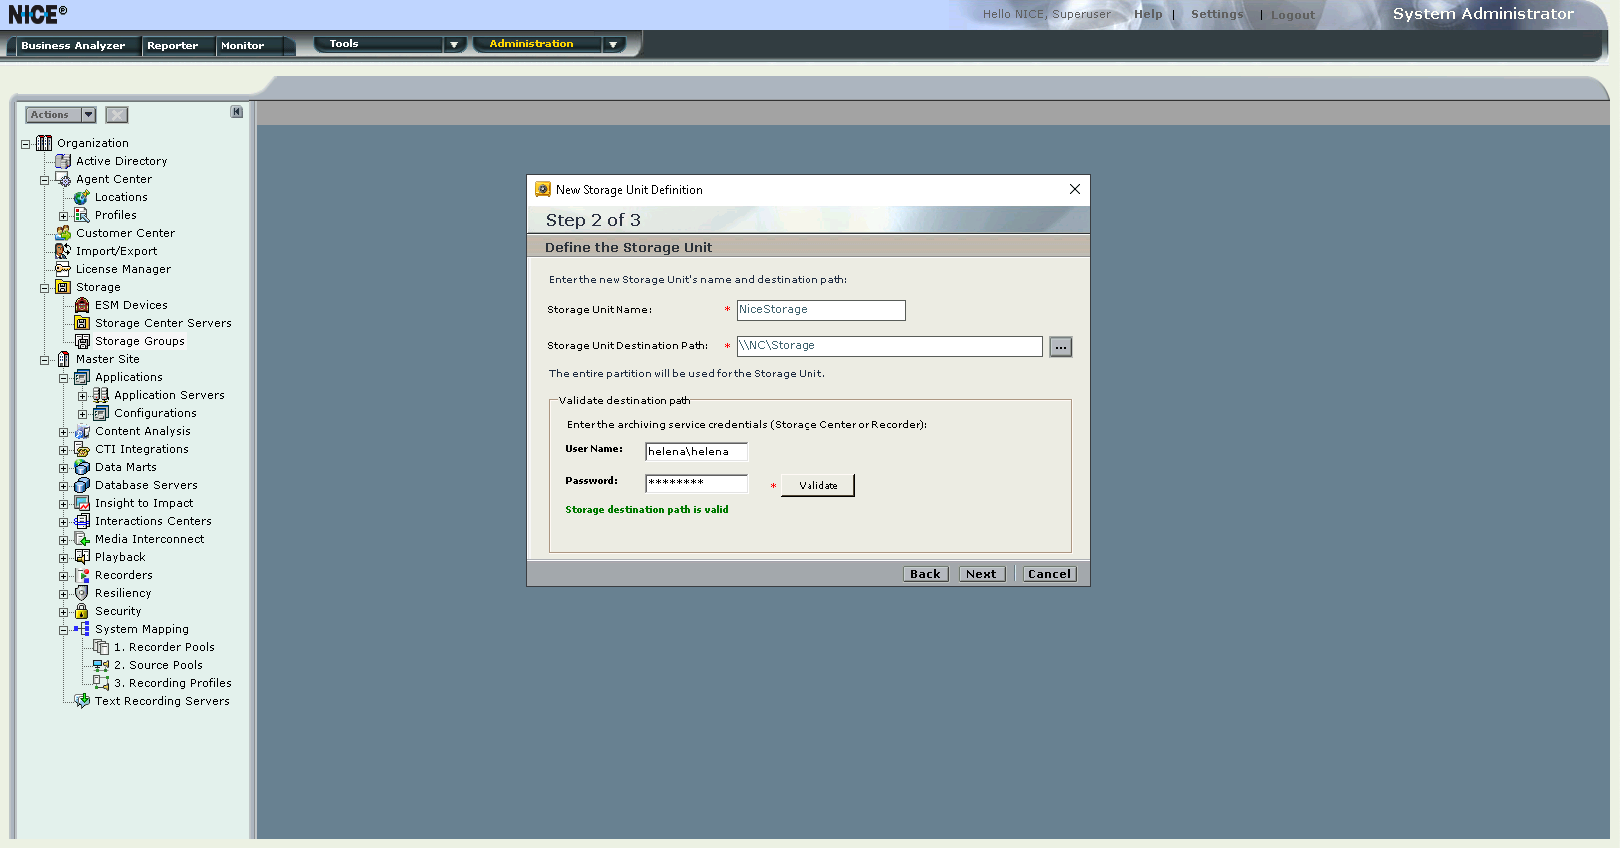
Storage Groups
Create a new storage group pointing to the prepared directory for the archived recording media
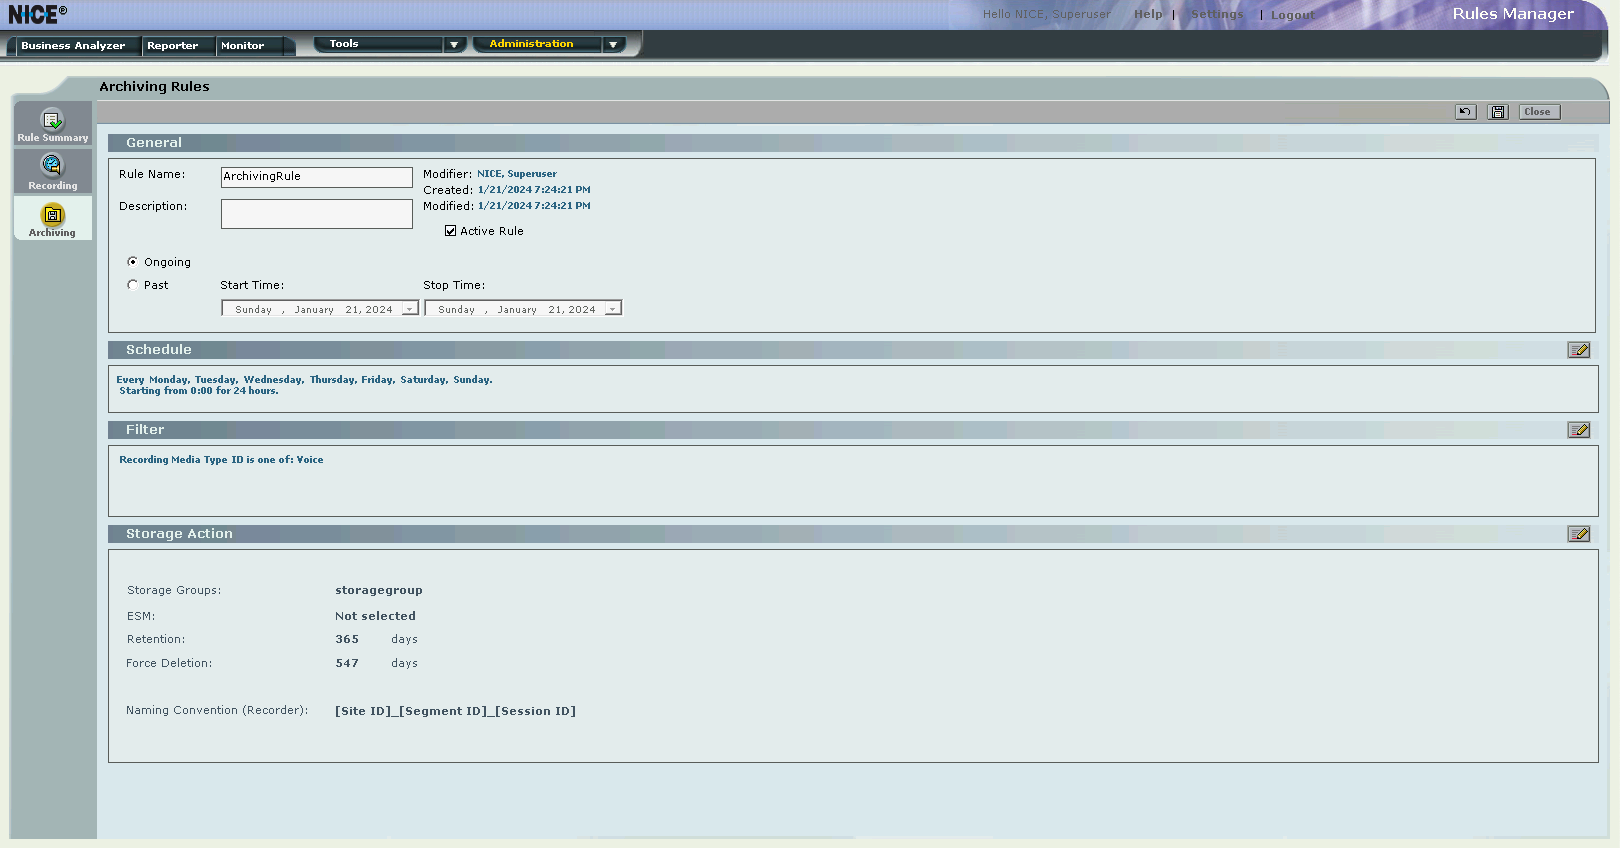
Archiving Rules
Create a new rule for archiving pointing to the storage group created just now
SIP Trunk to CUCM
Create a SIP Trunk connection from CUCM to NICE Unified Server

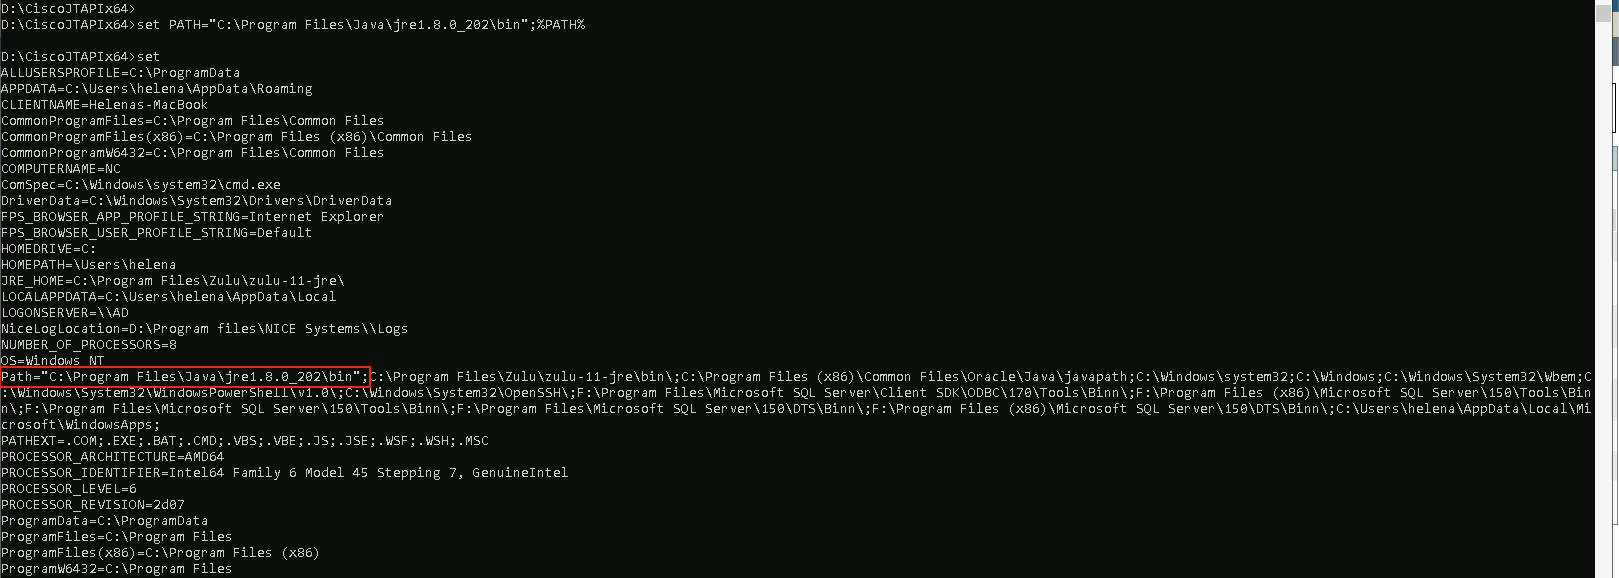
JTAPI Integration
Next set the java path by running this command on the NICE Unified Server
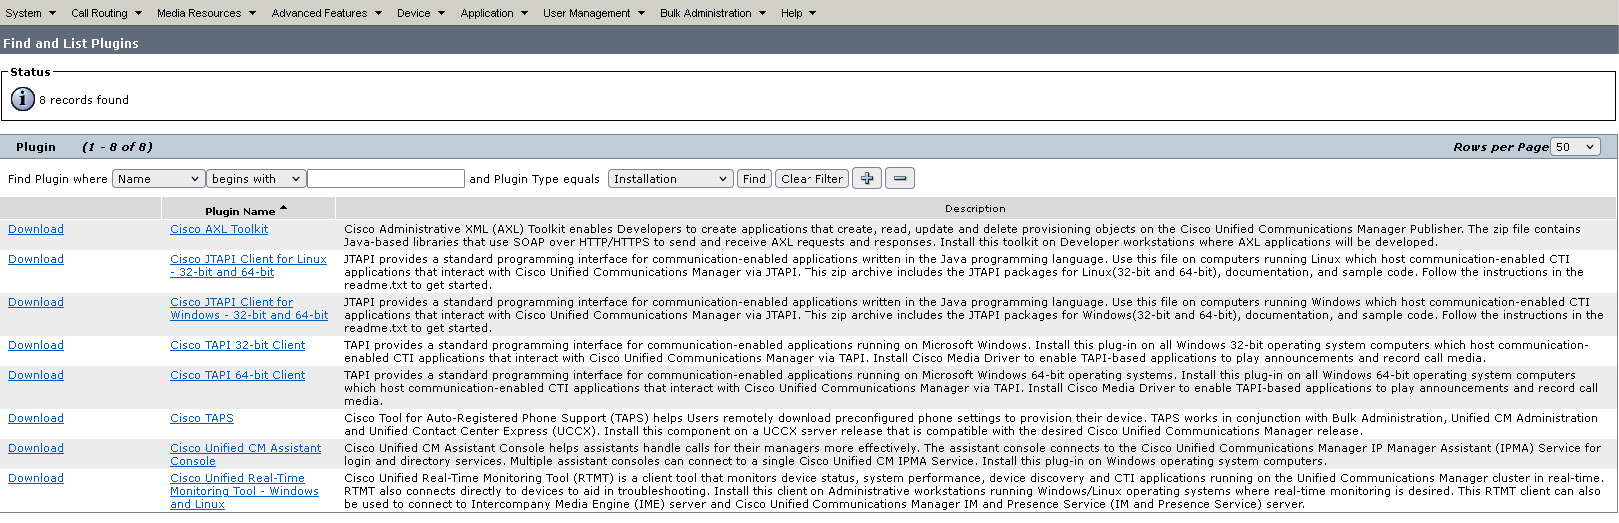
Then download the JTAPI Client from CUCM
After that run the installer

On Environment Variables, make sure the JTAPI path has been created

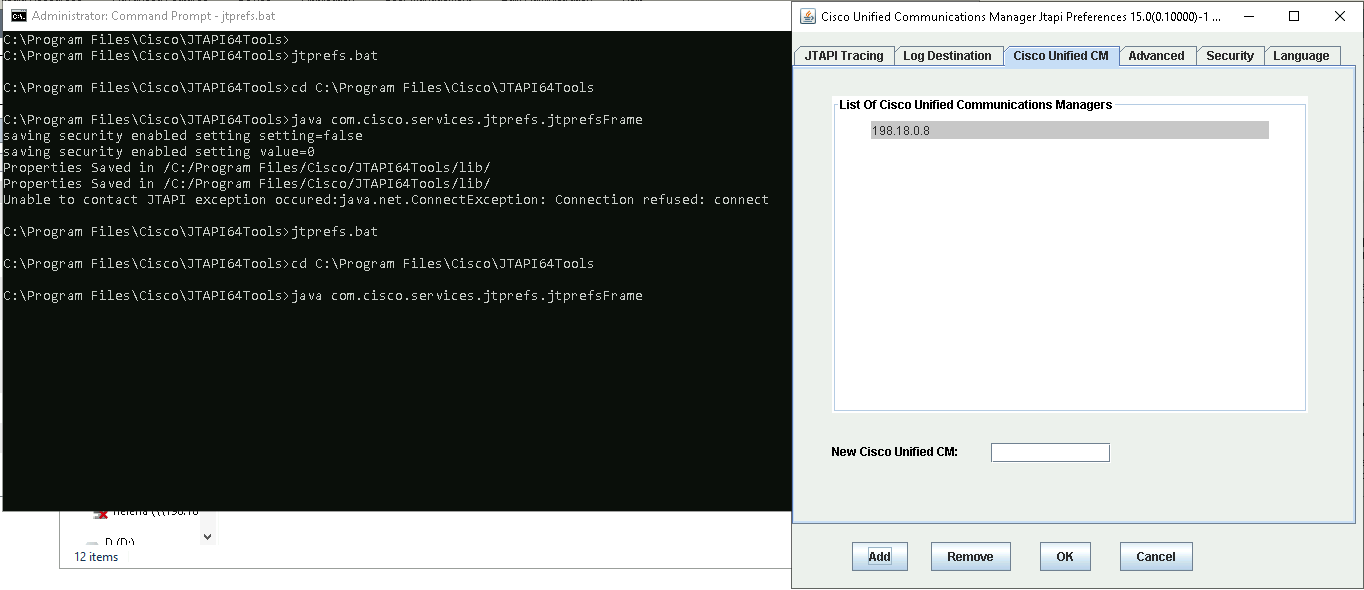
Next go to JTAPI64Tools directory and run the jtprefs.bat, configure the CUCM IP Address
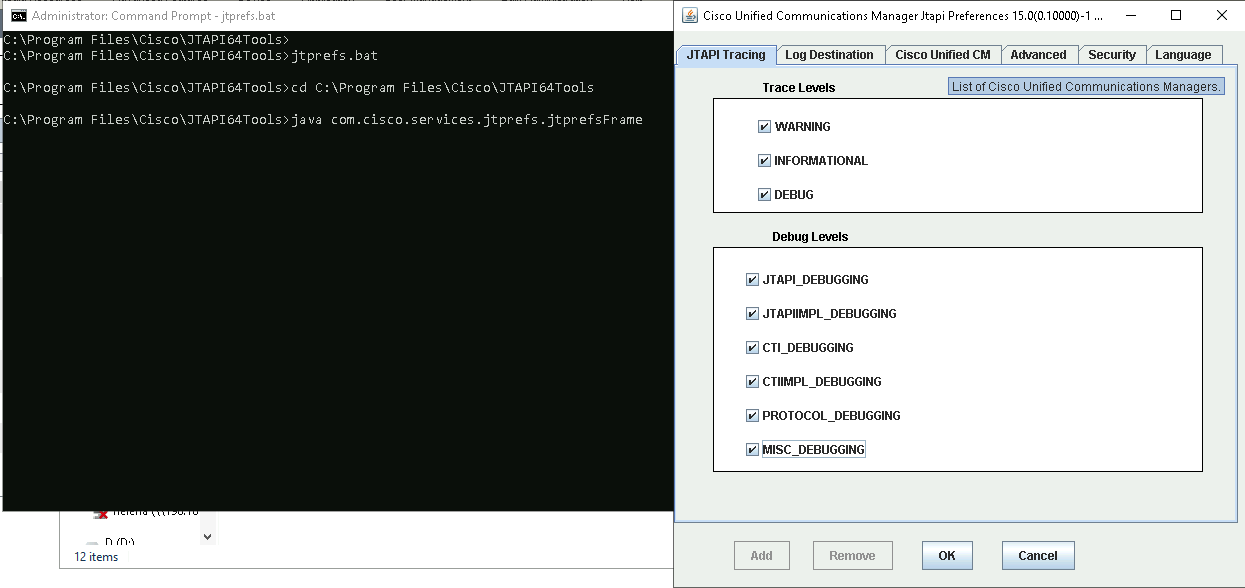
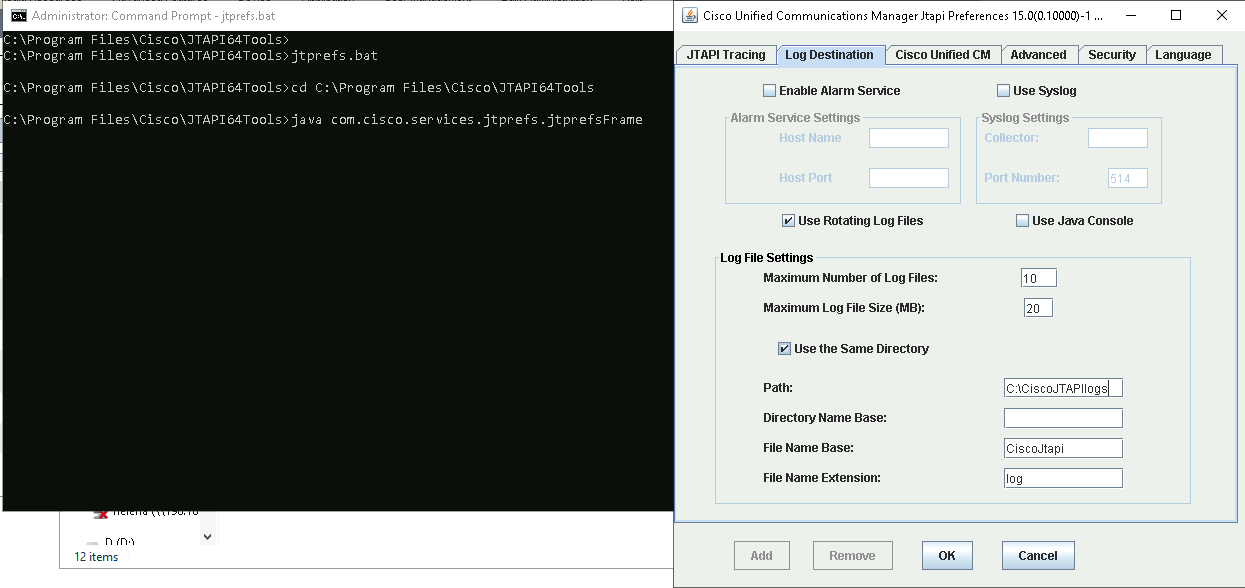
Configure the JTAPI Tracing and Log Destination
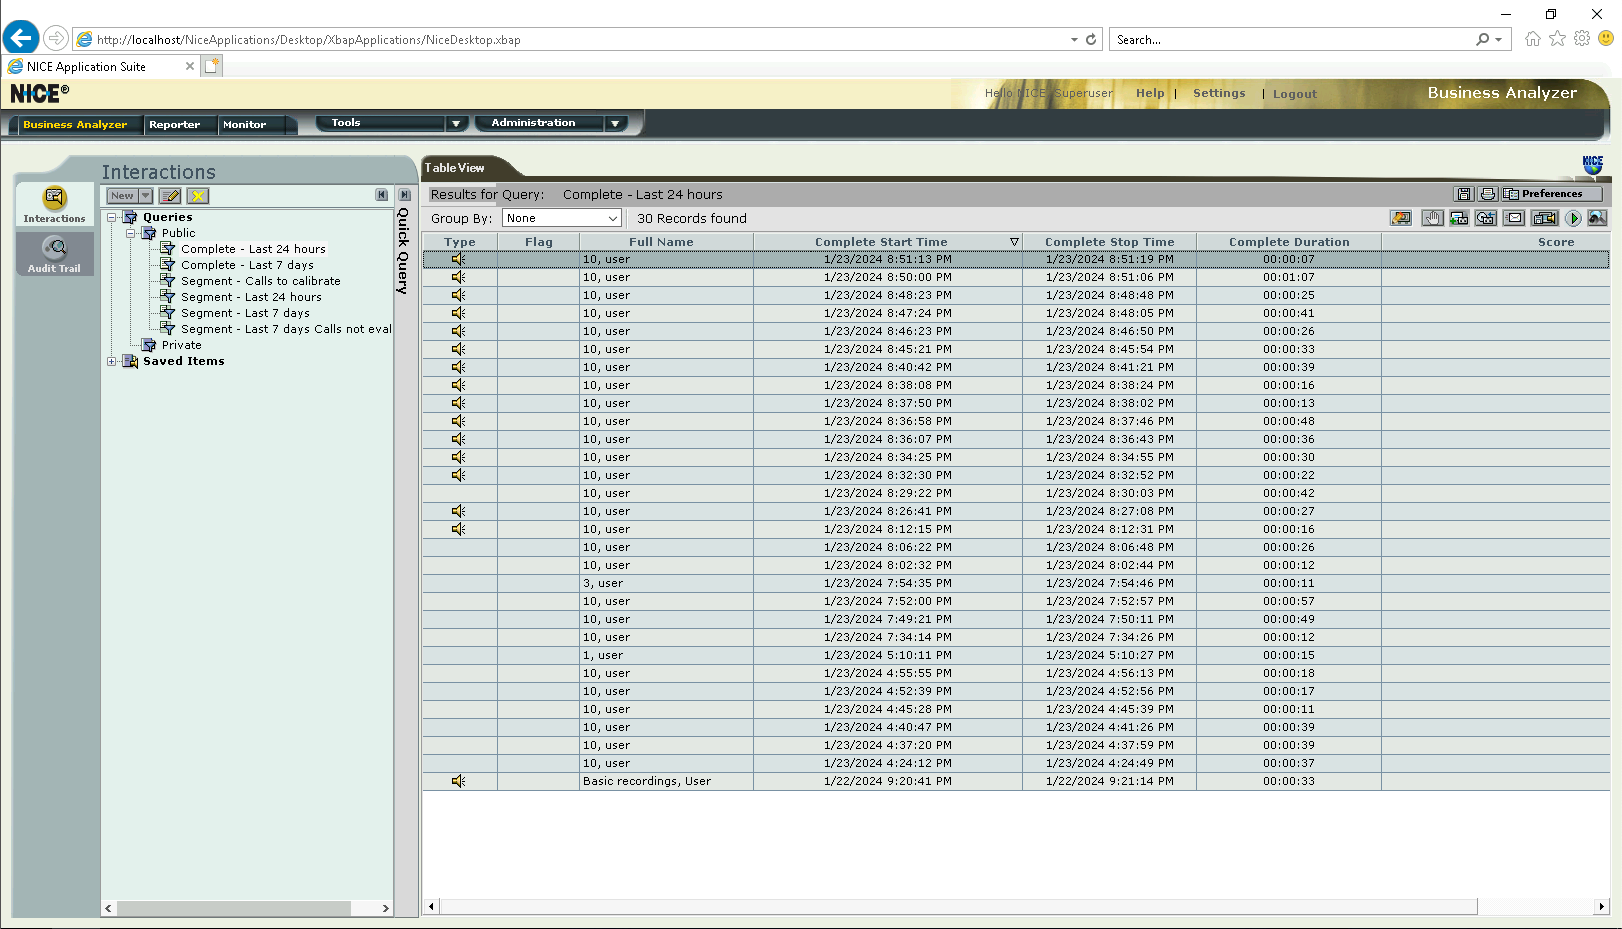
Testing Call Recording
Now if we make a call on the registered device, we should see its RTP being traced on the NICE AIR server for recording purposes

And on NICE Business Analyzer, we can see the call is recorded