Palo Alto Firewall
A Palo Alto firewall is a network security device developed by Palo Alto Networks. It provides advanced firewall and threat prevention capabilities to protect networks and data from cyber threats. This firewall is known for its next-generation features, including application-level filtering, intrusion detection and prevention, and URL filtering, all designed to enhance security and control over network traffic.
Preparing the Installer
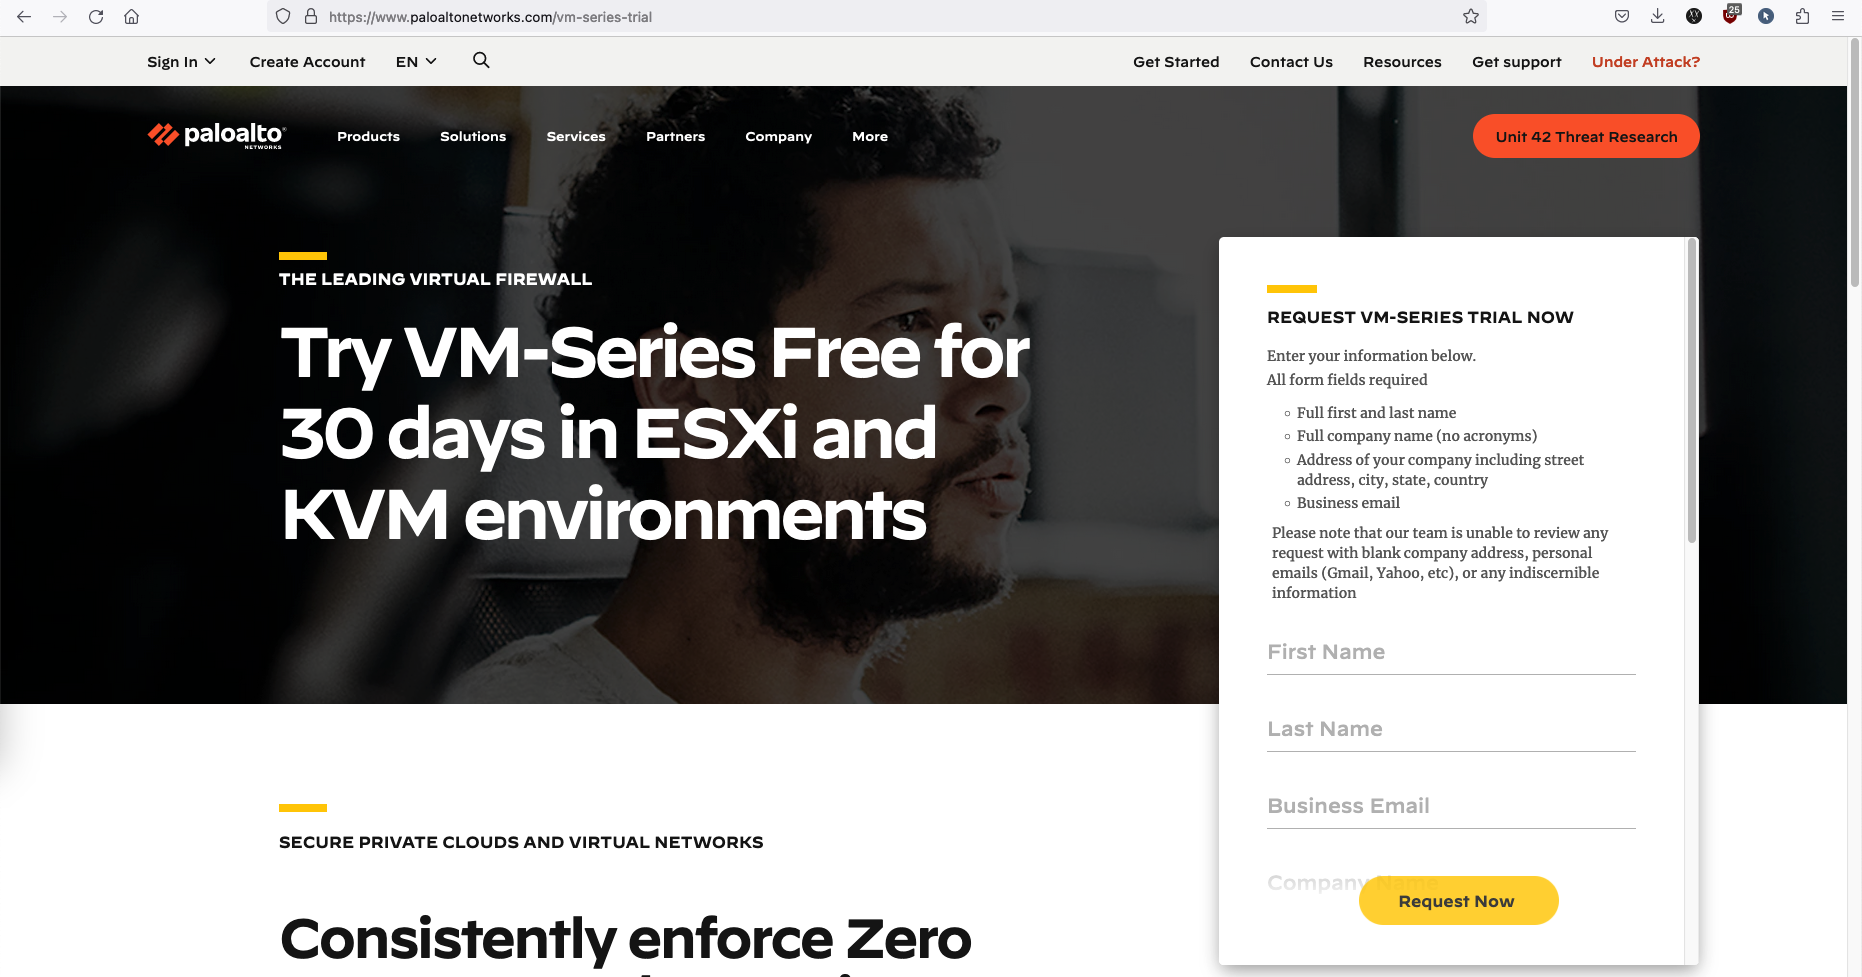
If you don’t have license or installer beforehand, Palo Alto actually offers a form to request for a 30-day trial
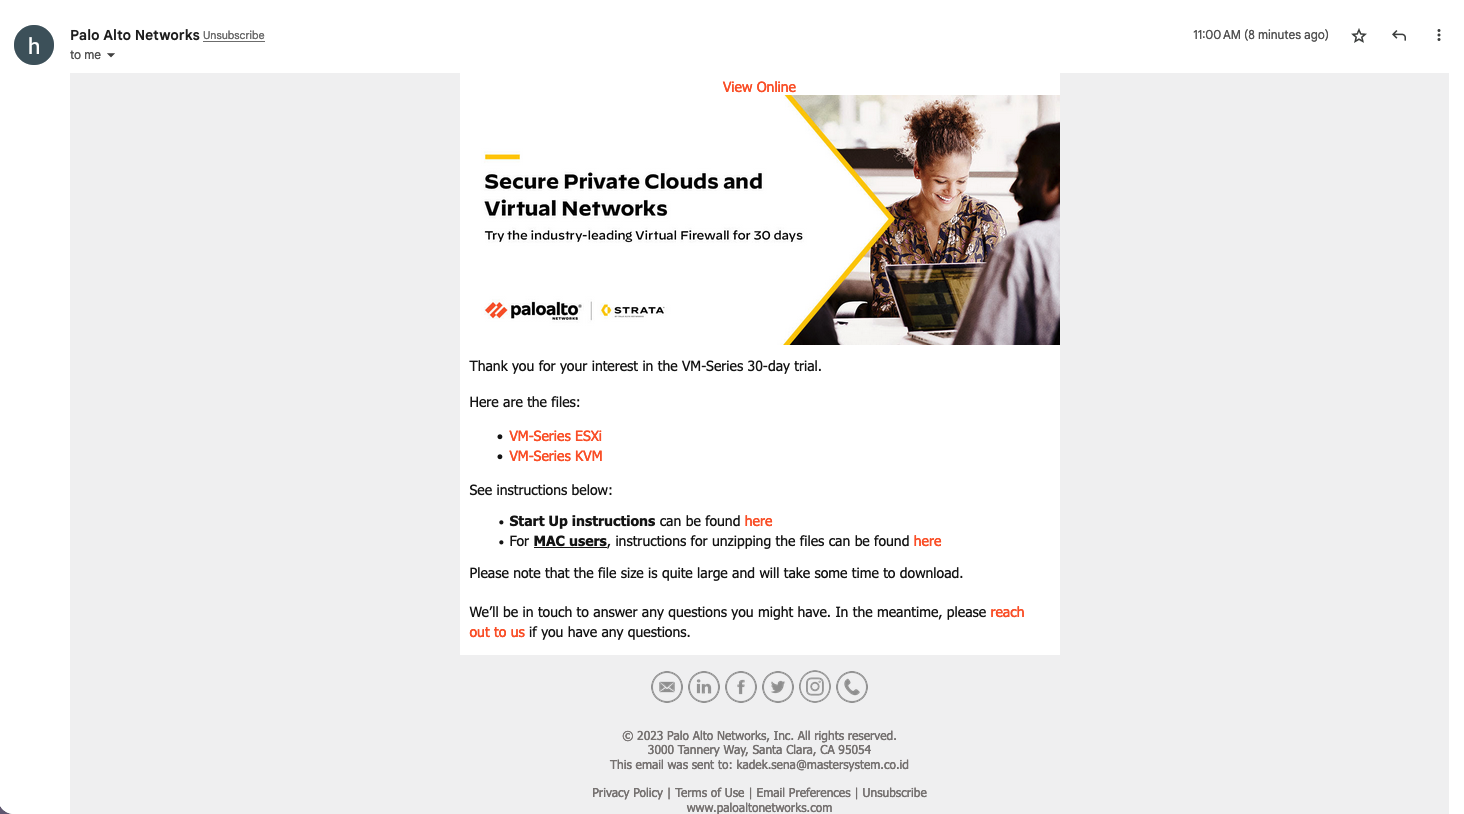
After that just download the installer given in the email
Then deploy the OVA to ESXi, and boot the VM

After a while, we should be able to login through console with credentials admin/admin
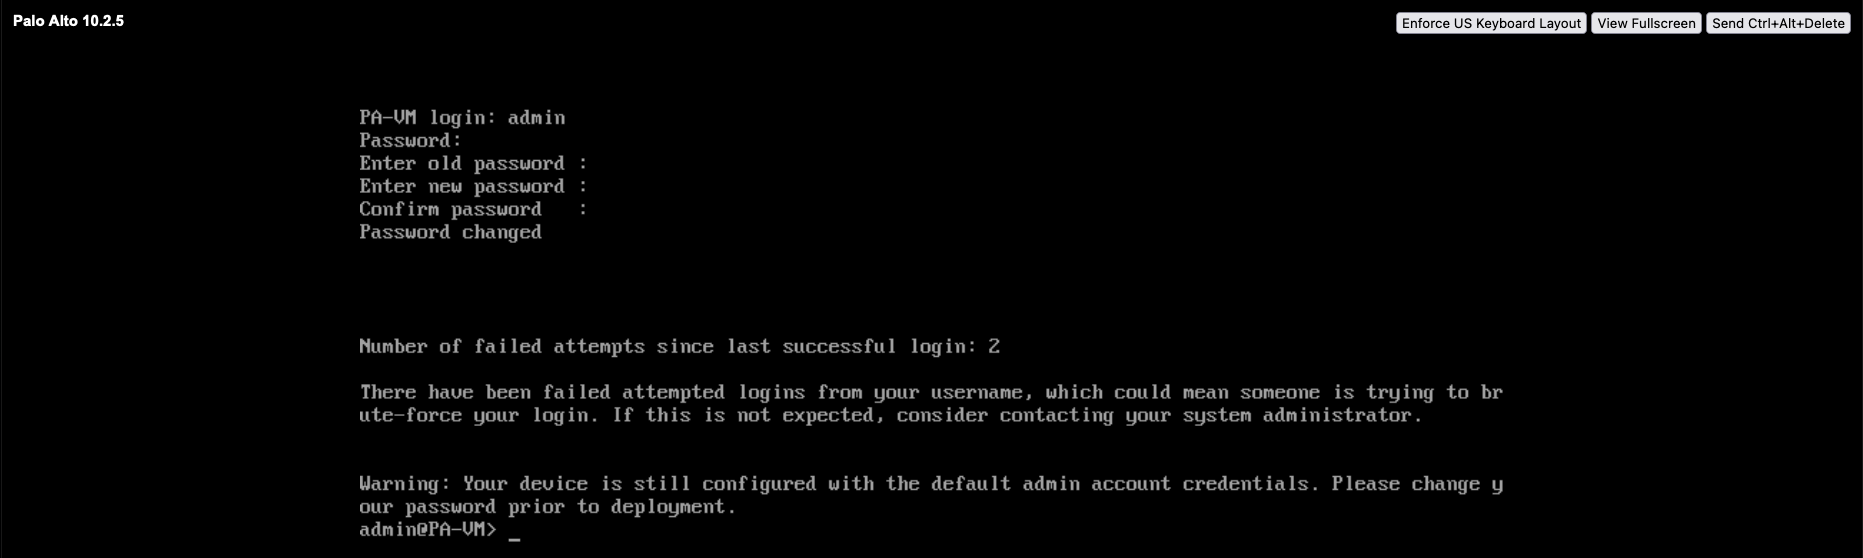
If encountering error the first time logging in, follow this guide
Configure the management IP Address from CLI, if not DHCP
1
2
3
4
5
6
configure
set deviceconfig system type static
set deviceconfig system ip-address 198.18.0.121 netmask 255.255.255.0 default-gateway 198.18.0.1
set deviceconfig system dns-setting servers primary 1.1.1.1
commit
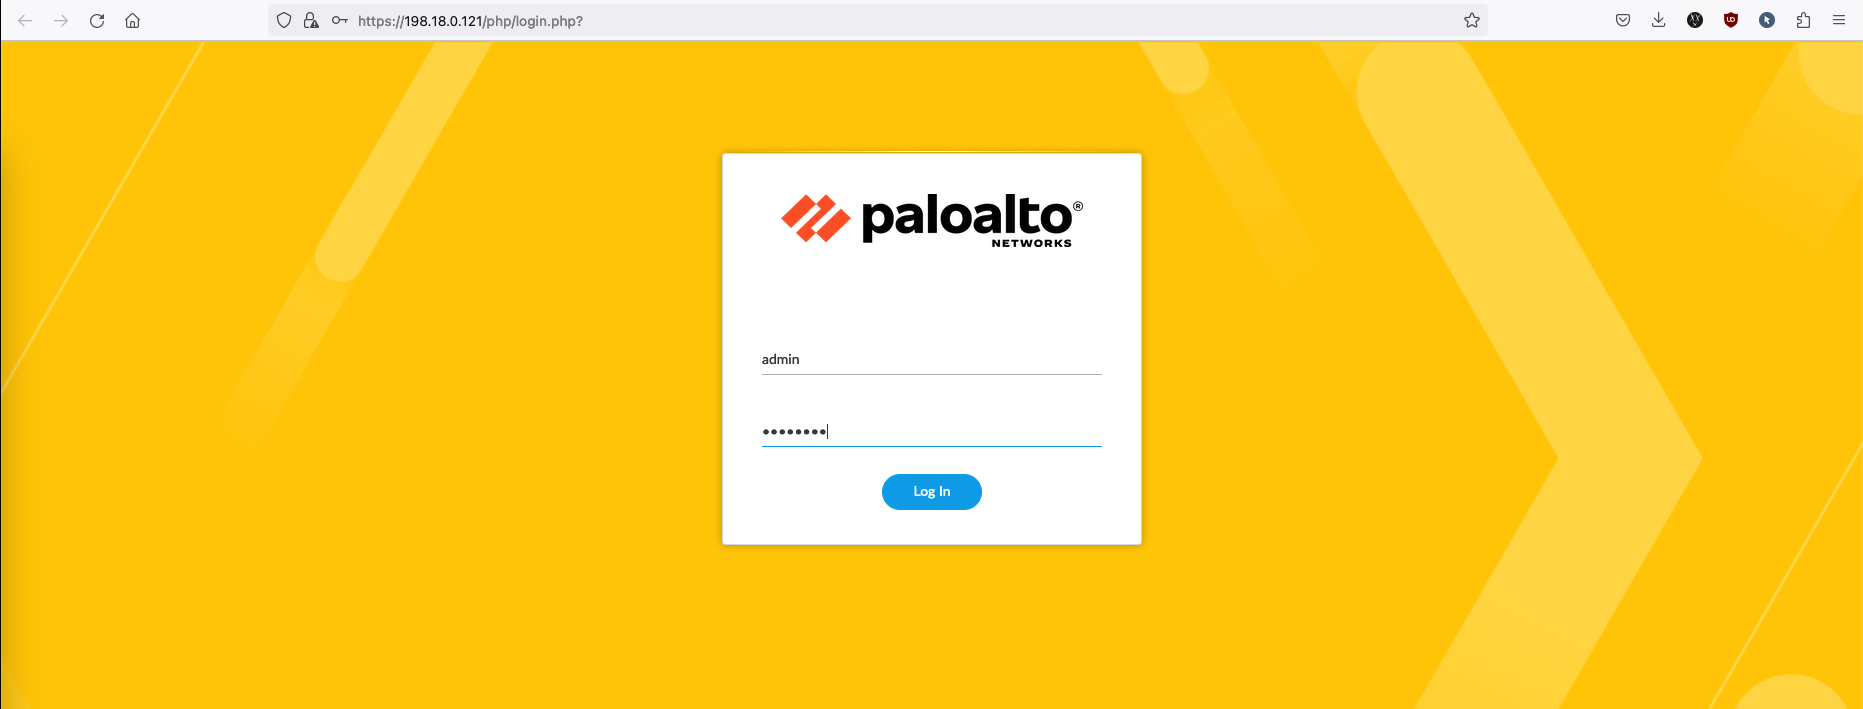
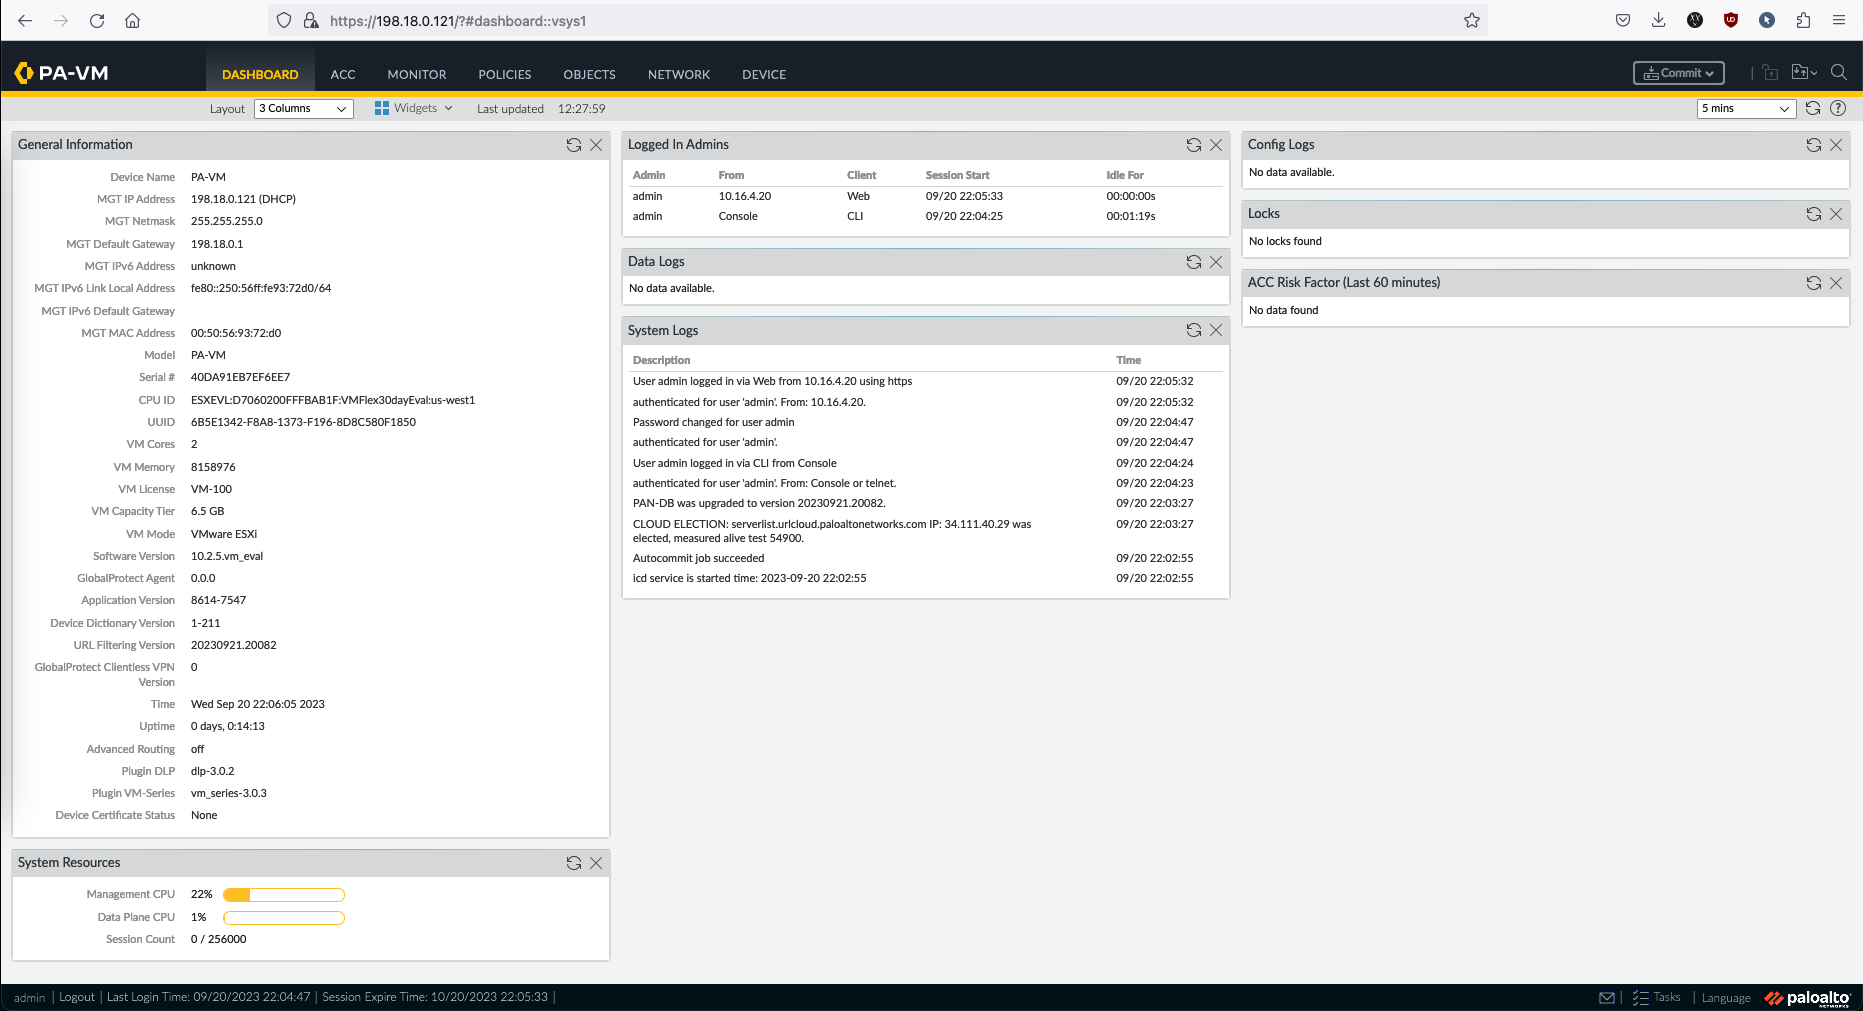
And the Web GUI should be up
Topology
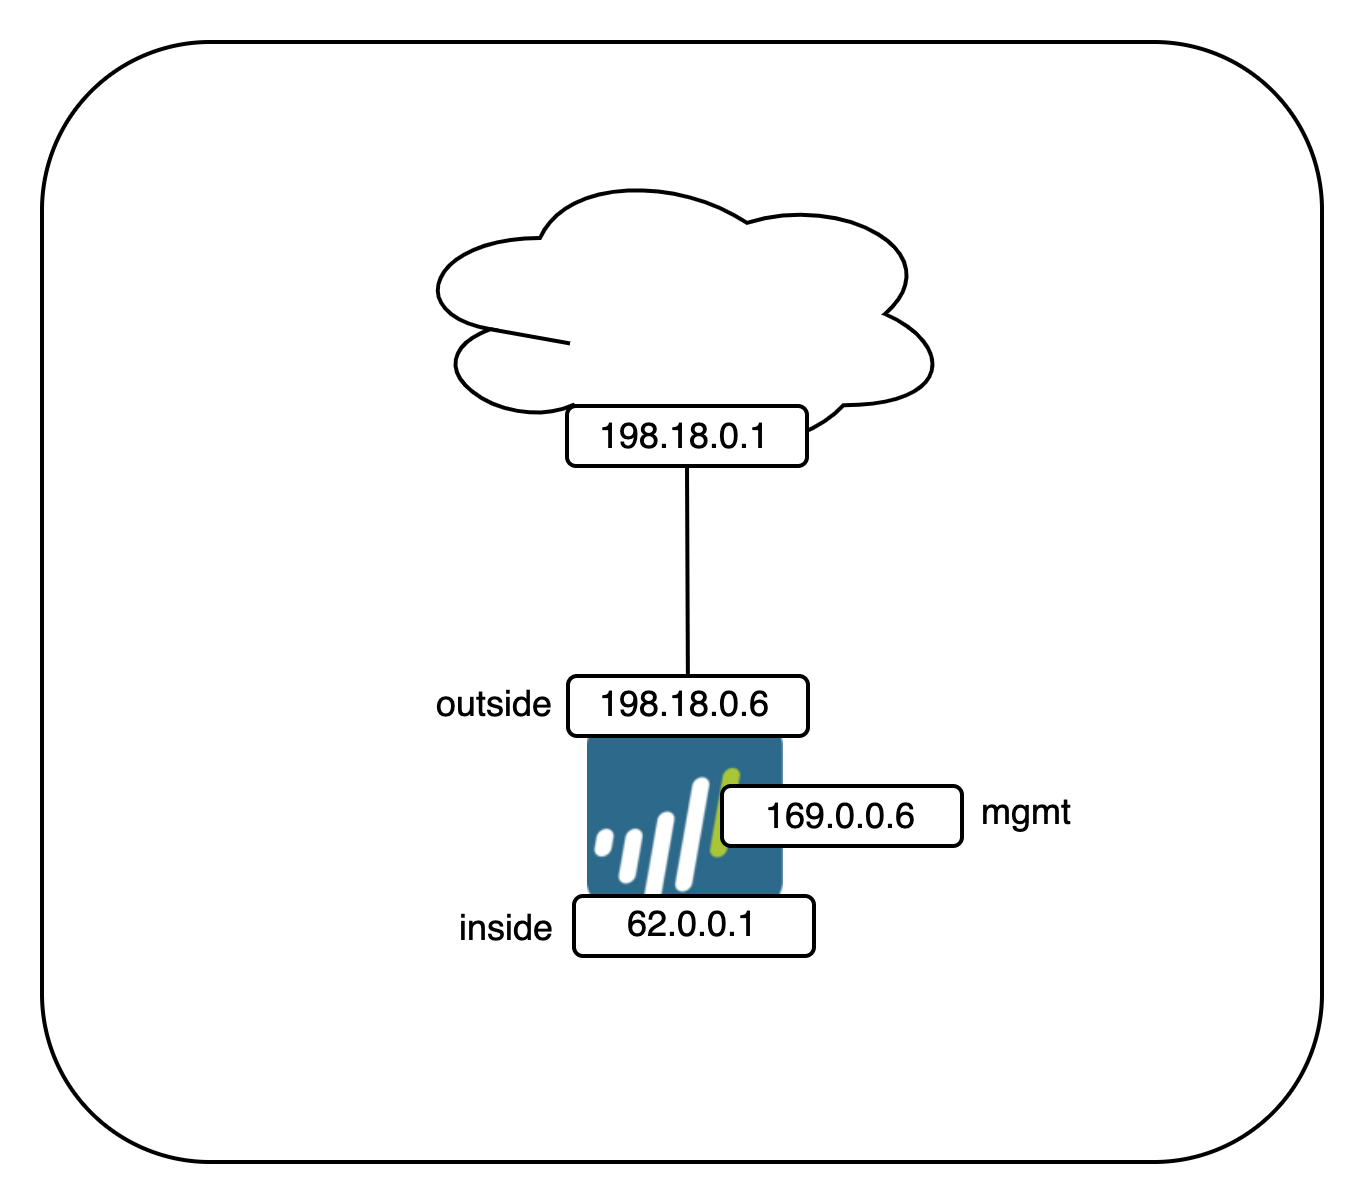
Here’s the network topology for this deployment
Configuring Management Interface
Right now the management interface is still using DHCP-obtained IP Address, let’s change that.
On Device » Interface, select management

Choose static and fill in the IP

Configuring Interfaces
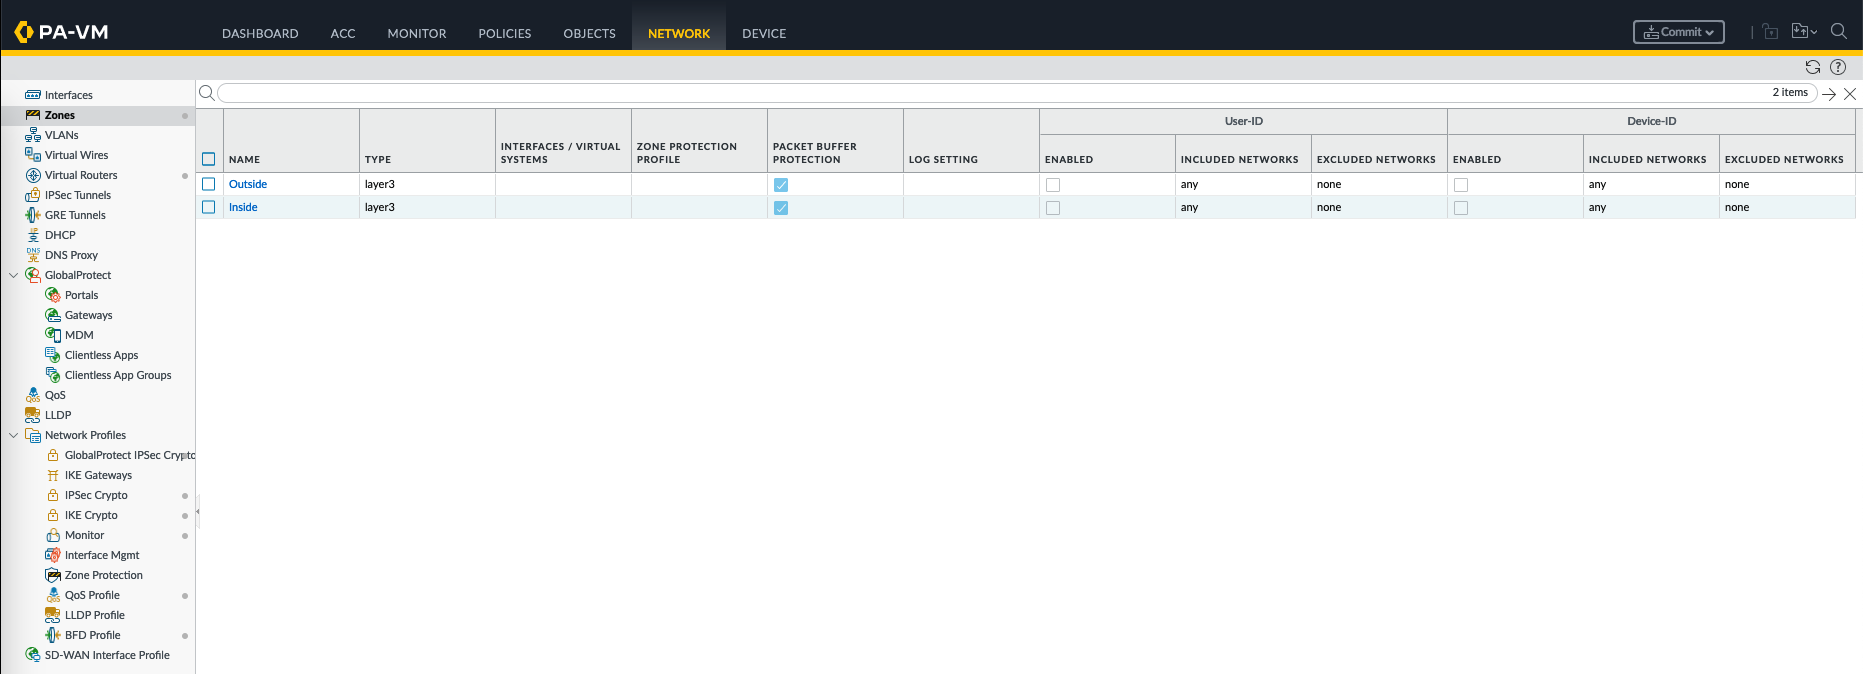
On Network » Zones, create two Layer 3 zones for Inside and Outside
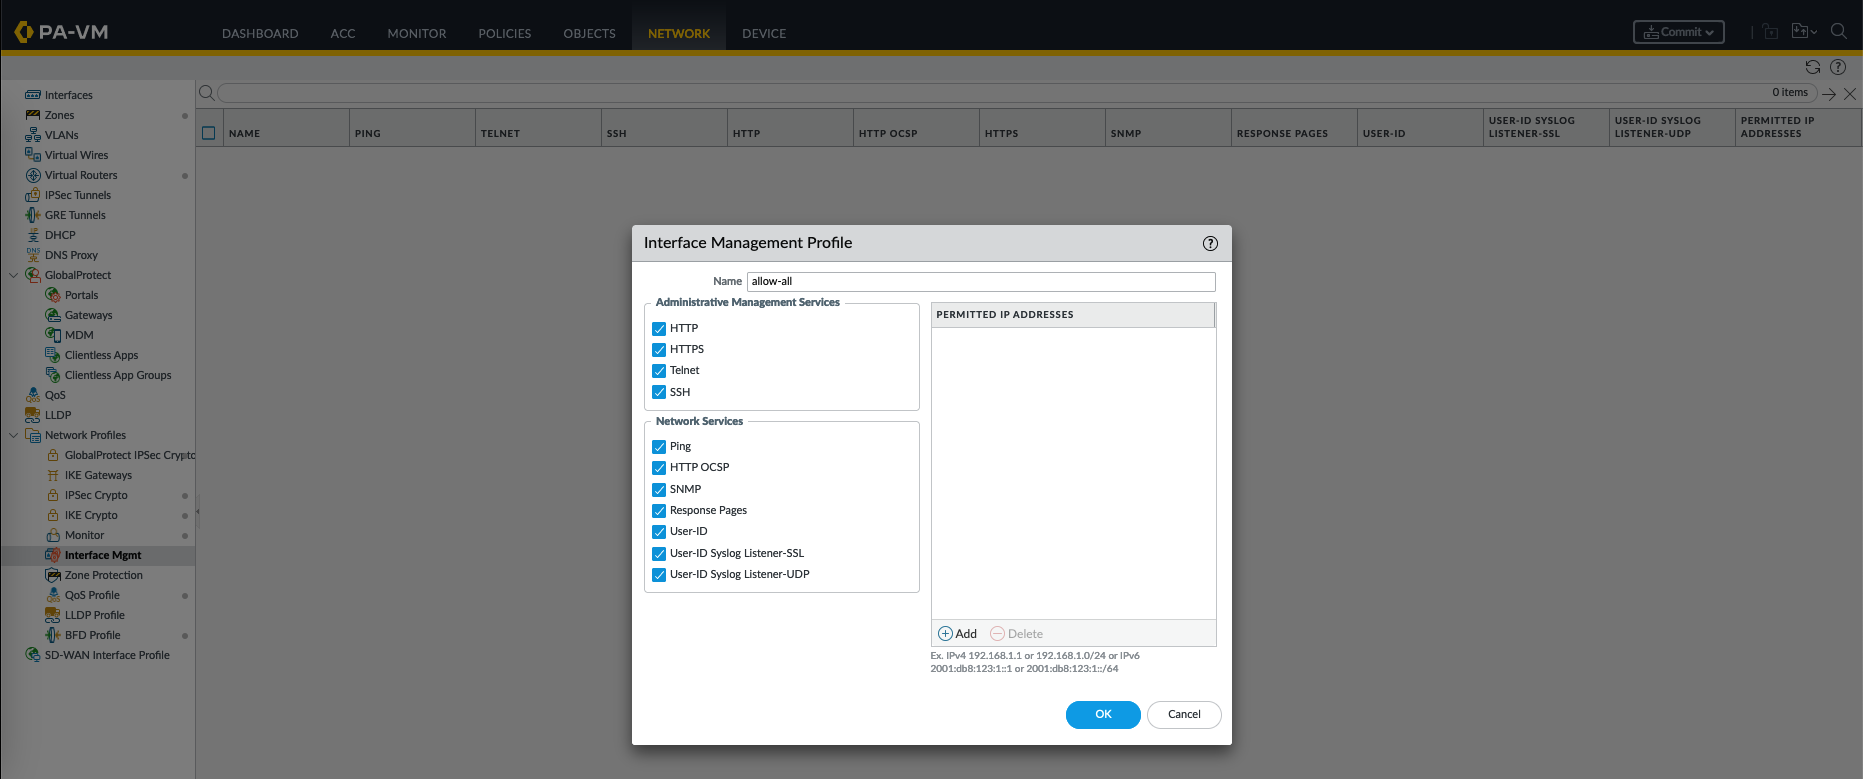
On Network » Interface Mgmt, create new configuration to allow us doing management to the interface
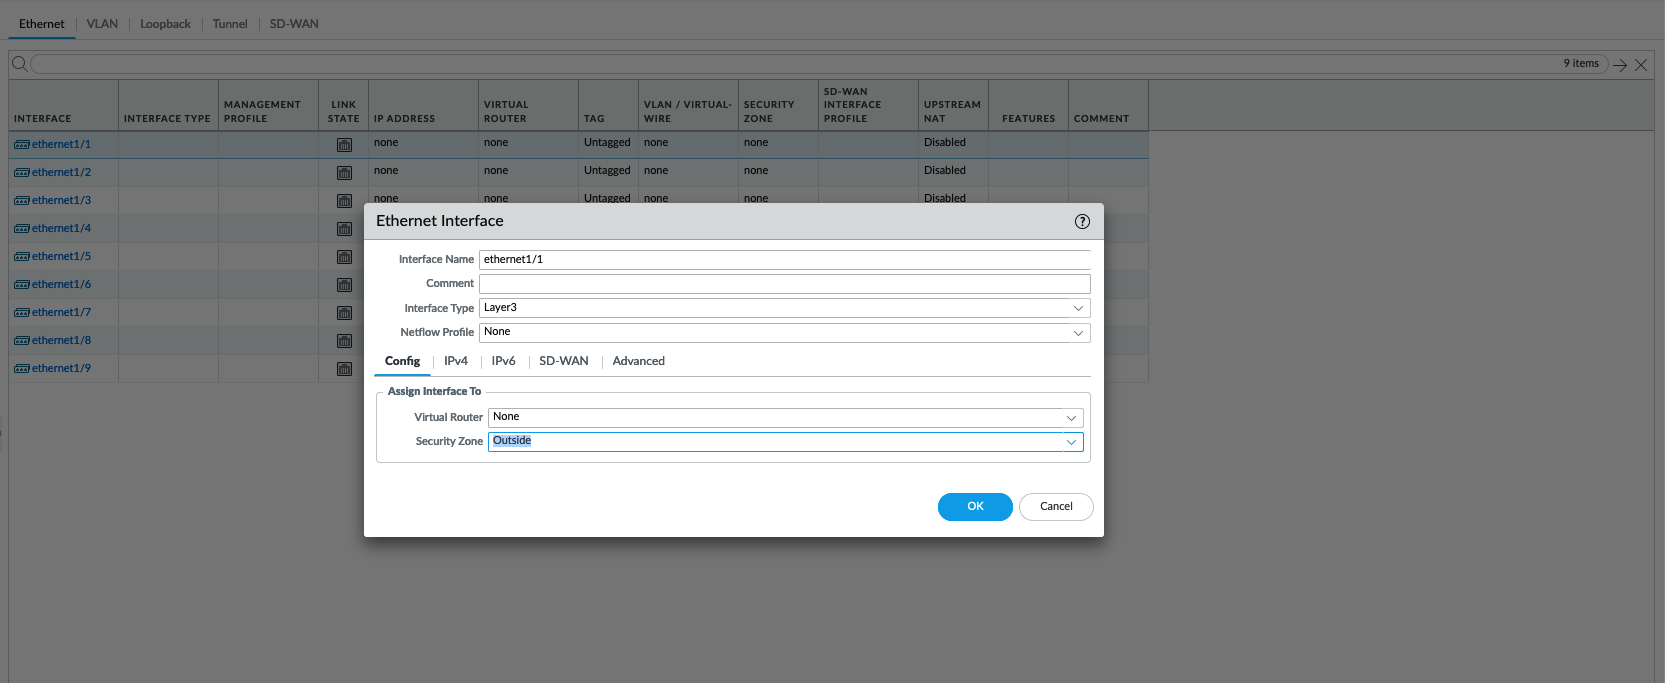
Then on Network » Interfaces, configure the outside network interface on Ethernet1/1
Interface type : Layer 3, Zone : Outside
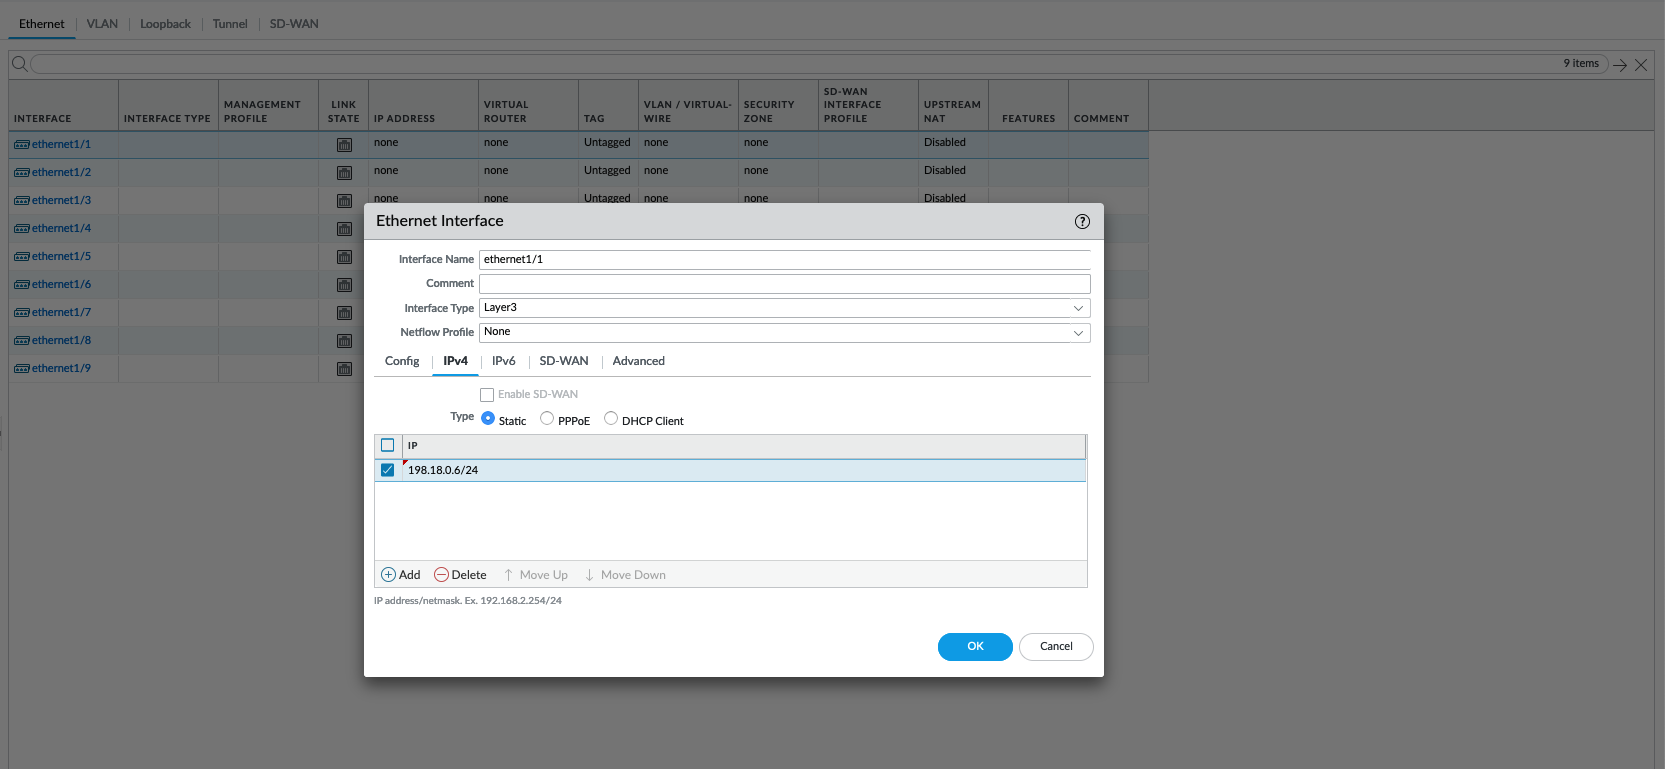
Give it the internet facing IP Address
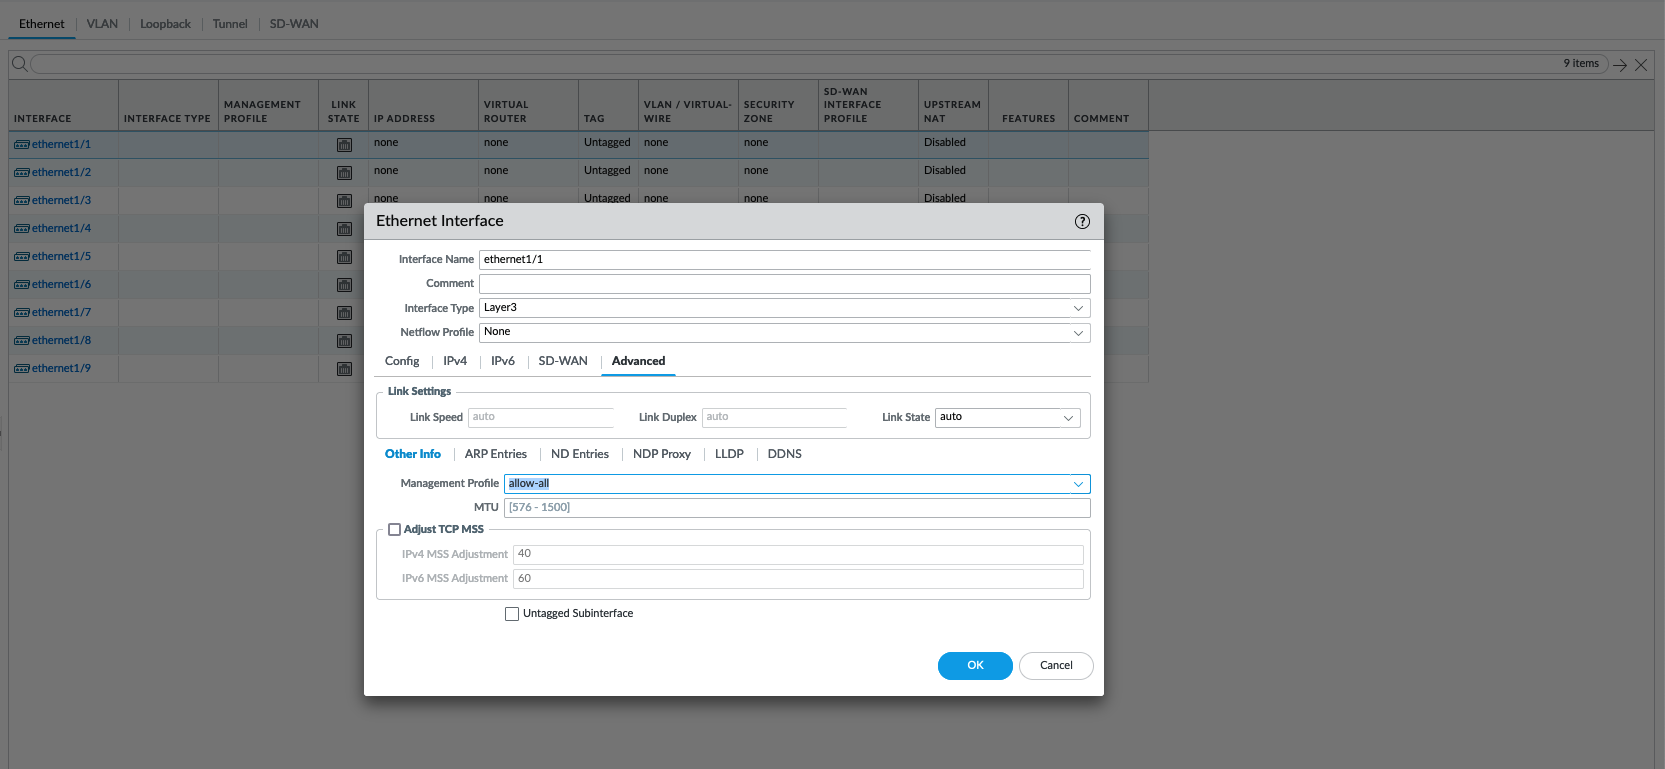
Give management profile, not recommended on production but for lab its all good
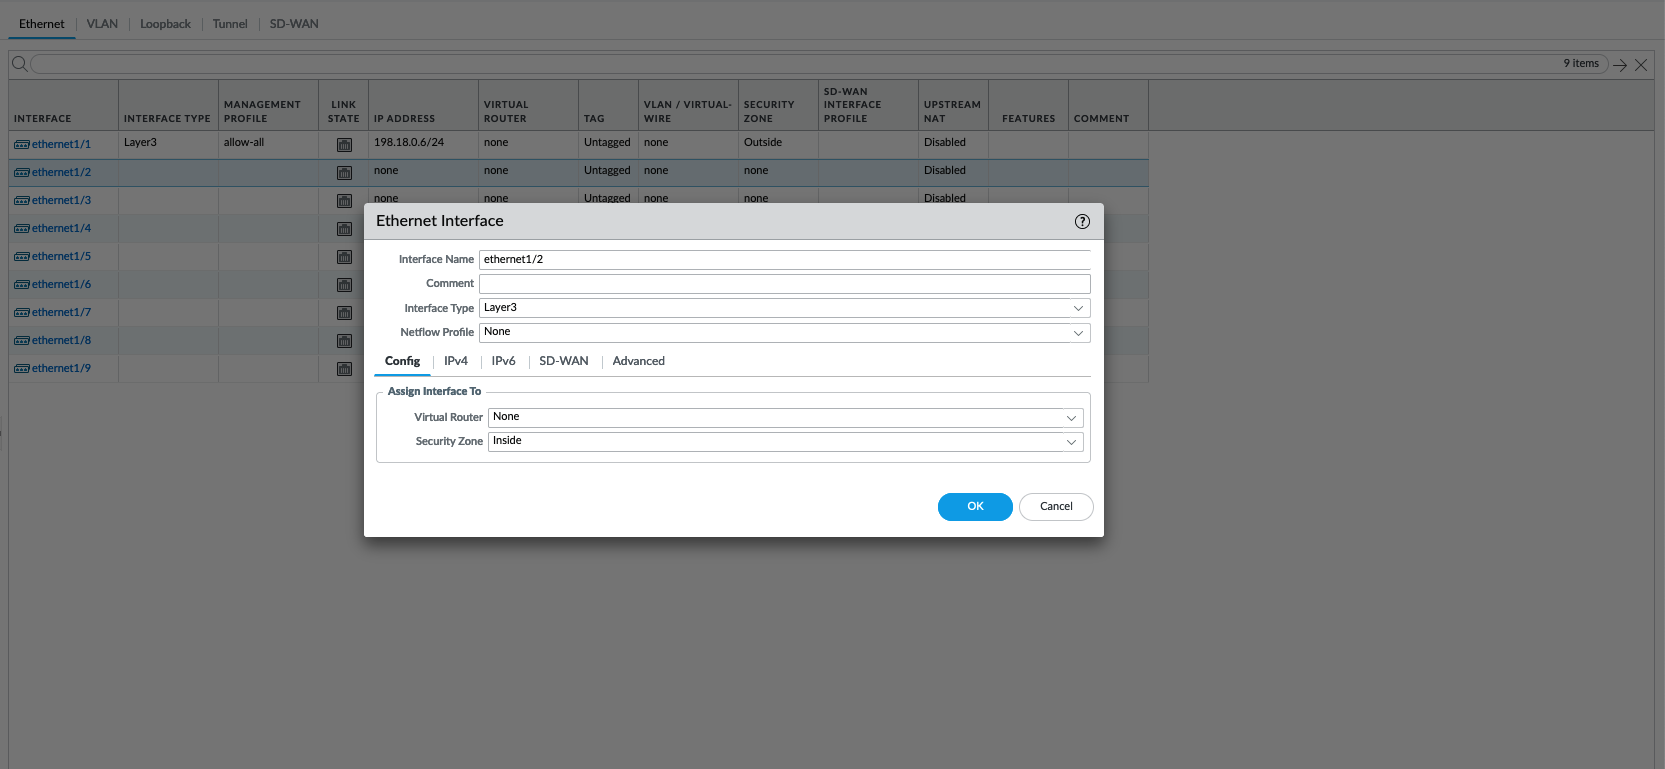
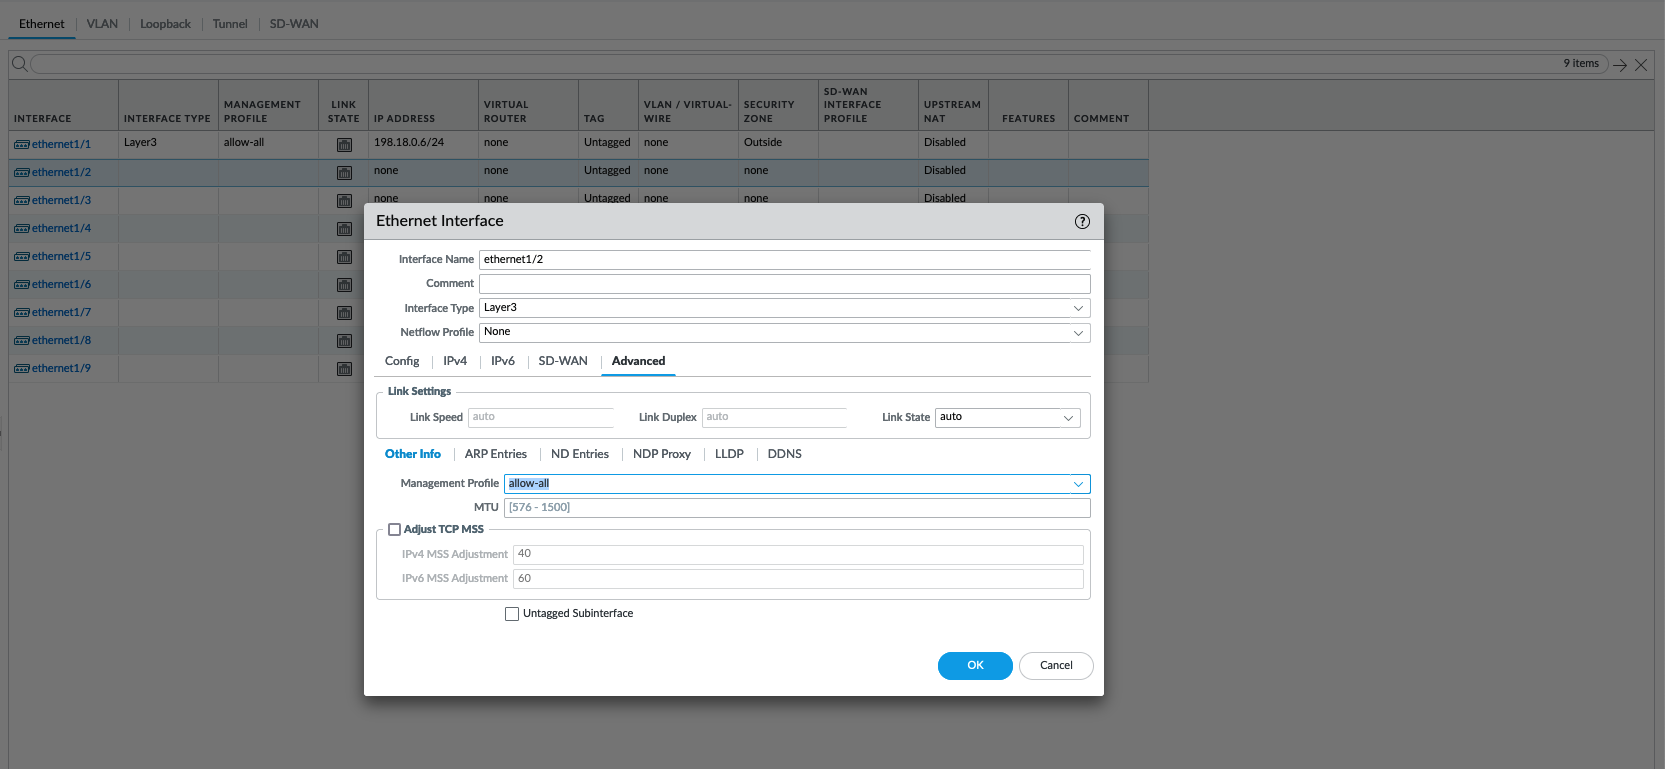
Next configure the inside network interface on Ethernet1/2
Interface type : Layer 3, Zone : Inside
Give it the internal facing IP Address
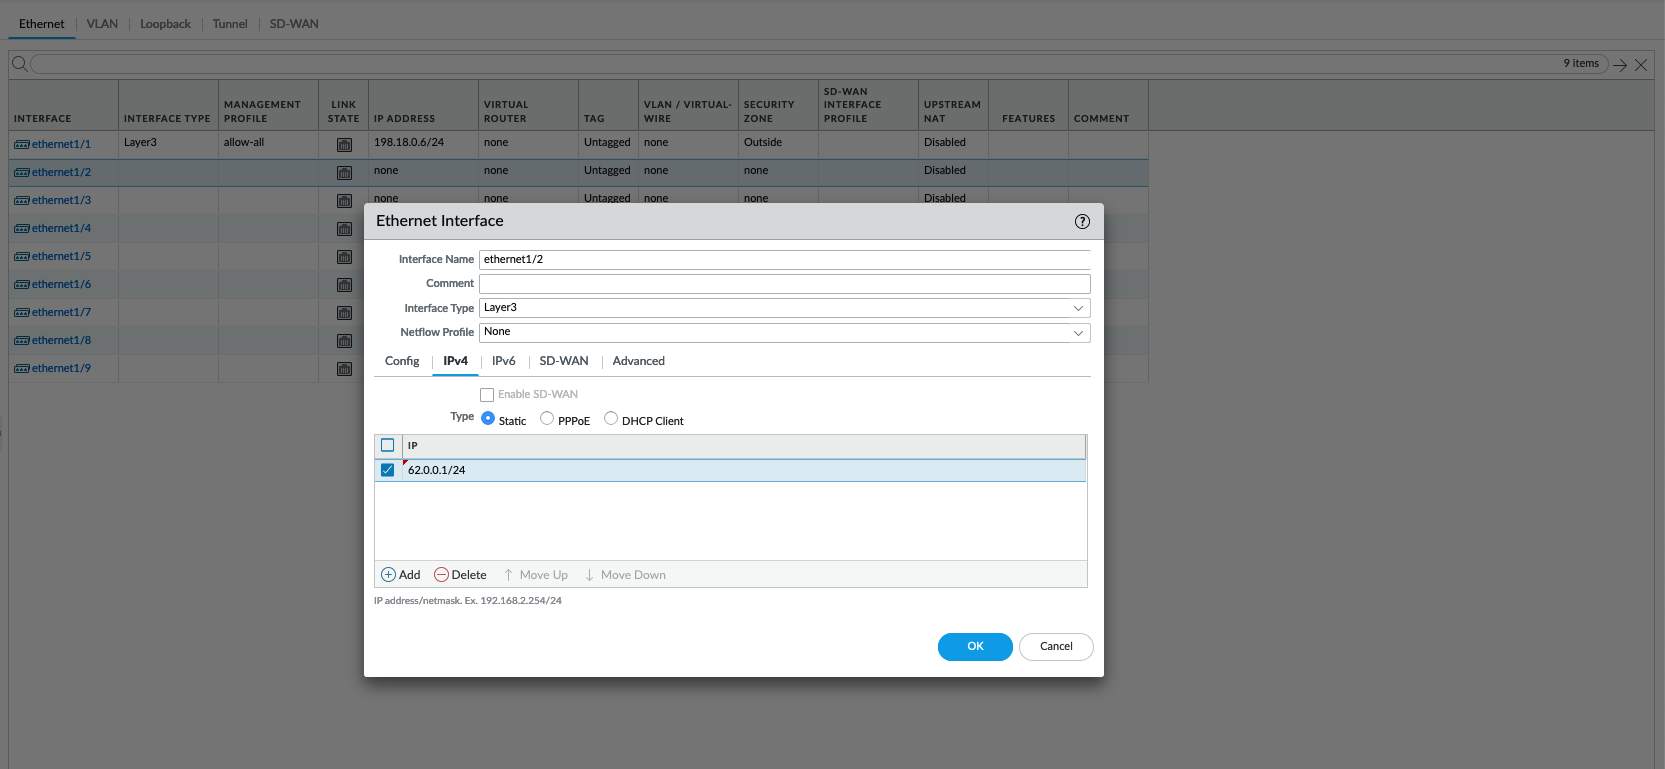
Give management profile
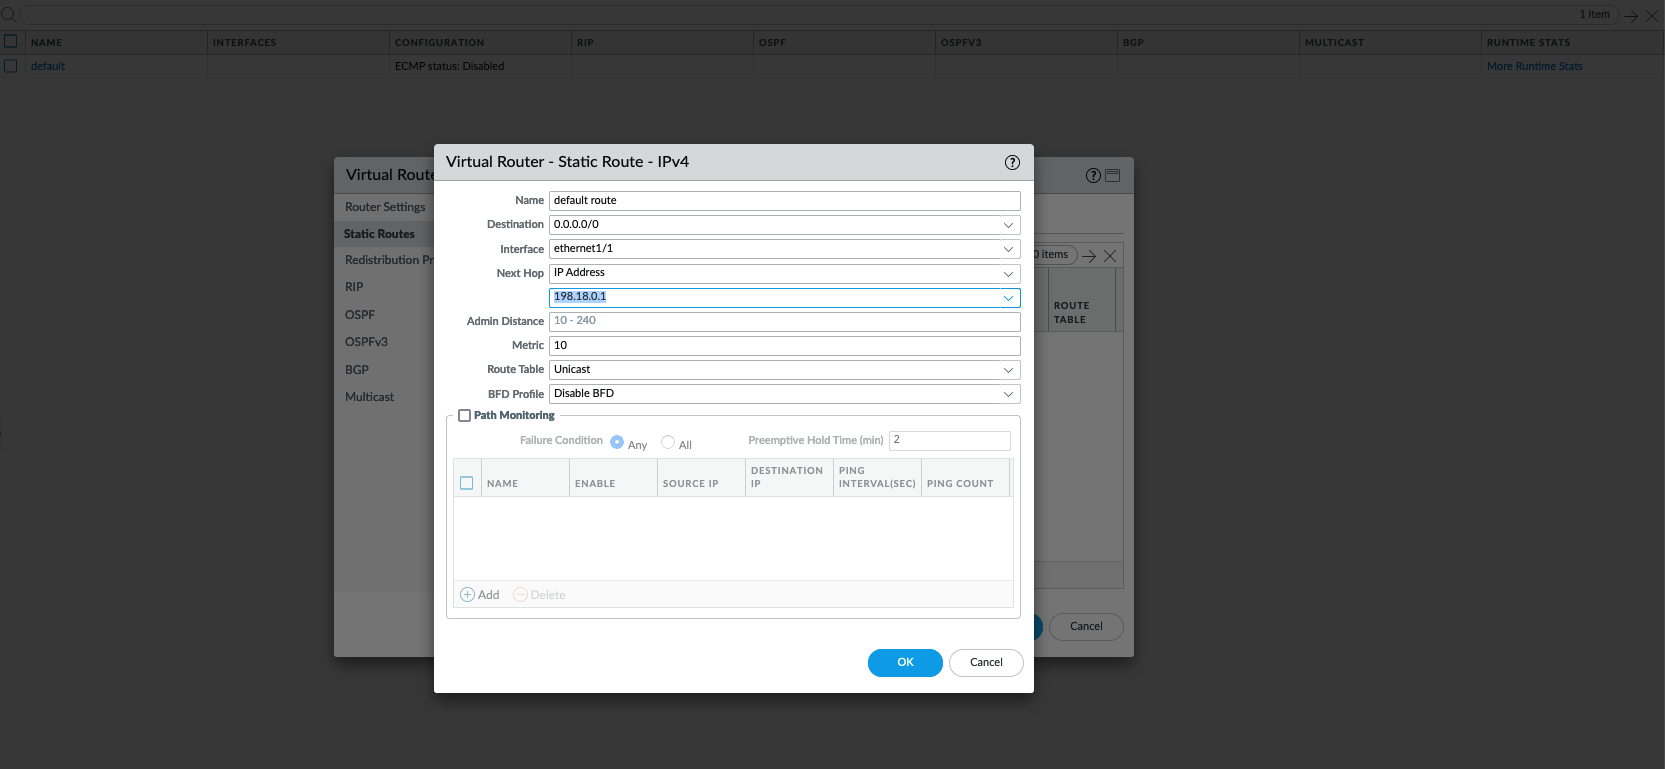
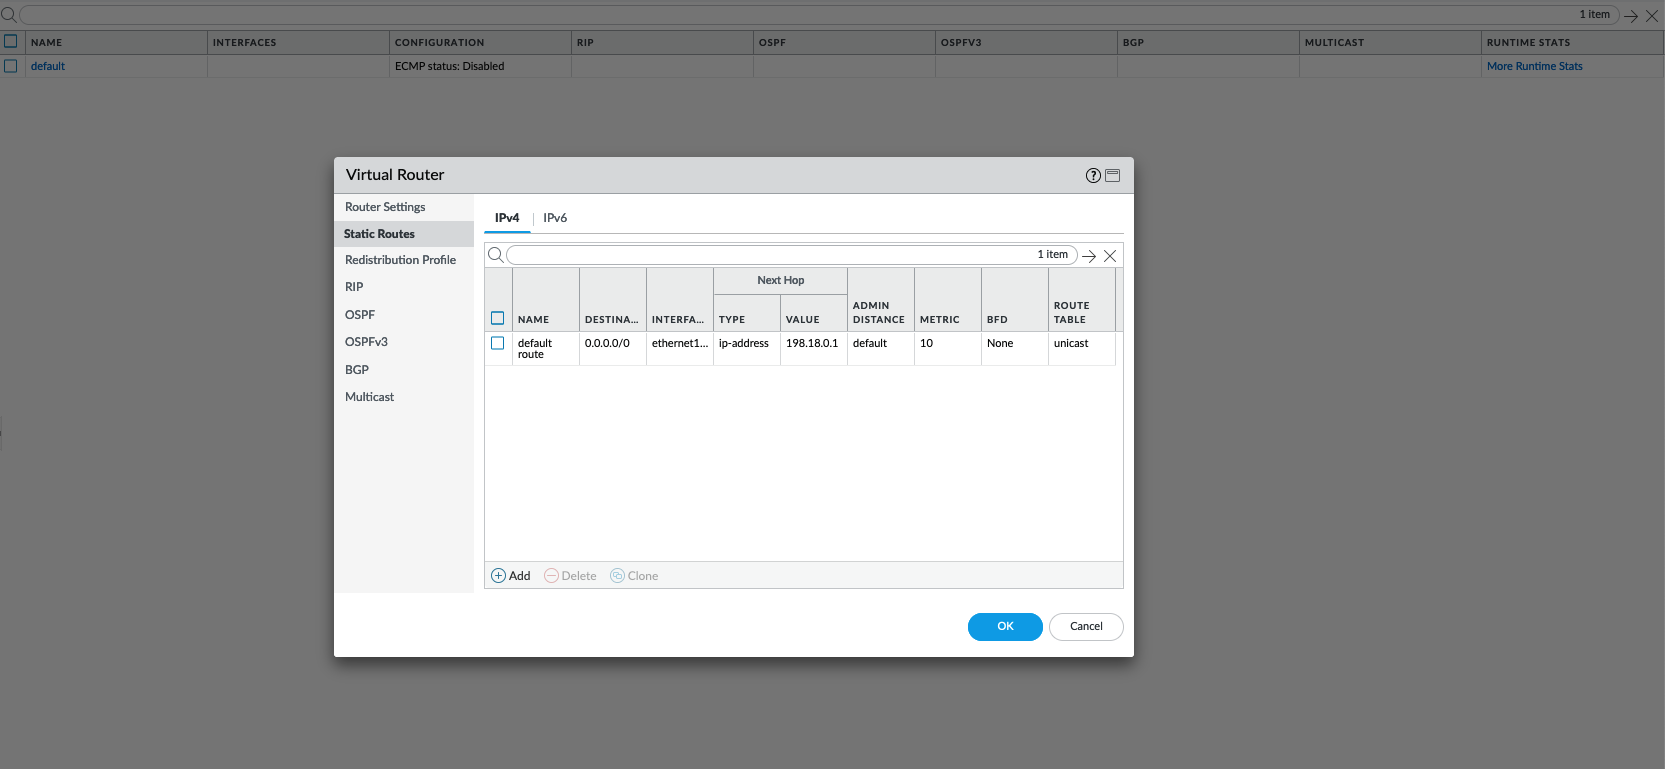
After that, on Network » Virtual Routers, create new vRouter, add both the interfaces

Add a static default route going to the internet next hop IP Address
At this point, commit the changes and both interfaces should be accessible

Configuring NAT
Configuring Security Policy
On Policies » Security, create new

Give it a name

Set the source to be the Inside Zone

Set the service to be any
Configuring NAT Policy
On Policies » NAT, create new

Give it a name

Set the source to be the Inside Zone and destination to be the Outside Zone

Configure the translation type to dynamic ip and port, with the IP Address used is the outside interface
Testing the NAT Configuration
Now on the host in the inside network, we should be able to access the internet

On Monitor » Traffic, we should see the traffic going from inside to the internet

On Monitor » Session Browser, we can see the Policy used as well as the detail of the traffic and its response

Configuring Destination NAT
D-NAT Topology

Configuring NAT Policy
On Policies » NAT, create new

Give it a name

Set both the source and destination zone to be outside, and the destination address to be the Public NAT IP

Set the translated address to be the host’s IP on the inside network
Configuring Security Policy
On Policies » Security, create new

Give it a name

Set the source to be the Outside Zone

Set the destination to be the Inside Zone, but the address is is the NAT Public IP

Set the service to be any
Testing the D-NAT Configuration
Now the Public NAT IP should be accessible from internet

And looking at the Traffic Monitor, we can also see the traffic coming from outside to the NAT IP
