Starwind vSAN
StarWind vSAN is a software-defined storage solution that virtualizes and pools the storage resources of multiple servers into a shared storage pool. It creates a virtual storage area network (SAN) to provide high availability and fault tolerance for virtualized environments.
Installing Starwind
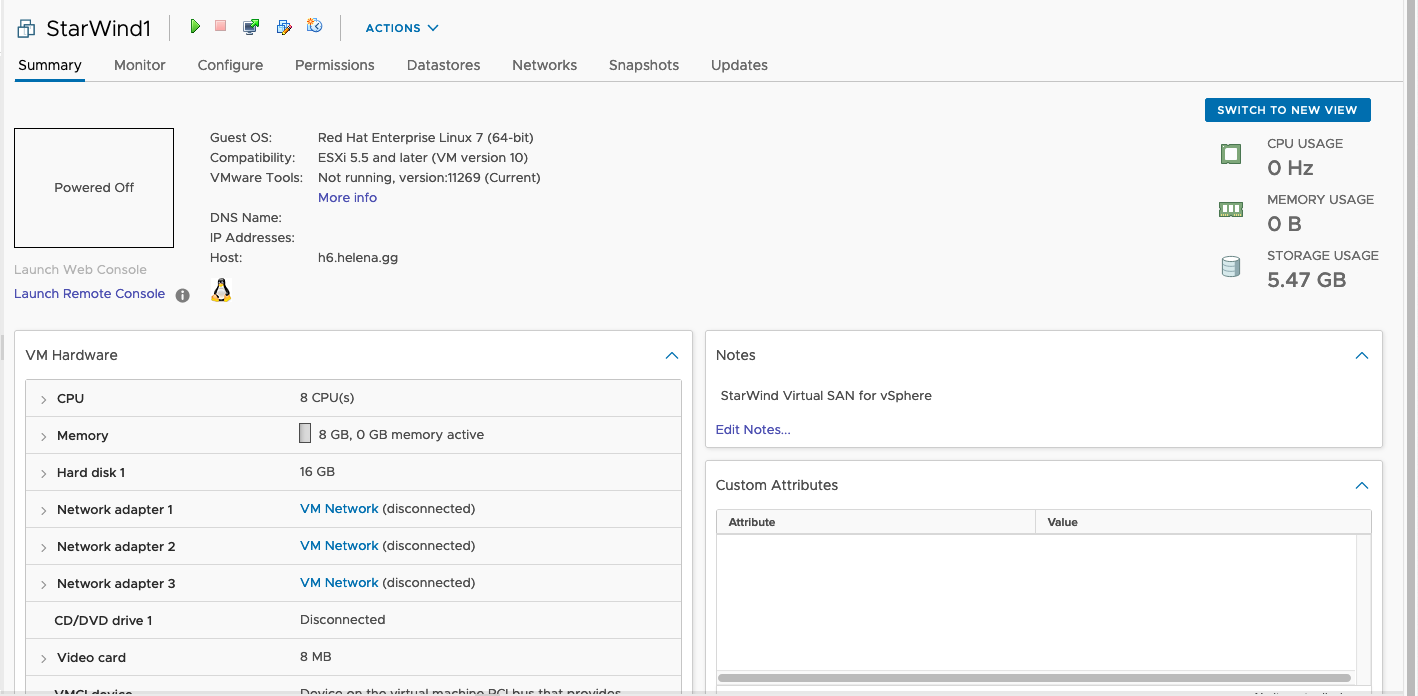
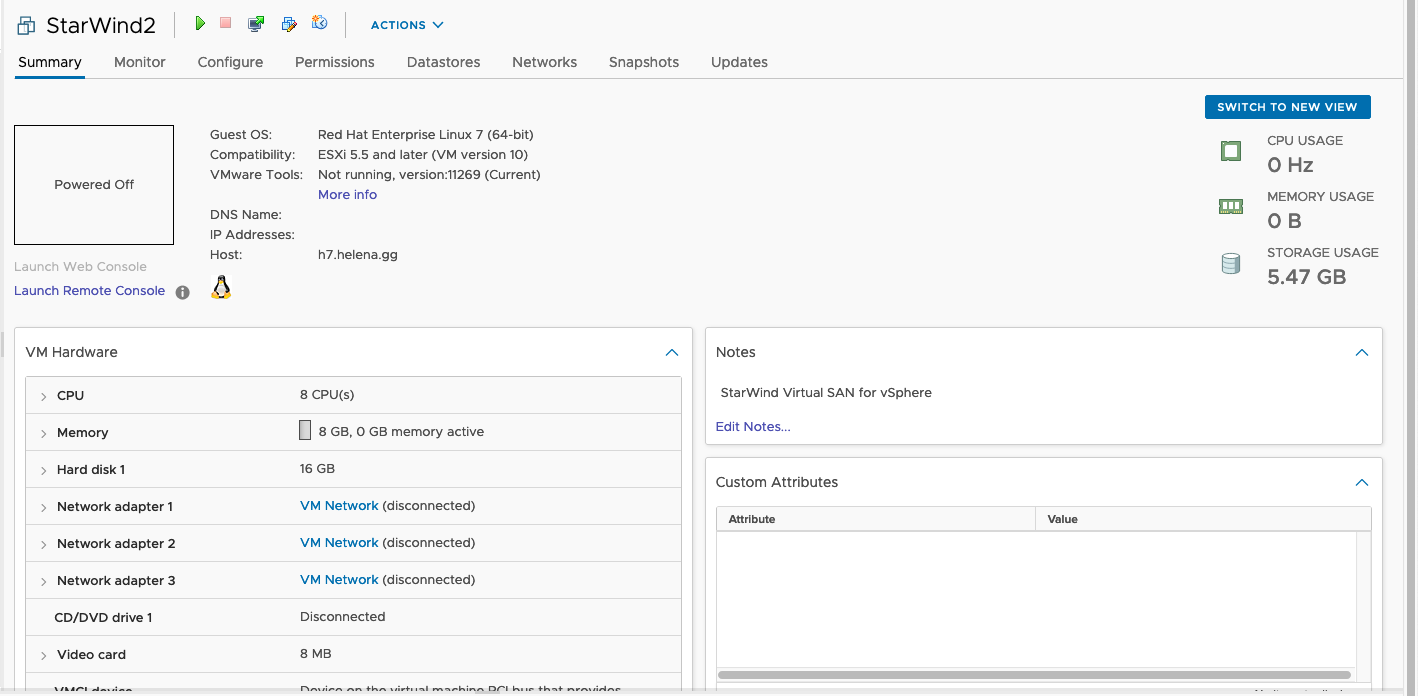
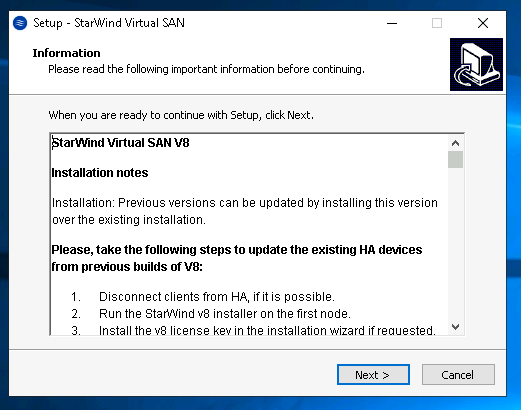
Download the installer on Starwind Official Page, then deploy the 2 OVAs as usual
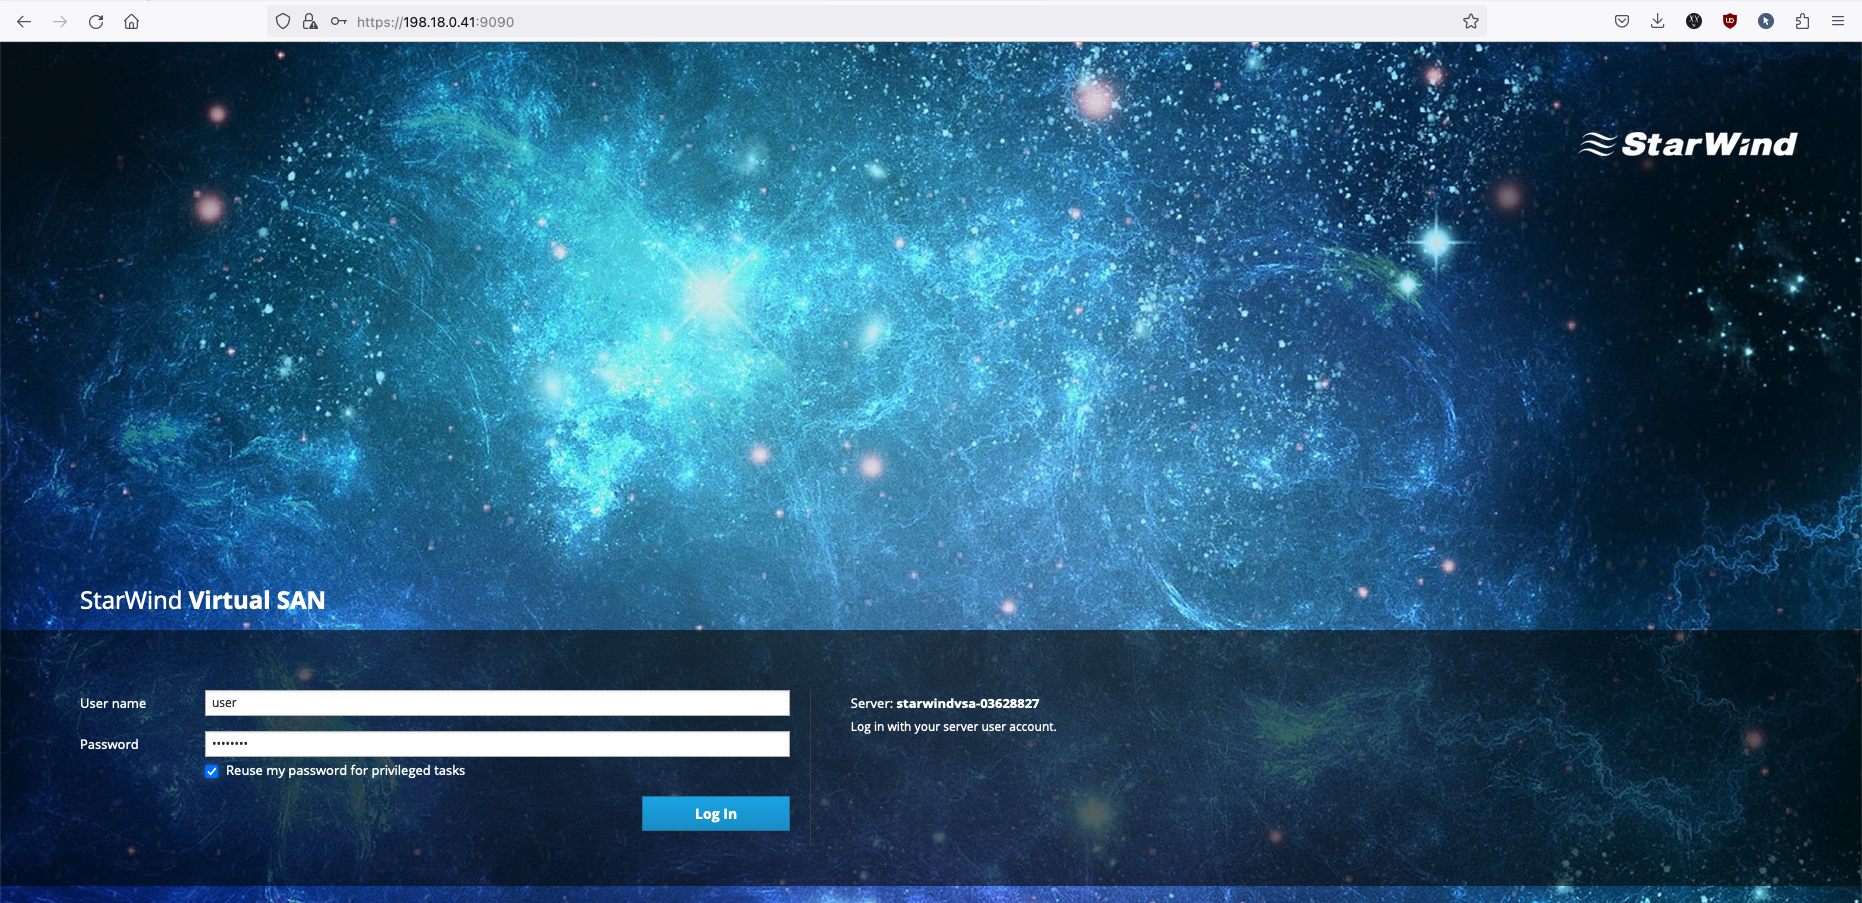
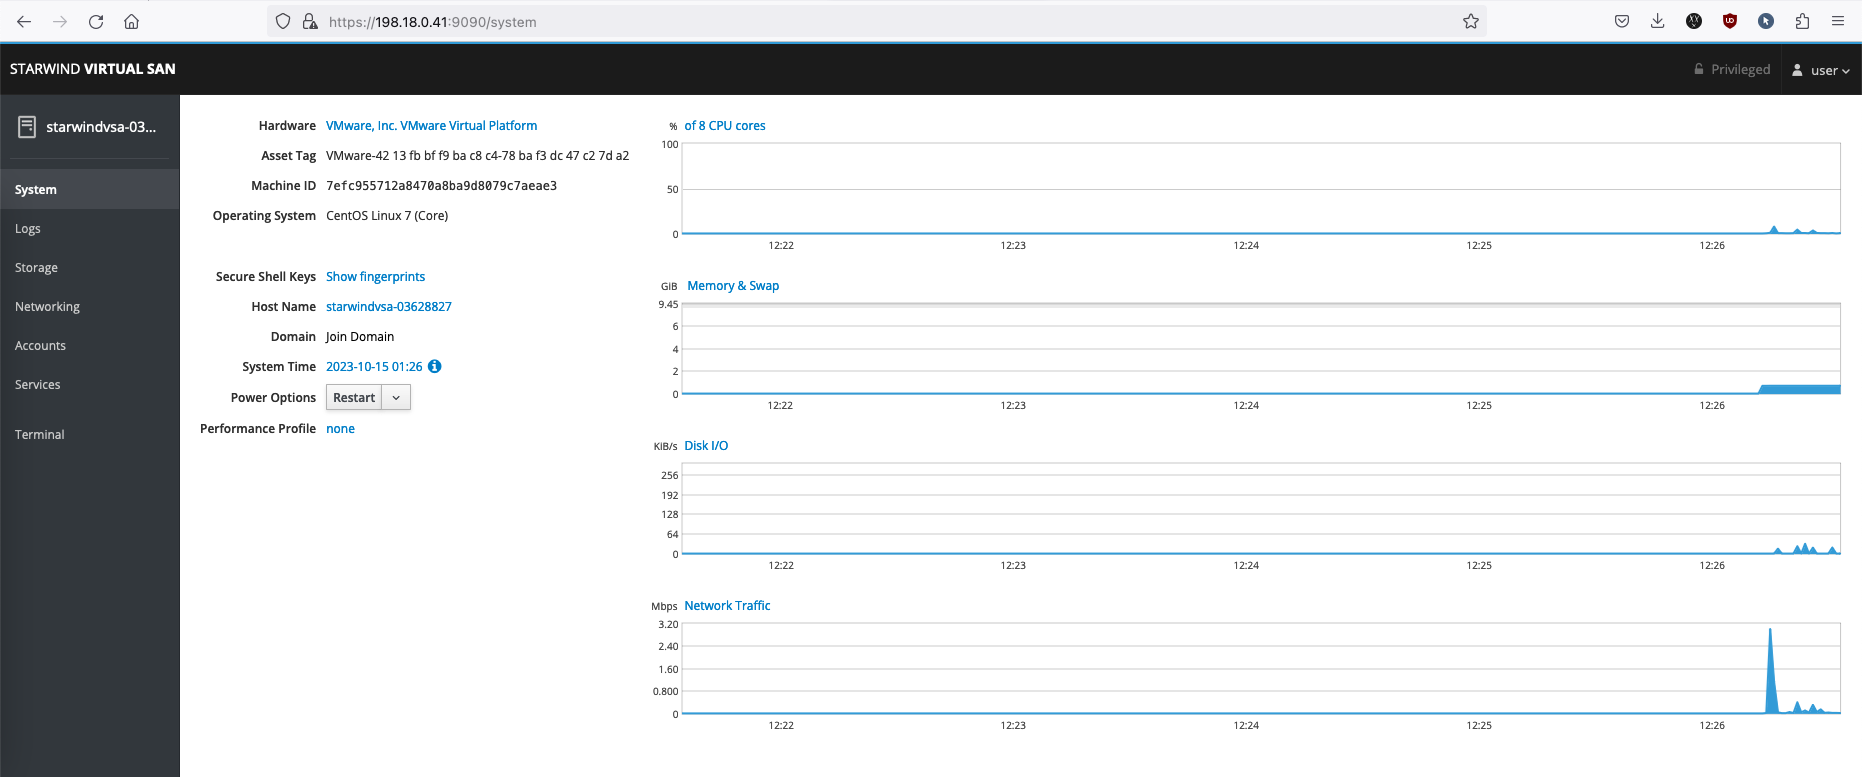
Then access the Web UI using the DHCP-obtained addresses
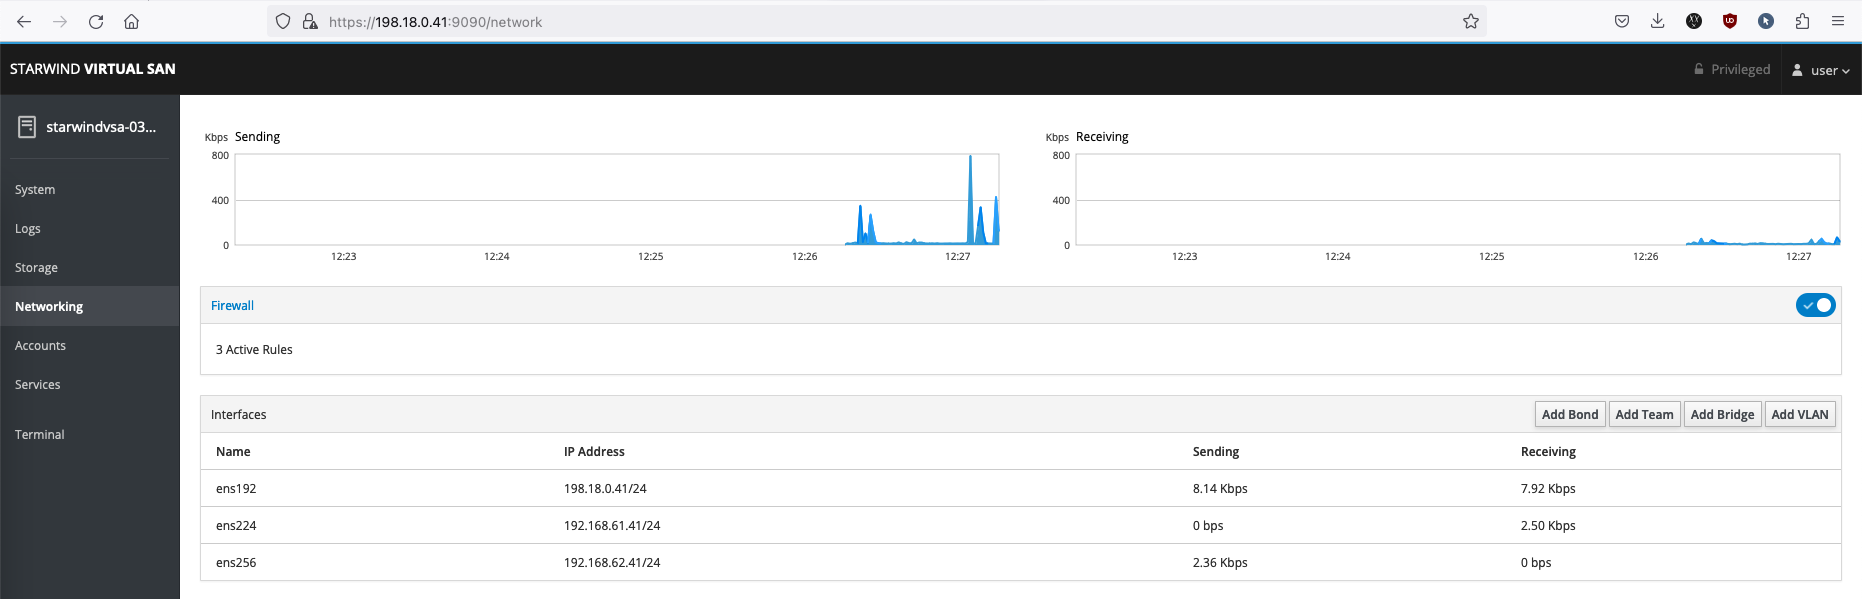
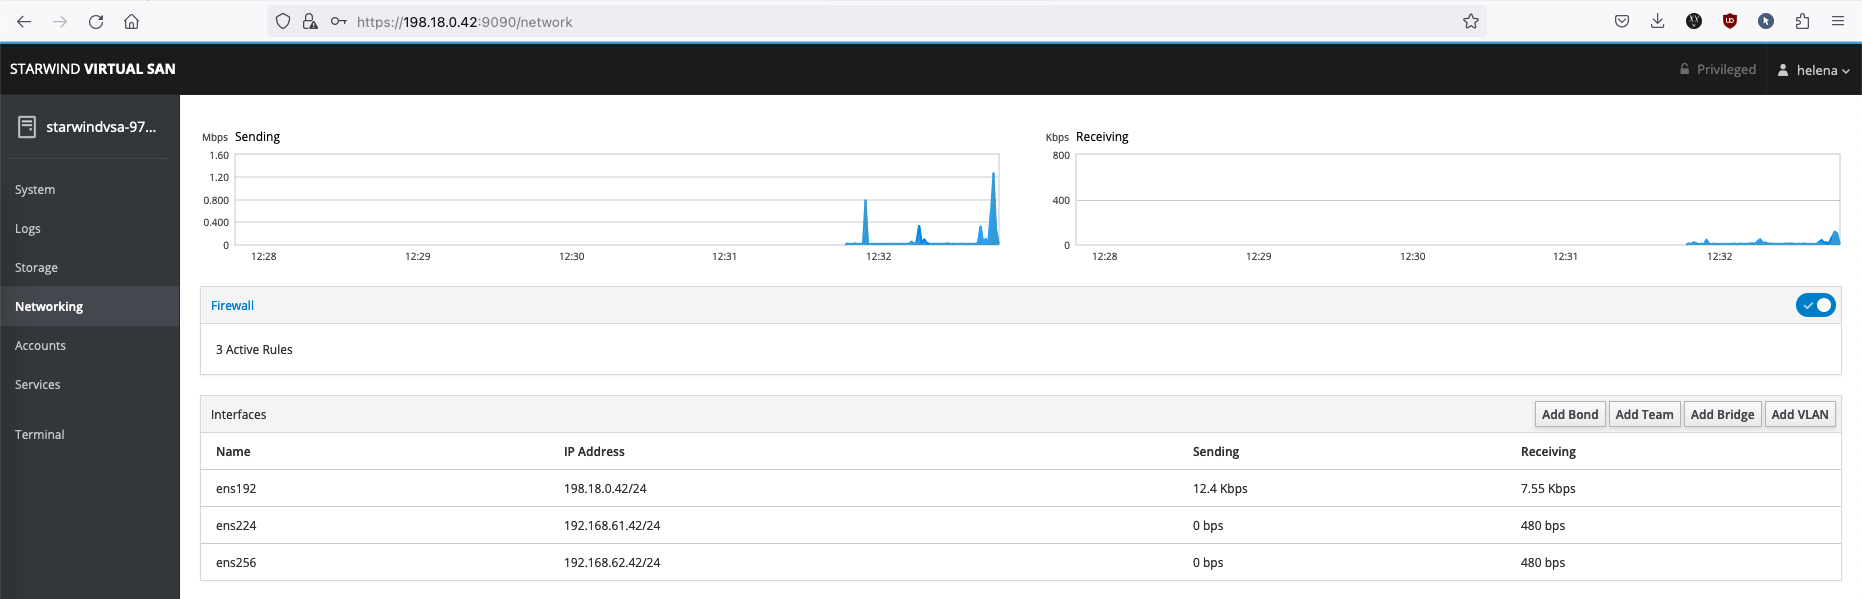
Go to Networking, configure 3 interfaces for Management, Heartbeat, and Replication
Configuring Starwind Management Console
Next, go to a Windows machine and install the Starwind Management Console
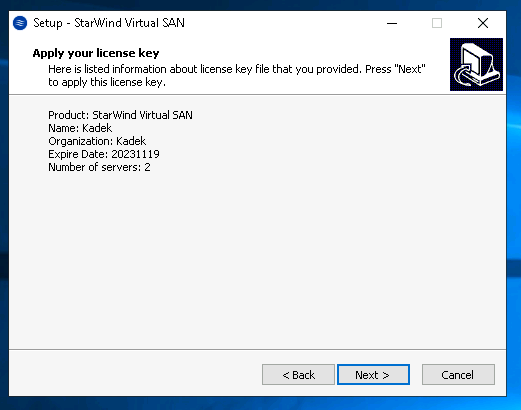
Apply the license obtained from Starwind
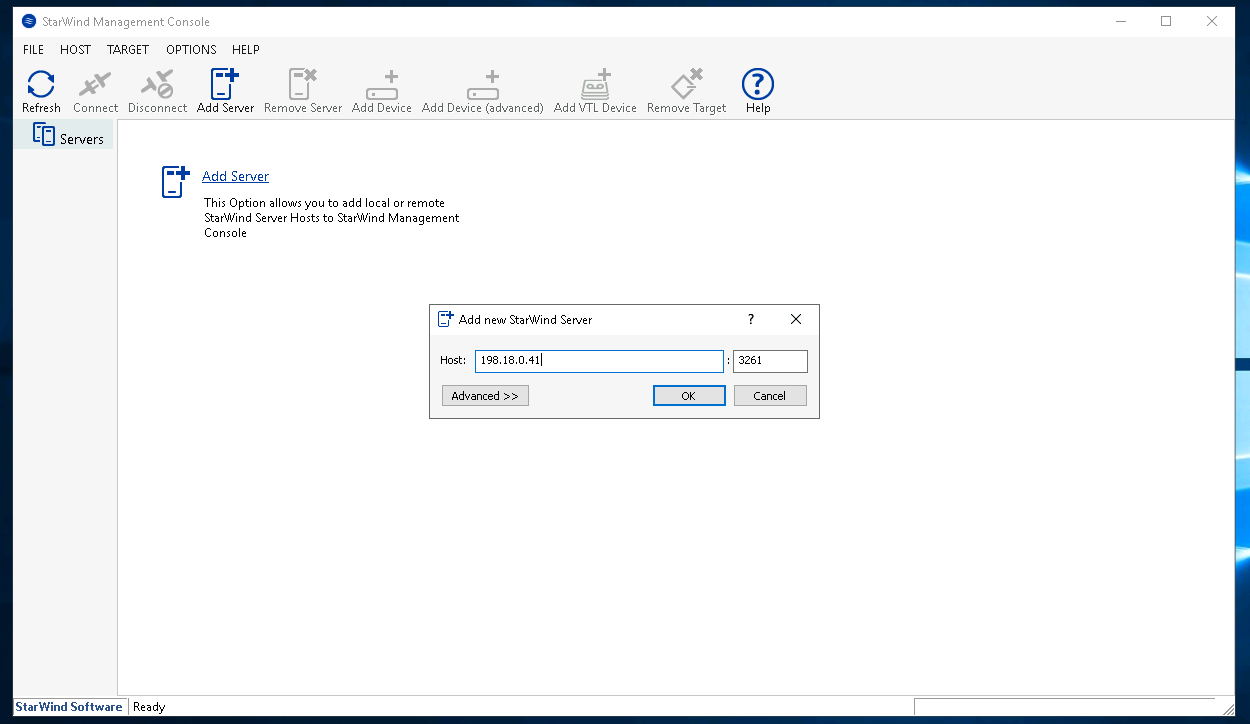
And the Management Console is up, select Add Server to add the Starwind nodes

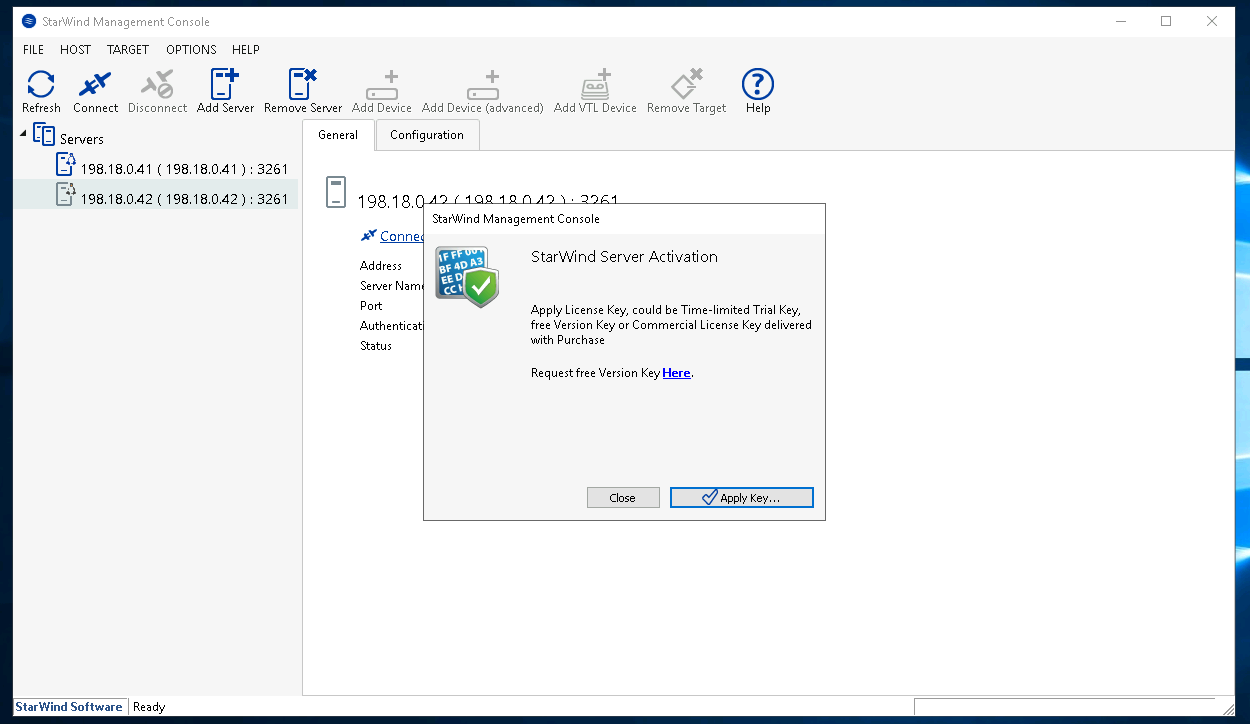
Select connect on both nodes, and apply the license
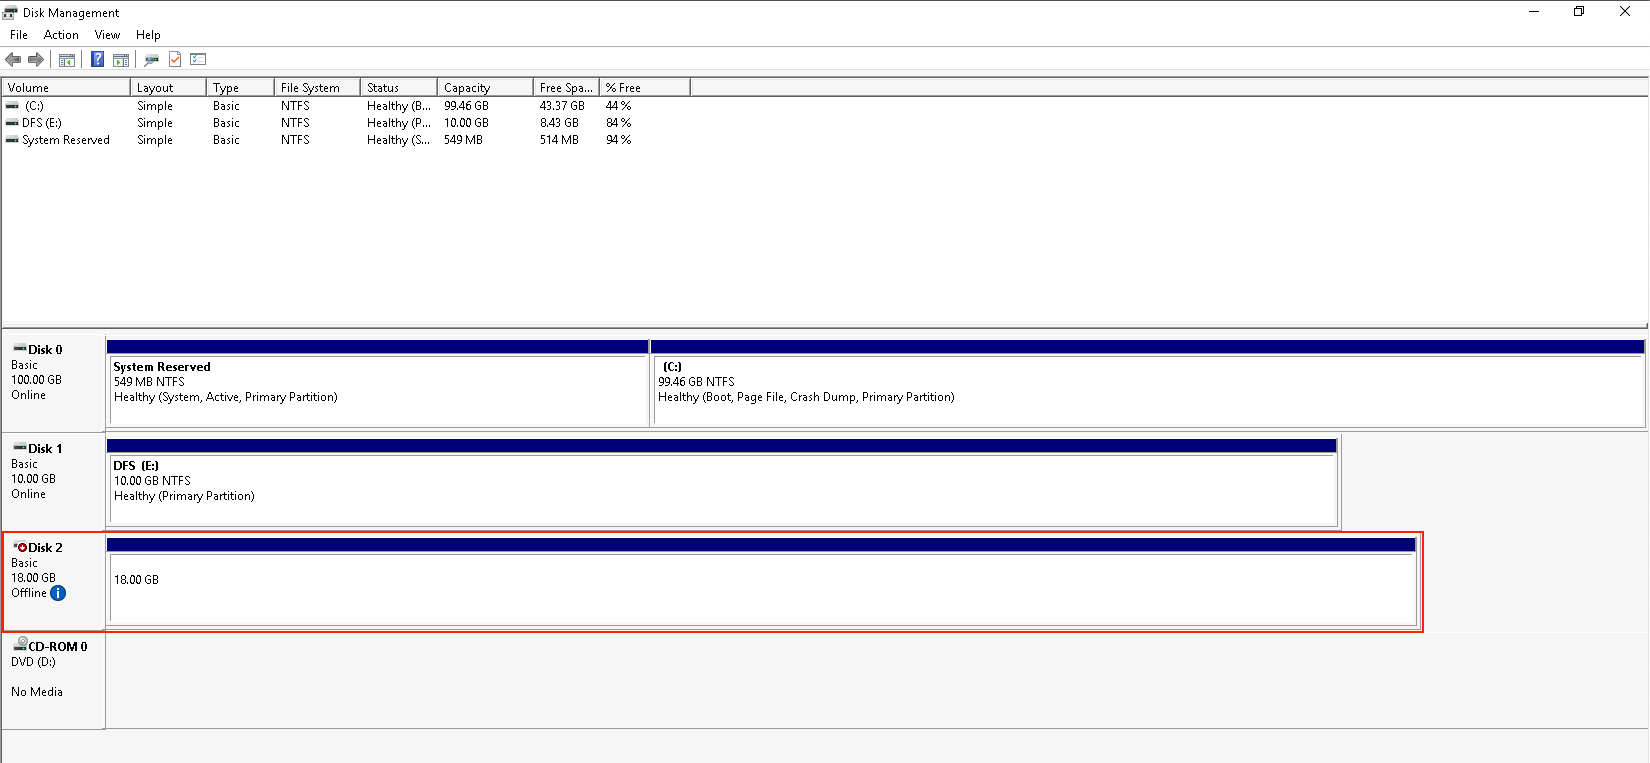
Attaching Storage
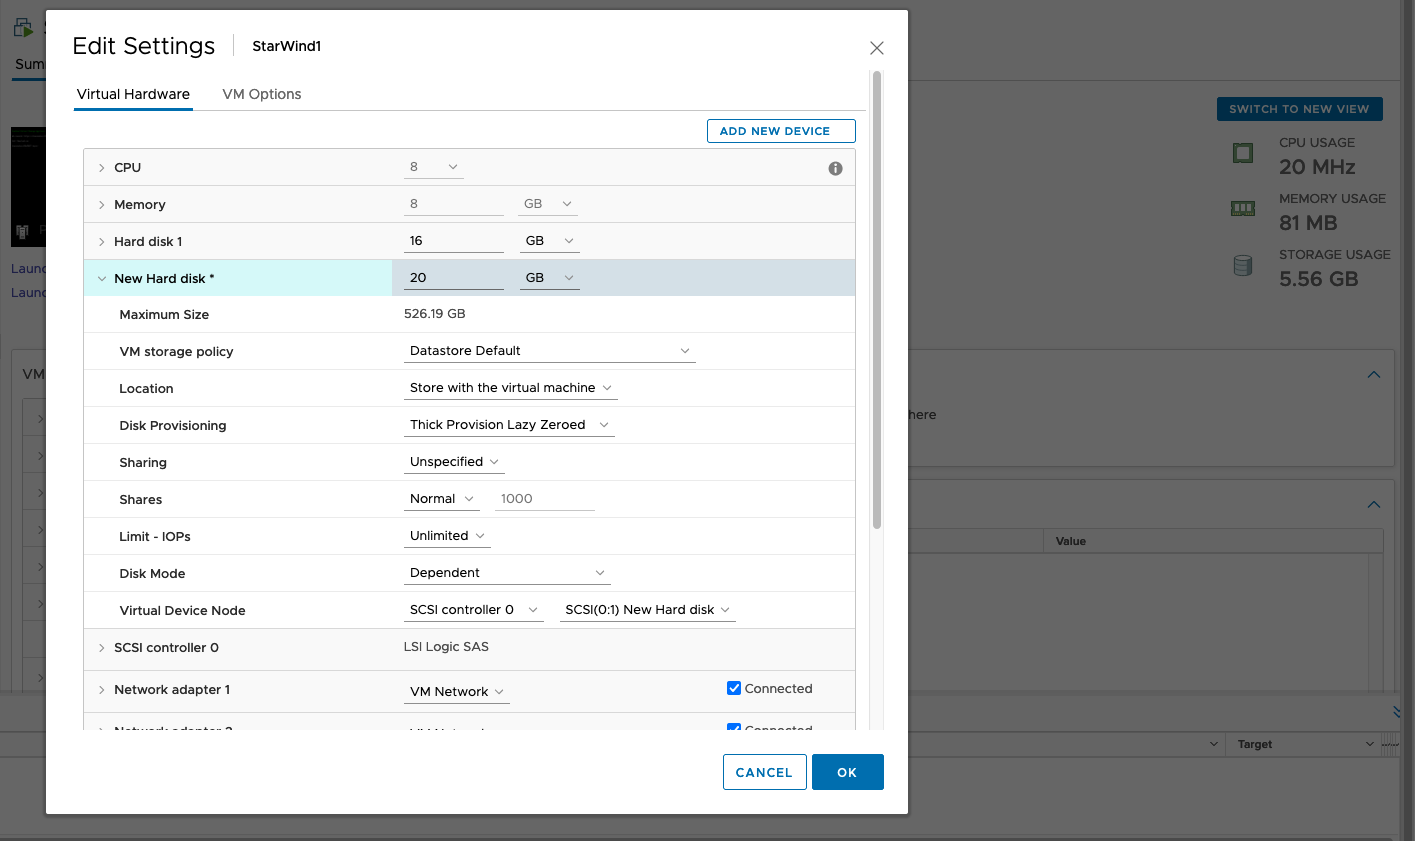
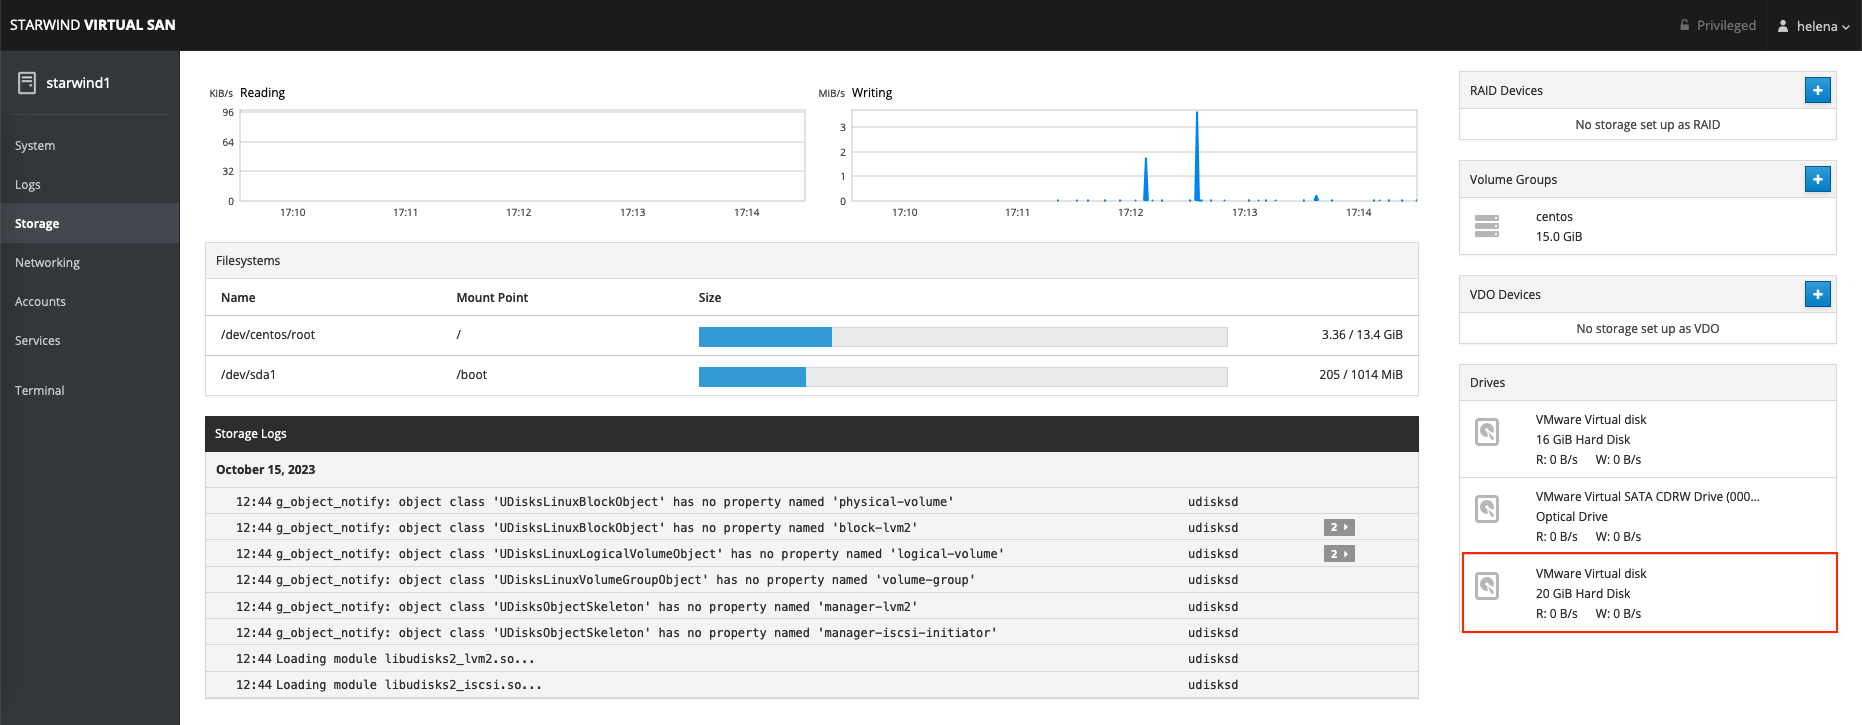
Here we add a new disk with the size of 20 GB
Back on Starwind Web UI, select the newly attached disk
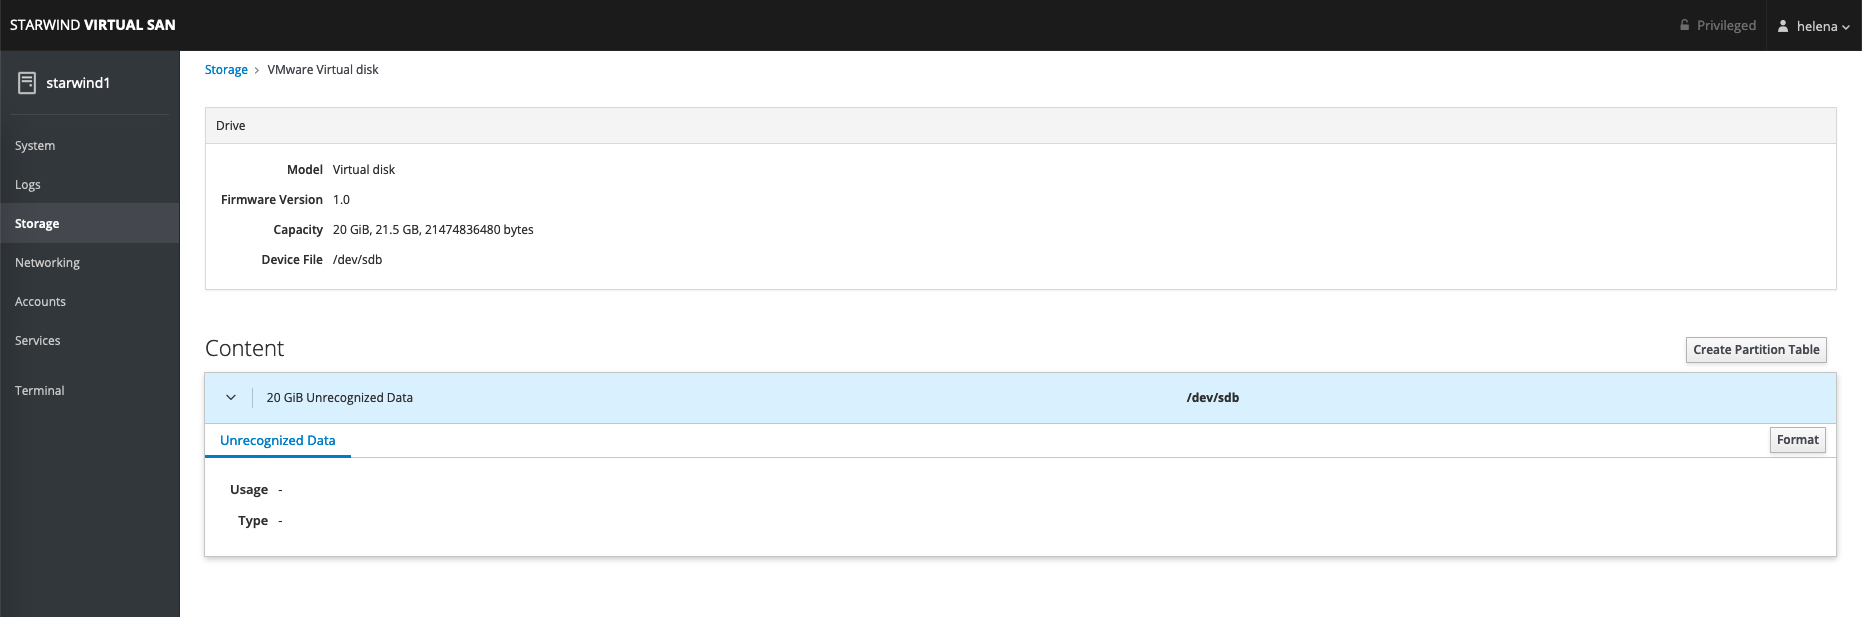
Select Format
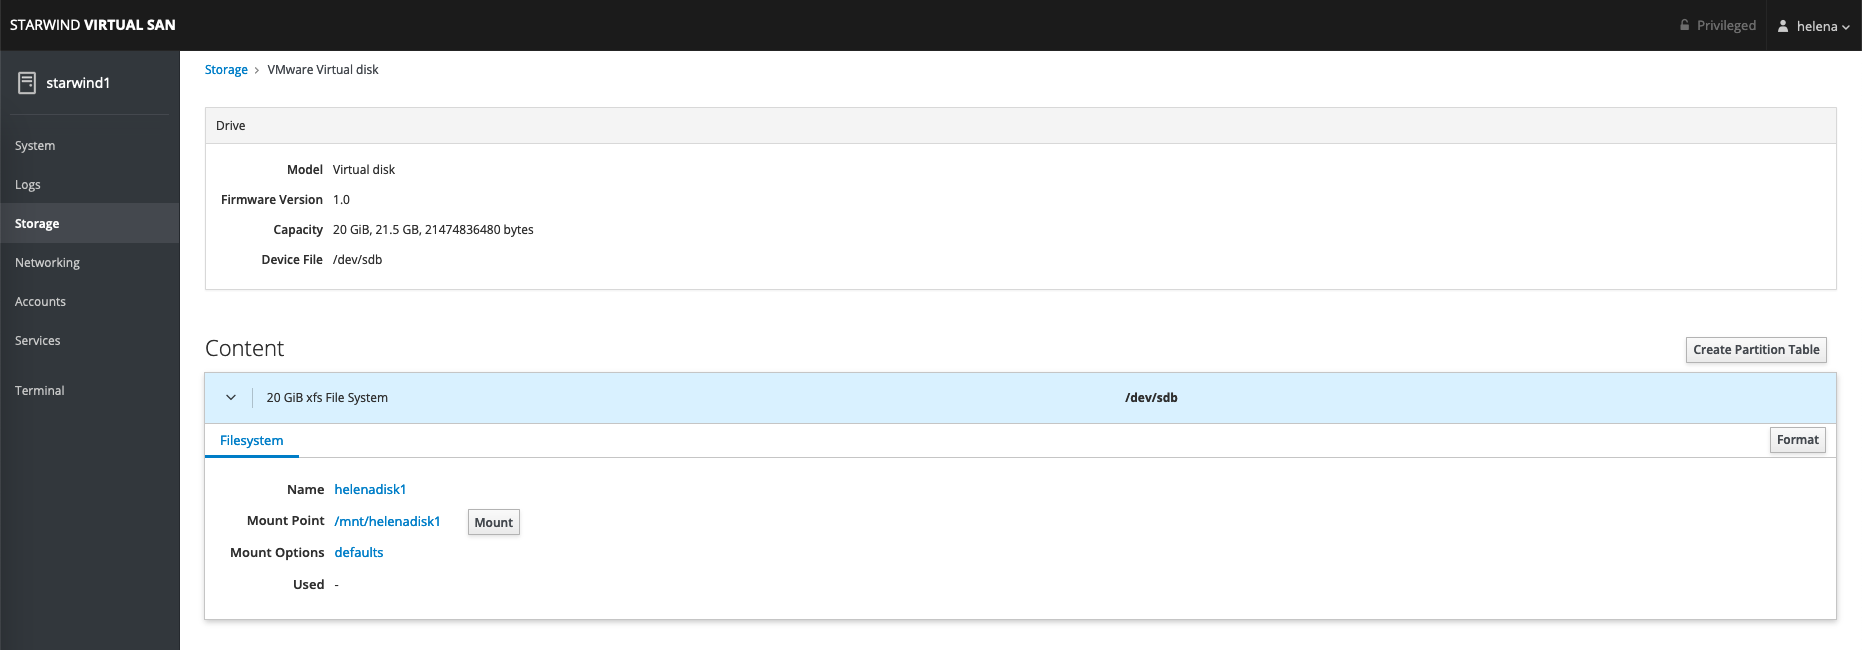
Select the type and mount point

Now the disk is mounted
Configuring vSAN
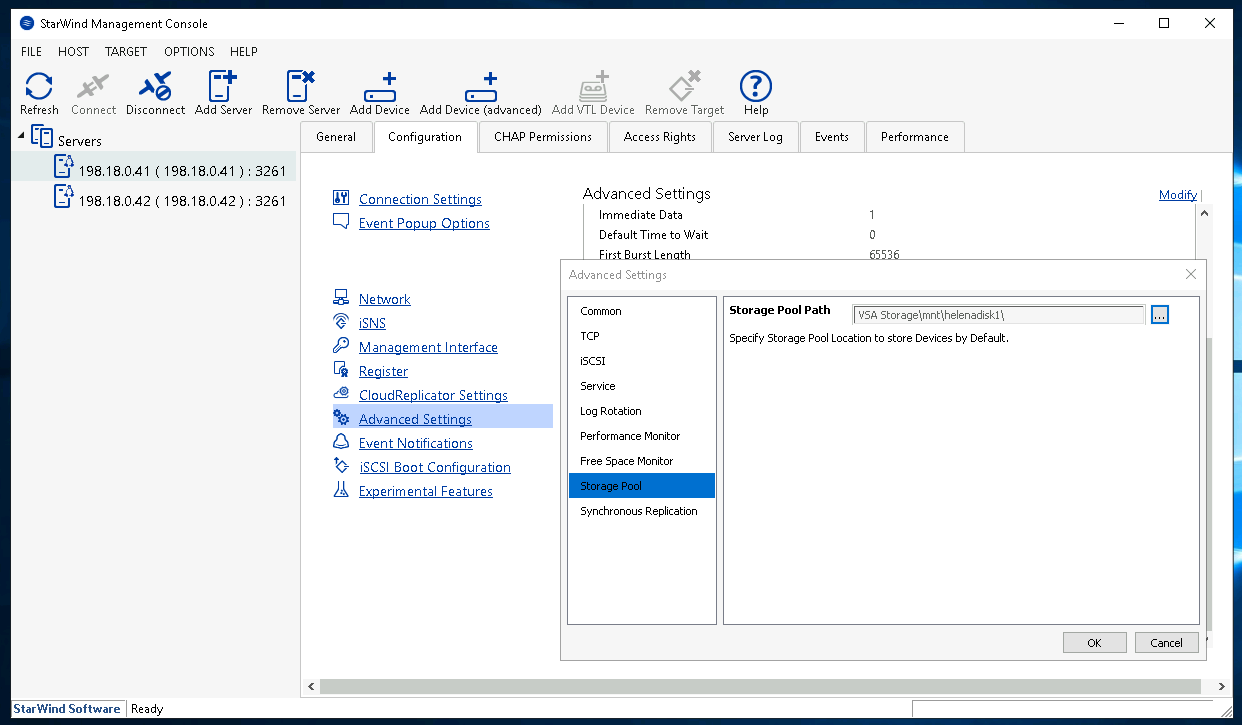
Now back on the Management Console, configure the Storage Pool Path using the newly mounted disk
Next select the Server1, click Add Device (advanced)

Device type, select virtual

Select create new, assign name and size

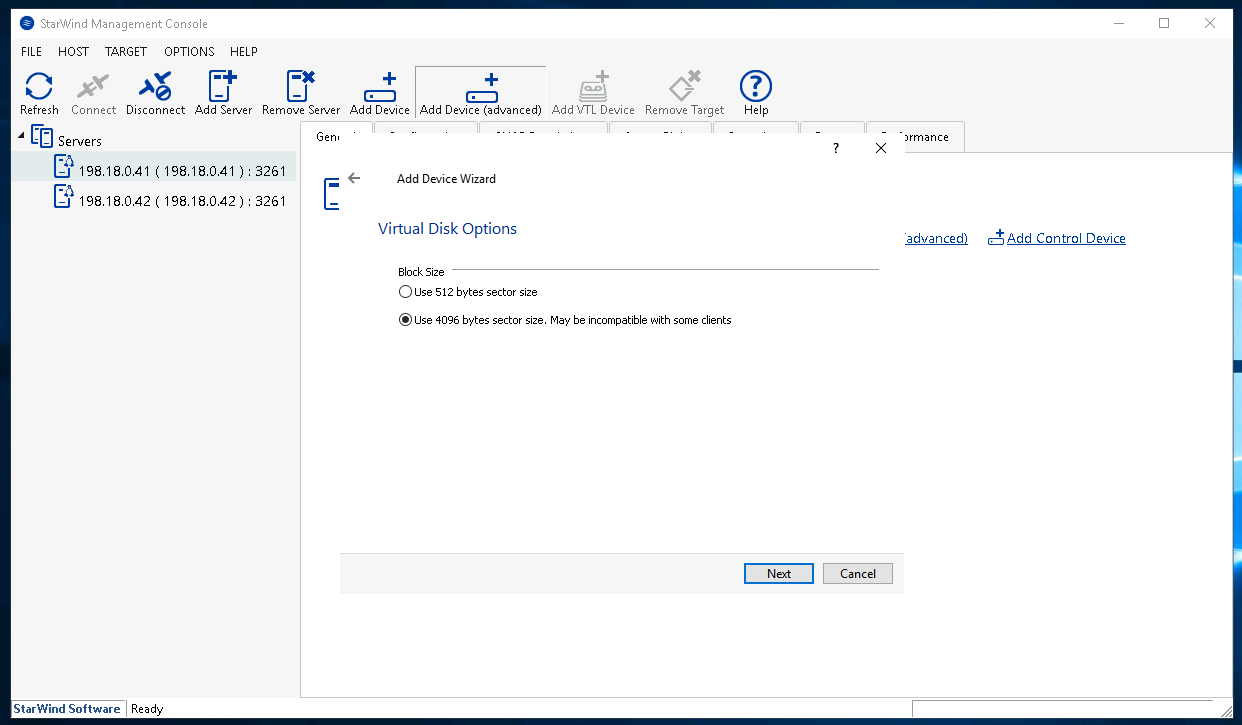
For the block size, select 4096 for windows clients
Then create new target for the iSCSI connection

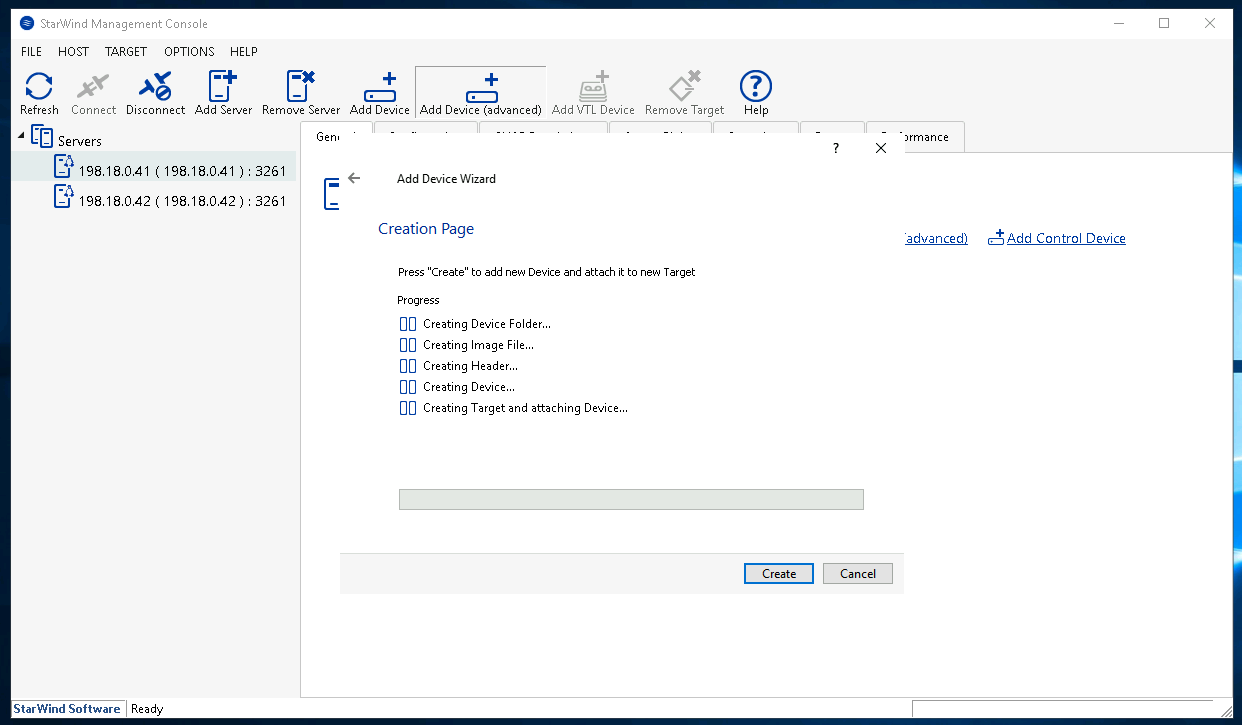
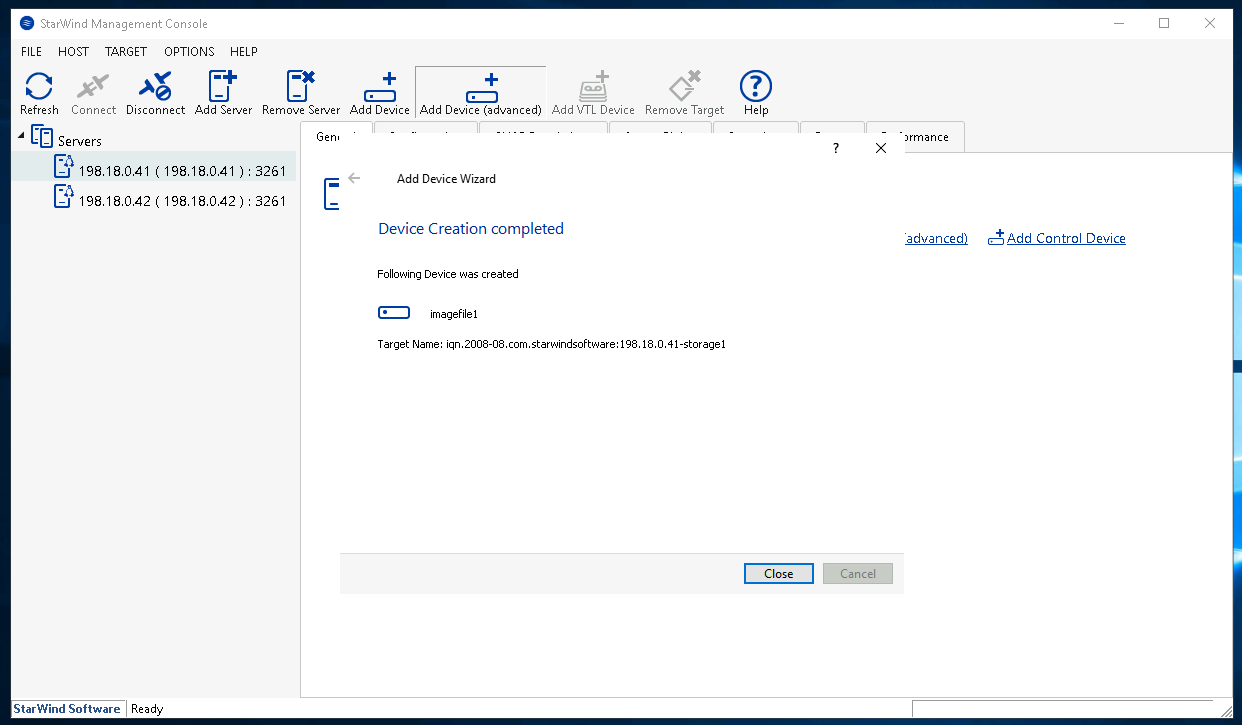
Then create the device
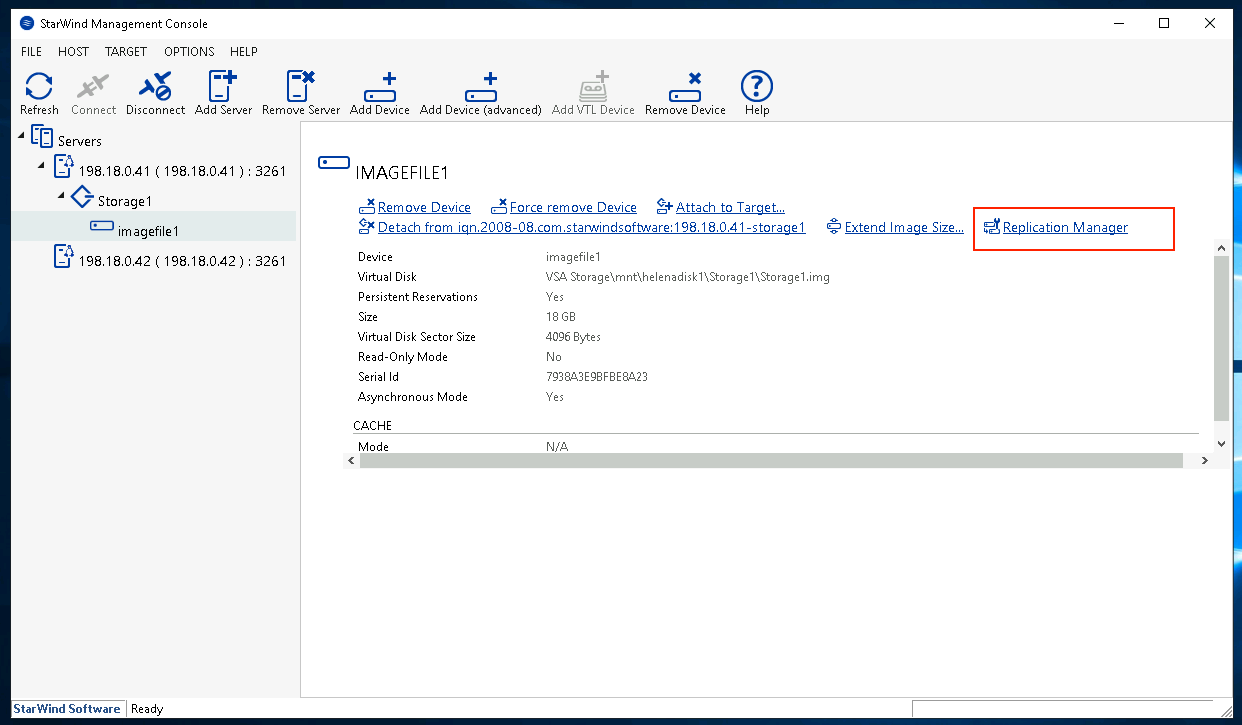
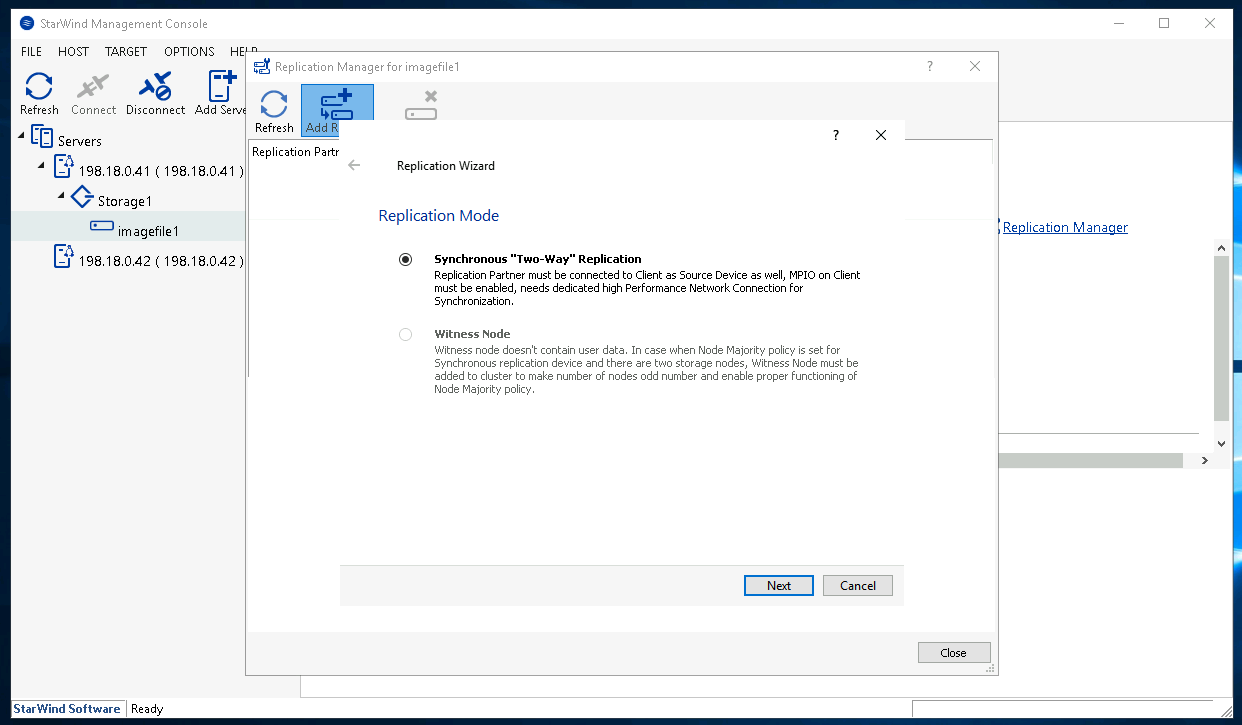
Then open the newly created storage, select Replication Manager to create a replication to the second node
Select the replication mode
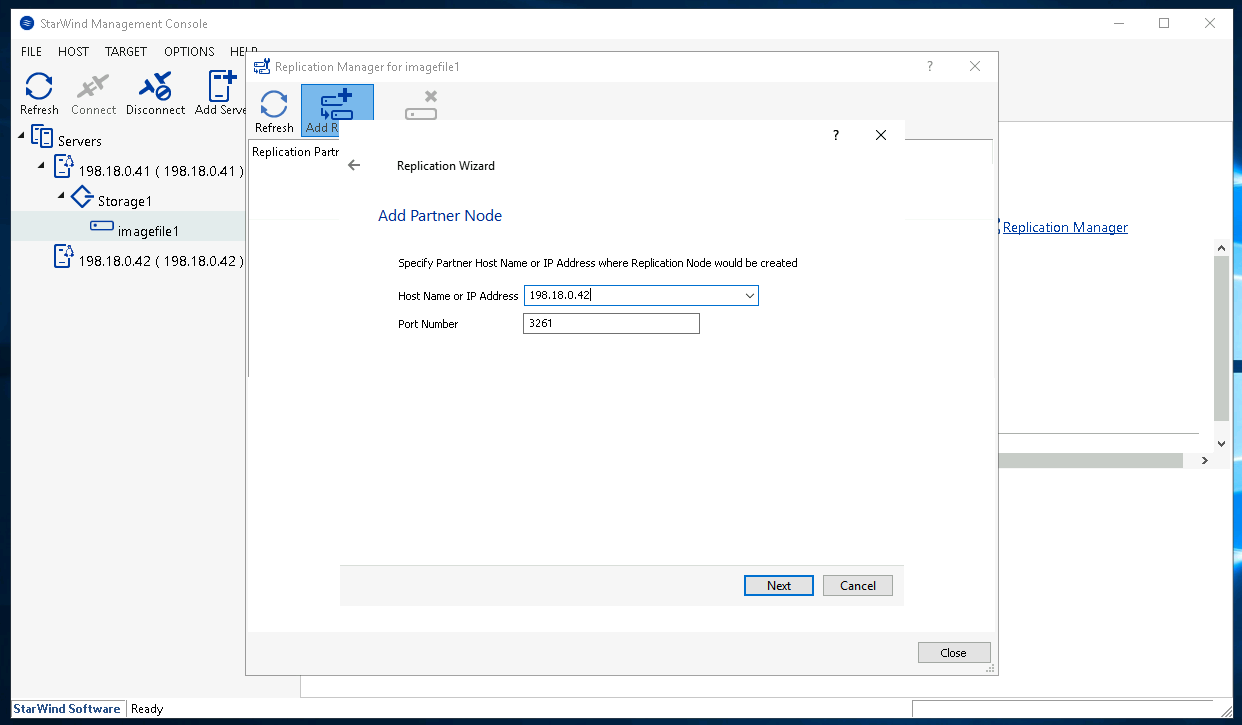
Then input the address of the second node
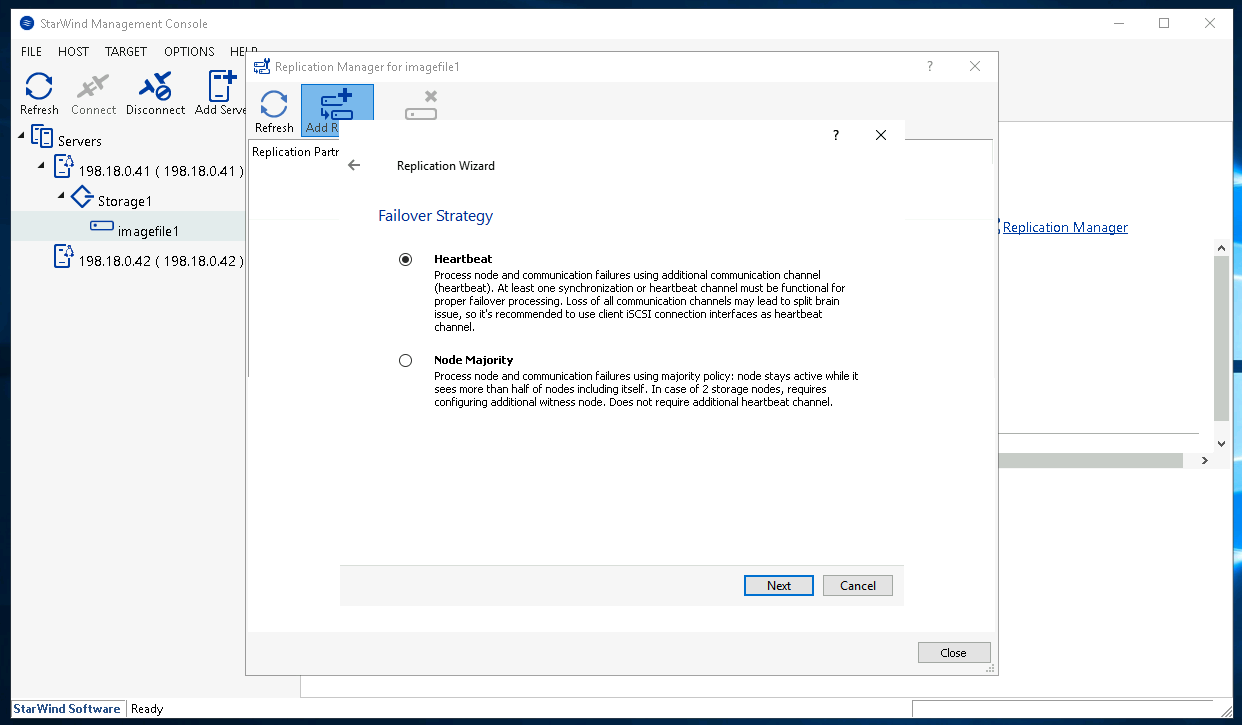
Select the failover strategy
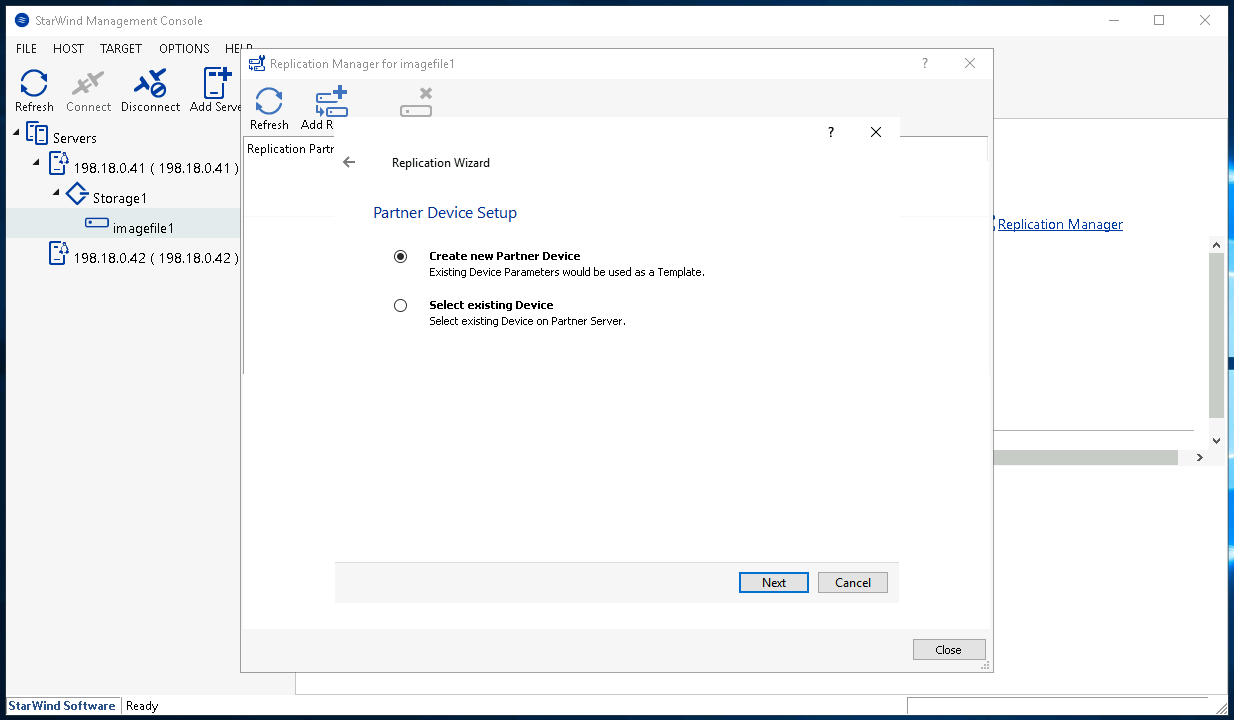
Then select create new partner
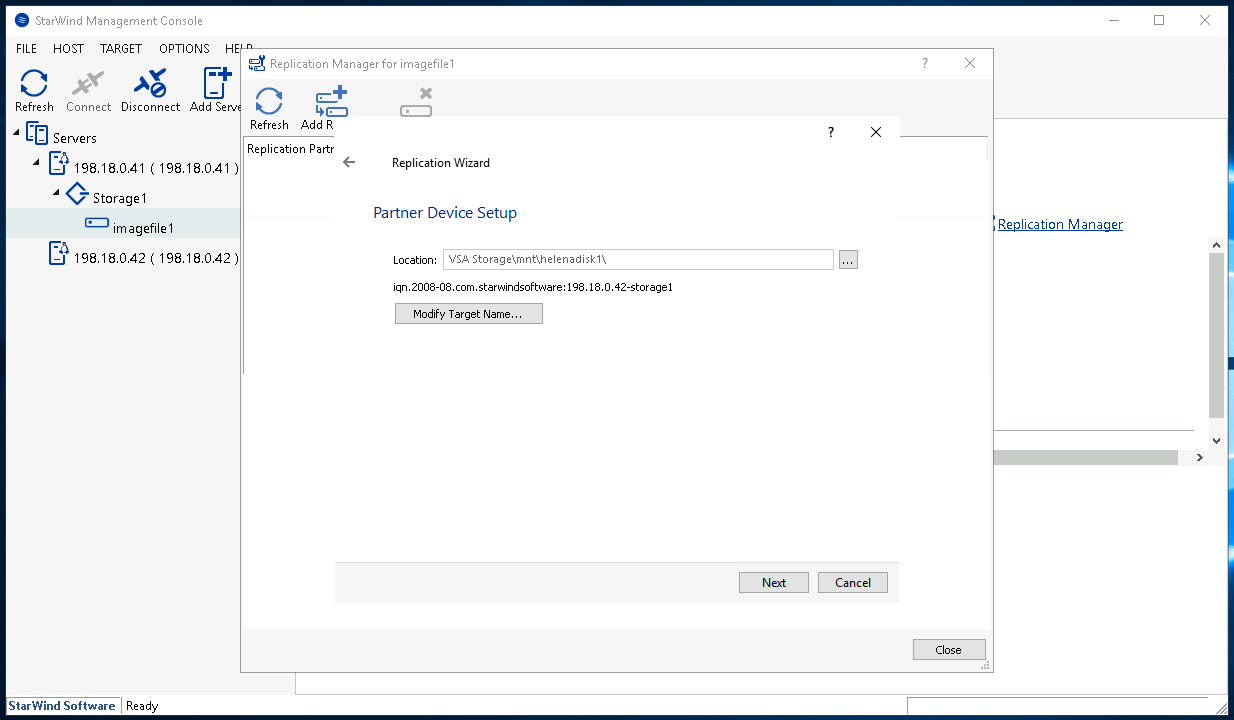
Select the location
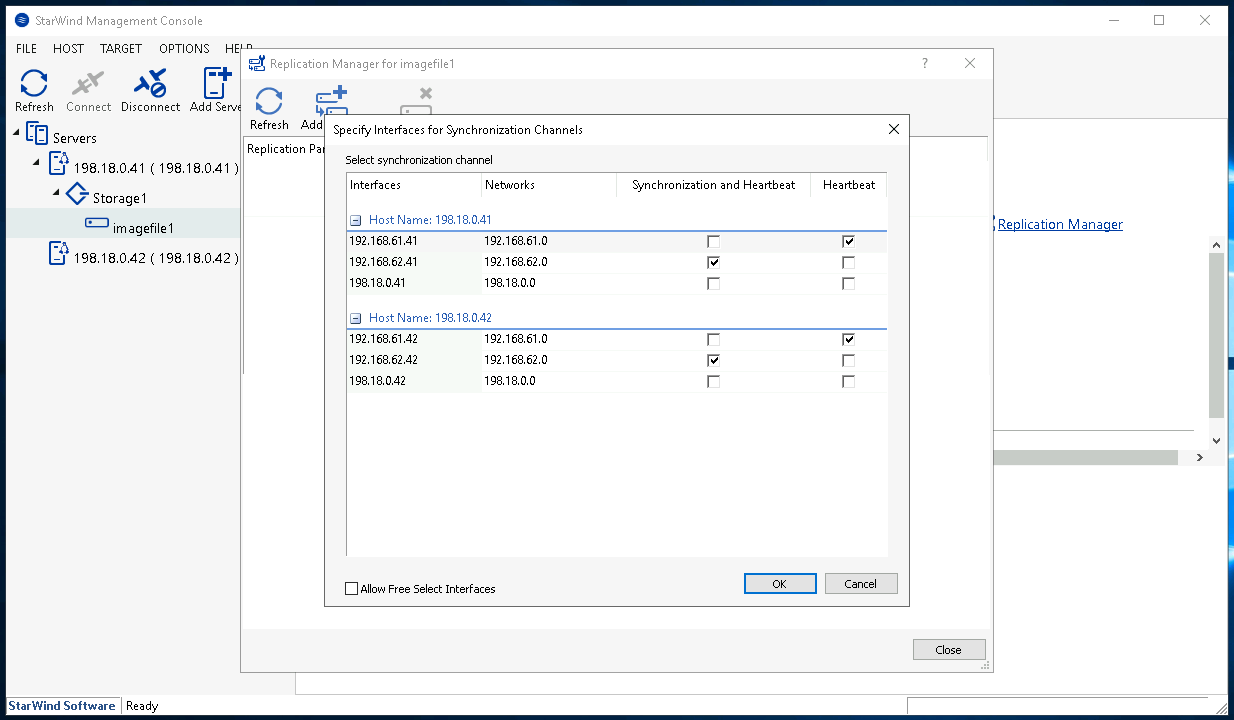
Then configure the interface for synchronization and heartbeat
Then select the synchronization inizialitation mode

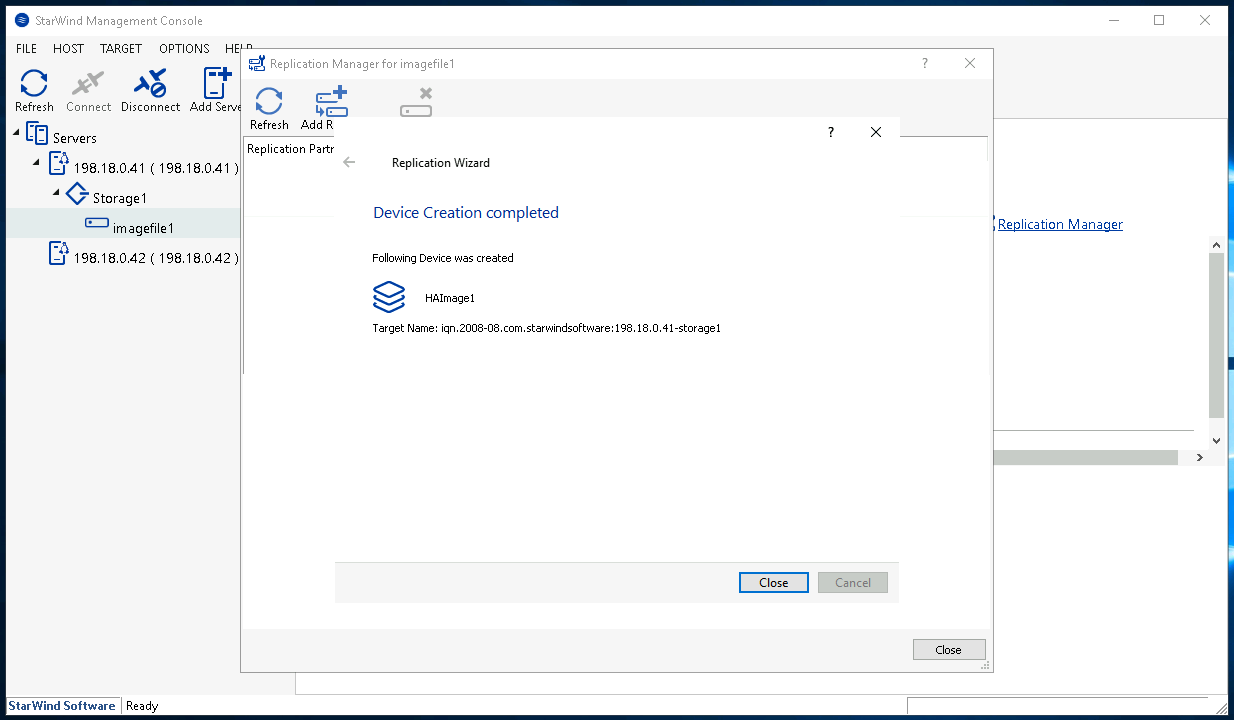
Then the creation should be done
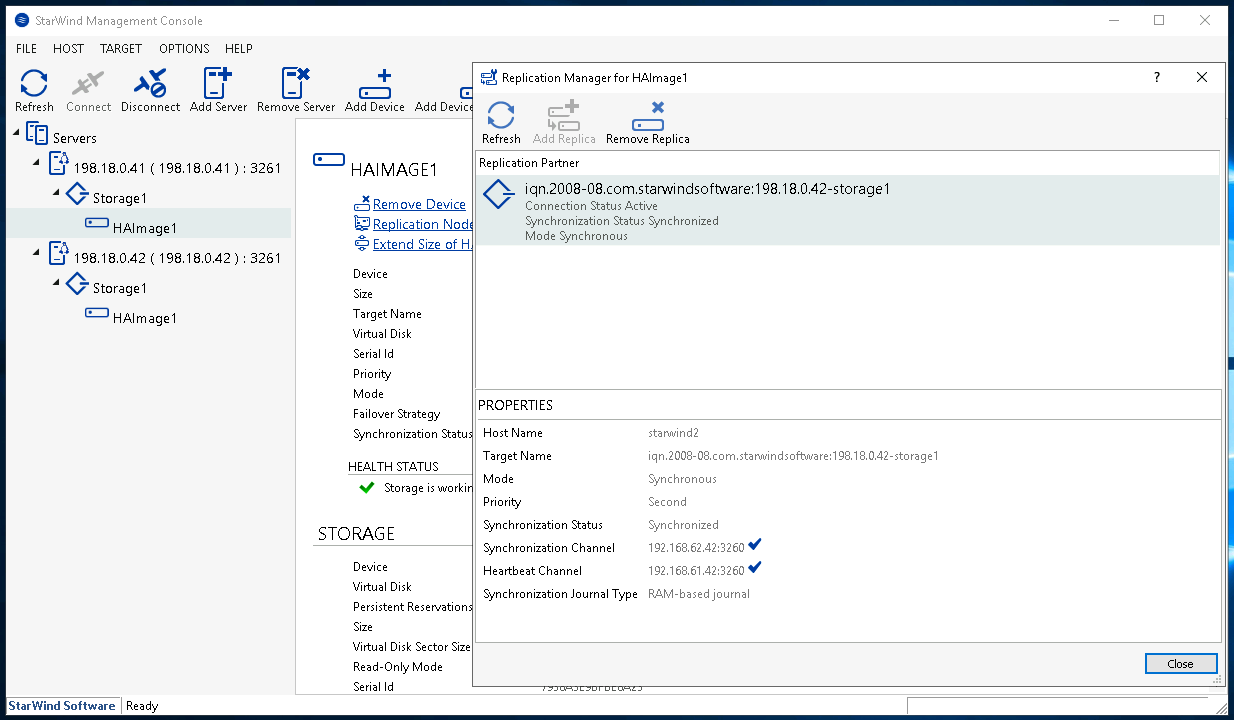
Opening the Replicatio Manager again, we can see that both storage are synced
Attaching iSCSI Storage to Windows Machine
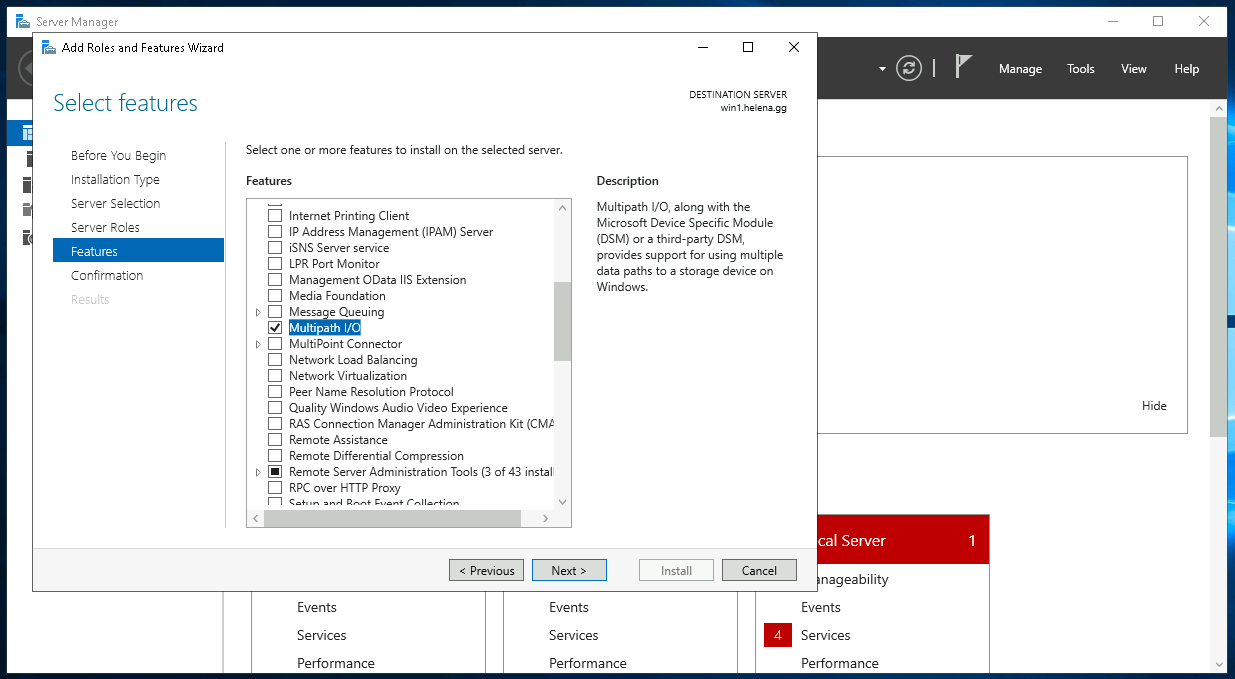
First, to enable load-balancing, install the Multipath I/O Feature
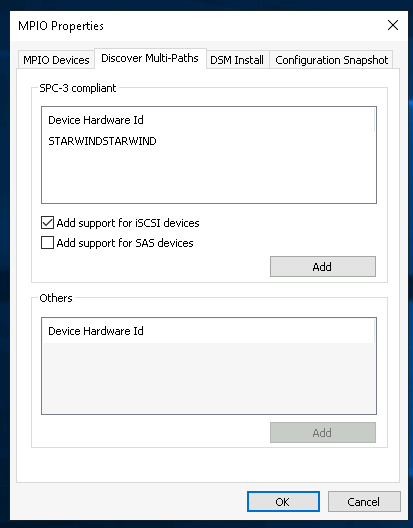
Then open MPIO Properties and select Add Support for iSCSI Devices
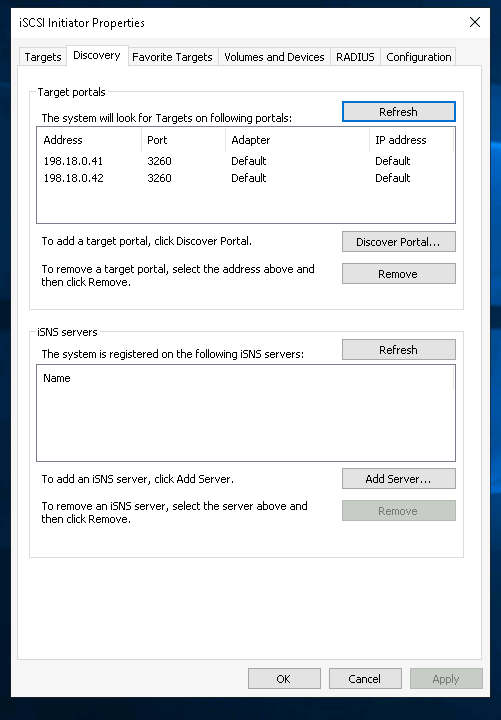
Now open iSCSI Initiator, on the Discovery tab put the servers’ IP Addresses as the target portals
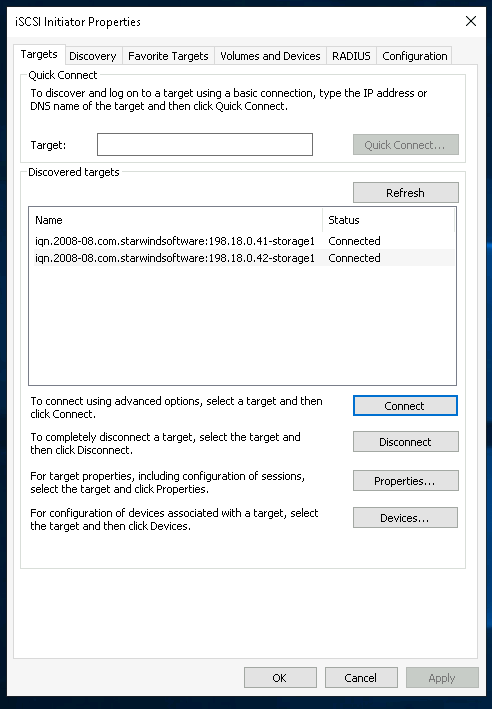
Then on Targets, select connect on both
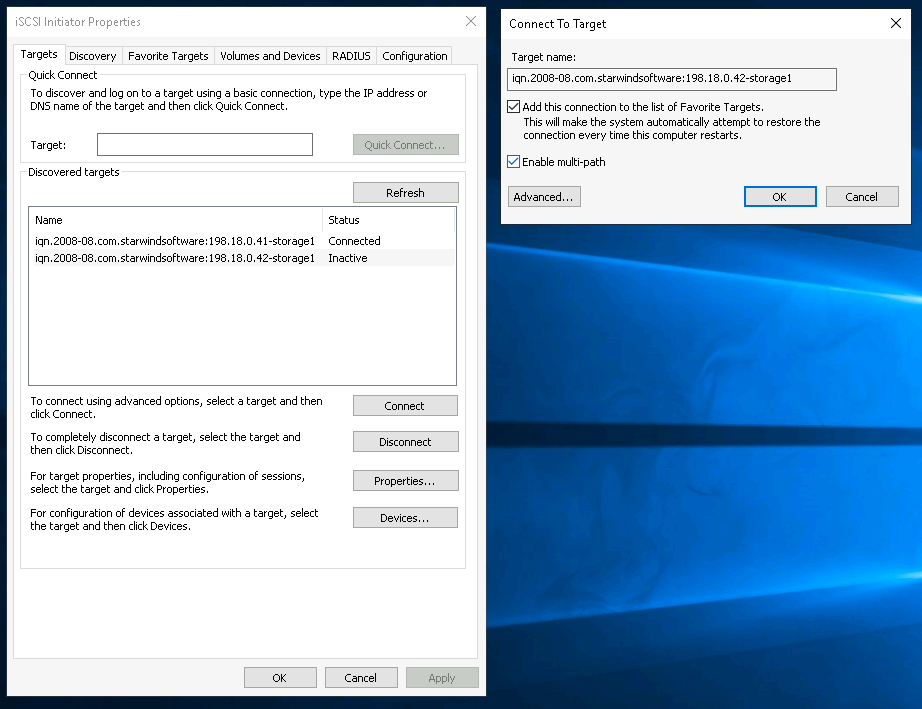
Now we can see both are connected
And if we open the Disk Manager, we can see the iSCSI Disk is attached