TrueNAS - NFS, SMB, iSCSI
What is TrueNAS?
TrueNAS is an open-source network-attached storage (NAS) solution that provides a platform for managing and sharing data across a network.
NFS (Network File System), SMB (Server Message Block), and iSCSI (Internet Small Computer System Interface) are three different network protocols used for sharing and accessing files and storage resources in computer networks.
- NFS is used for sharing files primarily in Unix environments.
- SMB is Windows’ file sharing protocol but is also used in mixed environments.
- iSCSI is for connecting storage devices to servers as block-level storage, often used in virtualization and SANs.
Preparing the Installer
Download the TrueNAS Core installer and deploy it on vCenter

Running the Installer
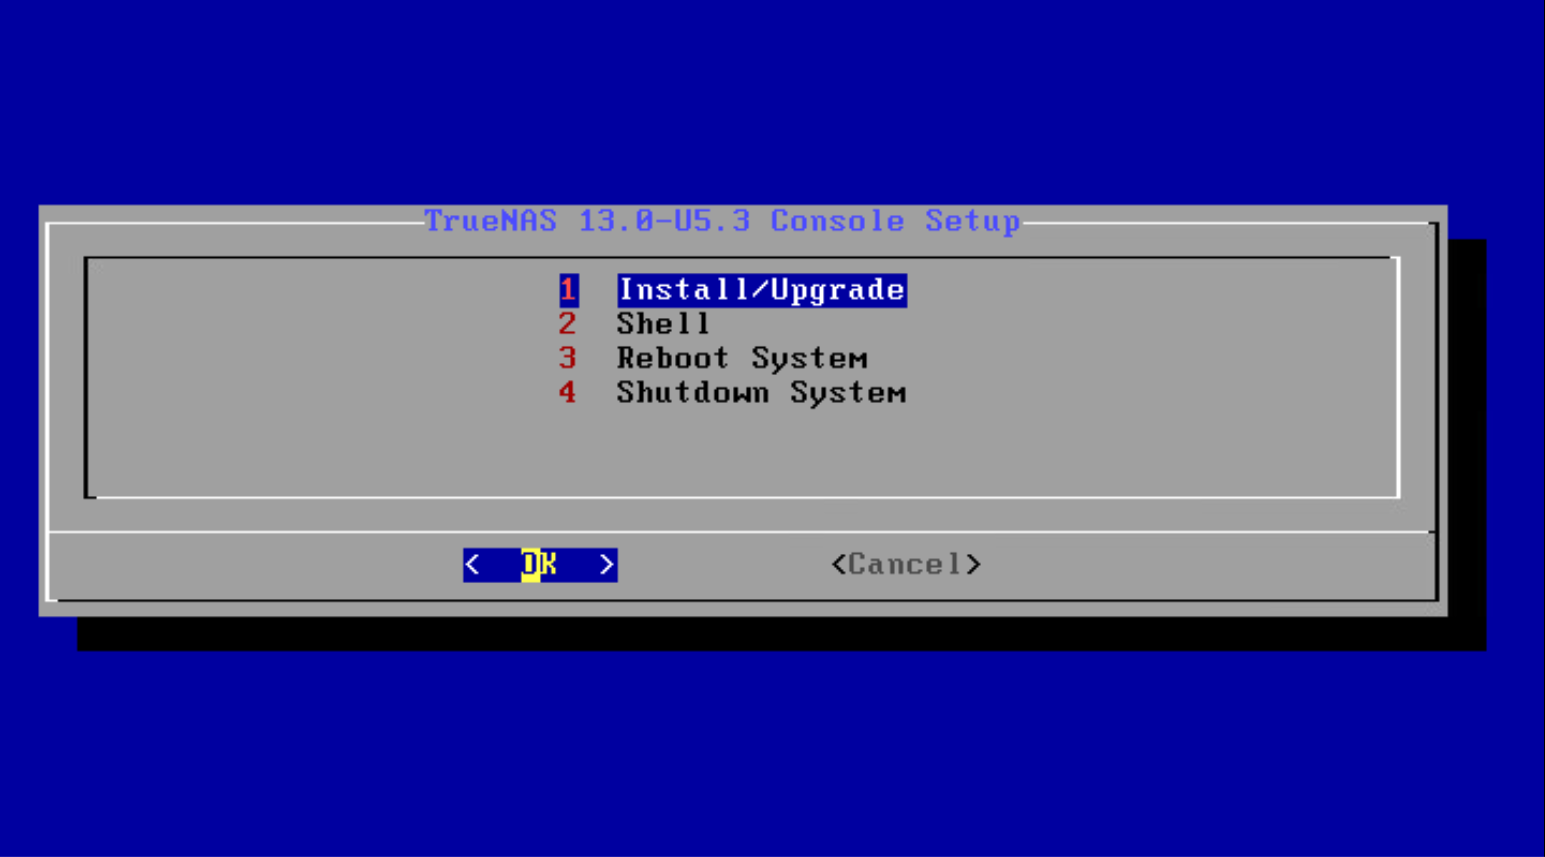
On setup, select Install/Upgrade
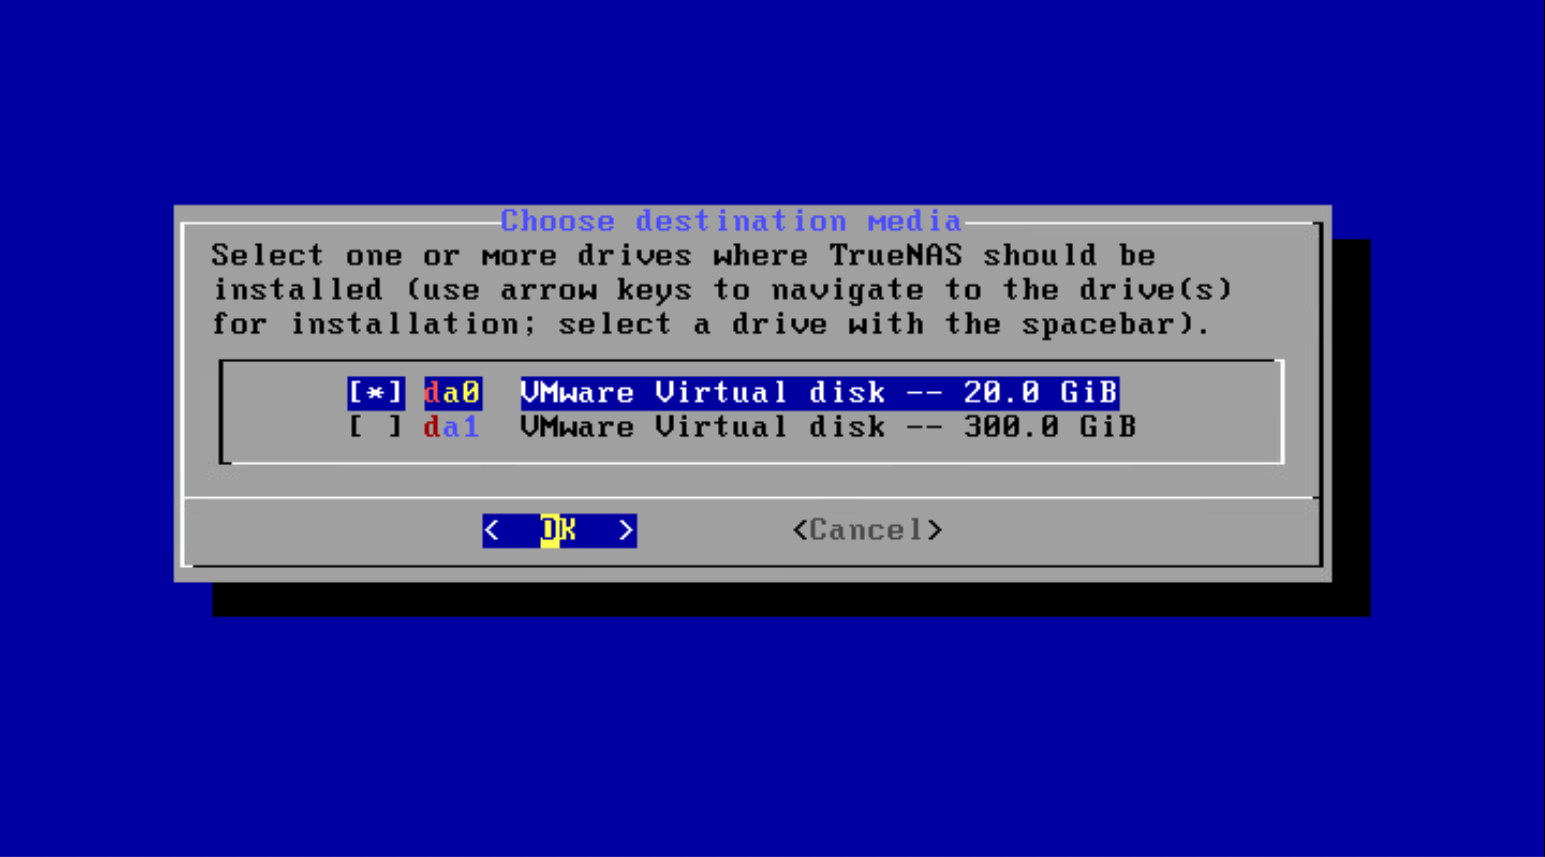
Select the disk for installation
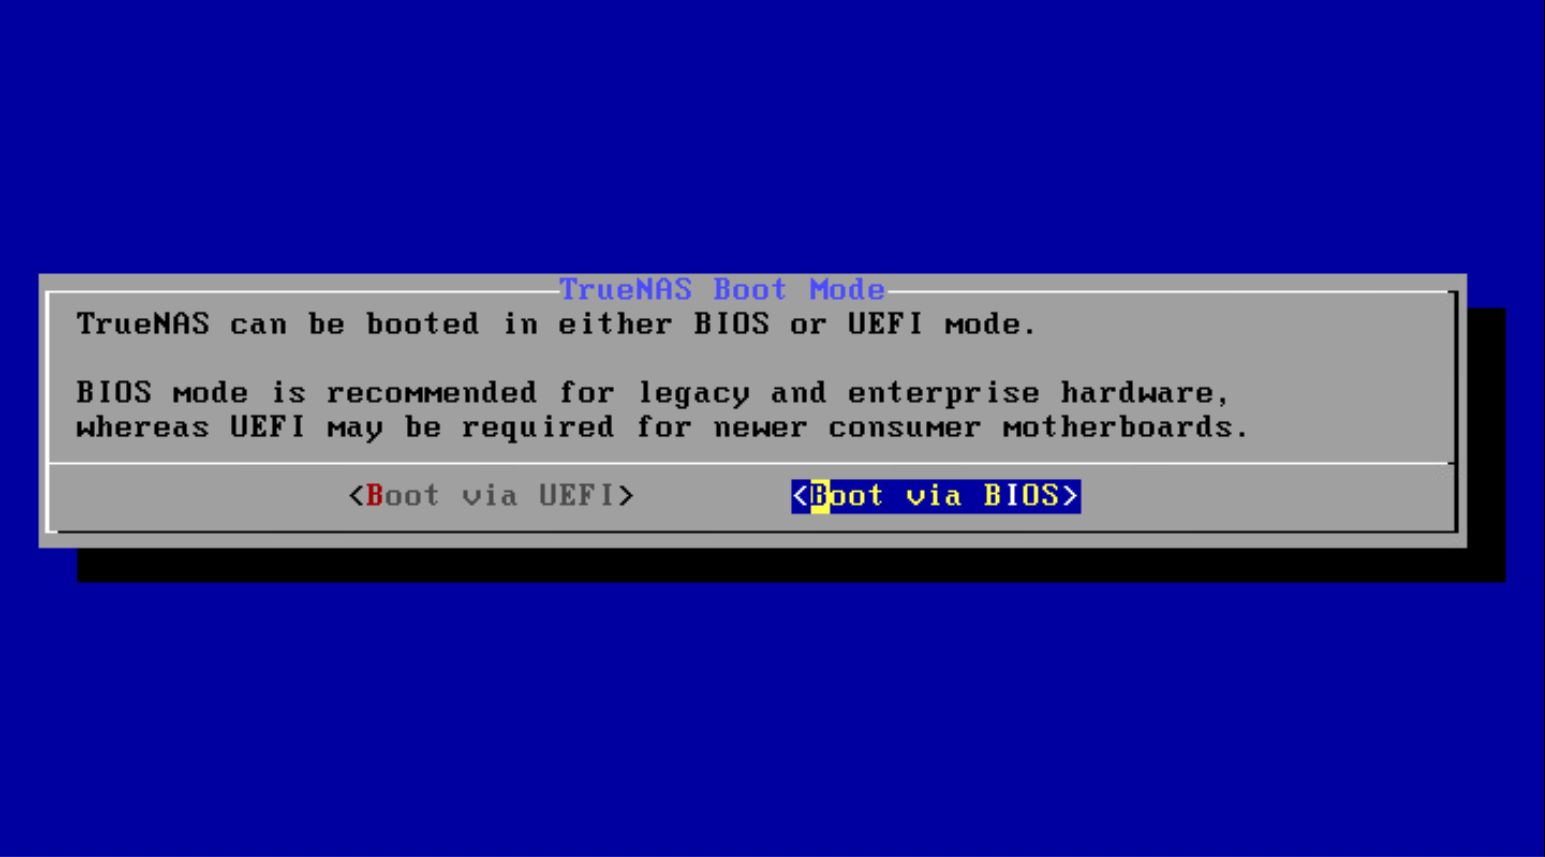
Select BIOS, honestly wen can select either but lets just go with BIOS
After some time, the installation should conclude, reboot the server.

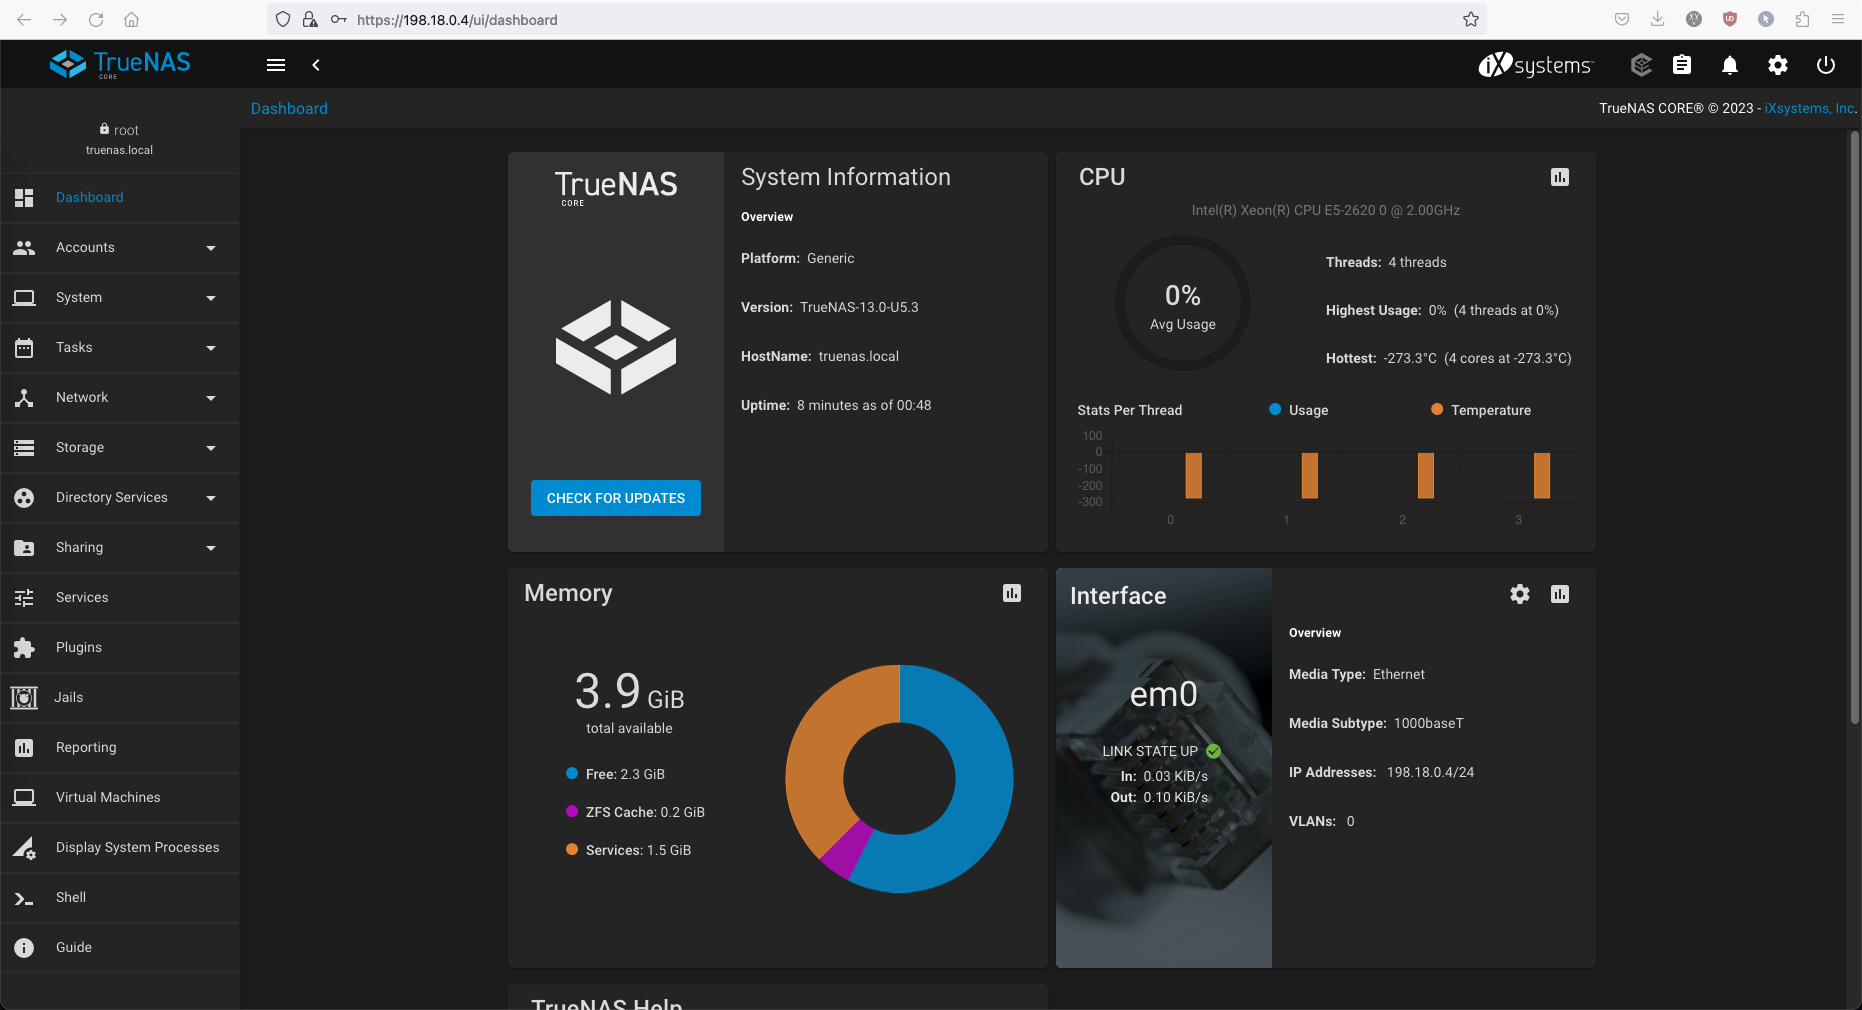
Now the Web UI should be up and accessible
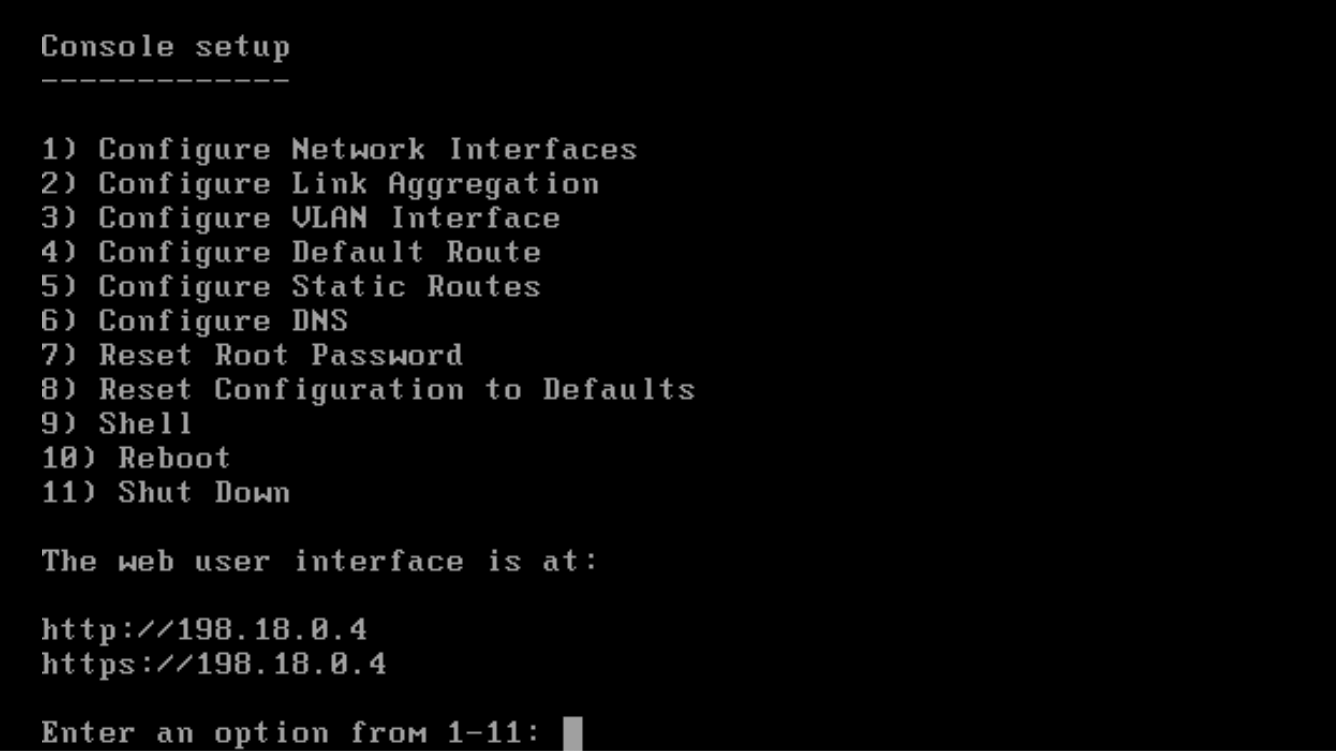
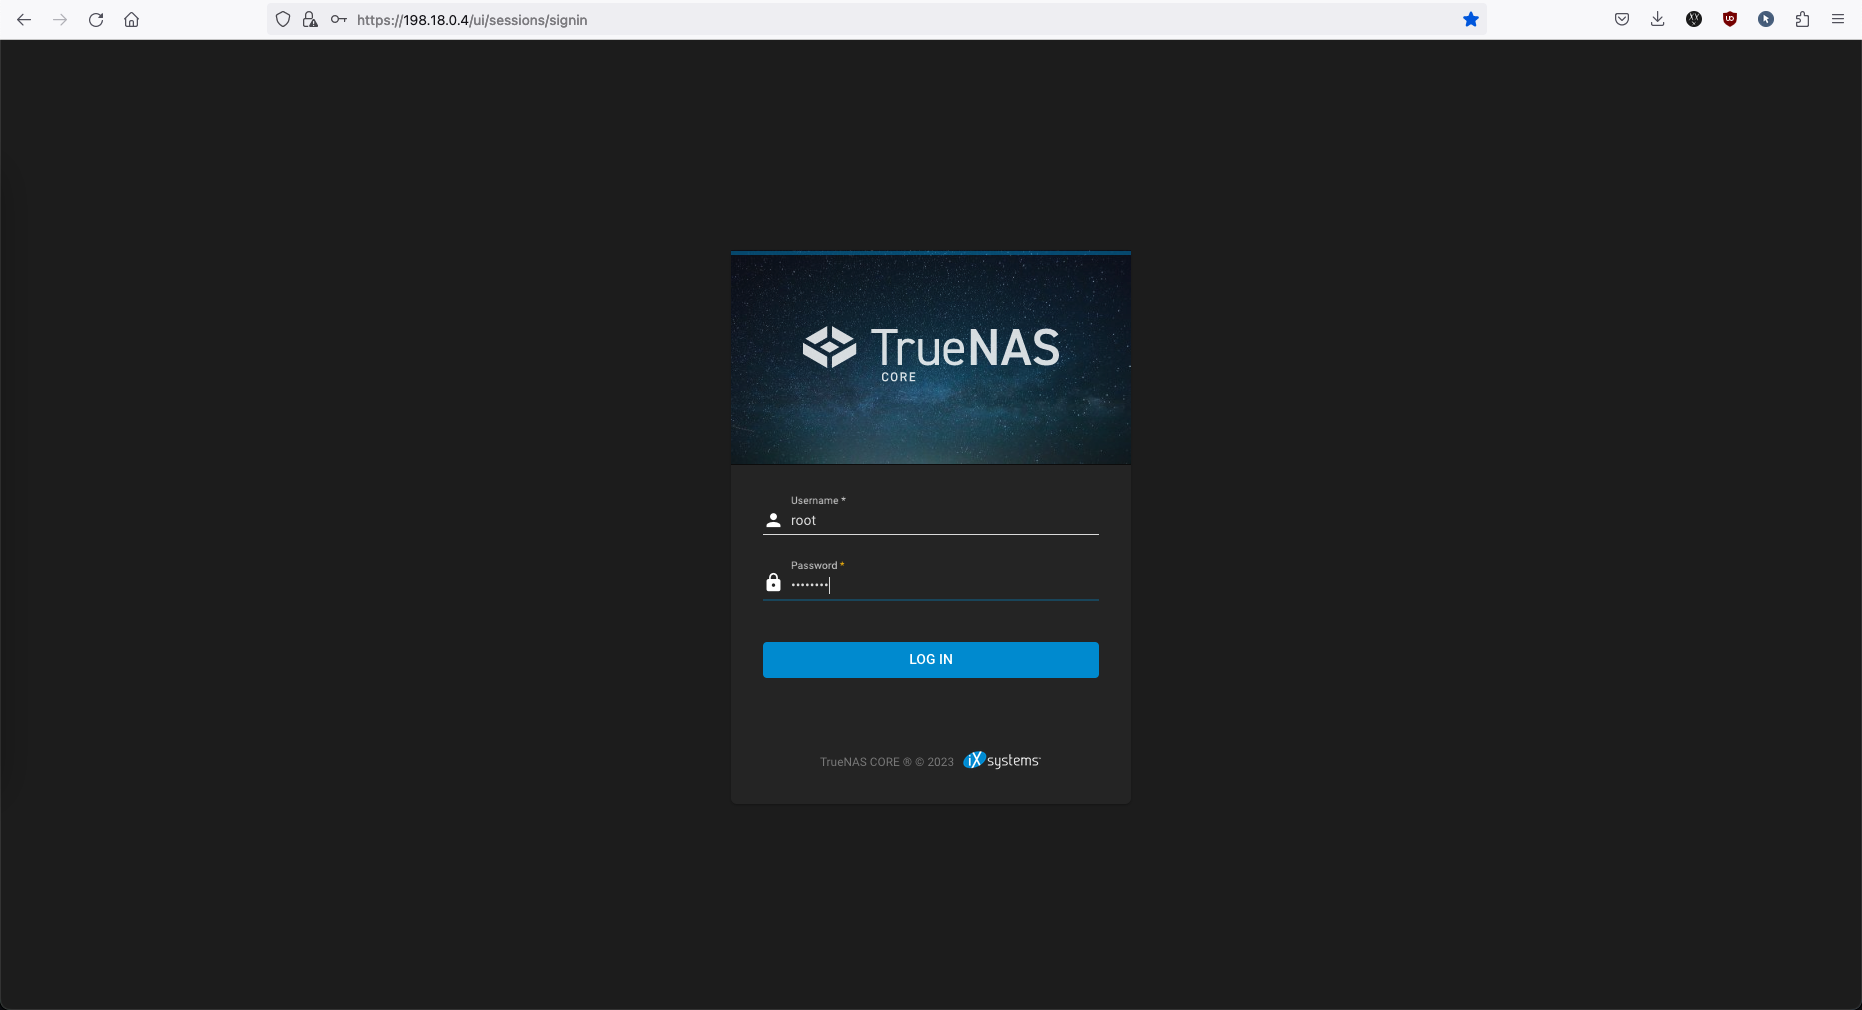
Accessing TrueNAS Web UI
Access the IP on web browser
Creating NFS Share
First, lets create a storage pool, go to Storage » Pool » Add » Create new pool
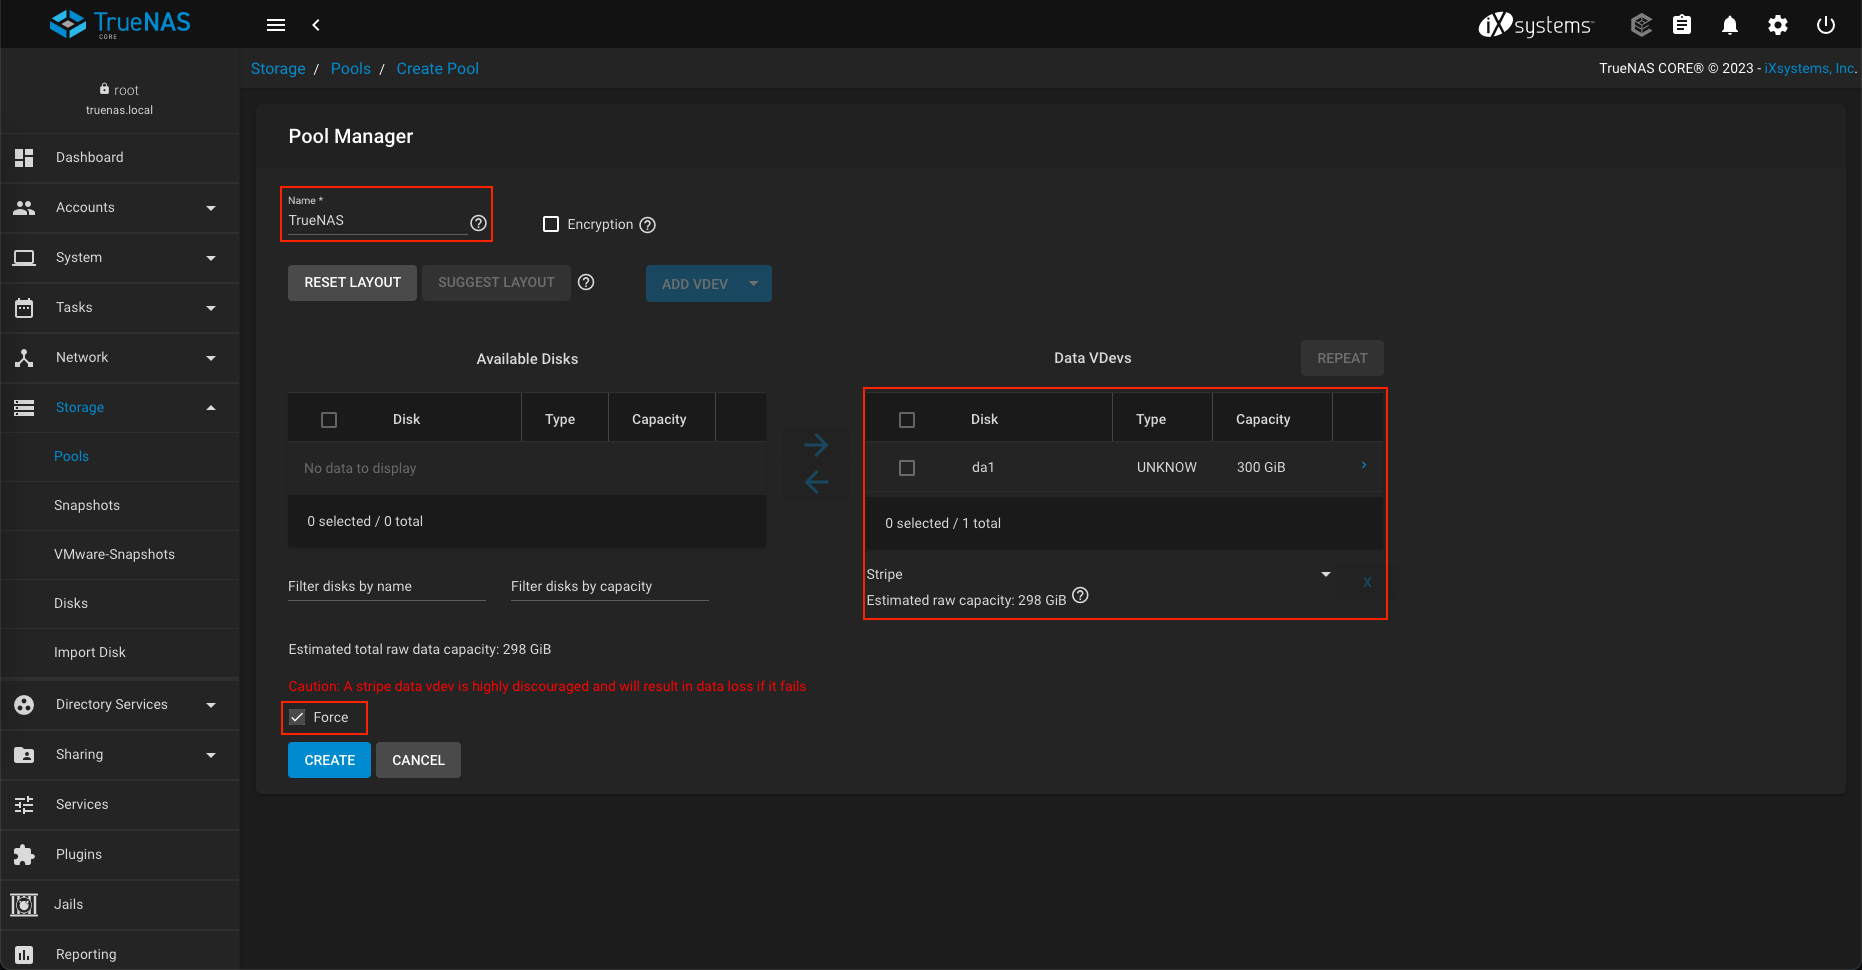
Give it name and select the disk that’s gonna be used, and check the force option.
There will be warning saying stripe data is discouraged, which is fine because we only have 1 disk and we cant really afford to have a mirrored disk configuration
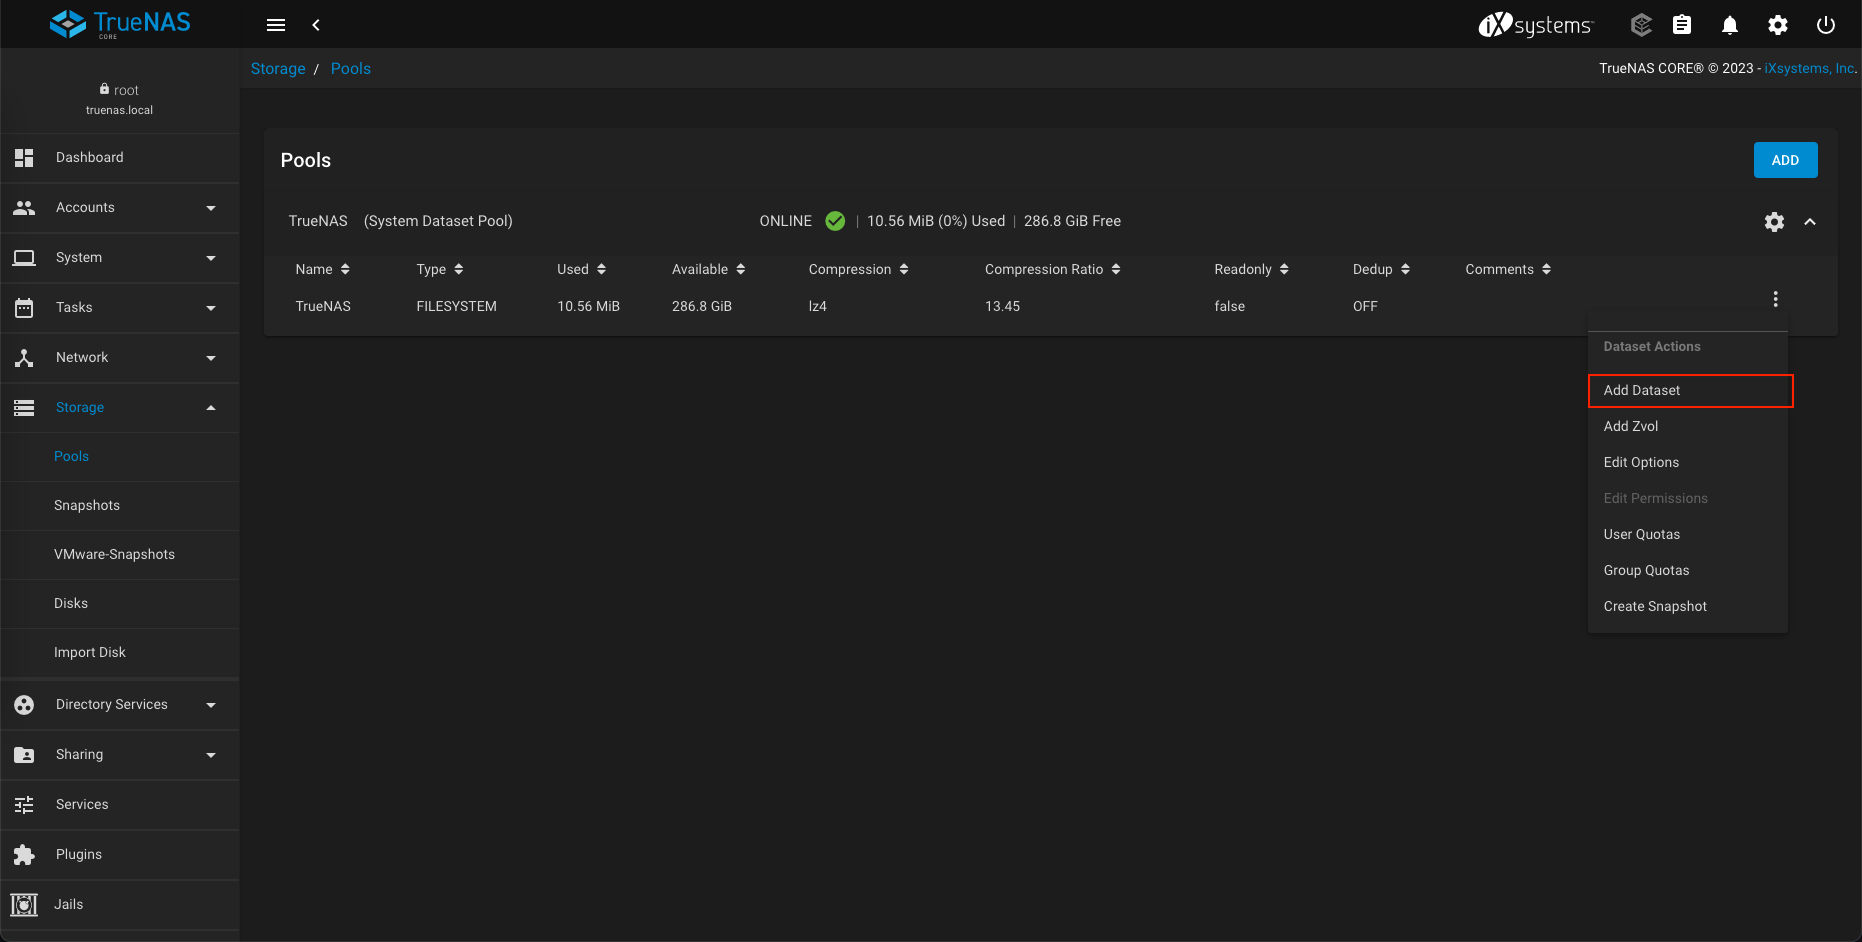
Then on the created share, choose Add Dataset
Give it a name and leave the rest as default, click submit
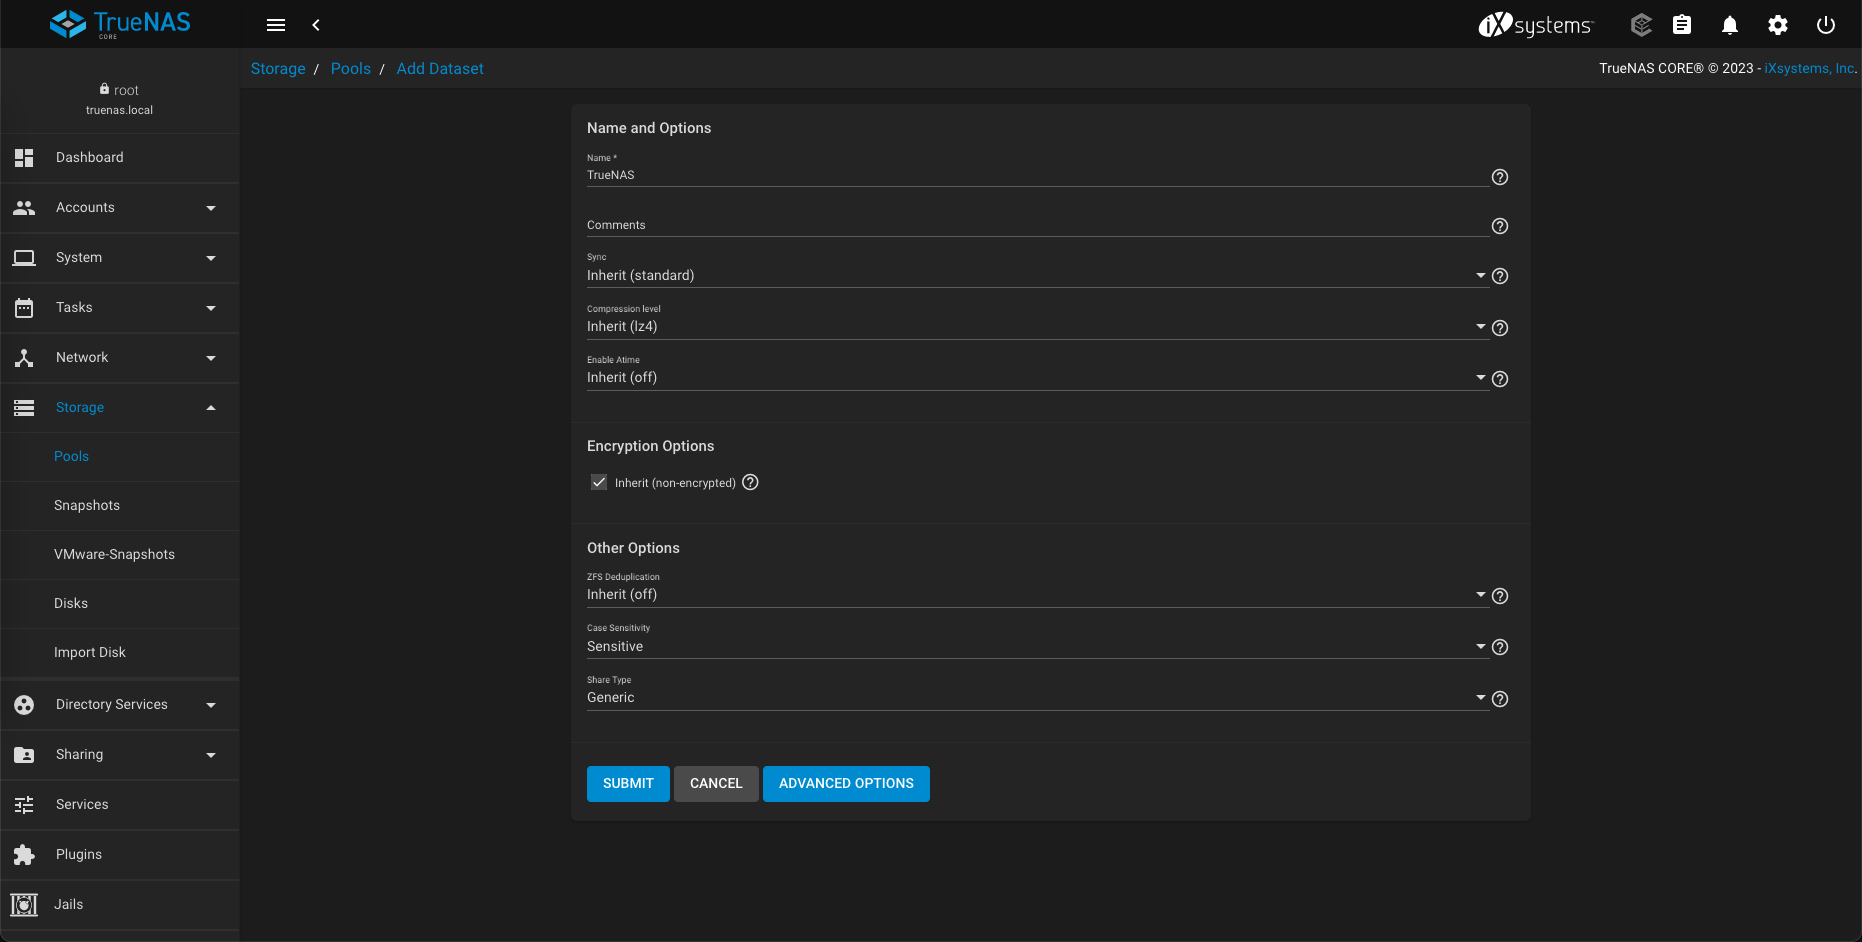
This is what we end up with

Next we create a NFS share, go to Sharing » Unix Shares (NFS) » Add
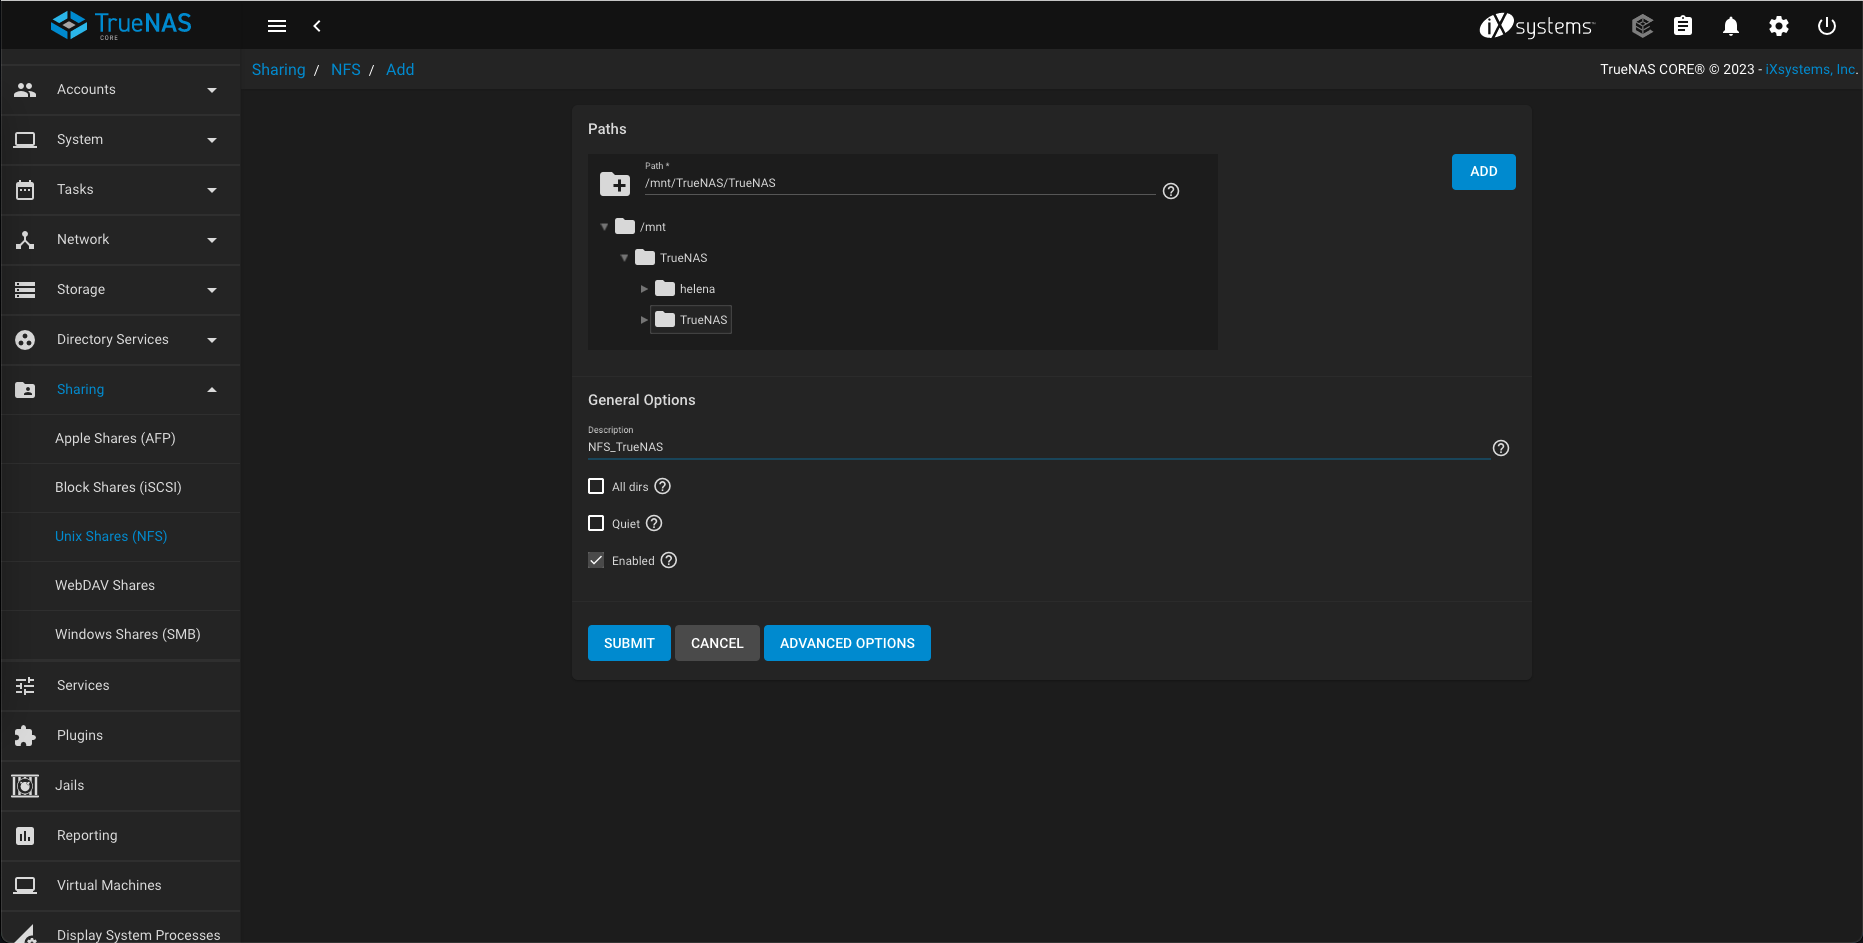
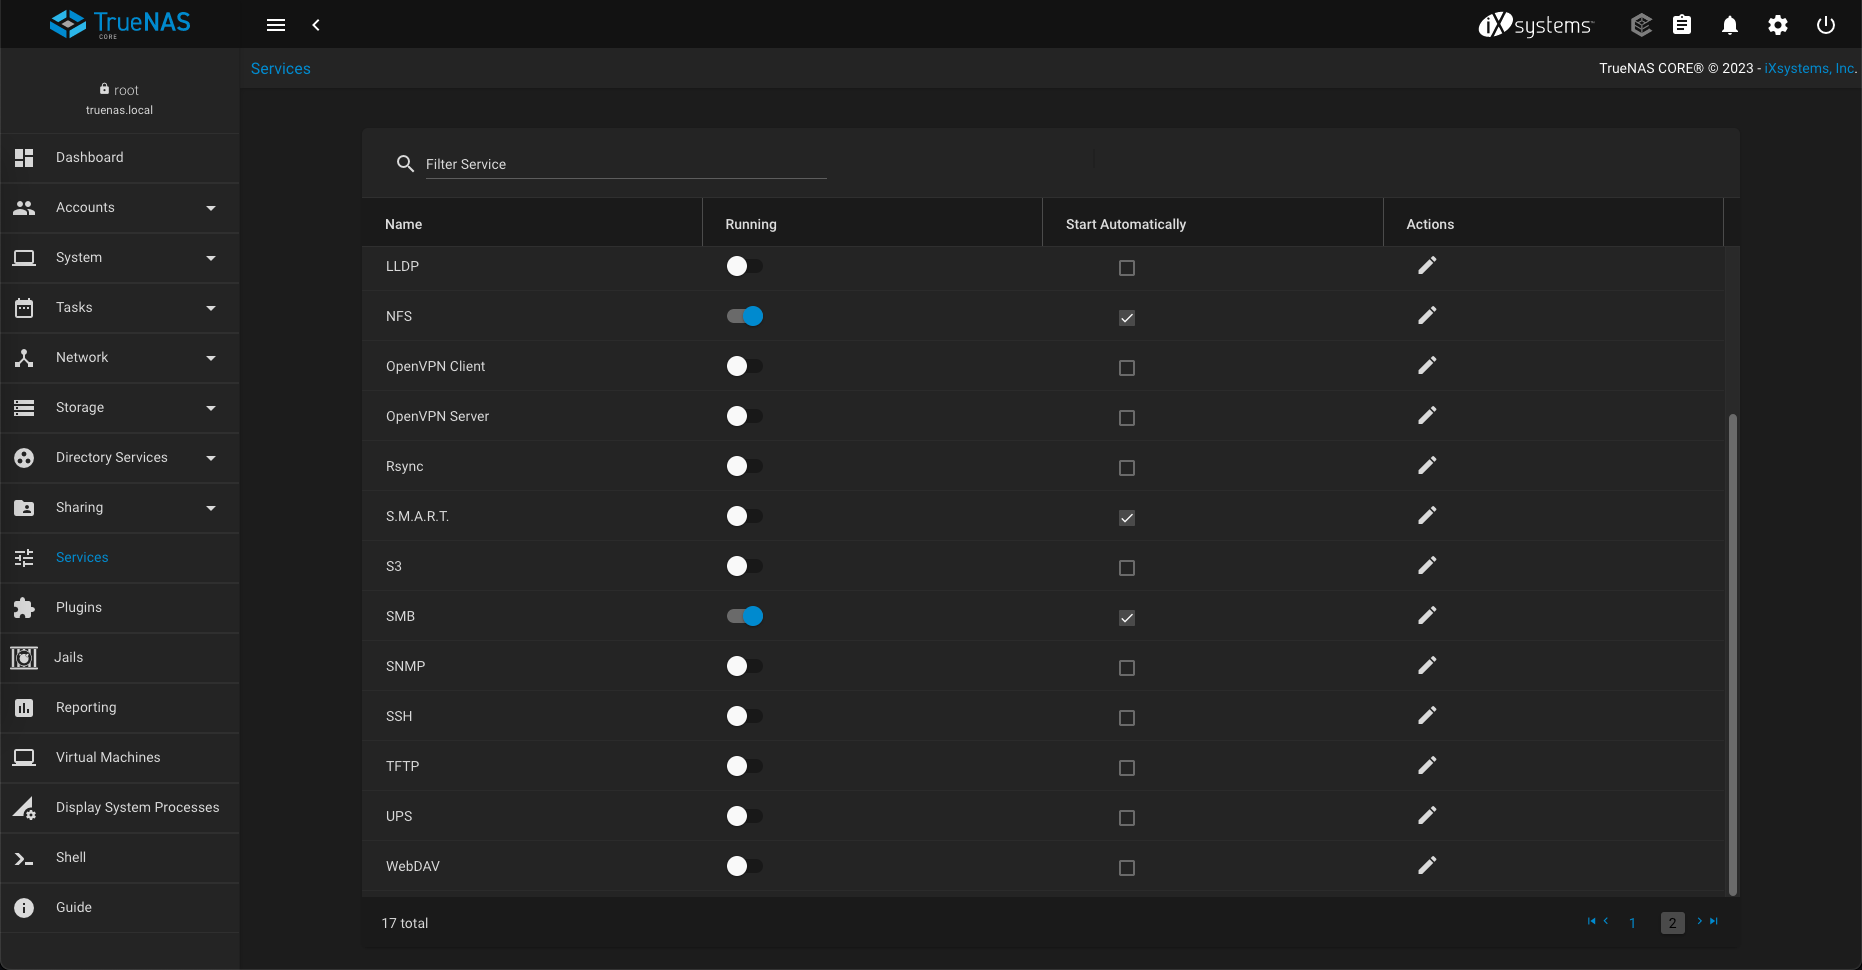
On Services, make sure NFS is enabled

And that should be it.
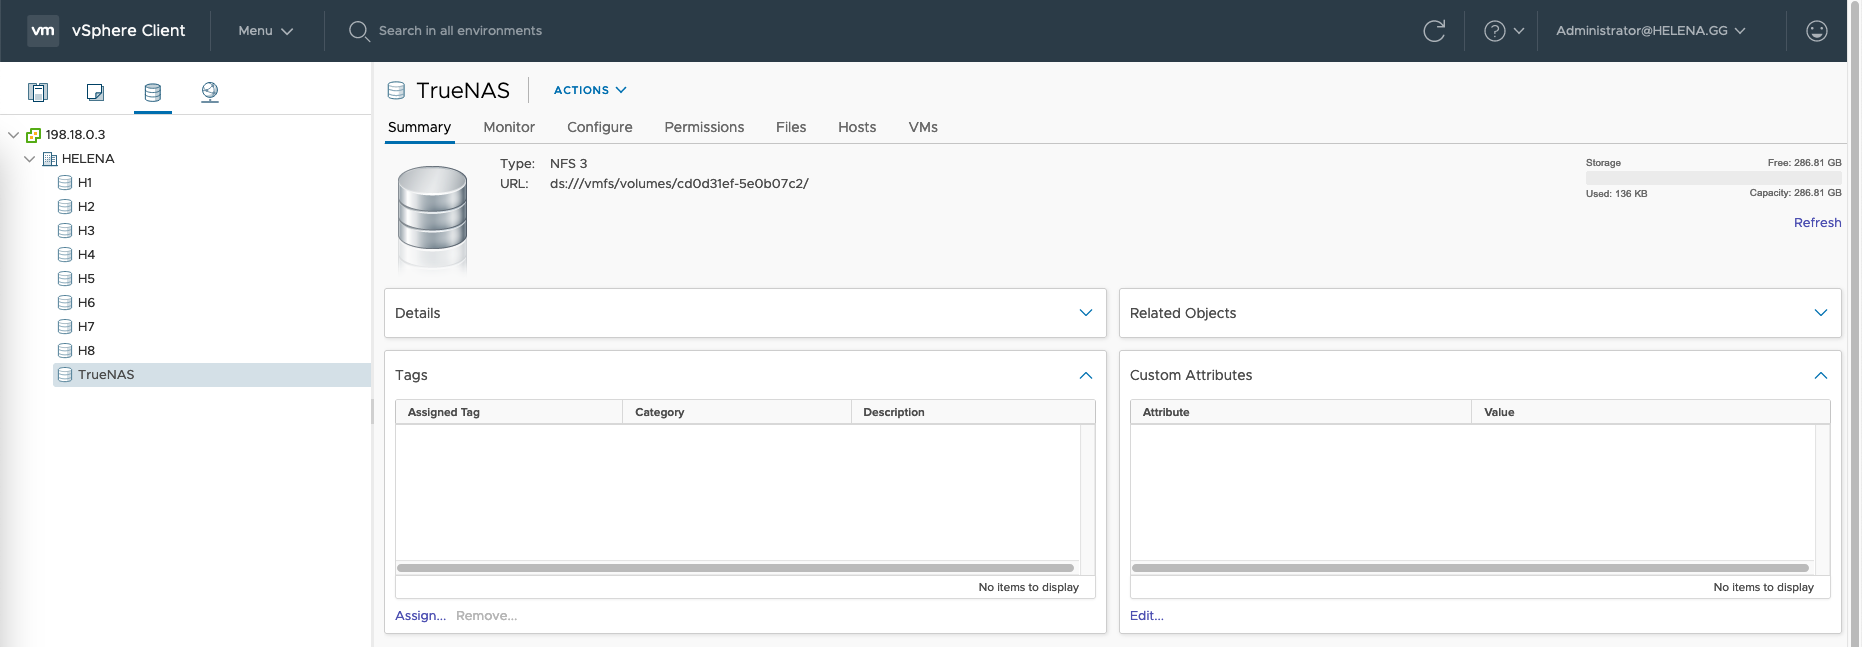
Now we try attaching the NFS Share to vCenter
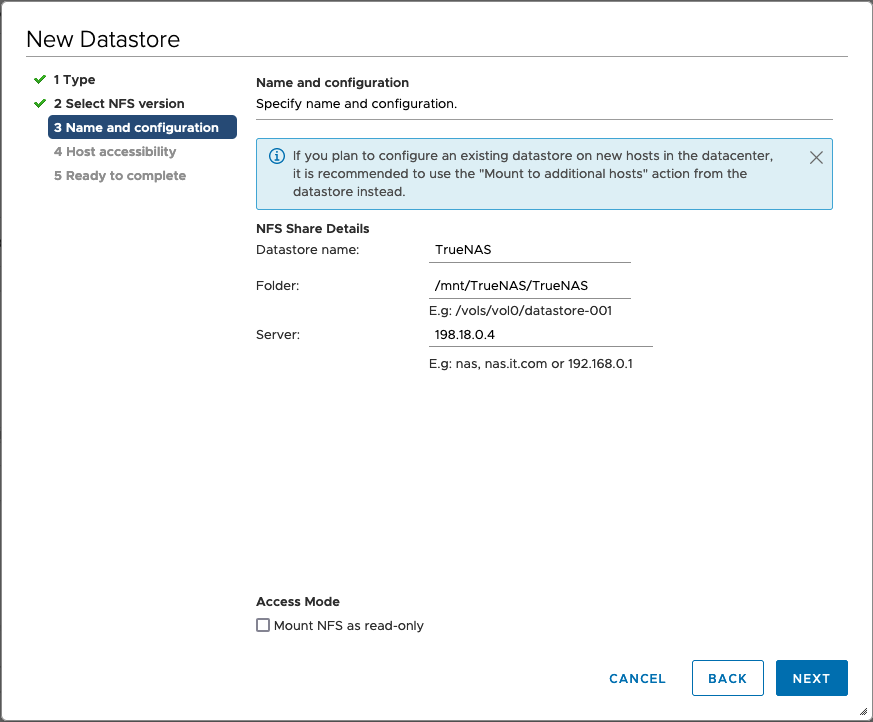
And it looks all good
Creating SMB Share
To attach the storage to Windws OS, we will be using SMB.
First, create a user to access the shared pool, go to Accounts » Users » Add
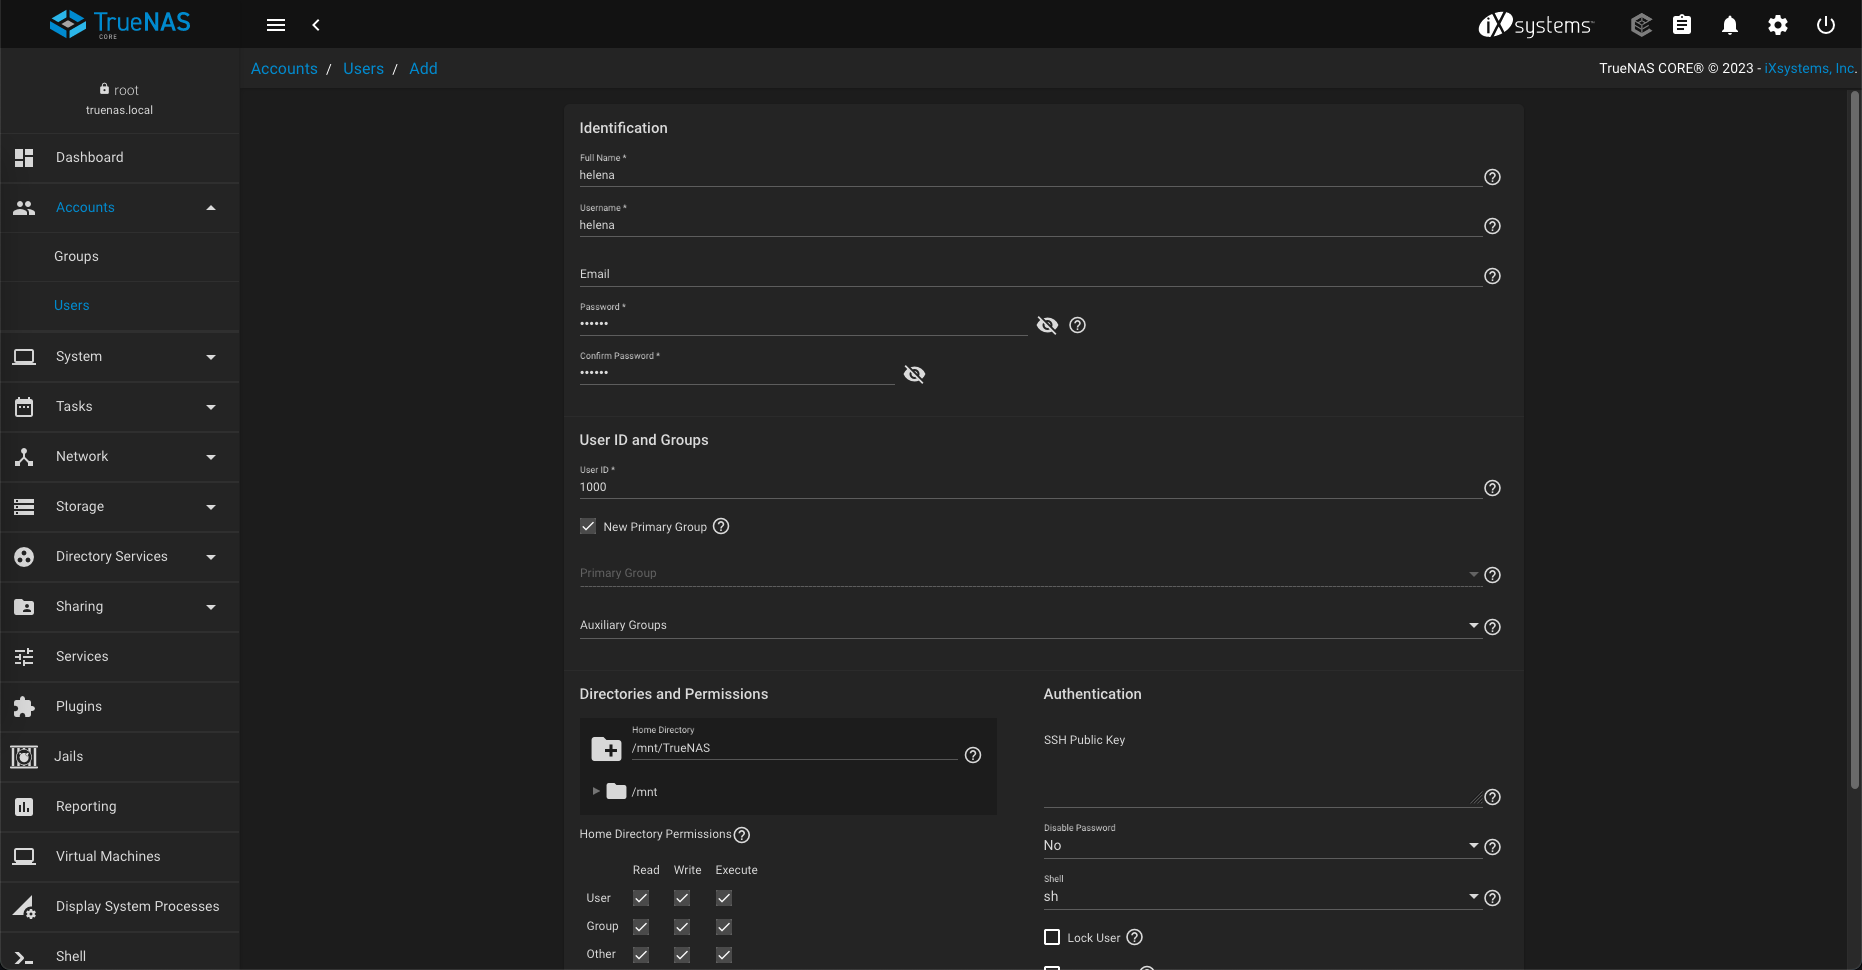
Give it username, password, and permission to access the storage
Next we create the SMB share, go to Sharing » Windows Share (SMB) » Add
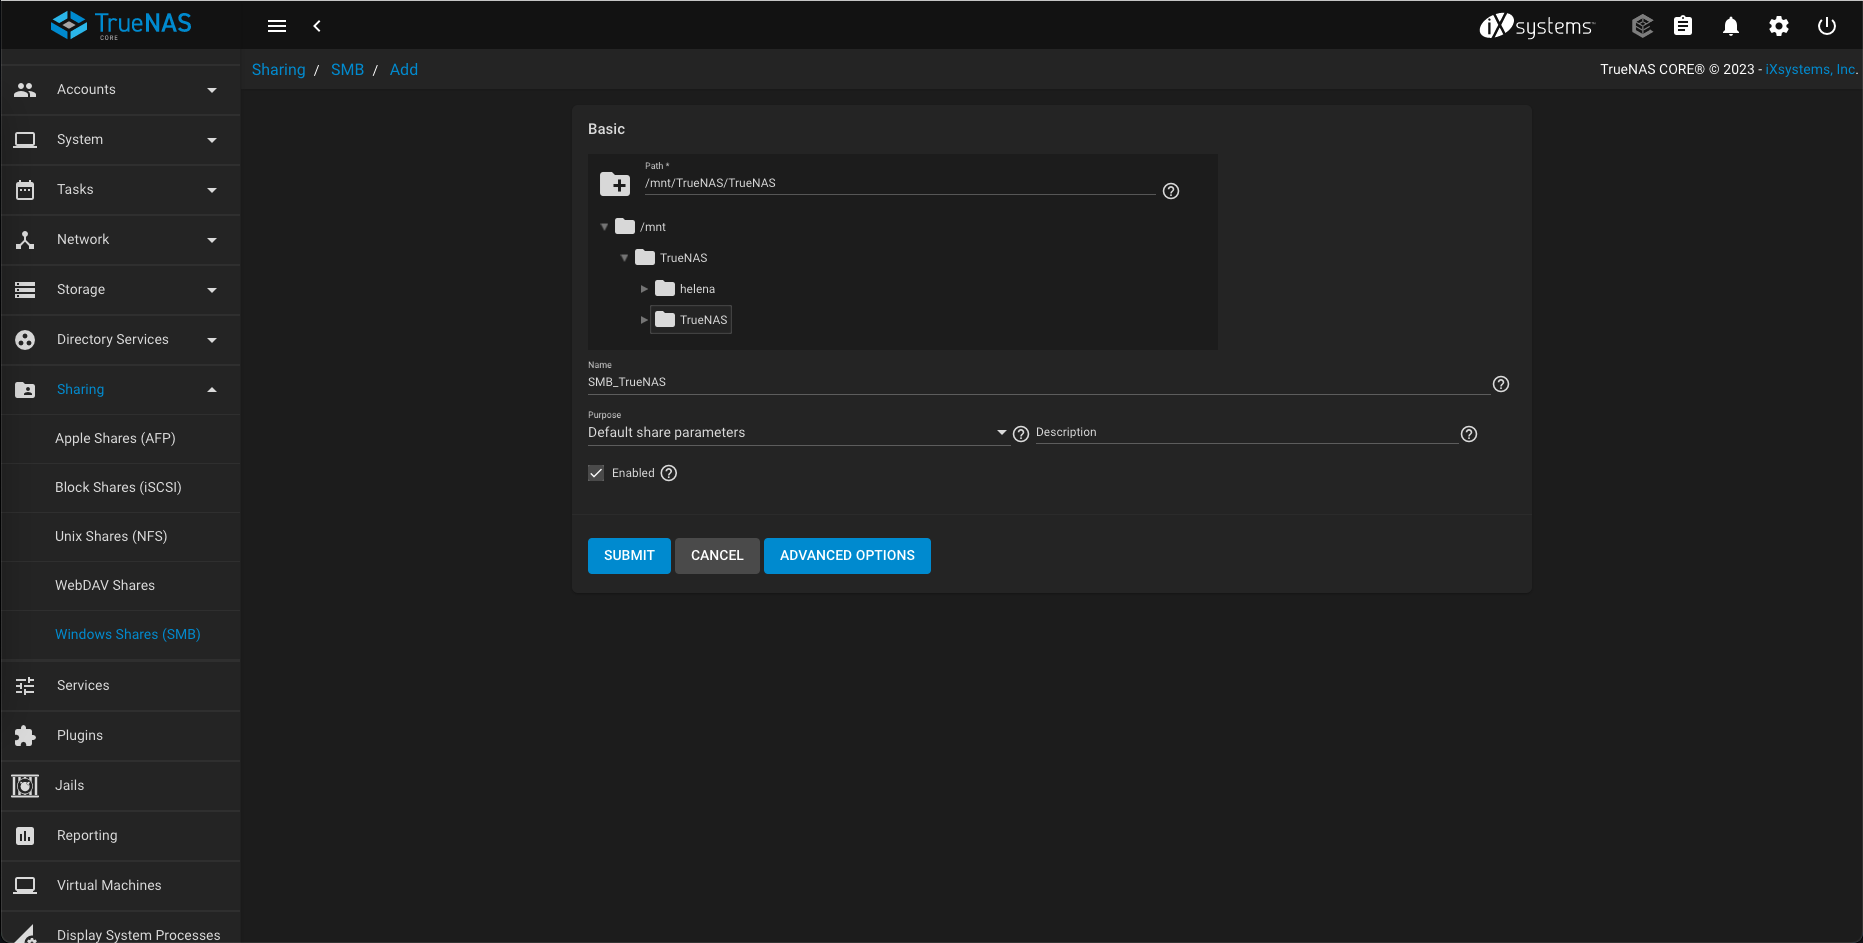
Here we use the same pool as the one on NFS because we want the files to be interchangeable across two different shares
Make sure SMB Service is up
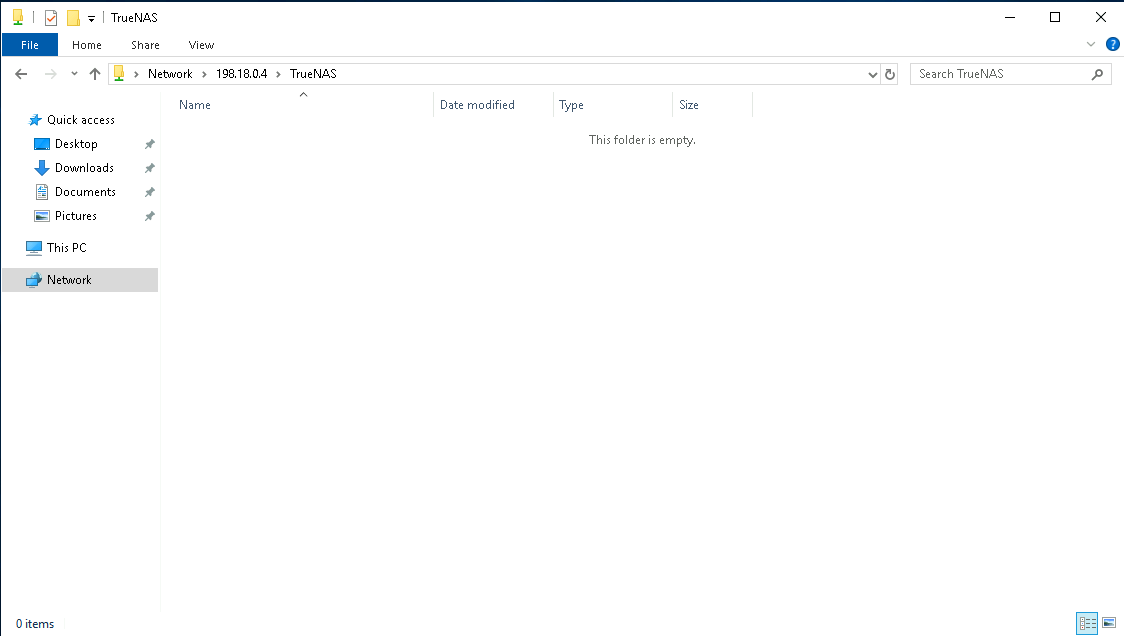
And that should do, lets test it by accessing it from a windows machine

Provide the user created earlier
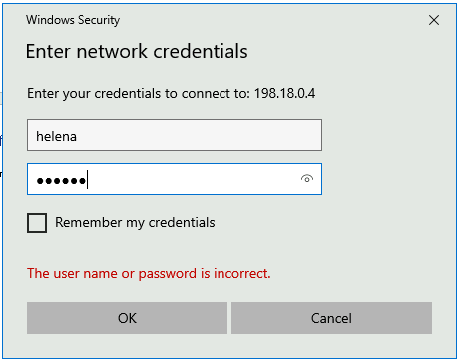
And we’re golden.
Creating iSCSI Share
Here we’ll use the TenGig pool, select add Zvol
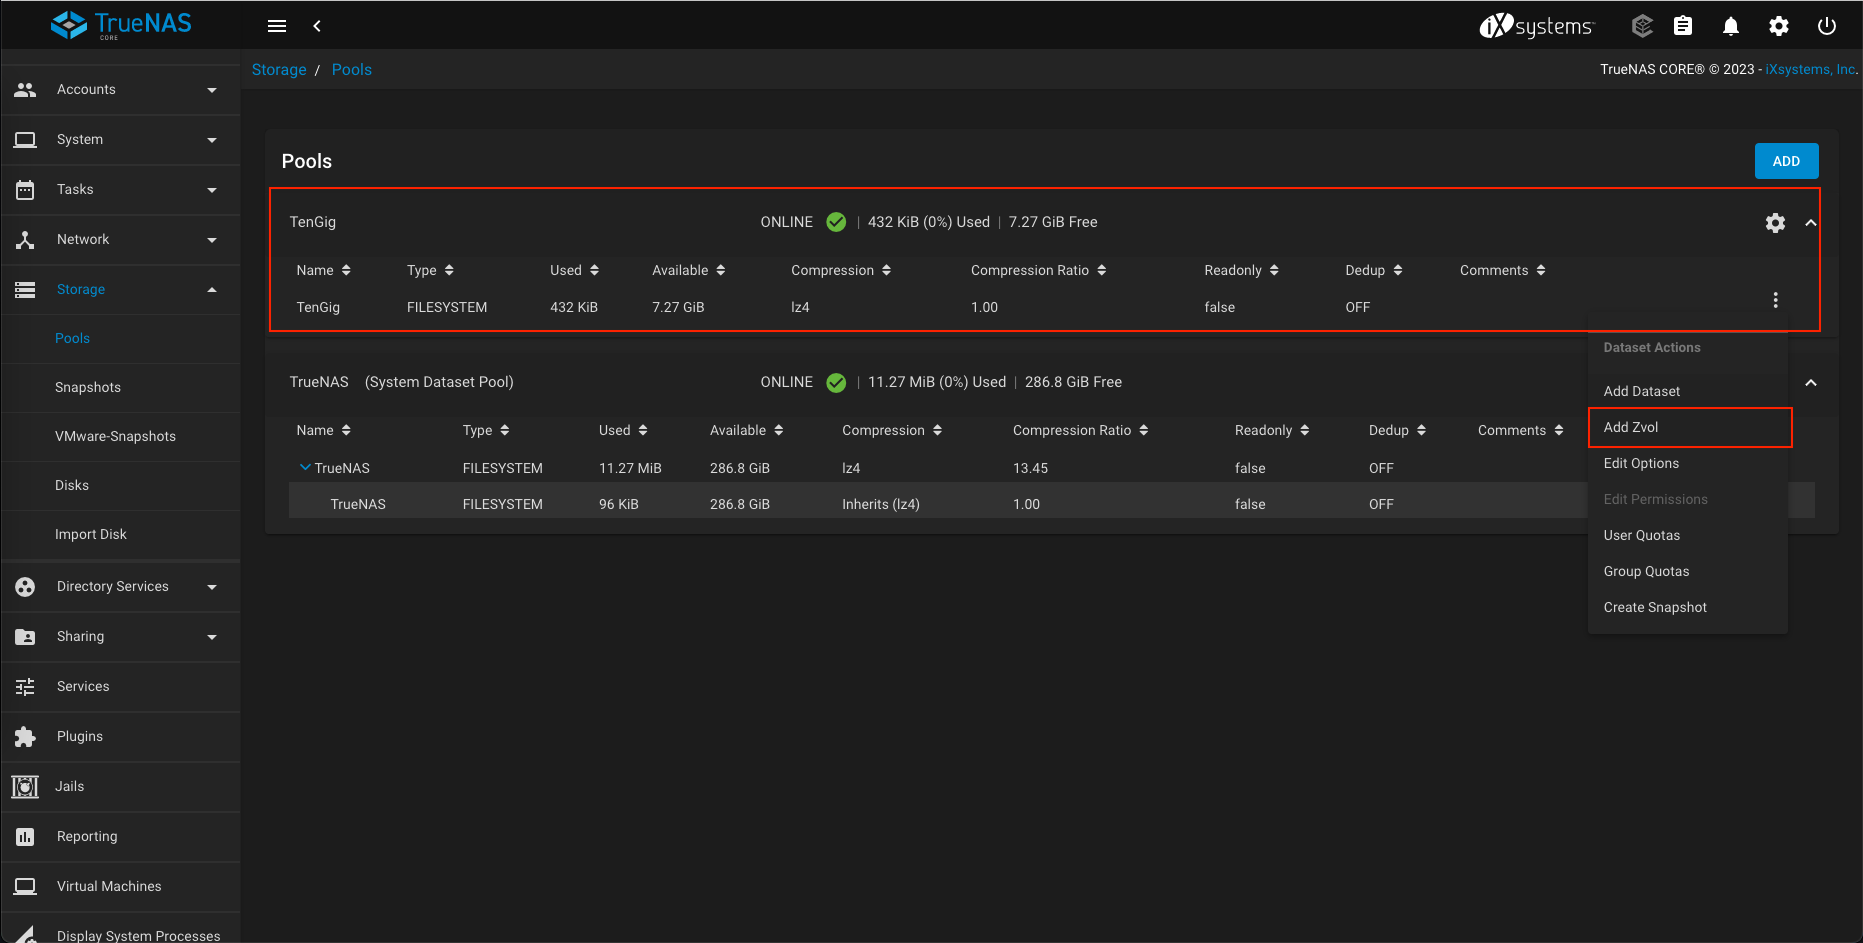
“zvol” stands for “ZFS volume,” and it’s essentially a block device or virtual disk created within a ZFS storage pool
Configure it as below
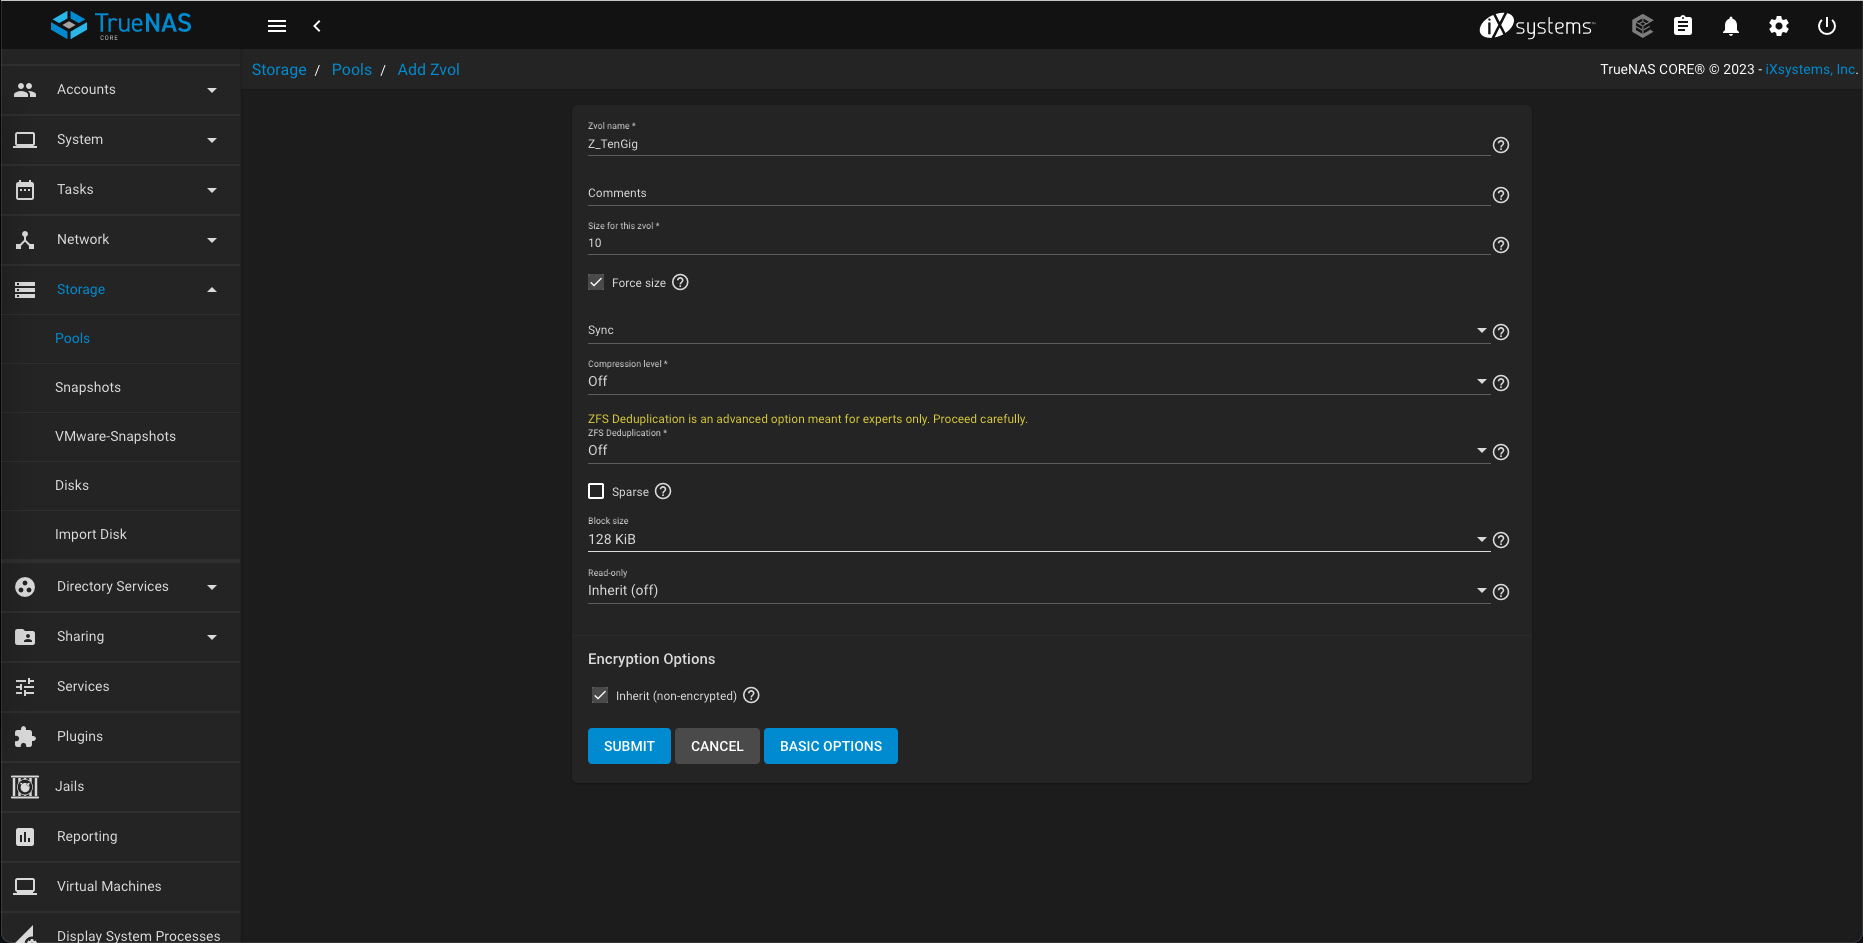
The “block size” in computer storage and file systems is the size of the smallest unit of data that can be stored or read from a storage device. Smaller is more efficient and larger has better performance especially for larger disk size
This is what we end up with

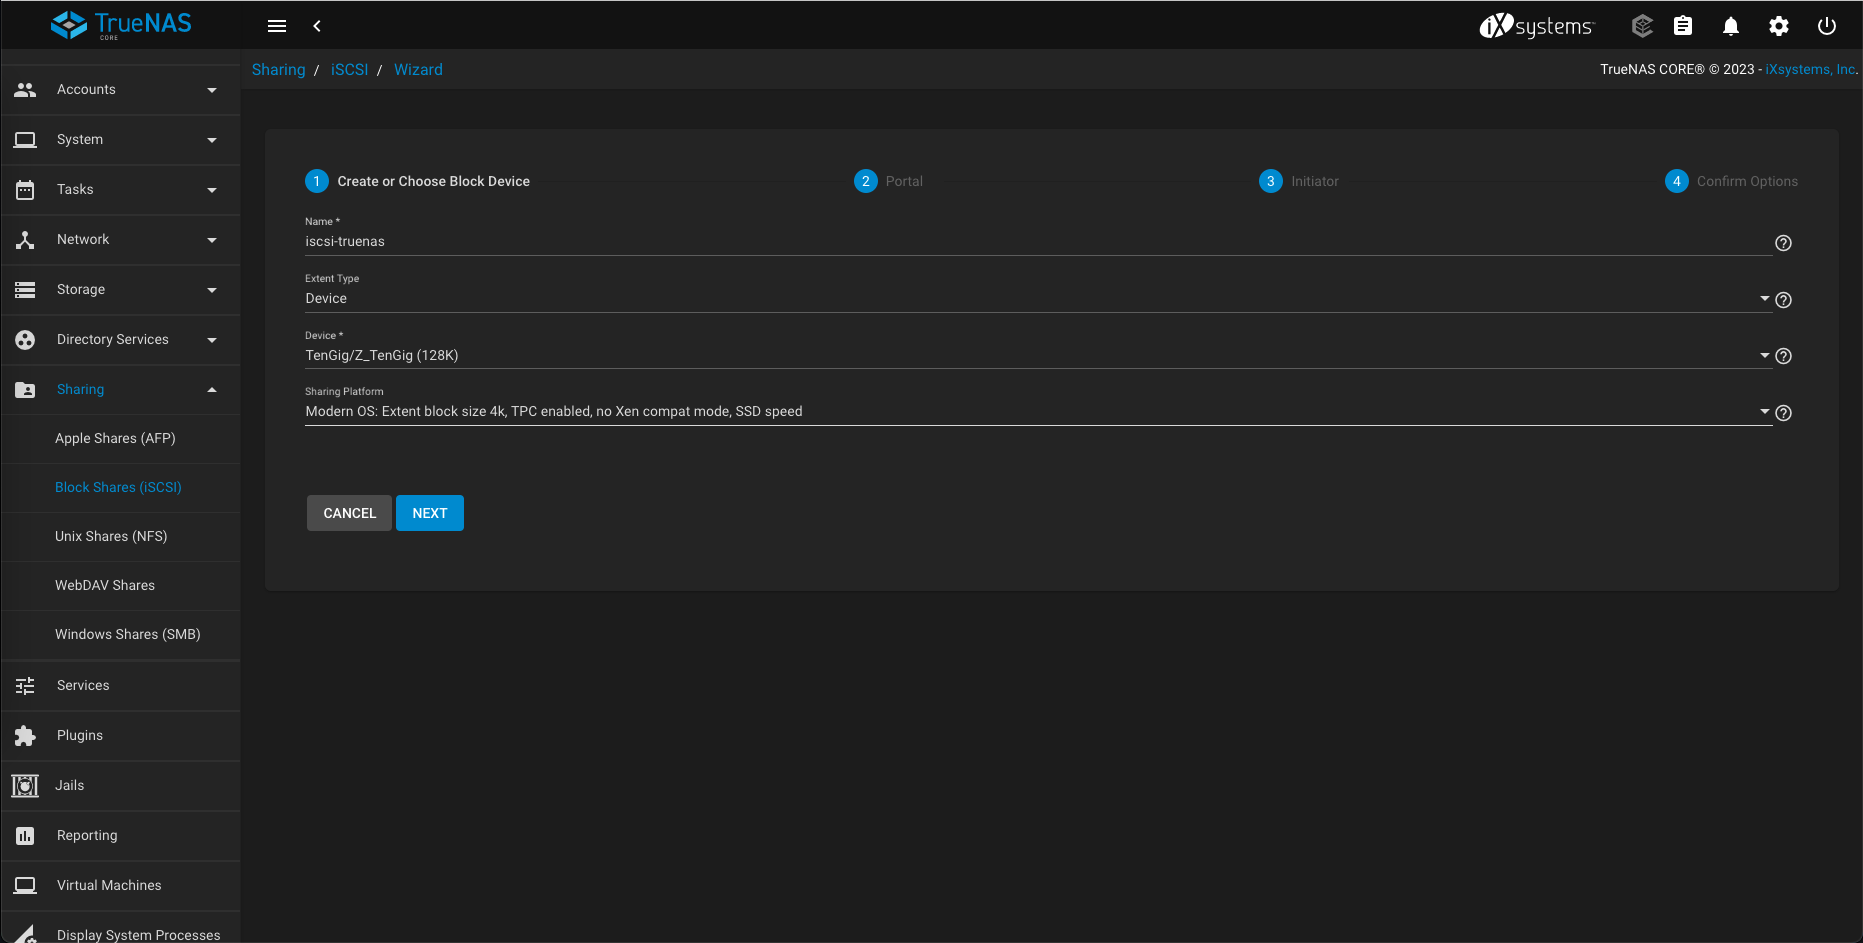
Next we create the iSCSI share, go to Sharing » Block Shares (iSCSI) » Wizard.
Give it a name and point it to the zvol device just created
We’ll create a new portal with CHAP authentication
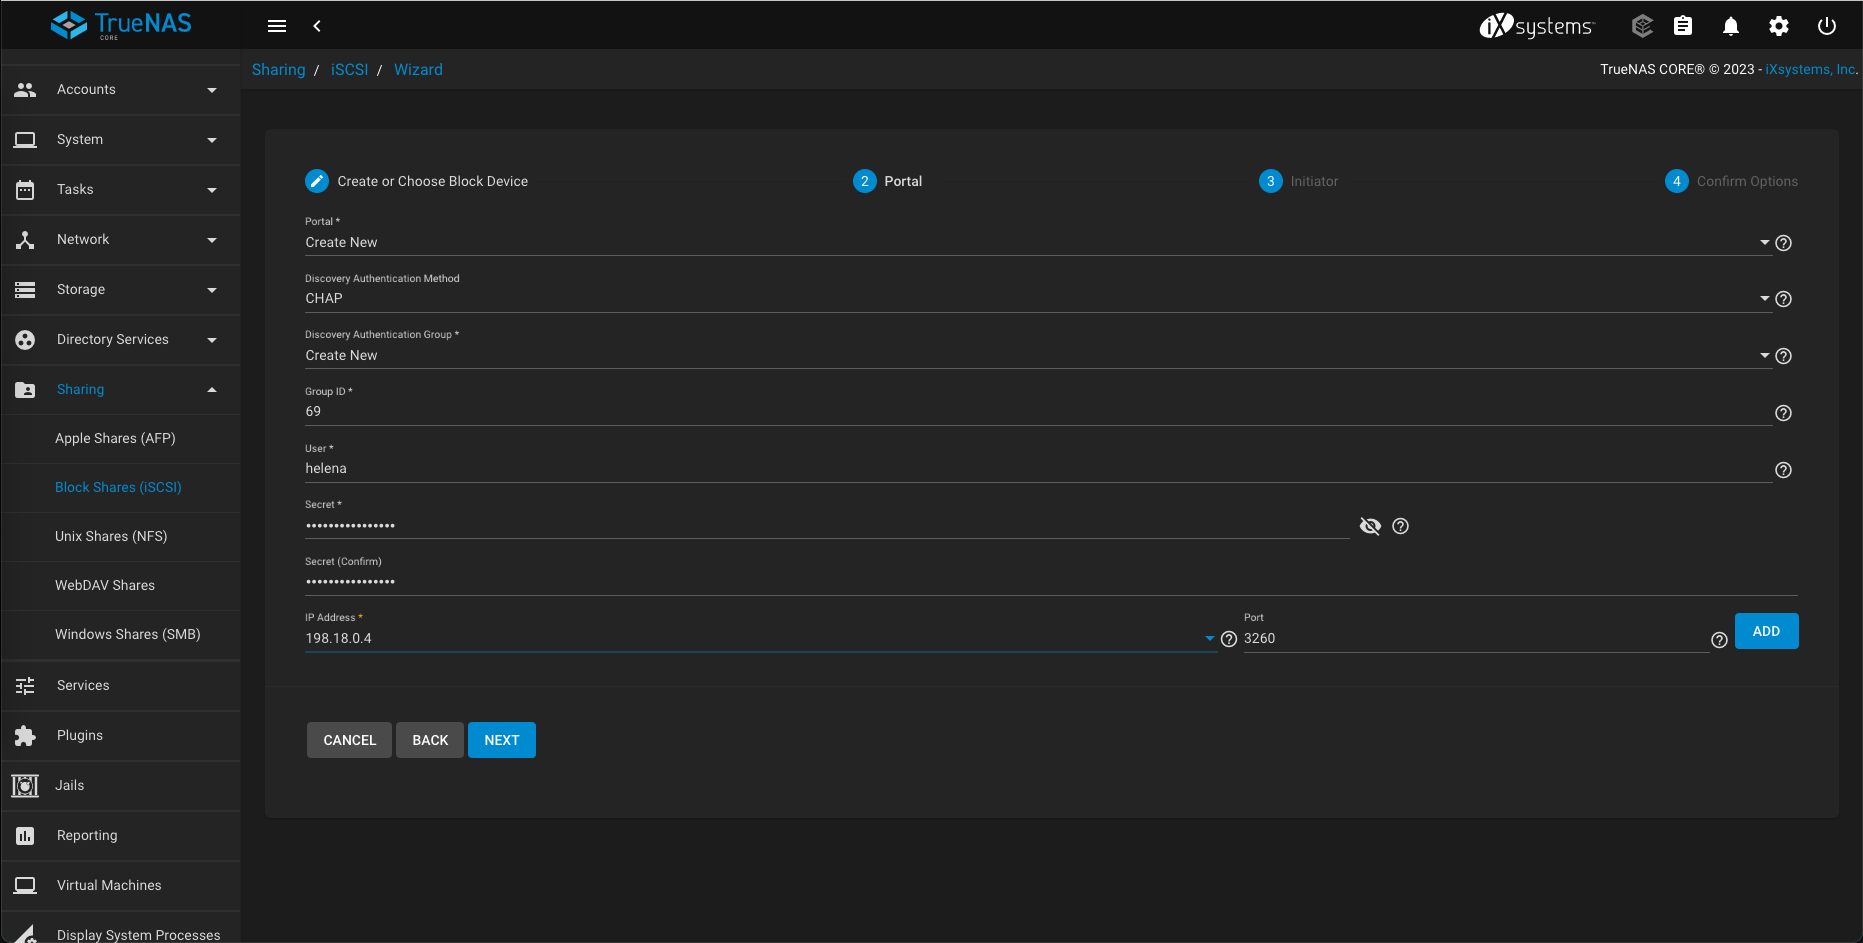
CHAP (Challenge Handshake Authentication Protocol) is a security protocol used in iSCSI to establish a secure authentication mechanism between the initiator (the client) and the target (the storage device)
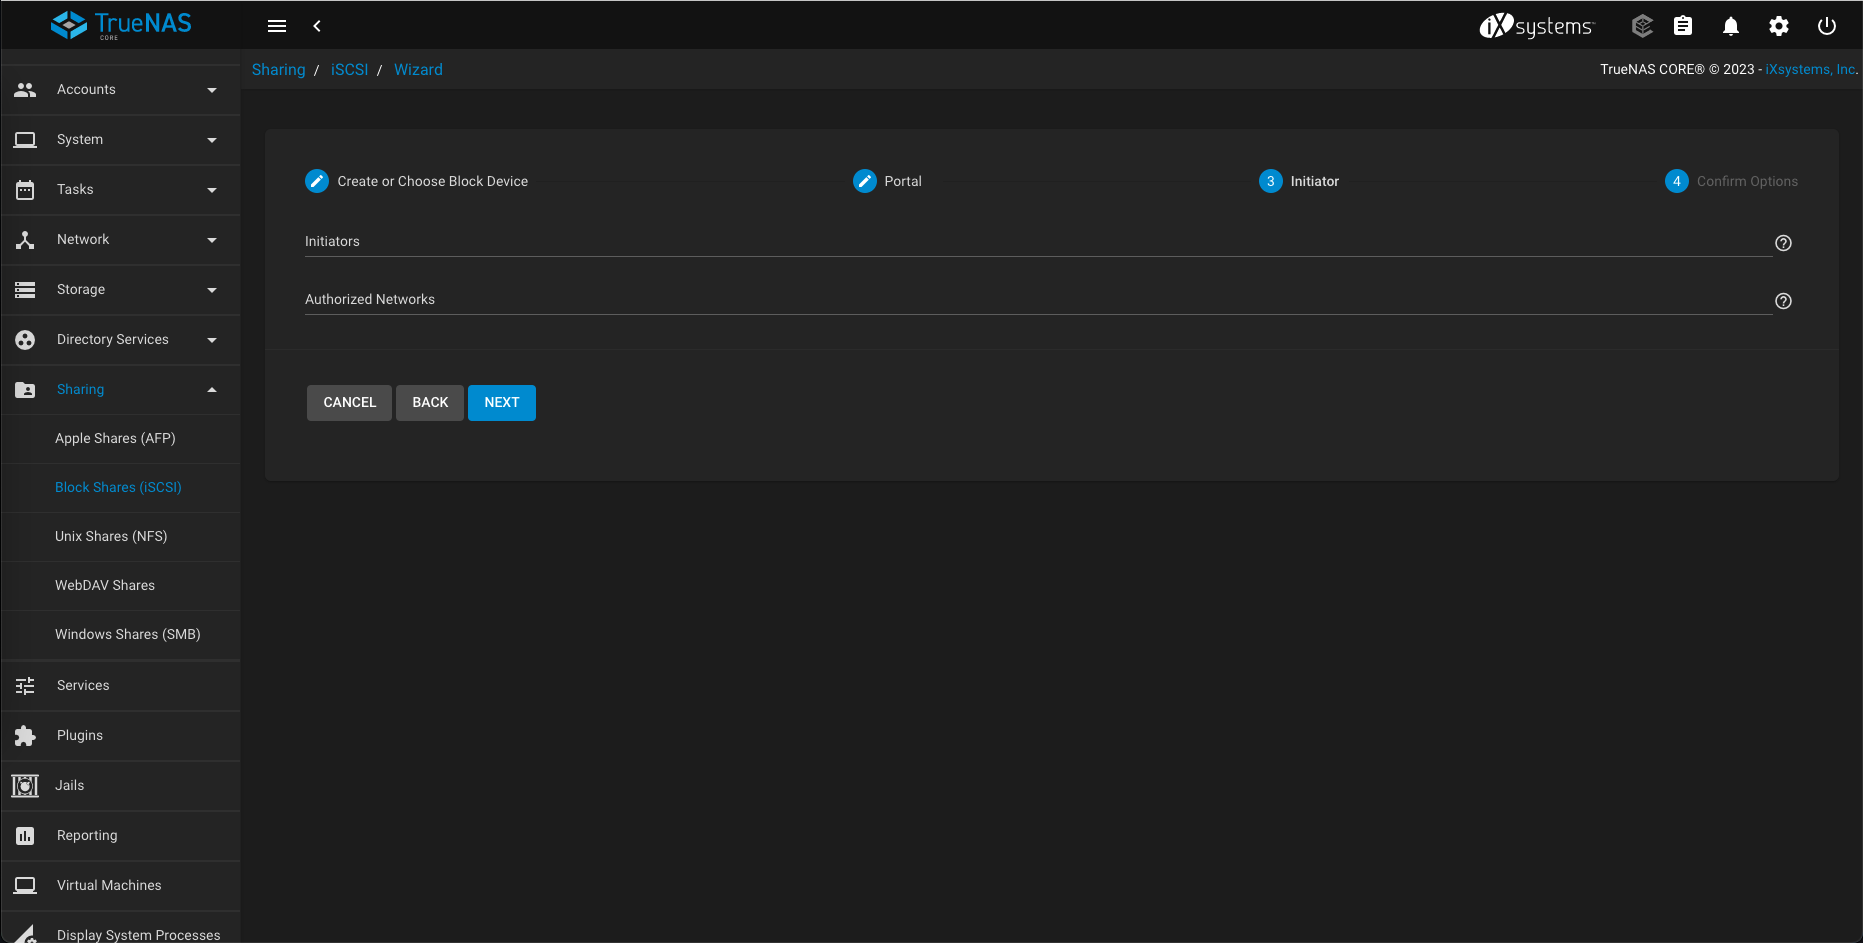
For initator, we’ll leave it empty so any machine can connect
Review, and submit

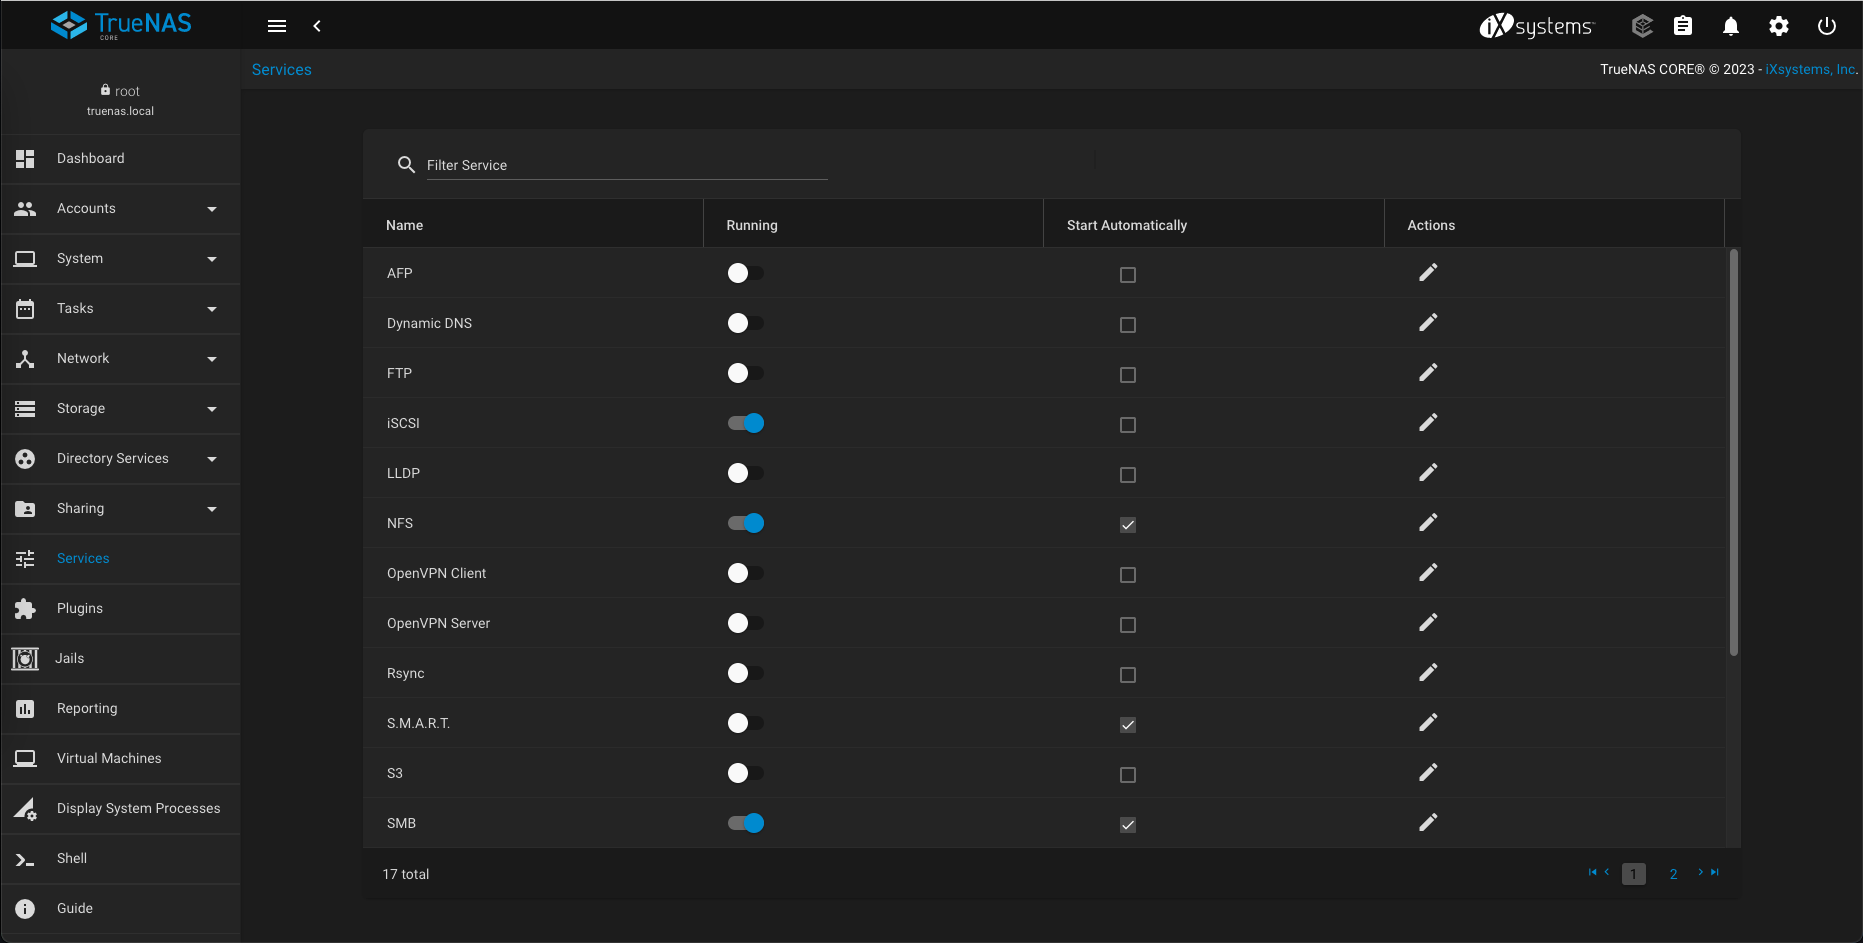
Make sure the iSCSI service is up and running
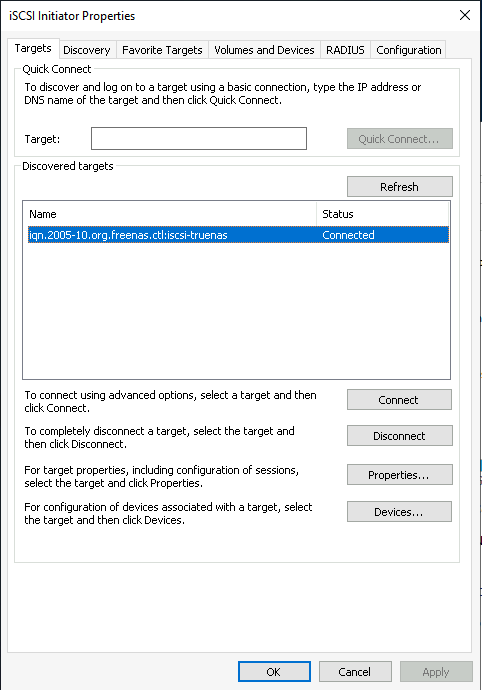
Now we try to initiate the connection from the windows machine.
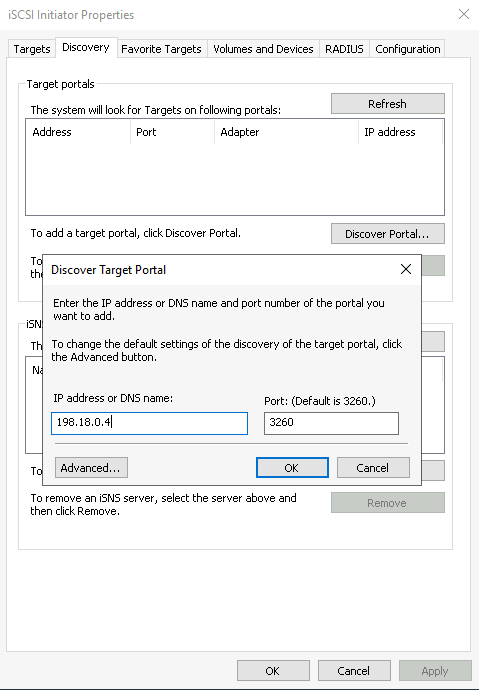
Open iSCSI Initiator » Discovery » Discover Portal, enter the IP of TrueNAS
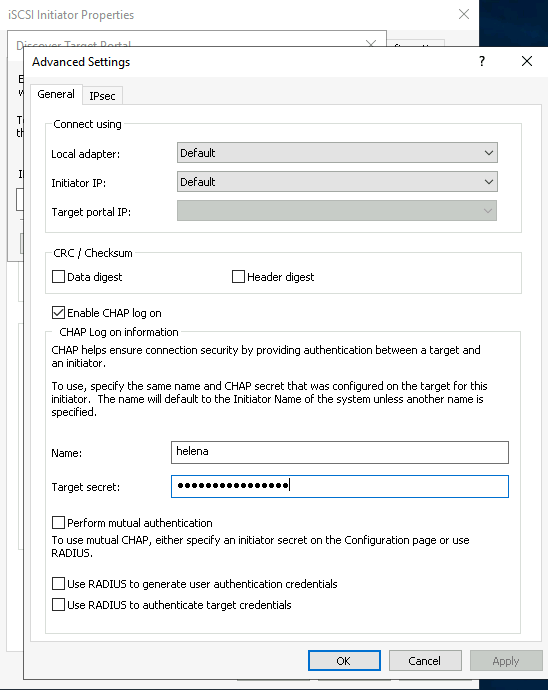
Select advanced, enter the CHAP auth credetials
Then on Targets, we’ll see our TrueNAS share. Click connect
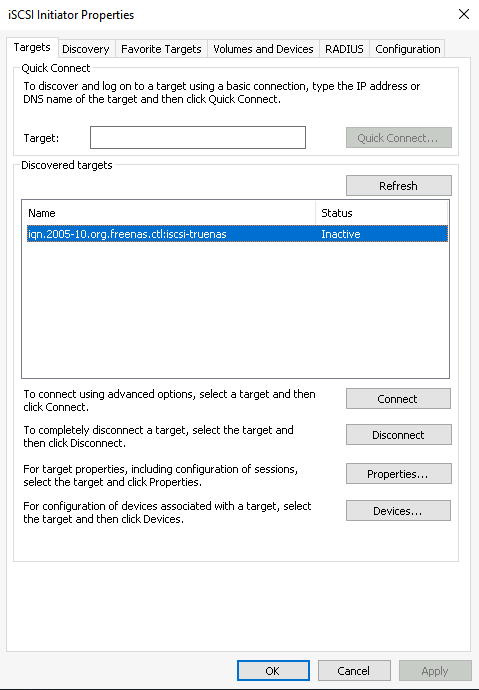
Now it’s connected. We can use the disk as if it was a locally attached disk