UCS Manager within Fabric Interconnect
What is UCS Manager?
UCS Manager provides a centralized interface for configuring, monitoring, and managing all components within the UCS infrastructure. This includes servers, network connectivity, storage access, and virtualization resources. It simplifies the management of data center resources, streamlines provisioning, and offers features for automation and orchestration of tasks.
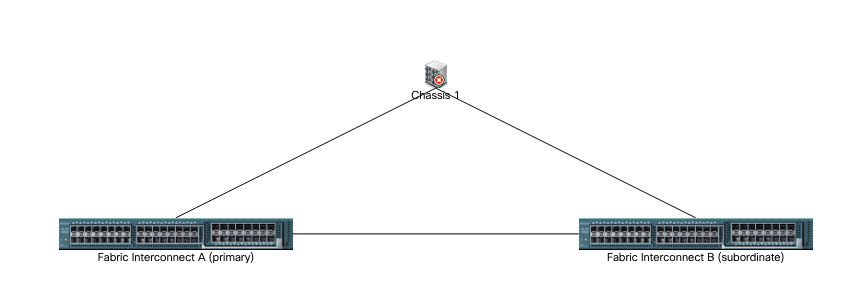
What is Fabric Interconnect?
A Fabric Interconnect, often abbreviated as FI, is a key component in Cisco’s Unified Computing System (UCS) architecture, designed for data center environments. The Fabric Interconnect is a networking device that plays a central role in connecting and managing all the components within a UCS setup, including servers, storage, and networking equipment. It acts as an intermediary between the servers and the external network.
Objective
What we’re trying to accomplish here is to install VMware ESXi v6.5 on several UCS Servers using Service Template on UCS Manager
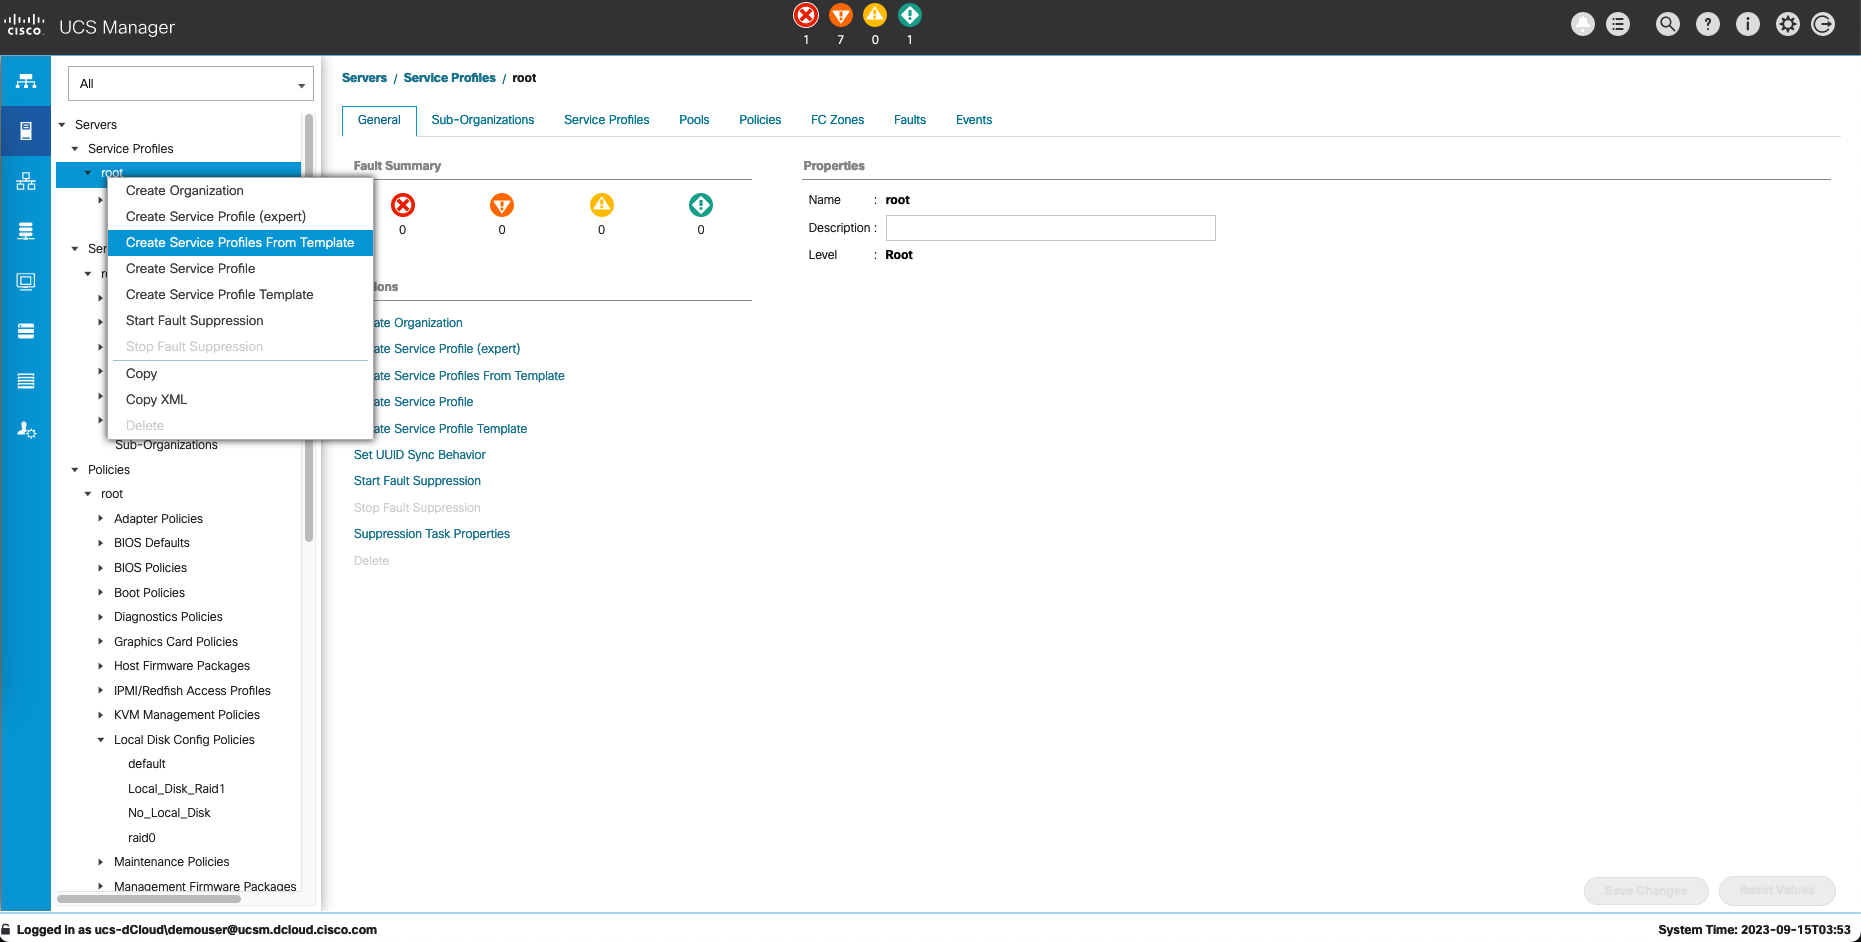
Creating Service Template
First, access the UCS Manager
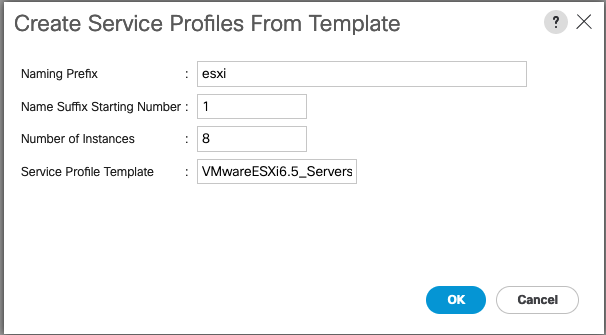
On servers, select Create Service Profile From Template
Give it a name, a sequence number, and number of instances. Here we’ll service templates for 8 esxi servers. Select the base template that will be used, which in this case will be VMware ESXi 6.5
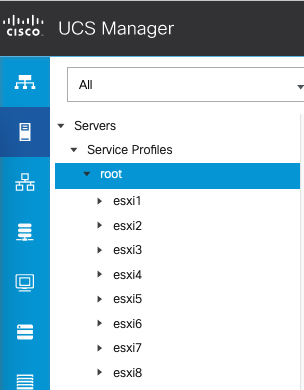
The service templates should be created
Changing Storage RAID Configuration
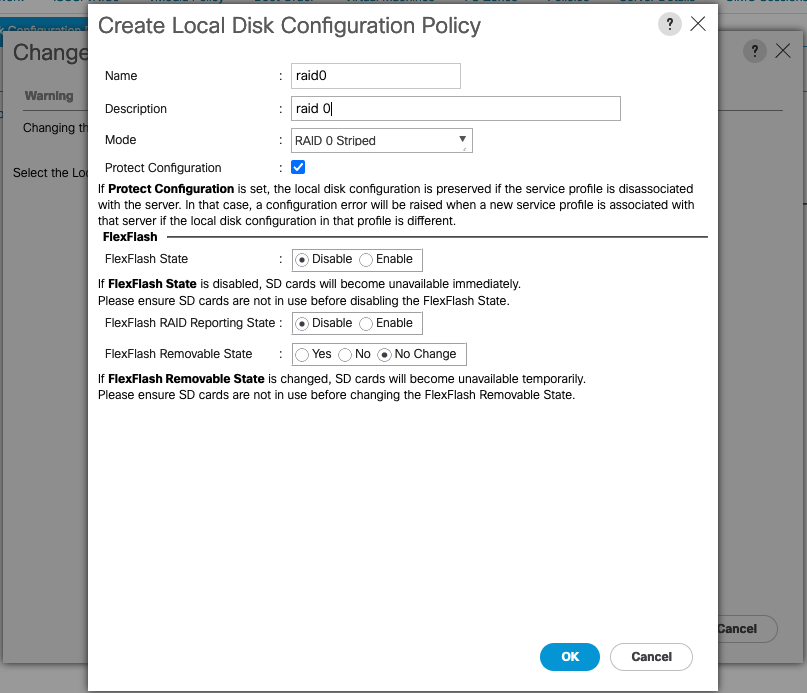
By default, these templates use RAID 1 Mirrored configuration, which is good for redundancy but we want to utilize all the available storage so we will change it to RAID 0 Striped.
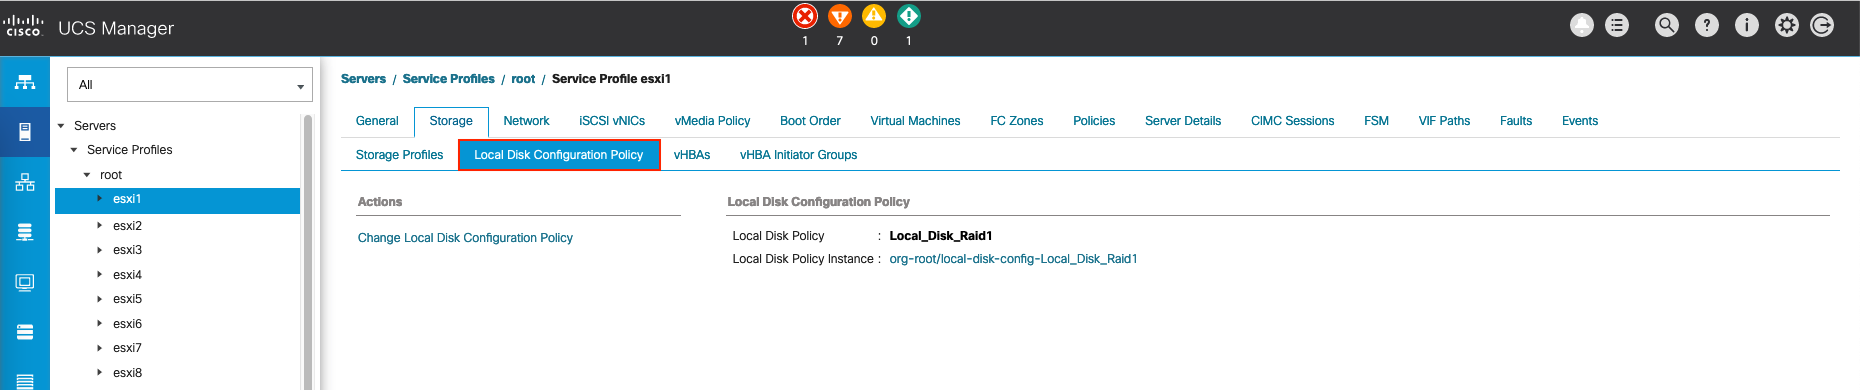
Click on the newly created template then select Change Local Disk Configuration Policy
Select Create Local Disk Configuration Policy, give it a name and change the mode to RAID 0 Striped
Then apply the storage config

Repeat for all the templates
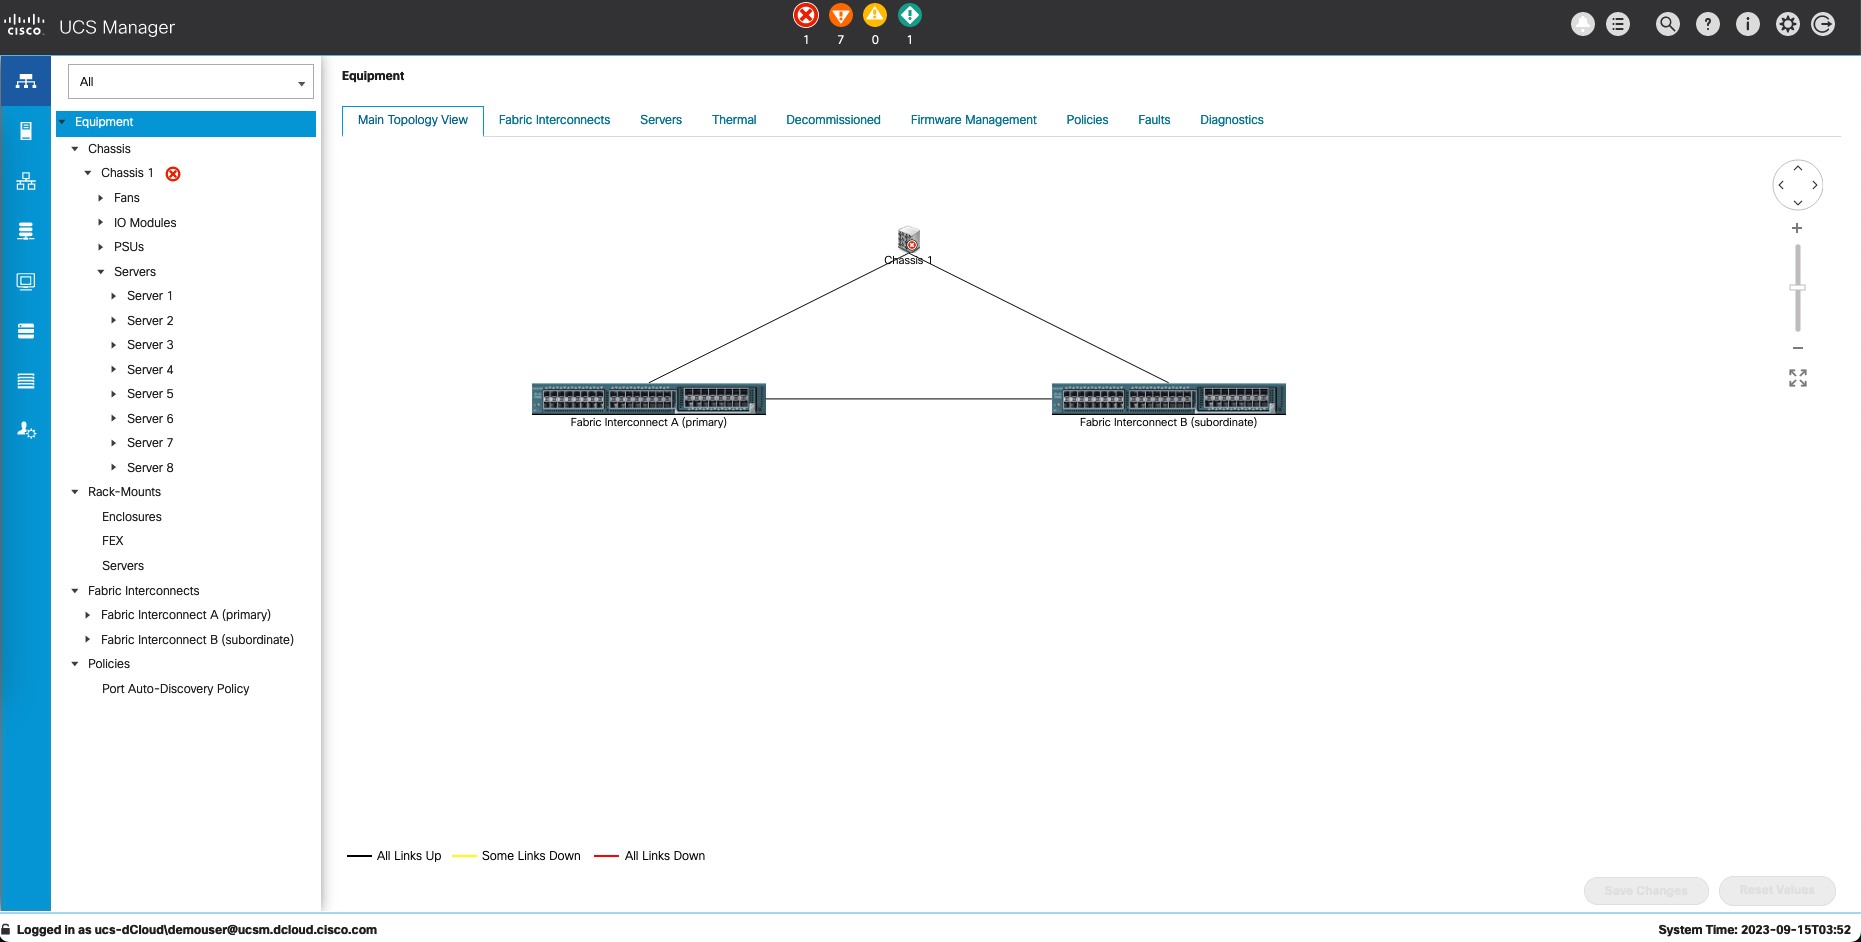
Associating the Template to the Server
Go to Equipments, select the Server and click Associate Service Profile
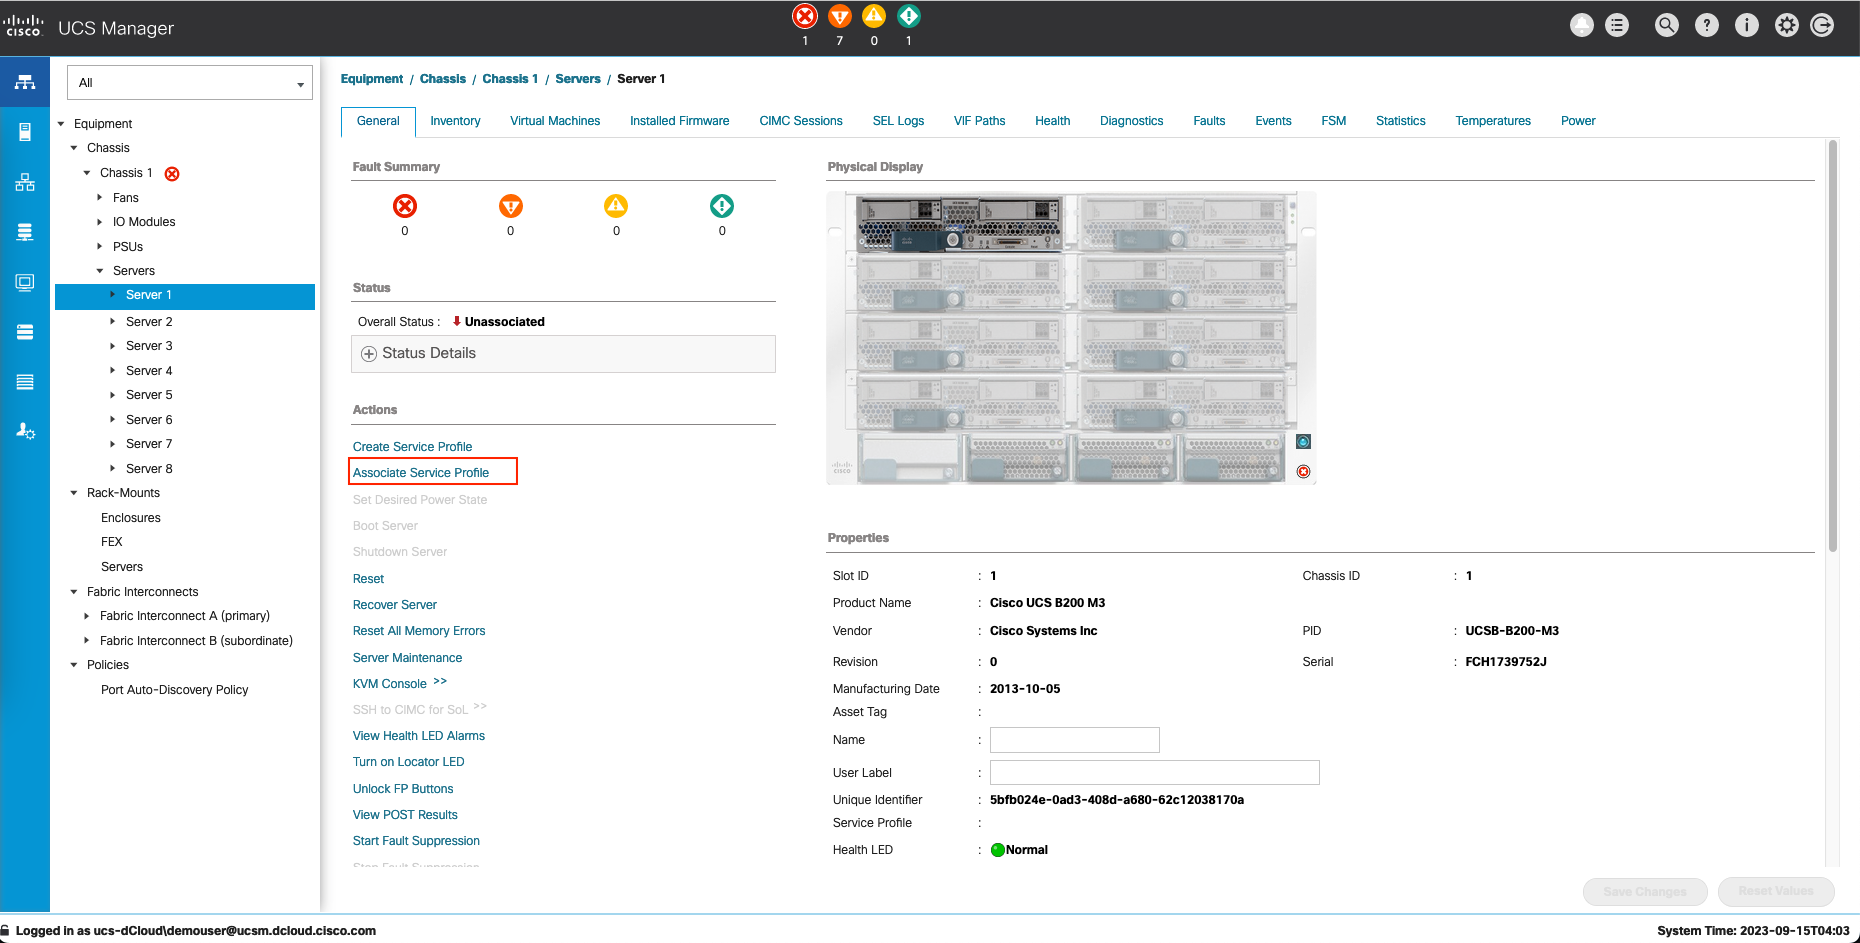
Select the Service Profile
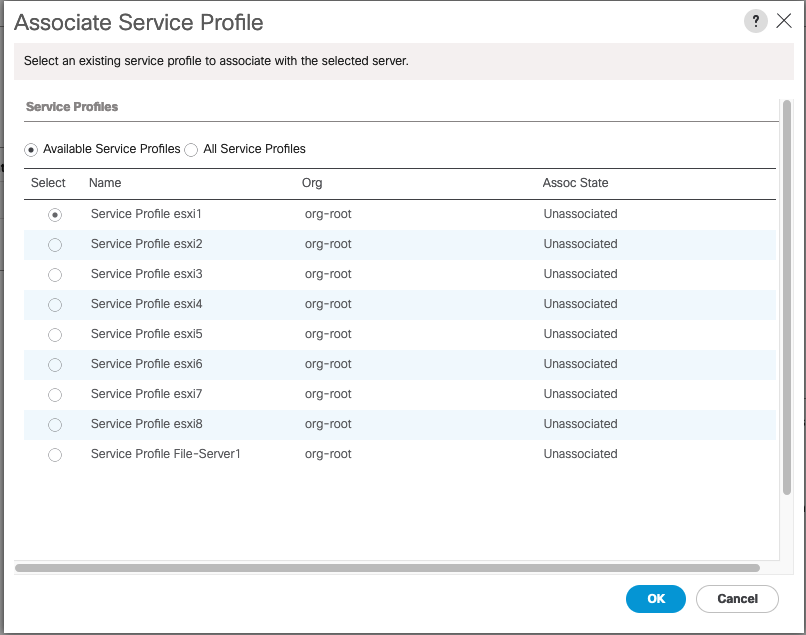
Rinse and repeat until all the servers are associated to a service template
After a while, Overall status should change to OK

Select KVM Concole », if DHCP is available it should have an IP Address
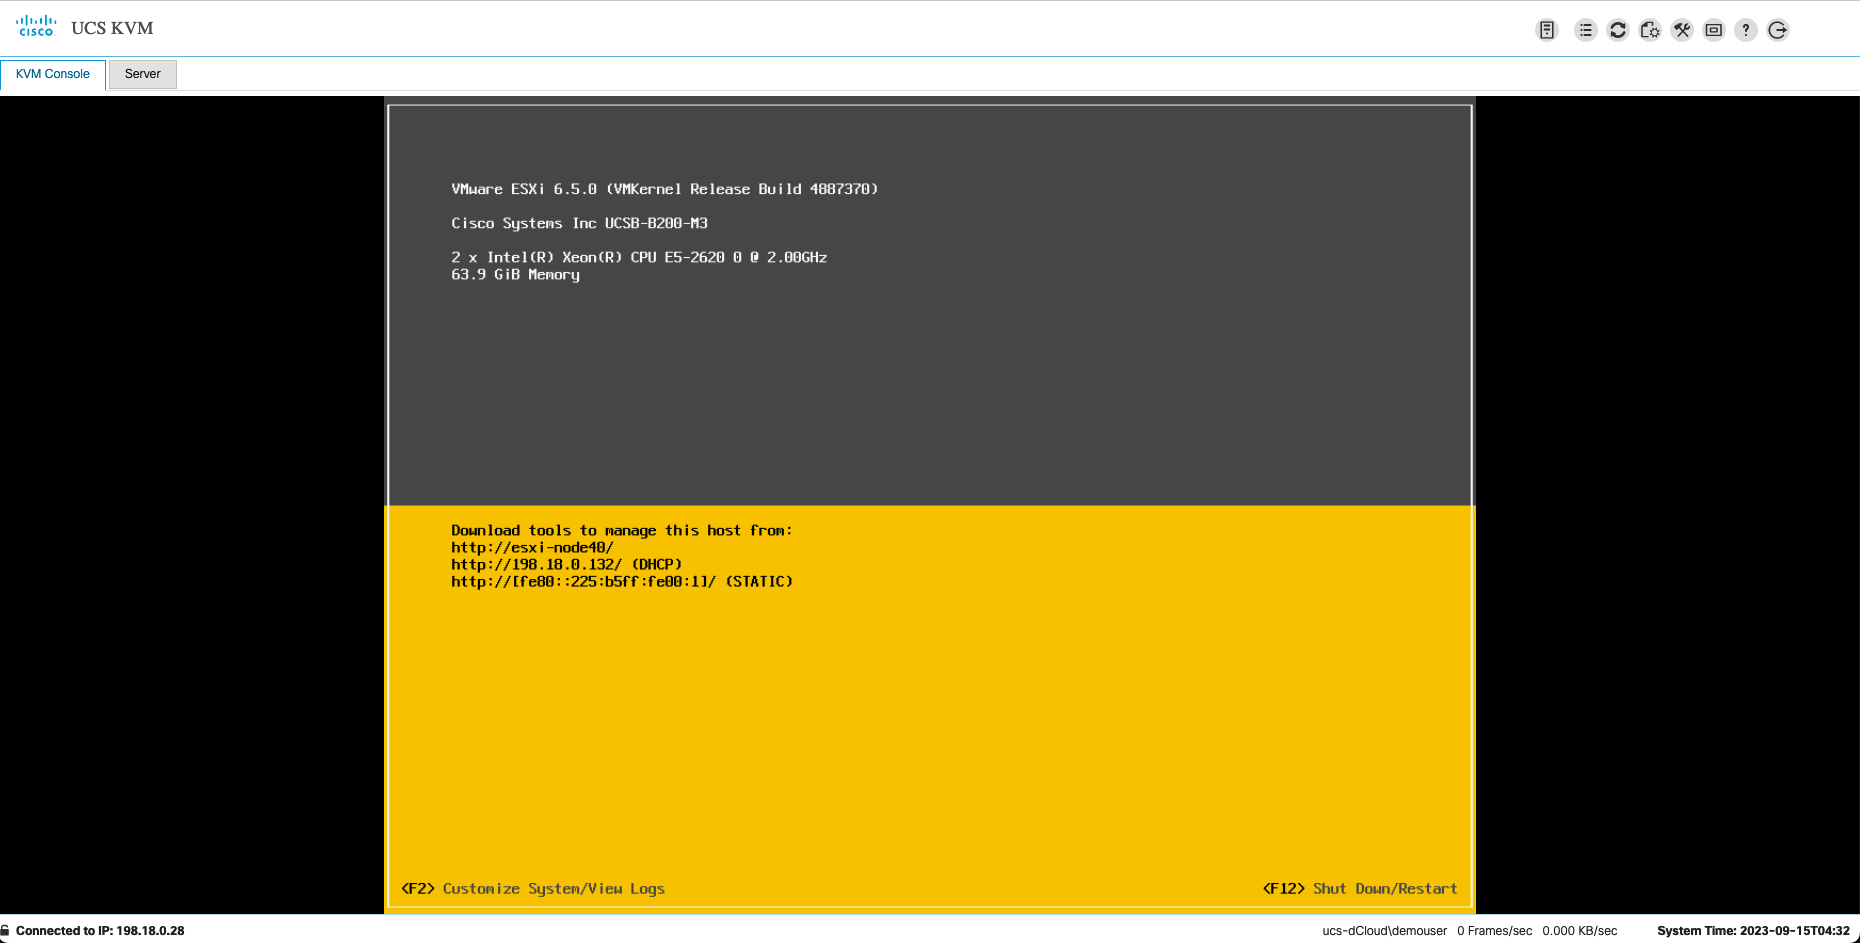
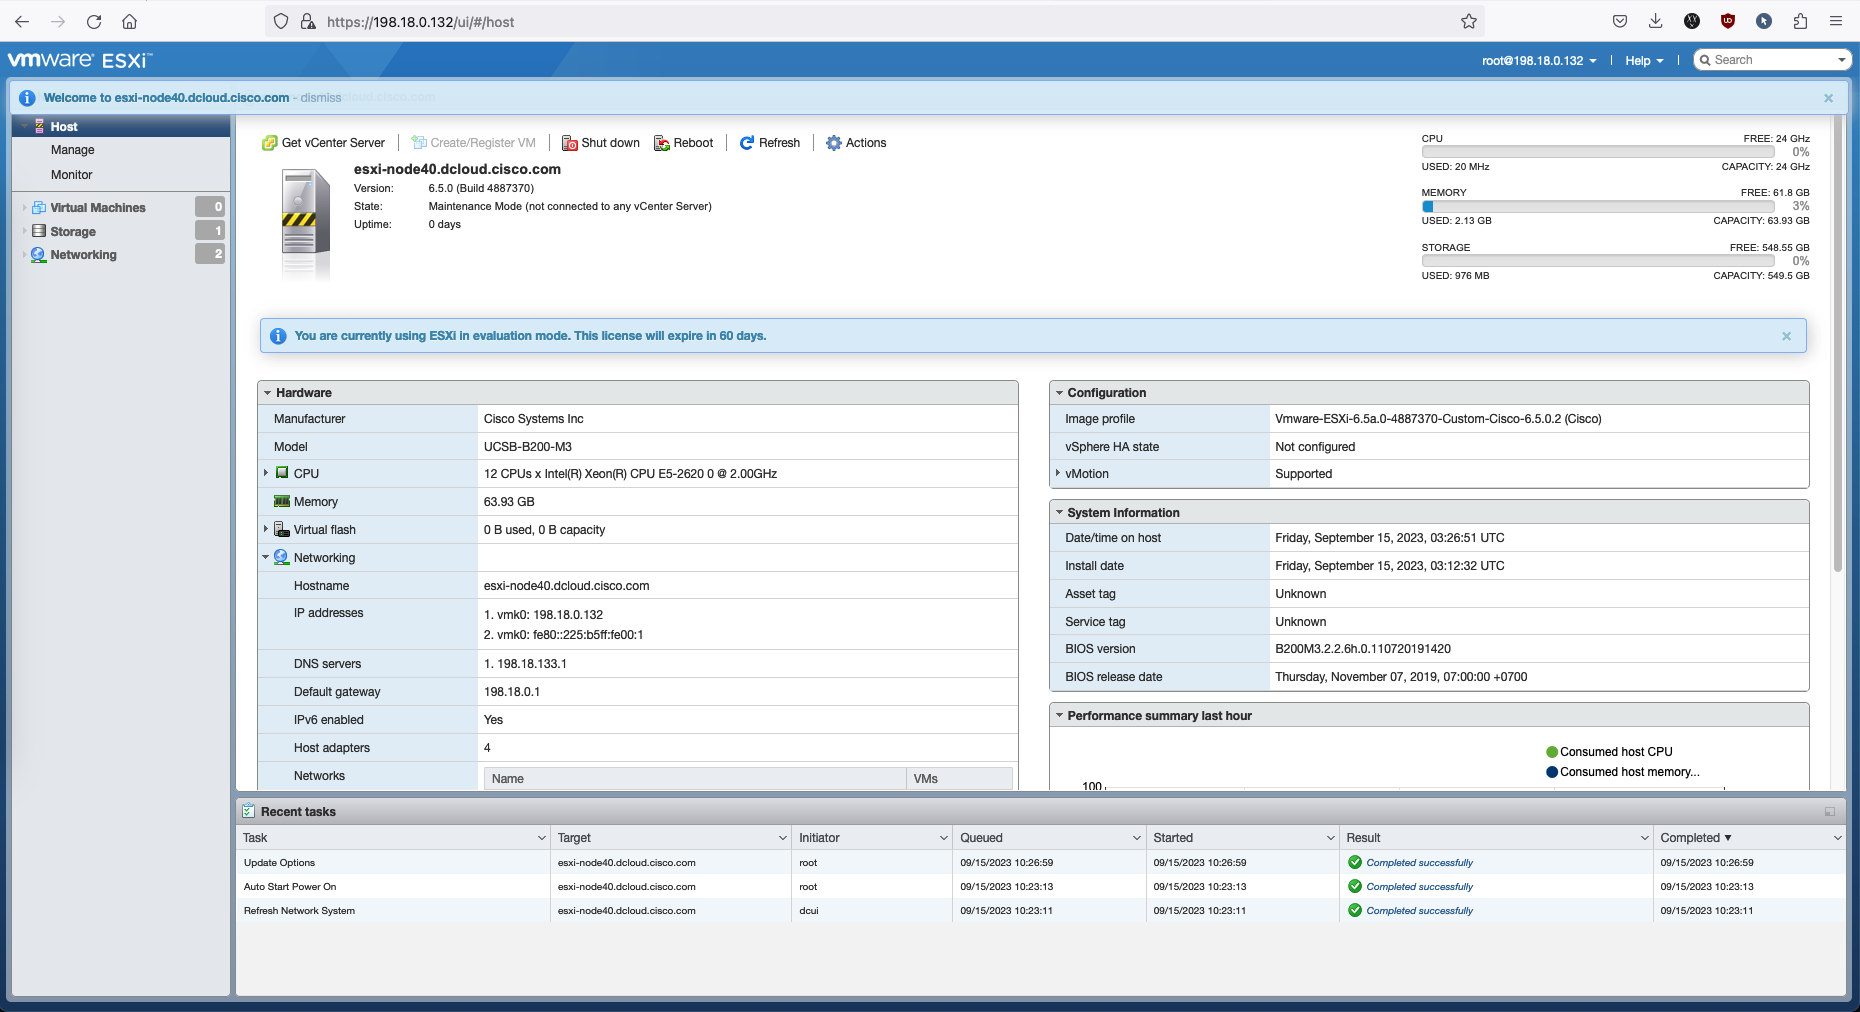
Accessing ESXi
Access the IP shown in KVM Console, and the ESXi should show up